You decide a graphics mod is worth the FPS loss when the visual gain is obvious during normal play, the frame rate drop stays inside a limit you set before testing, and your 1% lows do not fall apart. That takes about 30 minutes of measurement, and it is the only reliable way to know. The screenshots the mod page shows you are the easy part; the hard part is comparing the same scene under the same conditions twice.
This guide walks through a repeatable process for testing any graphics mod on PC, whether it is an ENB preset, a ReShade shader stack, a Minecraft shader pack, a Lumen overhaul, or a 4K texture replacement. The whole method is: record a clean baseline, understand what the mod actually changes, measure the cost in the same scene, look at the result in motion, check stability, then score it. If you have never benchmarked a mod before, expect the first session to take closer to 45 minutes.
Table of Contents
- What You Need
- Step-by-Step
- Common Mistakes
- Frequently Asked Questions
- How much FPS loss is worth it for a graphics mod?
- Is a graphics mod worth installing on an older PC?
- Are before-and-after screenshots enough to judge a graphics mod?
- Should I keep a graphics mod if the average FPS is acceptable but the game stutters?
- How do I know whether a graphics mod is compatible with my other mods?
- What is the best way to revert a graphics mod safely?
- Conclusion
What You Need
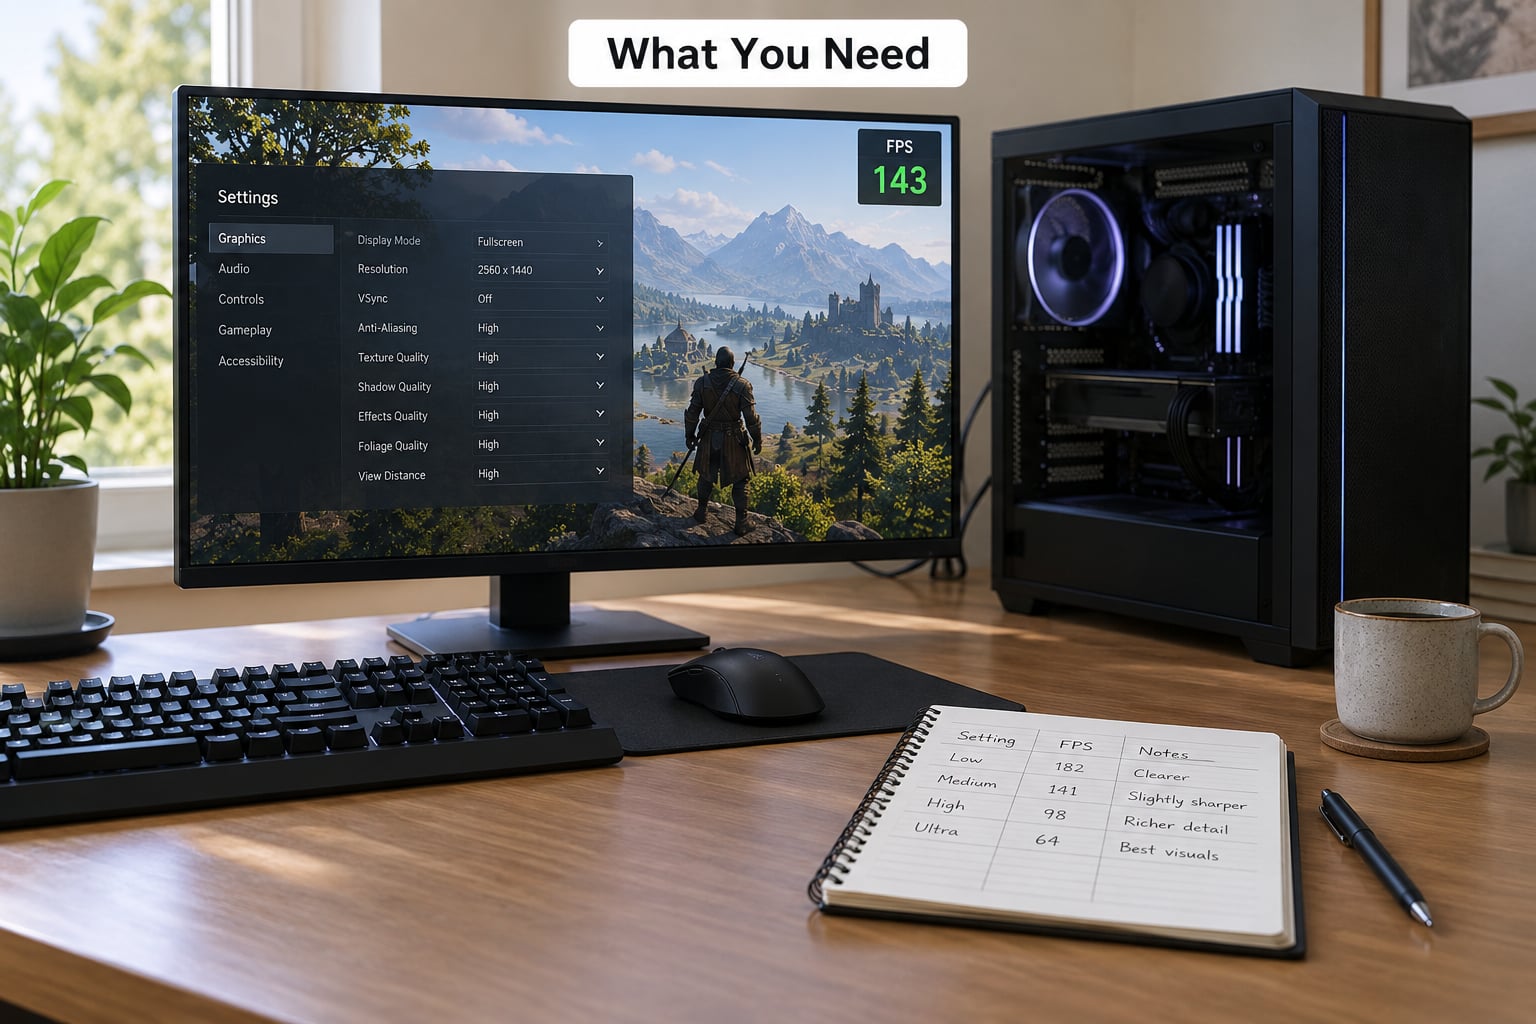
Most bad mod decisions come from testing badly, not from picking badly. Before you install anything, get these five things in place.
- The unmodified game. Know your exact base version, including any patch or driver state. A driver update between your two tests invalidates the comparison.
- A save backup. Copy the save folder or use the game’s own backup feature. Some visual mods change mesh or particle counts, and those can affect save data.
- The mod file and its instructions. Read the page before installing. Note which settings the author expects you to change, and whether the mod replaces files or layers on top of them.
- A repeatable test route. Pick one specific route or scene: the same road, the same city block, the same cave, the same stretch of race track. Random free play produces numbers you cannot compare.
- A frame rate counter. The in-engine counter built into the game is good enough. An external overlay or a benchmark tool is better if it also reports frame time and 1% lows.
Two more conditions matter. Run both tests at the same resolution and the same graphics settings, and match the time of day and weather, because both change lighting cost dramatically. Close background launchers on both runs and give the machine a few minutes of idle time before each one so temperatures match.
Step-by-Step
Work through these six steps in order. Skipping ahead to the visual judgement is the single most common mistake, because you then have no number to weigh it against.
Start With a Clean Baseline
Record the unmodified game’s numbers on your test route before you touch anything. Write down average FPS, the 1% low, the graphics preset, the resolution, and any upscaler mode.
Do the run three times and use the middle result. Frame rate drifts with ambient temperature, and one hot run can understate your baseline by a surprising amount.
Take a screenshot from the same spot as your visual reference. A screenshot taken at a different time of day will make every mod look better than it is.
Identify What the Mod Actually Changes
Sort the claims into categories that behave differently under load: lighting and shadows, reflections, textures and materials, weather and vegetation, draw distance and object density, and post-processing such as bloom, depth of field, or film grain.
Write down the expected benefit before installing, in one sentence. If you cannot say what the mod is supposed to improve, you will not be able to tell whether it did.
Check whether the author lists required engine settings. A preset that looks transformative at its intended settings and dull at yours is a settings mismatch, not a mod problem.
Test the FPS Cost in the Same Scene
Install the mod, set the graphics options the author specified, and repeat the identical route. Same resolution, same time of day, same weather, same camera position, same graphics preset.
Compare three numbers rather than one. Average FPS tells you the typical case, 1% lows tell you how bad the worst moments feel, and frame time tells you whether the motion is smooth or uneven.
Averages hide stutter. A scene averaging 90 FPS with 1% lows of 40 feels far worse than a steady 65, and that difference is usually the real reason to remove a mod.
Repeat the run three times too. If your second and third runs vary by more than a few FPS, something other than the mod is moving the number, such as background software or thermal throttling.
Check Whether the Improvement Is Visible in Motion
Compare close-up textures, distant scenery, reflections, shadow edges, character faces, and night or rain scenes. Turn the camera slowly and watch how light falls on surfaces.
Then play it the way you actually play. A lighting overhaul that reads beautifully in a still frame can look flat or muddy while you are driving at speed or running through a forest.
For racing and open-world traversal, judge from the driver’s view, not from a screenshot taken standing still. This is where texture detail, draw distance, and foliage work either pay off or vanish.
Give it at least ten minutes. A lighting or weather change takes a few minutes to stop feeling strange, and your first impression is usually about unfamiliarity rather than quality.
Confirm Compatibility, Stability, and Revertability
Watch for the failures that a frame rate counter will never show you: flickering shadows, missing or black textures, broken menus, stutter on entering new areas, save problems, controller or console issues, and conflicts with other mods you already run.
Check the load order or installation instructions. A mod that requires a specific order and a specific engine version is fine, but one with vague instructions will cost you an evening.
Then confirm you can remove it. You should know whether removing the file fully restores the vanilla look, or whether the mod made permanent changes to config or game files that need restoring separately.
Some post-process mods are trivially reversible because they are a layer on top. Others overwrite assets, and putting them back means reinstalling or verifying files through the platform launcher.
Use a Keep-or-Remove Scorecard: How to Decide If a Graphics Mod Is Worth the FPS Loss
Score each row from one to five, then apply the threshold. Set your limits before you install, because after ten hours in a beautiful world you will talk yourself into anything.
- Visual gain: 5 means you noticed the change in normal play, not only in a still frame. 1 means a screenshot told you more than the game did.
- Average FPS cost: Below 5% is a rounding error on most hardware. 5 to 15% is a fair trade for a strong visual gain in single-player. Above 20% needs a very clear payoff.
- 1% low cost: This is the one that decides it. Losing 20 FPS off your low can matter more than losing 15 off your average, because that is where the stutter and the input lag live.
- Frame time consistency: If the graph turns into a sawtooth, the mod is not worth it at any frame rate, because uneven pacing is what actually feels like “lag”.
- Stability and compatibility: Any crash, missing texture, or conflict with an existing mod is a removal, regardless of how good it looks.
- Personal importance: If you mainly play for atmosphere, weight visual gain heavily. If you play shooters or a VR session where every millisecond counts, weight frame time heavily.
A workable rule: keep the mod when the visual gain scores at least a 4 and the frame rate cost stays under 15%, with 1% lows that do not collapse. Remove it when the visual gain is a 2 or lower and the cost is above 15%. Everything in between is a matter of taste, and the honest answer is to run the test again on a different day.
Common Mistakes
Testing in different scenes. A narrow cave and an open highway cost completely different amounts of GPU work. Use one route, and always re-run the unmodded version on the same day and settings as the modded one.
Comparing screenshots from different times of day. Noon sun hides shadow improvements and exaggerates fog differences. Match the time, the weather, and the camera angle, and take your own pair of screenshots rather than trusting the mod page.
Trusting a single FPS reading. One number from one moment means almost nothing. Three runs, middle result, and look at the lows as well as the average.
Changing several settings at once. If you lower shadows, enable upscaling, and install a shader pack together, you will never know which change cost the frames. Change one thing per test, even if it takes three sessions.
Ignoring minimum frame rate and stutter. Players on r/skyrimmods regularly describe a smooth base game turning uneven after a lighting overhaul. If your lows drop by half, the average is beside the point.
Not backing up files first. Before any install, copy your save folder and note your current settings. It takes a minute and it is the difference between a clean revert and a reinstall.
Keeping a mod that damages the core experience. A mod that makes a fast action game sluggish is a downgrade, no matter how good the lighting. If you have to lower the resolution to hide the stutter, you already know the answer.
Two habits worth building: always run your baseline on the same route, and always keep a plain text note of the numbers. Mod testing becomes boring very quickly, and boring is exactly the state you want to be in when you decide.
Frequently Asked Questions
How much FPS loss is worth it for a graphics mod?
For single-player games, a loss under 5% is free, 5 to 15% is a reasonable trade for a clearly visible improvement, and above 20% you want a payoff you notice during normal play. Judge it on 1% lows as well as the average, because a mod that drops your lows by half feels worse than the headline number suggests. Set your limit before installing so you decide on data rather than on how the game looks now.
Is a graphics mod worth installing on an older PC?
Often not, unless you raise your target and lower your settings at the same time. Older hardware has less VRAM and less headroom, so heavy texture stacks and lighting overhauls hit frame rate and cause stuttering first. Texture replacements on their own are usually mild, while shader and lighting mods are the expensive ones. On a limited machine, start with post-processing layers and add heavier changes one at a time.
Are before-and-after screenshots enough to judge a graphics mod?
No. Screenshots are useful for spotting missing textures or broken lighting, but they hide the things that decide the experience: frame time consistency, stutter, and how the change reads while you are moving. A mod can look superb in a still and feel flat at speed. Use screenshots to confirm the mod is working correctly, then judge the real difference in motion on your own hardware.
Should I keep a graphics mod if the average FPS is acceptable but the game stutters?
Remove it, or fix the stutter first. Uneven frame pacing is what players feel as lag, and an acceptable average does not excuse it. Check the usual causes in order: shader compilation while moving through new areas, texture streaming as assets load, VRAM exhaustion from high-resolution texture packs, and background overlay software. If stutter survives all of that, the mod is costing you more than its frame rate suggests.
How do I know whether a graphics mod is compatible with my other mods?
Read the mod page for required engine versions, required settings, and any known conflicts, then check the comment section for reports from players with a similar setup. Compatibility is mostly about replacement order, so mods that overwrite the same files or the same engine settings are the risk. After installing, test a save and load, a fast travel or area change, and a menu open before you invest hours in a load order.
What is the best way to revert a graphics mod safely?
Keep a manual backup. Copy the save folder and export or screenshot your current graphics settings before you install, then remove the mod the way the author describes, and restore the files it replaced. Layer-based post-process mods come off cleanly by deleting the layer. Mods that overwrite assets need a file verify through the platform launcher or a reinstall of the base game files. Re-run your original baseline route afterward to confirm.
Conclusion
To decide whether a graphics mod is worth the FPS loss, compare the same scene twice under the same conditions, measure average and 1% lows rather than one reading, and only then judge the visual change in motion. Keep the mod when the improvement is obvious in normal play and the frame rate cost sits inside the limit you set in advance. Remove it when the cost is high, the stutter is real, or the change only shows up in screenshots.
Start with one action: record a clean baseline on a fixed route before you install anything. Everything after that is just comparison.