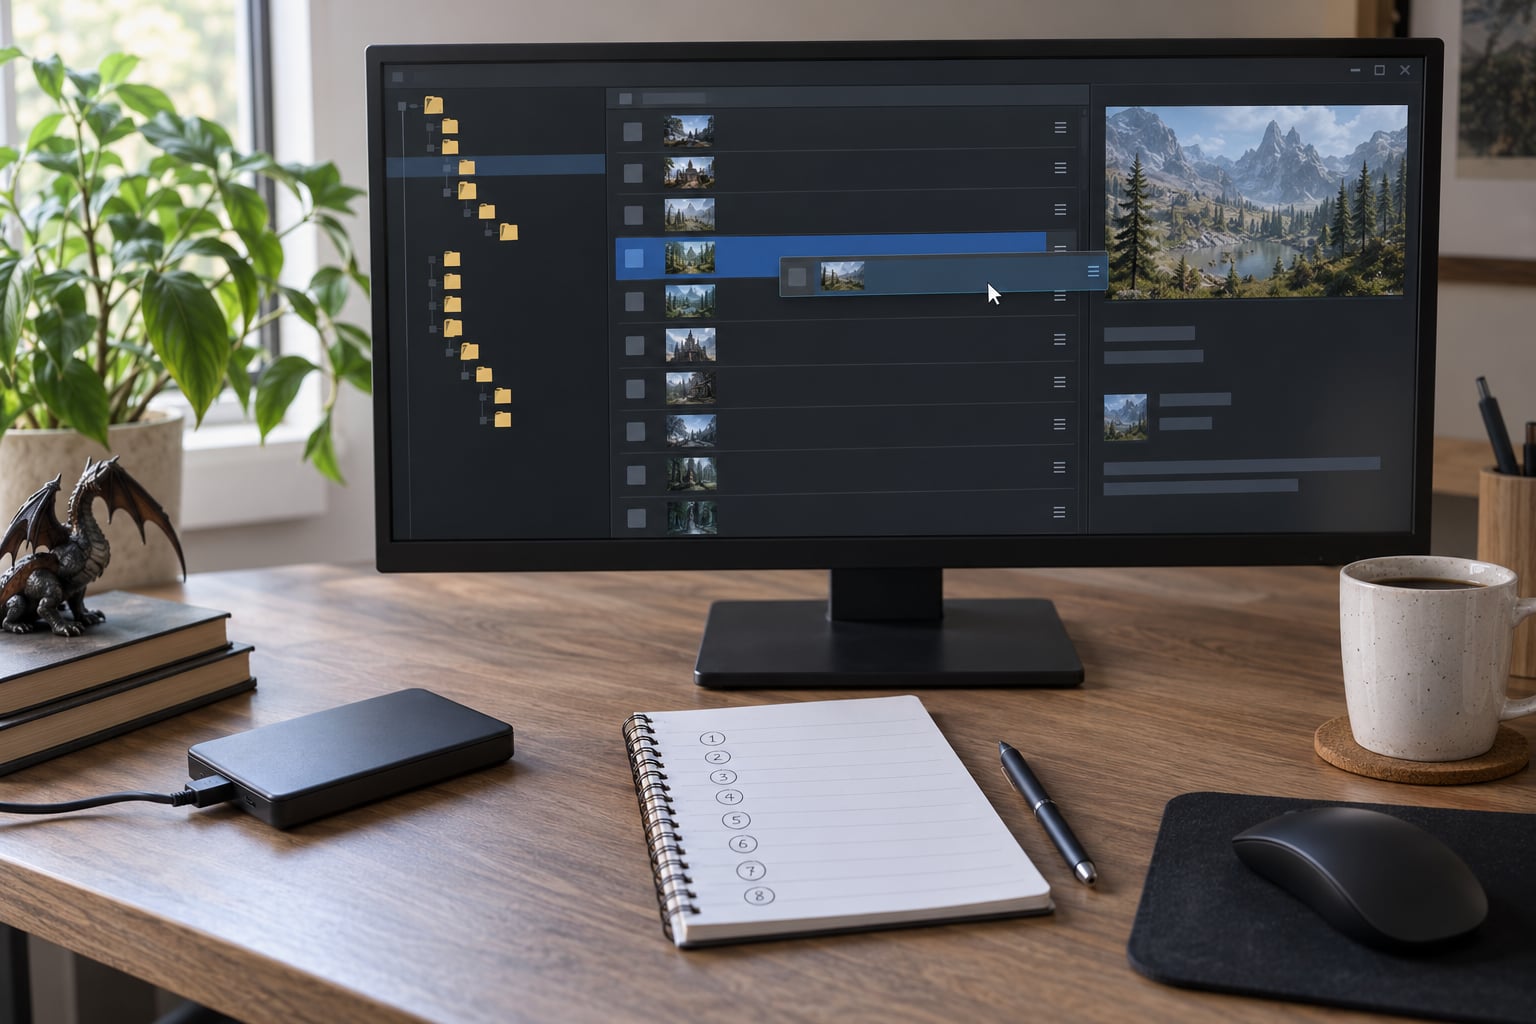
Mod load order explained for beginners comes down to one idea: your game reads mod files in a sequence, and when two mods change the same thing, whichever one loads last is the version you end up playing. Get that sequence right and conflicts mostly disappear. Get it wrong and you get missing textures, overlapping props, odd crashes and hours of troubleshooting.
Below is how to build a working order for a GTA setup from scratch, with the testing routine included so you can prove each change works before you add the next one.
Table of Contents
- What You Need
- Step-by-Step: Mod Load Order Explained for Beginners
- Common Mistakes
- Frequently Asked Questions
- Do mods load alphabetically?
- Does mod load order differ between GTA V, GTA IV, San Andreas and Vice City?
- What should I load first when two mods change the same file?
- How do I know which mod is causing a crash?
- What should I do if a mod page does not list a load order?
- Can I use the same load order after a GTA Online or game update?
What You Need
Before touching a single file, get these five things sorted. It takes ten minutes and saves the kind of mess you cannot undo without starting a new save file.
The exact game and edition you are modding
GTA V, GTA IV, San Andreas and Vice City each handle mods differently, and the same title can behave differently across editions. Write down the exact version before you download anything, because a guide written for one of them will send you in circles on the other three.
A clean backup of the files you are about to change
For OpenIV-style replacements that touch files inside the game folder, copy the original file somewhere safe first. If a mod later makes the game unplayable, you restore one file instead of reinstalling the whole game.
The loader or manager that game actually uses
GTA V mods usually go through a manager or loader that handles the file placement for you, while some older titles rely on a mod loader plus a data folder. The mod’s own page will name what it needs. Installing the wrong tool is the most common wasted afternoon in this whole process.
Each mod’s documentation, open before you install
Read the requirements section on every mod page. It tells you which framework or script host has to be present, which other mods it expects, and whether the author wants their file loaded above or below something else. This is the step that prevents most conflicts.
One repeatable way to test
Pick a route through the map and a short set of things to check, then use that same route every time you add a mod. Load the game, look at the specific thing the mod changes, note anything broken, and write it down. Without a fixed test, you are guessing.
Step-by-Step: Mod Load Order Explained for Beginners
The order below is deliberate. Each step depends on the one before it, so skipping ahead tends to create problems that look like bugs but are really just an unverified setup.
1. Start With a Clean, Tested Game
Launch the game before you install anything and play for a few minutes. Load a save, drive somewhere, open the pause menu. If the game already stutters, crashes or has odd graphics, that problem is not a load order issue, and you will waste a day blaming your new mods for it.
Then make your baseline. Save a copy of the save file you are using and note the game version, so you have something known-good to return to.
2. Identify What Each Mod Must Load Before
Sort your mods into types before you order anything. Most mod lists contain a mix of script hosts, dependency mods, configuration files, gameplay scripts and ordinary file replacements, and each type has a sensible position in the sequence.
Alphabetical sorting is not a strategy here. A mod beginning with “A” has no reason to beat a mod beginning with “Z” simply because of its name. What matters is what each mod touches and what it depends on.
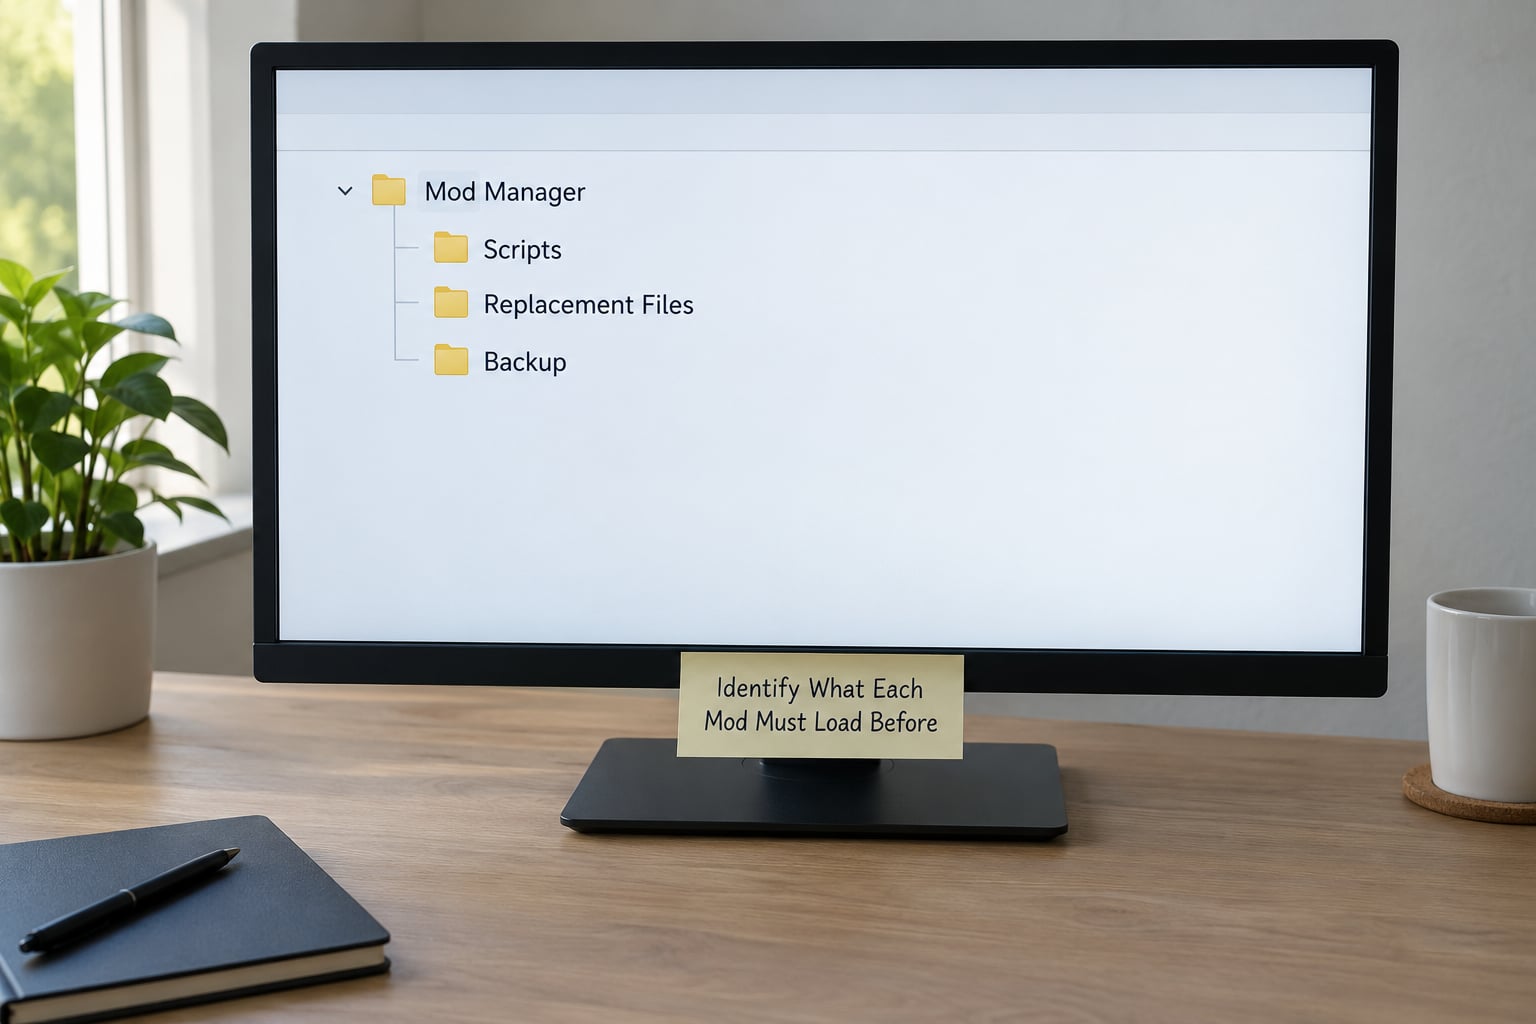
Read each mod page looking for three things: a list of requirements, a stated position such as “load after” or “load before”, and any note about conflicting with another mod. Write those down next to the mod name. That small list becomes your order in the next steps.
3. Install Dependencies and Framework Files First
Frameworks and script hosts come first because later mods are built to talk to them. If a mod page says it needs a particular script host or library present, that file has to be in place and loaded before anything that calls it.
Picture it as a phone call. The framework is the network, the mod is the phone. A phone with no network does not fail loudly, it just quietly does nothing, and you spend an hour wondering why the feature never appeared in game.
Configuration tools and setup programs usually run once, before the game, and their job is to write settings the game will read later. Run them in the order their documentation says, and do not skip the one that belongs to the framework you just installed.
4. Add the Main Mods in a Logical Order
Now place the mods themselves, working from broad to specific. Frameworks and dependency mods sit near the top, then bug fixes and general gameplay mods, then visual and weather changes, then anything that replaces interface elements, and finally compatibility patches, patches and optimizers at the bottom.
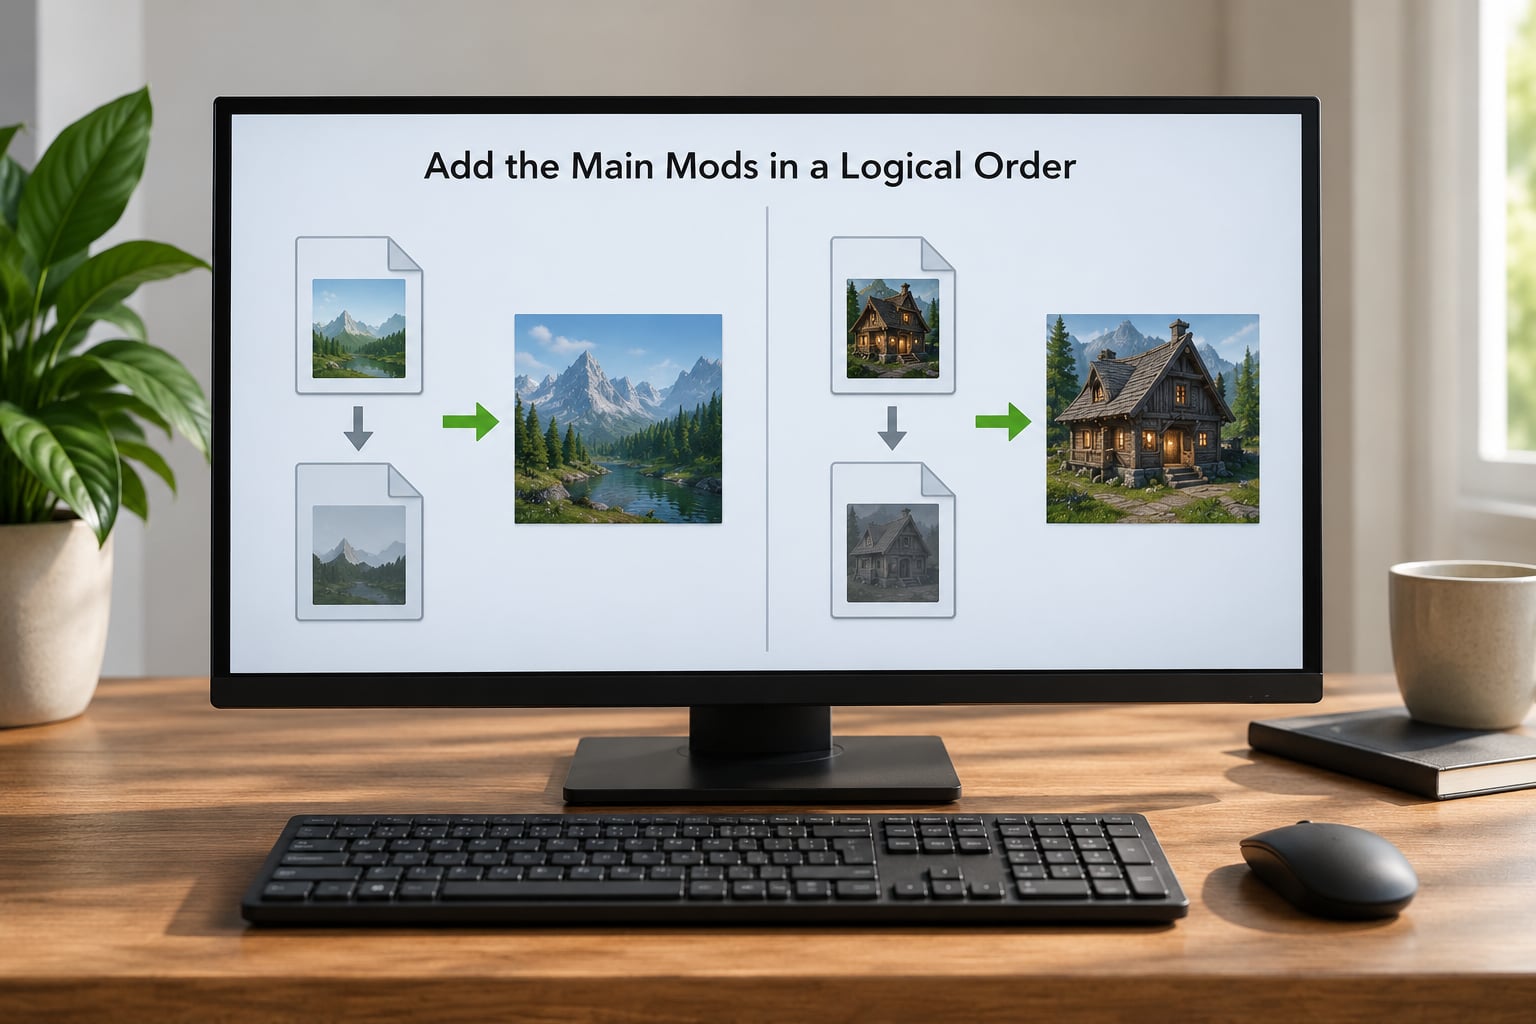
The rule behind that sequence is simple: a mod that fixes or customises another mod has to load after the mod it works on. A patch that repairs a broken texture needs its texture mod loaded first. An interface overhaul that tweaks a menu needs that menu’s base version to already exist.
Two things override this sequence. The mod author’s own instructions always come first, and a mod specifically written to replace another’s file belongs after it, regardless of which group it otherwise fits.
A worked example. Say a large graphics pack replaces vehicle textures, a separate weather mod replaces the same textures for one specific car, and a third mod adds a custom interior for that car. The graphics pack loads, then the weather mod loads over it for that one vehicle, then the interior mod loads last. The result is the pack everywhere, the weather texture on that car, and the interior on top of both.
Reverse any two of those three and you get a texture that flickers between versions, an interior that disappears, or a model that looks wrong from one angle. Same three files, same manager, opposite results.
5. Launch, Test and Change One Thing at a Time
Start the game and check the specific change the new mod was supposed to make. Take your baseline route, look at the affected vehicle or object, and check the places the mod touches. Then play a little further to catch anything it broke rather than fixed.
If something is wrong, disable the one mod you most recently added, restart, and look again. That single comparison tells you more than twenty minutes of reading forum threads. If the problem disappears, you have your culprit. If it stays, the cause is earlier in the sequence and you repeat the process going backwards.
This is the habit that actually protects a long playthrough. Users on modding forums consistently report that adding mods one at a time and testing each one saves them far more often than starting from a perfect 200-mod list.
6. Save the Working Order
Once the game runs clean, record the order. Write the list in a plain text file, take a screenshot of the order in your manager, or use whatever profile and export features your tool offers. Future you, three weeks into the same save file, will be glad.
Keep the list somewhere separate from the mods themselves, and date it. When a game update lands, you will want to know what changed, and when a new mod breaks something, you will want to know the last known-good arrangement to fall back on.
From here, every addition follows the same pattern: back up the save, add one mod, place it by its documented position, test, and update the written order once it passes.
Common Mistakes
Almost every beginner problem in this area falls into one of six buckets.
Ignoring requirements and dependencies
The fix is to read the requirements section before downloading anything. If a mod needs a script host or another mod, install that first and confirm it is loaded. A mod missing its dependency usually does nothing at all, which is easy to misread as a bad load order.
Putting files in the wrong folder
Most mod pages name the exact destination, and putting a file one level too deep or too shallow means the game never sees it. Nothing appears, nothing errors, and you start blaming the sequence. Check the path against the documentation before you look at the order at all.
Placing two conflicting replacements the wrong way round
When both mods replace the same file, the one that should win goes later in the sequence. If the wrong result shows up, the easiest fix is to swap those two entries and test again. That is a ten-second change and it solves more problems than any other single step.
Changing several mods at once
You lose the ability to attribute the problem. Add one mod, test, confirm, write it down, then move on. The extra ten minutes per mod is cheap compared with an afternoon spent disabling things in batches and never isolating the cause.
Using an outdated loader or manager version
Tools get updated for a reason, usually to track a game patch or support a new file format. Run the updater before you start a session, and check that your manager version matches the game version you are running. An old tool sorting a new patch is a routine source of phantom conflicts.
Not retesting after a game or GTA Online update
An update can change which files your mods touch, and the order you saved last month may no longer be correct. After any update, launch with your existing setup, note what broke, and repair it in the same one-at-a-time way. Do not assume a setup that worked last week still works today.
Two habits keep a setup clean long term. Back up save files on a schedule, and keep that written order updated every time you add something. A setup you can describe in a text file is a setup you can rebuild in an afternoon instead of a week.
Frequently Asked Questions
Do mods load alphabetically?
No. Mods are not loaded alphabetically, and a mod named A_ is not treated differently from one named Z_. Order comes from requirements, dependencies and what each mod replaces, never from its name. Alphabetical sorting is only a tiebreaker some managers use when they have no other information about two mods that never conflict anyway. Sorting by category and then by what each mod depends on produces a far better result.
Does mod load order differ between GTA V, GTA IV, San Andreas and Vice City?
Yes, the mechanics differ by title and era, though the underlying principle is the same: later entries take precedence over earlier ones. GTA V is the most common starting point today, with file replacements and scripts handled by a manager or loader. The older titles use different tools and different file structures, and some rely on a mod loader plus a data folder. Follow the documentation for your specific title rather than porting a setup across games.
What should I load first when two mods change the same file?
Load the more general or foundational mod first, then load the specific one after it. The later entry wins, so the second mod’s version of the file is the one the game uses. The exception is when a mod exists specifically to fix or customise the other one, such as a compatibility patch, because that mod is always written to load after the file it repairs.
How do I know which mod is causing a crash?
Disable the most recently added mod first, restart, and see whether the crash goes away. If it does, you have found it. If it does not, work backwards through your list one mod at a time until the crash stops. Testing one change per launch is the only reliable method, and it is far faster than changing several mods and guessing which one mattered.
What should I do if a mod page does not list a load order?
Look at what the mod replaces and what it depends on, then place it by those rules. If it only adds new content and touches nothing existing, its position rarely matters much, so put it with other mods of its type. If it replaces files another mod also replaces, place it after the more general one and test. Comments and discussion sections on the mod page often answer this even when the description does not.
Can I use the same load order after a GTA Online or game update?
Treat it as unverified until you have tested it. Updates can change which files your mods touch, and a sequence that worked before can produce different results afterwards. Keep your written order and save backups, launch once with the existing setup, and note anything that changed. If something breaks, repair it in the same order you used to build the setup, one mod at a time.
Start with one mod, place it by what it requires, launch, and confirm the change is actually there. A setup built one tested addition at a time takes an afternoon and keeps working long after the forums have moved on to a different game.