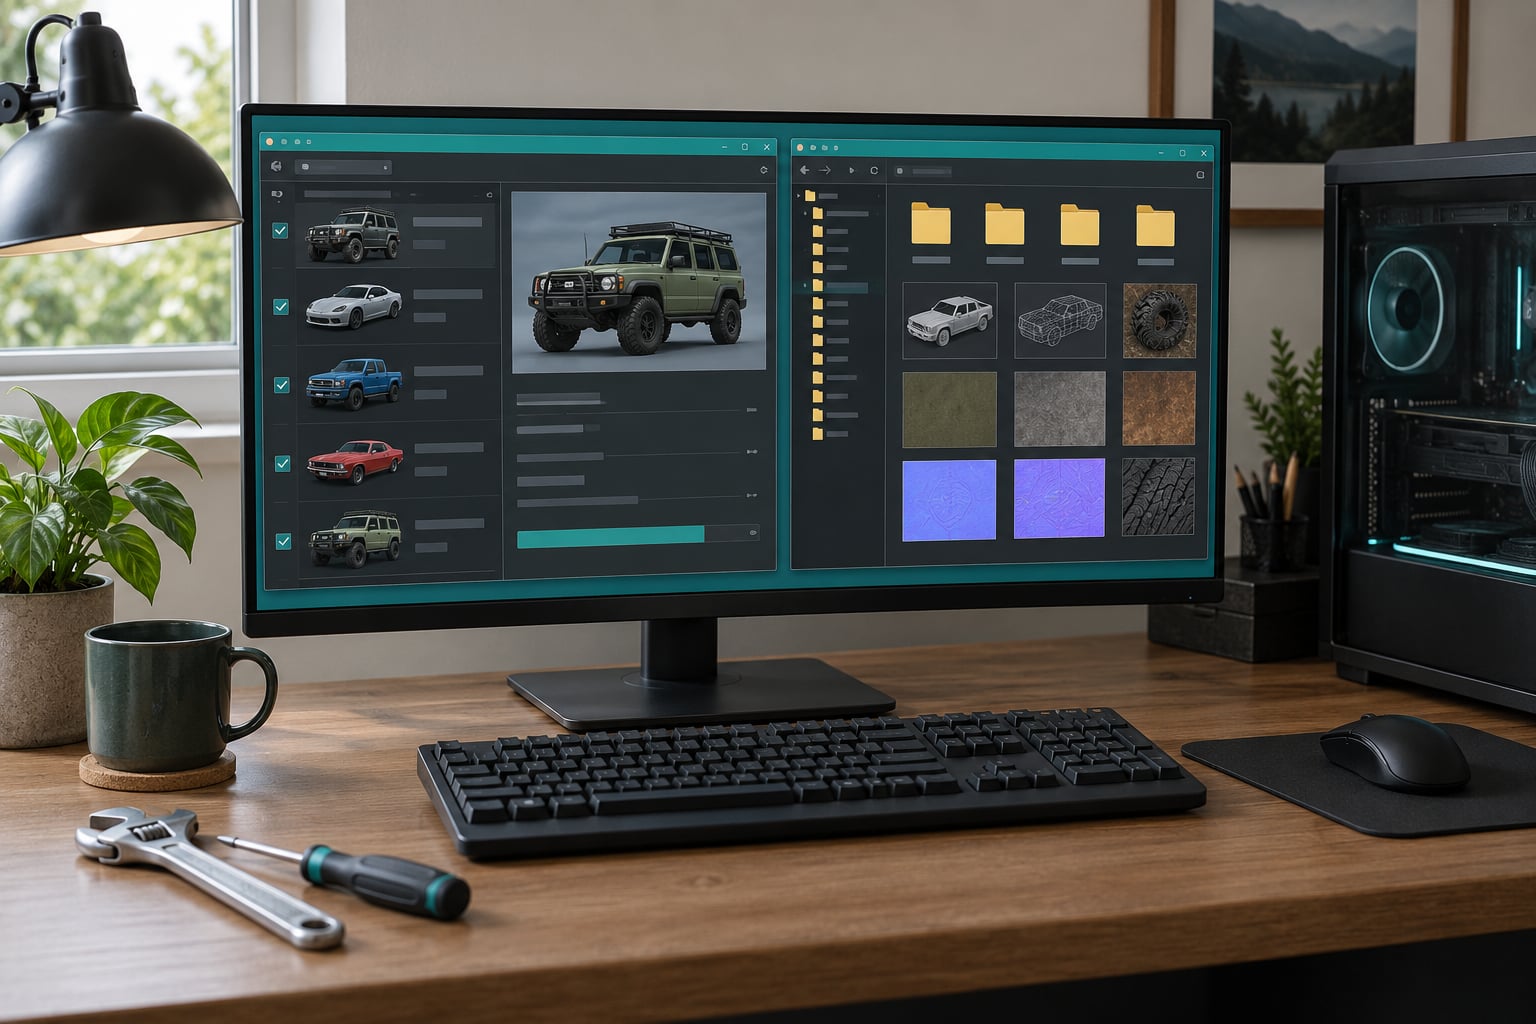
Missing textures on a car mod happen for three reasons: the ytd texture archive is missing from the dlcpack, the ytd file is bigger than 16 MB, or GTA V ran out of asset space because you have no custom gameconfig.xml. Work through them in that order and the car comes back. Most of this takes 15 minutes; the rest depends on how many mods you run.
The car itself is usually fine. It spawns, it drives, it has engine sound. Only the paint is gone, replaced by a flat purple or black shell, or the whole body turns invisible while the wheels still sit on the road.
Worth knowing before you start: this is a GTA V PC guide. The same problem on FiveM and LSPDFR has its own branches further down, and none of it applies to console or mobile.
Table of Contents
- What You Need
- Step-by-Step
- 1. Confirm the Car Mod and Your Game Version Match
- 2. Check That All Mod Files Were Extracted
- 3. Verify the Correct OpenIV Installation Paths
- 4. Confirm the ytd Texture File Is in the Right Place
- 5. Remove Conflicts and Test the Mod Alone
- 6. Clear the GTA V Cache and Reload the Mod
- 7. Repair the Game if the Texture File Is Correct
- Common Mistakes
- Frequently Asked Questions
- Why does my GTA V car mod show missing textures after installation?
- Where should I put the ytd file for a car mod?
- How do I know whether a car mod is an add-on or a replacement?
- Can missing textures be caused by another mod?
- Why does the car appear invisible or transparent in GTA V?
- Should I reinstall GTA V before fixing a car mod?
What You Need
Gather these before you touch any file. Half of broken texture installs come from a missing item on this list.
- OpenIV, the mod manager, running in Tools mode. Almost every path check below happens inside it.
- The original mod archive, unzipped to a folder you can browse. Not the copy already dumped into your mods folder.
- A current gameconfig.xml built for your game version. Without one, vanilla limits start failing somewhere around ten add-on vehicles.
- Heap Limit Adjuster and Packfile Limit Adjuster, the two limit tools every modded install runs.
- Resource Adjuster for the extra VRAM headroom. Recommended rather than mandatory.
- Editor access to the mod page, so you can check which game build and which edition the mod targets.
Backup your mods folder before any of this. It takes a copy of a few seconds and it is the difference between a five-minute fix and a reinstall.
Step-by-Step
Match what you see to what is actually wrong before you start editing. Nearly everyone jumps to gameconfig.xml first, and the real cause is often a single oversized texture file.
- Car is purple or black, body and wheels. Texture file missing, wrong path, or never extracted. Go to steps 2, 3 and 4.
- Car is invisible but you can spawn and drive it. A zero-geometry ytd or a conflicting asset. Go to step 5.
- Only the dashboard and speedometer are blank. Missing script_dials entry in vehicles.meta. Go to step 4.
- Whole map is grey, world textures gone too. Asset pool exhausted, or a broken visual mod. Go to steps 1, 5 and 7.
- Worked yesterday, broken after an update. Overwritten config or a reset packfile limit. Go to step 7.
1. Confirm the Car Mod and Your Game Version Match
Check the mod page for the game build it was made against, and check whether it is written for Legacy or Enhanced. If the mod was built for Legacy and you are running the newer build, the ytd may never resolve no matter what you install.
A quick verification: drop the car into the game and look at the handling. If the car drives but has no body panels, the model loaded and the texture did not. That is a file problem, not a version problem.
2. Check That All Mod Files Were Extracted
Open the original download and inspect it. A proper add-on vehicle package contains a dlcpack folder with a dlc.rpf, a content.xml, and inside x64 a vehicles folder holding the .yft model file and the .ytd texture file.
If the archive extracted into a nested folder, the mod files are one level deeper than OpenIV expects and nothing shows in game. That nested-folder problem is the single most common installation mistake with zip files that have no installer.
Check the file sizes too. A .yft under 2 MB and a .ytd under 16 MB usually means the download completed properly.
3. Verify the Correct OpenIV Installation Paths
Add-on vehicles go in modsupdatex64dlcpacksmodnamedlc.rpfcontent.xml, and the pack name inside that file has to match the folder name exactly. Capitalisation counts. A pack named AddonCar01 in content.xml sitting in a folder called addoncar01 will not load.
Replace mods overwrite existing files instead. Two paths matter for them:
updateupdate.rpfcommondatalevelsgta5holdsvehicles.metaandcarcols.meta.x64e.rpflevelsgta5vehicles.rpfholdsvehshare.ytd, the shared texture archive every replace car draws from.
Edit those through OpenIV’s Edit mode, not by dragging files into the game folder. Once you have the pack right, the dlclist.xml file at updateupdate.x64dlclist.xml needs a matching line so the game scans the folder at startup.
4. Confirm the ytd Texture File Is in the Right Place
The ytd file is the texture archive. It normally shares the name of the model, so adder.yft and adder.ytd sit together in the same vehicles folder. A renamed or mismatched ytd is one of the more common causes of a car that loads as an untextured shell.
Now the ceiling nobody explains. A single ytd file has a hard limit of 16 MB. Over that, the engine silently refuses the texture and you get an untextured or invisible car with no error message anywhere. Check the size in your file explorer, or in the OpenIV window properties.
If the file is over 16 MB, you have three options: ask the author for a compressed version, strip the unused LOD levels from the ytd, or split the textures across two smaller archives.
For replace cars with a blank dashboard, the model needs a dial part. Copy the dashboardType line from the original car you are replacing in vehicles.meta into the new entry, then add the script_dials_*.dds files into vehshare.ytd through OpenIV, unchecking automatically generate mipmap level and setting the texture format to A8R8G8B8. Doing both resolves most replace-car dashboard cases.
5. Remove Conflicts and Test the Mod Alone
Temporarily disable every other vehicle, script and visual mod you have, then launch a clean session. Removing NVR alone has fixed broken vehicle textures for some players, so ENB, QuantV and NaturalVision packs are the first suspects.
Add-ons can also collide with each other when two resources use the same texture dictionary name. Testing one mod at a time is the only way to know which one is the problem, and it takes a launch cycle.
If the car is invisible rather than purple, check the model complexity while you are in there. Open the .yft file and read the polygon count in the top corner. Anything above roughly 200,000 is where vehicle texture loss starts showing up.
6. Clear the GTA V Cache and Reload the Mod
Delete caches.xml from the AppDataRoamingRockstar GamesGT V folder and start the game again. The engine rebuilds it on launch and reloads the vehicle and texture assets with it. Cfx support names this as the first cheap action, and it takes about ten seconds.
Open the pause menu, go to Settings, then Graphics, and toggle a setting such as the texture quality one step down and back up. That forces a graphics reset and is often enough on its own.
On Steam Deck, a Proton Experimental update fixed missing textures for some players with no file changes at all. That is worth trying before any manual editing.
7. Repair the Game if the Texture File Is Correct
If the ytd is present, correctly named, under 16 MB and still the car is blank, the problem sits above the file. Install a current gameconfig.xml, then Heap Limit Adjuster and Packfile Limit Adjuster, and run the Resource Adjuster for extra VRAM. Add the adjusters one at a time and test between each, so you know which one actually solved it.
On LSPDFR, open LSPDFR.ini and set PreloadAllModels to false. Map preloading otherwise eats the allocation before your vehicle textures get a slot.
Still stuck, back up your mods folder and run a verify-game-files check in the Rockstar Game Launcher or Steam. That restores original assets without touching anything outside the game folders. The unmodded game working proves the install is at fault, and a single broken add-on pack is now the only suspect.
One warning worth the thirty seconds: pushing gameconfig values far past what your machine can hold makes things worse. One heavily modded player with roughly 150 add-on vehicles had working textures until they installed a config set to Vehicles 1100, TxdStore 650k and DrawableStore 750k, and textures never loaded again after that, even with a 10 GB heap limit and 14 GB of extra VRAM. Stay near the known-good values that ship with a well-used gameconfig instead of inventing bigger ones.
Common Mistakes
These are the failures that come up again and again, each with the fix that actually resolves it.
- Wrong folder nesting. An extra layer inside the dlcpack means the game never sees the files. Open the archive and check the depth before installing.
- Missing ytd file. The model loads alone and the body renders flat purple or black. The texture archive has to travel with the model into the same folder.
- ytd over 16 MB. A hard ceiling that fails silently. Compress the file, strip unused LOD levels, or split it.
- No custom gameconfig.xml. The most frequent solved case in every forum thread. Install one built for your game version and the car usually appears immediately.
- Over-tuned gameconfig values. Values pushed far too high can stop textures from loading at all, the exact opposite of the standard advice.
- Pack name mismatch in content.xml. The name inside content.xml must match the dlcpack folder, capitalisation included.
- Conflicting visual mods. ENB, NVR and QuantV can break vehicle textures with no error at all. Test with them disabled.
- Model above 200,000 polygons. Read the count from the .yft header and drop the model if the car was the only one that broke.
- Editing the wrong meta file. Changing entries in
handling.metaorcarcols.metawill never fix a texture. Onlyvehicles.metaandvehshare.ytdtouch dashboard and paint data. - FiveM and LSPDFR variants. Set
PreloadAllModelsto false in LSPDFR.ini, and check the server-side resource manifest in FiveM so the streamed car is packaged with its textures.
Two habits keep this from coming back. Keep the mods folder organised and outside x64 so game updates do not wipe it, and re-check your gameconfig after every patch, since the limits reset with each new build.
Frequently Asked Questions
Why does my GTA V car mod show missing textures after installation?
Three causes cover almost every case: the ytd texture archive never made it into the dlcpack, the ytd file is over the 16 MB hard limit, or the game ran out of asset space because no custom gameconfig.xml is installed. A fourth common cause is a conflicting visual mod such as ENB or NVR. Work through the fixes in order, one at a time, and test after each change so you know which one worked.
Where should I put the ytd file for a car mod?
For an add-on, the ytd goes in the same folder as the yft model, inside x64u005cdlcpacksu005cmodnameu005cdlc.rpfu005ccontentu005cx64u005cvehicles. For a replace, the shared texture archive lives at x64e.rpfu005clevelsu005cgta5u005cvehicles.rpf as vehshare.ytd, and your dds files get added into it through OpenIV. A ytd over 16 MB is rejected silently and the car loads with no texture at all.
How do I know whether a car mod is an add-on or a replacement?
An add-on creates a new vehicle name and usually ships its own dlcpack folder with a dlc.rpf and content.xml. A replacement overwrites an existing car, so it ships meta files and textures with no dlcpack, and it is installed into the original game paths. If the mod page says replace, ask which original car it targets before you install anything, because that decides every file path you use.
Can missing textures be caused by another mod?
Yes, and it is more common than most players expect. ENB, NVR and QuantV packs can break vehicle textures with no error message, and two add-on resources using the same texture dictionary name will overwrite each other. Disable your visual mods and every other vehicle, launch a clean session, and add the car back alone to find out whether the mod itself is the problem.
Why does the car appear invisible or transparent in GTA V?
An invisible but drivable car usually means the model loaded while the texture archive did not. Check that the ytd file is in the same folder as the yft model and named the same. If the ytd is under 16 MB and correctly placed, look at the polygon count in the .yft header, since anything above roughly 200,000 can trigger texture loss, and then test with other mods disabled.
Should I reinstall GTA V before fixing a car mod?
Not yet. Verify your game files only after the cheaper checks fail, because a repair is a ten-minute operation while the file checks take under a minute each. Run a verify-game-files check in the Rockstar Game Launcher or Steam after backing up your mods folder. If the unmodded game looks correct, the install is at fault and one add-on pack is the remaining suspect.
Start with the file, not the config. Confirm the ytd exists, sits next to its yft, and is under 16 MB, then clear caches.xml and relaunch. If the car is still blank, install a current gameconfig.xml with the limit adjusters, one at a time, and check your polygon count before you reinstall anything. Keep the mods folder outside x64 and refresh the gameconfig after each patch, and this problem stays fixed.