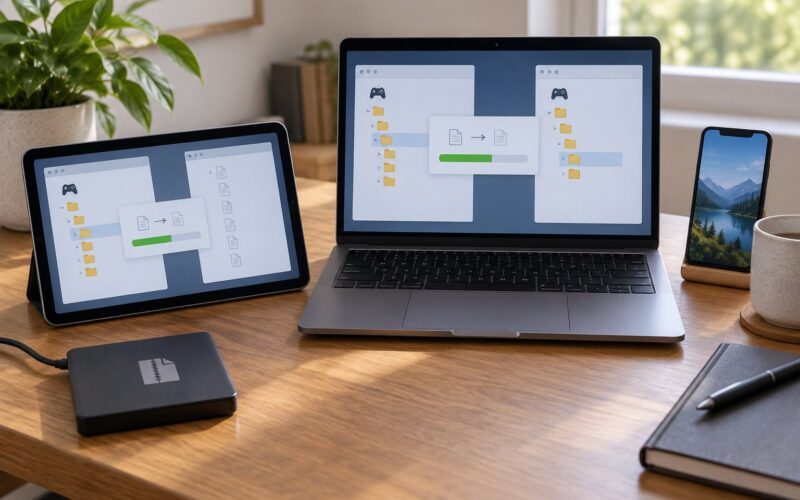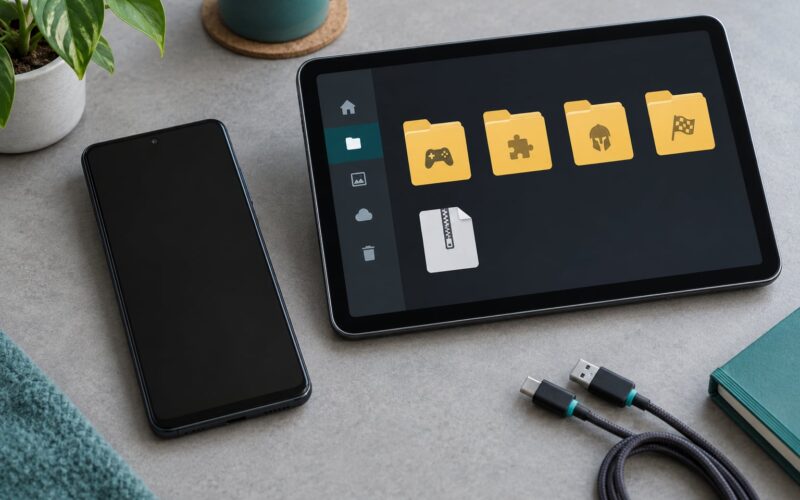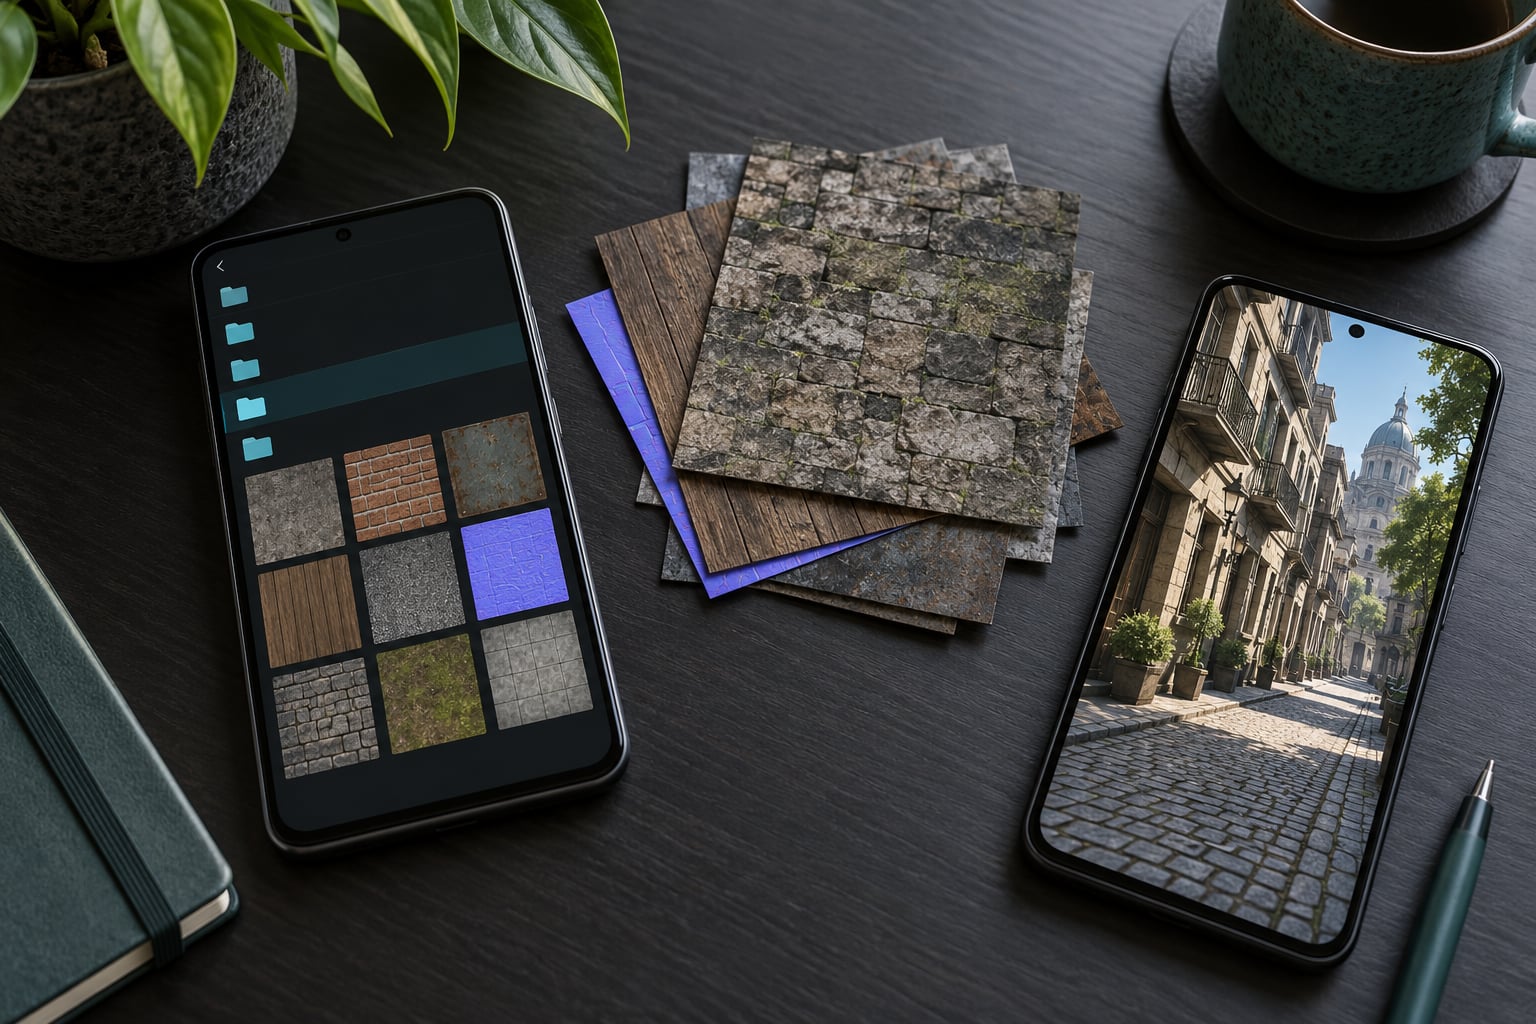
Learning how to install HD textures on mobile open world games comes down to three things: a pack that matches your exact game build, a file manager that can actually reach the game’s data folder, and a backup you make before you touch anything. Most installs take about ten minutes. The failures almost always come from skipping one of those three, not from the pack itself.
This guide covers Android first, because that is where custom texture folders still work. iOS and emulator setups get their own notes further down. We use the same order every time: confirm compatibility, back up, copy files into the documented folder, clear the cache, then test.
Nothing here requires rooting your phone, and none of it touches your save data. Texture packs swap image files, not progress. The risk worth taking seriously is the download source, not the mod.
Table of Contents
- 1What You Need
- 2Step-by-Step: How to Install HD Textures on Mobile Open World Games
- 31. Confirm That Your Game Supports Custom Textures
- 42. Back Up Your Files and Free Extra Storage
- 53. Inspect and Extract the Texture Pack
- 64. Install HD Textures on Mobile Open World Games
- 75. Clear the Game Cache and Start the Game
- 86. Test Performance and Roll Back if Needed
- 9Common Mistakes and How to Fix Them
- 10Frequently Asked Questions
- 11Can I install the same HD texture pack used on PC GTA games on my Android version?
- 12Why can I not see the Android/data folder after installing the game?
- 13Do HD texture packs work on officially supported mobile editions of open-world games?
- 14Should I extract a texture pack before copying it into the game’s files folder?
- 15What texture resolution is safe for an older or slower Android phone?
- 16Conclusion: Start With a Compatible Texture Pack
What You Need
Six items. Any one of them missing turns a ten-minute job into an afternoon of guessing.
- A compatible Android device. Any phone running Android 9 or newer works for the file-copy method, but you need roughly 2 GB of free internal storage for a mid-size pack.
- The exact game edition and version. Texture packs are built against a specific port and a specific game update. A pack made for one version can crash another.
- Free internal storage. Check Settings > Apps > your game > Storage. Leave room for extraction, because extracted files take up more room than the archive.
- A file manager. ZArchiver, Material Files, or the stock Android file browser all work. One that can show hidden folders is better.
- An archive tool. ZArchiver handles both compression and extraction, so it doubles as your file manager and unpacker.
- A verified texture pack whose format matches the game: TXD files for a TXD-based port, .mcpack for Bedrock-style resource packs, or a numbered texture folder for emulators.
If your game was installed on an SD card or through a third-party launcher, the data folder lives somewhere different. Check the launcher’s own storage setting before you hunt through Android folders.
Step-by-Step: How to Install HD Textures on Mobile Open World Games
1. Confirm That Your Game Supports Custom Textures
Open the game and check its version number in the main menu or settings screen, then note your Android version too. Compare both against the pack’s own documentation. A pack built for the Google Play build of an open-world game will not load in a sideloaded build, because the two ship different texture databases.
Mobile ports and desktop versions are separate products with separate file formats. A PC pack built for the desktop release almost never transfers.
2. Back Up Your Files and Free Extra Storage
Use the system backup route first: Settings > Apps > [game] > Storage, then tap Back up if the option exists. On Android 12 and later this moves your saves to Google Drive.
Next, copy the game’s existing texture folder to a separate location on your device. That single folder is your rollback. If the game crashes on launch after the install, you paste it back and you are playing again in a minute.
Also delete any leftover archive from an earlier attempt. Extraction needs temporary space, and running out mid-way produces exactly the half-copied textures people report as a broken pack.
3. Inspect and Extract the Texture Pack
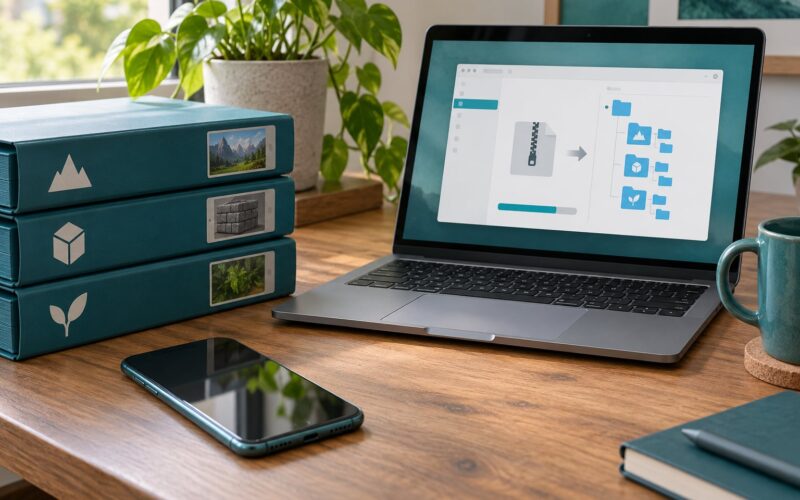
Open the archive in ZArchiver and look inside before extracting anything. A good pack has a texture folder, one or two configuration files, and a readme. If you see a lone .exe file, or an APK asking you to install an app outside the Play Store, delete it and find another source.
Extract to a clean folder on internal storage. Ignore documentation and license files rather than copying them into the game’s texture directory, because extra files there can stop some ports from loading.
4. Install HD Textures on Mobile Open World Games
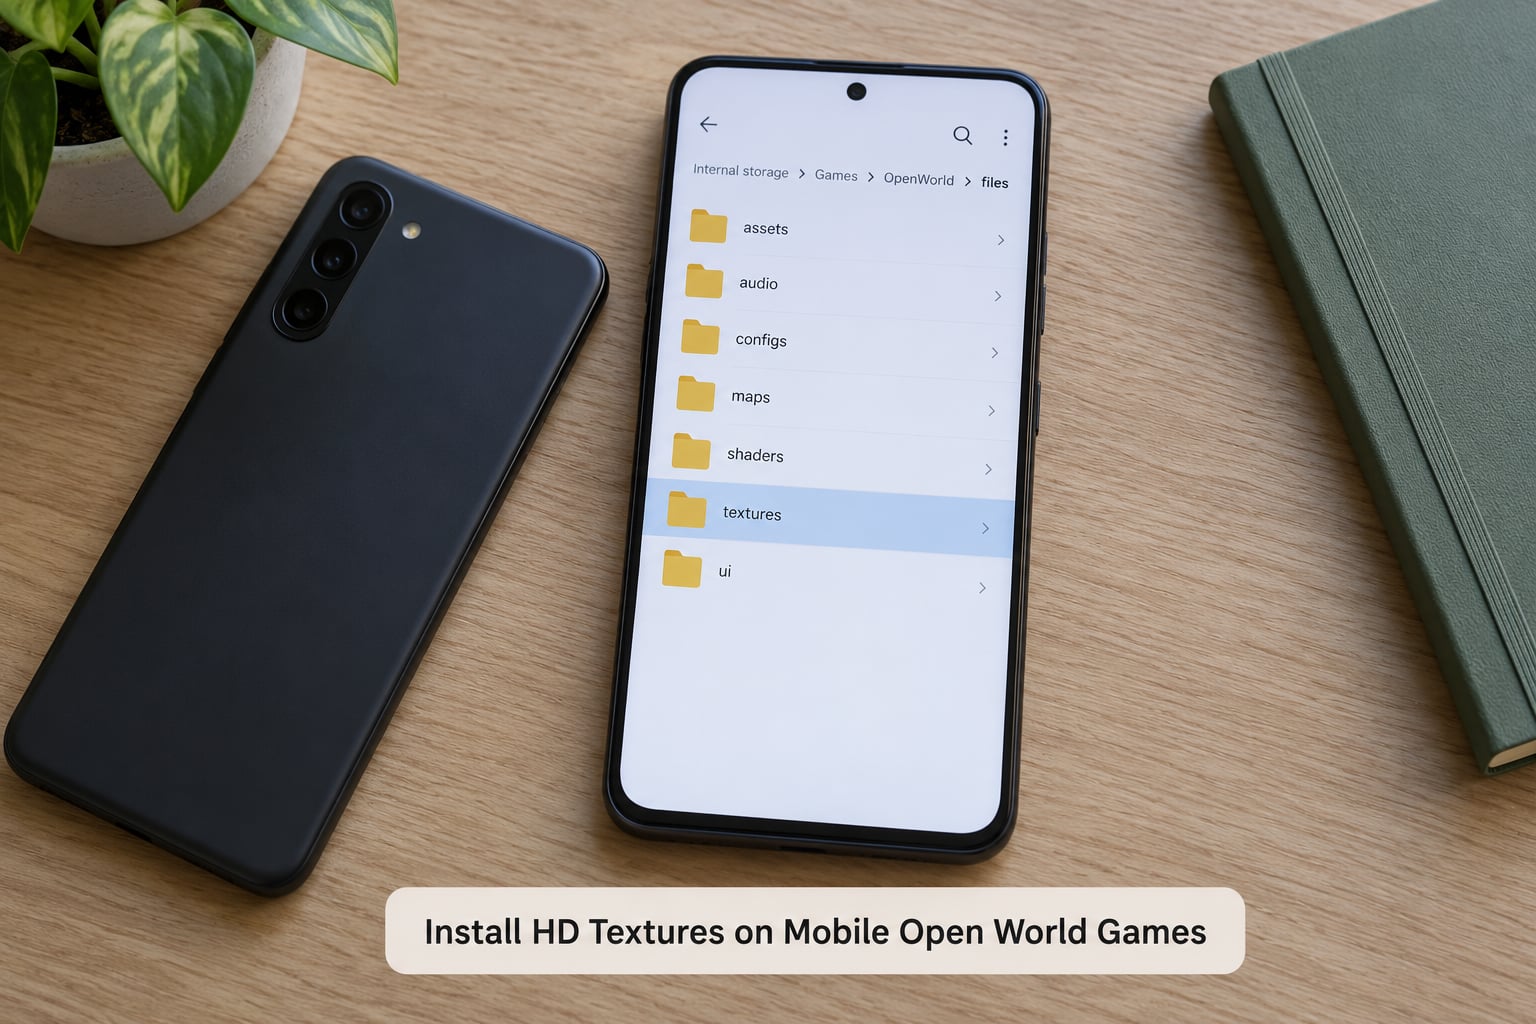
Navigate to the game’s data directory. The typical Android path is Android/data/[game package]/files, where the package name is the com.* identifier the game registers under. For a Rockstar-titled port it looks like Android/data/com.rockstargames.gtasa/files, and the texture work usually happens deeper, inside a texdb folder.
Open the target folder, copy your extracted texture files in, and paste the original texture folder aside rather than deleting it. Overwriting in place is what breaks things when you want to go back.
If you cannot see Android/data at all, that is scoped storage, covered in the fixes section below. It is the single most common reason an install “did nothing”.
5. Clear the Game Cache and Start the Game
Force close the game first: Settings > Apps > [game] > Force stop. Then reopen Storage, tap Clear cache, and start the game normally.
Ports that use a texture database keep a cache index file next to the texture folder. Deleting that index, or clearing the app cache, forces the engine to rebuild it from the files you just copied. Skip this and the game can keep loading the old textures even though the new ones are sitting right there.
To verify the install, walk into a spot with hard edges: road markings, a shop sign, a character’s face. If signage is crisp where it used to be a blur, the pack loaded.
6. Test Performance and Roll Back if Needed
Spend a real session in the game before you assume it worked. Drive through the city, load an interior, and look at a street after dark, because those are the views that expose dropped frames fastest.
If frame rate drops badly, the phone heats up within minutes, or the game crashes on launch, do not fight it. Delete the files you copied and restore the folder you set aside. Then drop to a lower texture resolution and try again.
Install one pack at a time. Community experience across mobile modding forums is consistent on this: adding a single pack and testing beats stacking three and trying to work out which one broke the game.
Common Mistakes and How to Fix Them
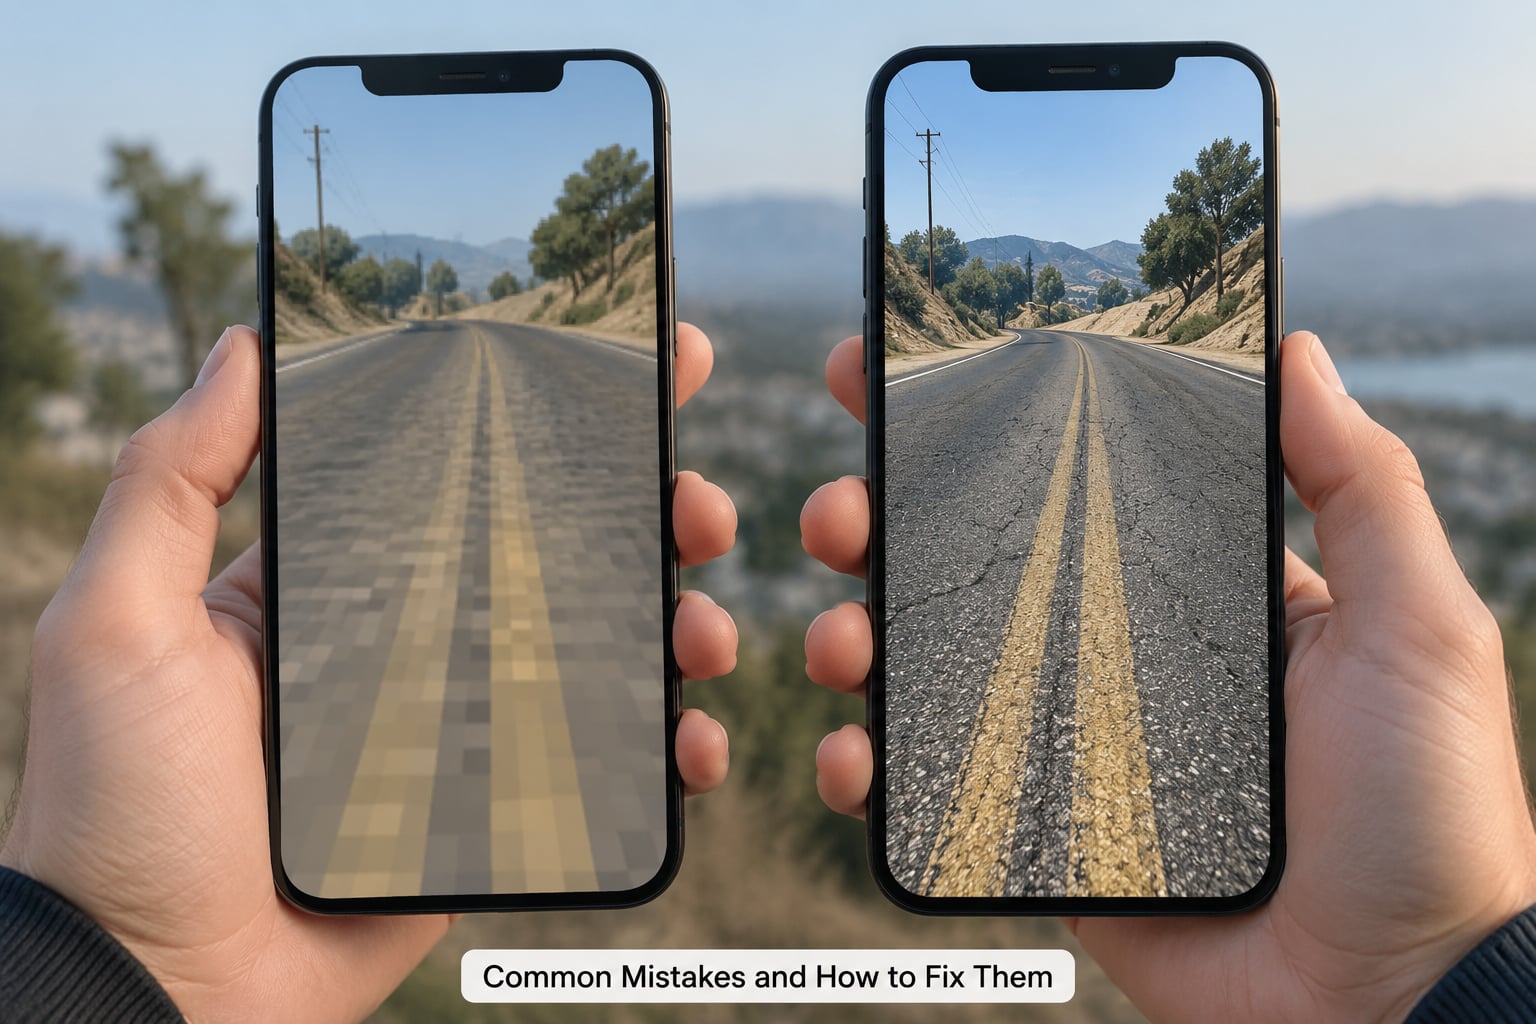
Almost every failed install matches one of these nine. Work down the list in order and you will usually find your answer in under a minute.
Android/data folder is invisible. Android 11 and later restrict access to other apps’ data folders. Open the game’s own entry in Settings > Apps and look for a storage or files link, or set the game to save data on external storage and restart it once. Some file managers also need the “show hidden files” toggle switched on.
Nothing changed visually. The cache index was never rebuilt. Force stop the game, clear cache, and relaunch. If it still looks the same, the files went into the wrong folder or the wrong format entirely.
Black screen or crash on launch. Usually a version mismatch or a half-finished copy. Restore your backup folder, verify the pack targets your game build, and confirm every file copied completely by comparing file sizes.
Pink or magenta surfaces. Resource-pack games fall back to a missing-texture colour when an image is missing from the pack. Add the matching resolution folder, and check the pack’s pack_format version against what your game accepts.
Textures appear as noise or garbage. On emulators this usually means a region-code mismatch. The texture folder has to be named with the exact game ID and match your dump’s region, or the emulator silently ignores it.
Copy fails or files vanish. The game is running. Force stop it first, then copy. Some ports also wipe unrecognized files on launch, so copy while the game is fully closed.
Stutter and dropped frames. The pack resolution is above what your GPU can hold. Clear more memory in the settings, lower draw distance, or move to a 1x or 2x pack instead of a 4K one.
Install blocks on storage errors. The SD card is full or write-protected, or the folder is on removable storage the system blocks. Move everything to internal storage and retry.
Permissions refused in the file manager. Denied storage permission stops the copy halfway. Grant All files access in Settings > Apps > your file manager > Permissions, then retry the copy.
One habit prevents most of the above: after any successful install, note which pack and which resolution you used. The second time you set a phone up, you are starting from a known-good baseline instead of a fresh guess.
Frequently Asked Questions
Can I install the same HD texture pack used on PC GTA games on my Android version?
Usually not. Mobile ports ship a different texture format and a different file structure from the desktop release, so a PC pack has nowhere correct to go. Some community builds convert desktop packs for specific mobile ports, but they are game-specific and version-specific. Check whether the pack author explicitly lists the mobile port and build number before you download anything.
Why can I not see the Android/data folder after installing the game?
Because Android 11 and later restrict file managers from browsing other apps’ private folders. This is scoped storage and it is not a fault on your phone. Open the game in Settings u0026gt; Apps and use its storage or files link, or switch the game to save data on external storage and relaunch it. Some file managers also need their hidden-files toggle switched on.
Do HD texture packs work on officially supported mobile editions of open-world games?
They work when the developer left a documented texture folder in the port. Official ports often validate files and reset anything they do not recognise, which silently undoes a manual copy. Resource-pack style games are the exception, since those ship an in-game import menu built for third-party packs. Read the pack instructions to see whether the edition you own supports manual installation at all.
Should I extract a texture pack before copying it into the game’s files folder?
Yes, extract first. Copying a compressed archive straight into the texture folder means the game cannot read the images inside it, and the install looks like it worked while changing nothing. Extract to a clean folder on internal storage, drop the texture files in, and leave readme and license documents behind so the game folder stays clean.
What texture resolution is safe for an older or slower Android phone?
Start at 1x or 2x and stay there unless your phone holds up. High-resolution packs need more graphics memory, and older devices run out of it first, which shows up as stutter, heat, and crashes rather than extra detail. Raise the resolution only after a 1x pack runs smoothly for a full session, and keep draw distance and anti-aliasing on modest settings.
Conclusion: Start With a Compatible Texture Pack
The safest way to install HD textures on mobile open world games never changes: confirm the game build matches the pack, back up the existing texture folder, copy the new files into the documented directory, force stop the game and clear its cache, then play a real session before you trust it.
Keep the backup. If frame rate collapses or the game crashes on launch, restoring that one folder puts you back in the game in under a minute, which is the difference between experimenting freely and never trying.