Making a custom HUD texture pack in GTA V comes down to four jobs: design your own artwork, export it as PNGs with transparency intact, put those PNGs into a hud.ytd texture dictionary, then install that file through OpenIV into the game’s mods folder. The workflow itself is short. Almost all the pain comes from doing one of those four steps slightly wrong.
Before you touch anything: HUD replacements are for single-player story mode. Story files loaded in GTA Online are the fastest route to a permanent ban, and FiveM servers run their own asset rules that a stock hud.ytd replace won’t satisfy. Everything below is written for the PC Legacy edition unless I say otherwise.
This guide is for GTA V. Team Fortress 2, Minecraft and Fallout HUD packs use completely different file formats and tools, so if that’s what you searched for, the answer you want is VTF/GCFScape or a resource pack, not anything on this page.
Table of Contents
- 1What You Need
- 2Step-by-Step: How to Make a Custom HUD Texture Pack
- 3Step 1: Choose the GTA Game and HUD Files
- 4Step 2: Create a Texture-Ready Design
- 5Step 3: Export the Custom HUD Textures
- 6Step 4: Install the Pack on PC
- 7Step 5: Install or Test the Pack on Android
- 8Step 6: Troubleshoot Missing or Distorted HUD Elements
- 9Common Mistakes
- 10Frequently Asked Questions
- 11Is this for the GTA V Legacy edition or the Enhanced edition?
- 12How do I convert a ytd file back to PNGs so I can edit it?
- 13Why is my OpenIV mods folder empty or missing?
- 14Which image formats and compression settings should HUD textures use?
- 15Can I use a custom HUD in GTA Online or on a FiveM server?
- 16Can I edit an existing HUD pack, and can I change the HUD font?
- 17Conclusion
What You Need
You can build a working HUD pack with two programs and a folder of exported textures. Everything else is optional.
- An image editor. GIMP is free and handles PNG with alpha comfortably. Photoshop works the same way if you already own it. Paint is fine for a one-off recolour but painful for anything layered.
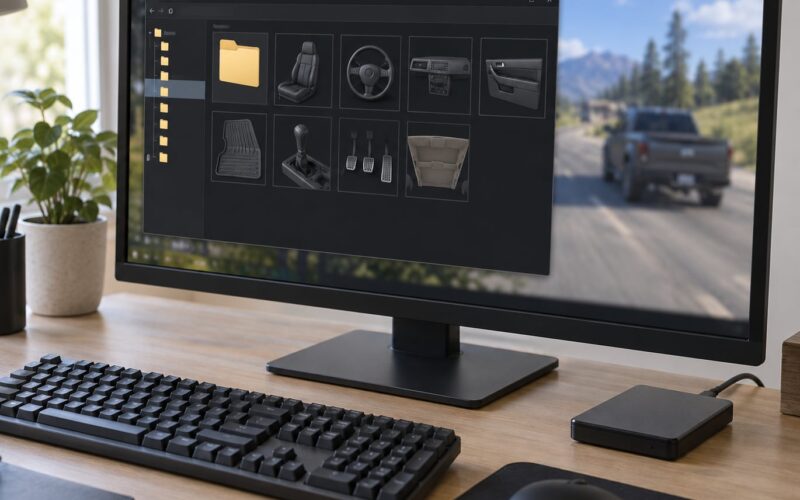
- OpenIV. This is the tool that opens the game’s
.rpfarchives, exposes the texture editor, and writes your replacement files into a separate mods folder. There is no supported alternative that does all three. - The original HUD textures. Don’t guess at sizes. Export them straight out of
cdl.rpffirst and edit those, so every canvas dimension and texture name is already correct. - Texture Toolkit (free) if you want to inspect a
.ytdoutside OpenIV, pull textures out in bulk, or rebuild a dictionary from a folder of PNGs. CodeWalker (free) is the better choice if you want to read the game’s internal data and understand how a texture is named and referenced. - A clean working folder with two subfolders, something like
originalandedited. Mixing your exports with the originals is how people overwrite their own source art. - A backup of the game folder, or at minimum of
cdl.rpf. OpenIV keeps its own copies of files it replaces, but a separate backup is the difference between a five-minute fix and a reinstall. - For mobile: a file manager with ZIP and root access, such as ZArchiver or MT Manager, plus a way to move files on and off the device.
One more compatibility note. If you already run a base HUD mod, most packs in circulation are built to sit on top of Community HUD by WildBrick142, which is repeatedly cited in mod threads as the standard base layer. Either build on that foundation or avoid replacing the same files it owns, or the two will fight.
Step-by-Step: How to Make a Custom HUD Texture Pack
Six steps, in this order. The order matters more than it looks: exporting the originals before designing saves you from rebuilding a texture you painted at the wrong size, and testing a single file before you build the rest saves you from debugging eight broken elements at once.
Step 1: Choose the GTA Game and HUD Files
Start by confirming which edition you own. The Legacy edition is the 2015 build most mods target and the one every path in this guide refers to. The Enhanced edition ships with a restructured asset layout, and OIV packages built for Legacy will not simply drop into it. Check your Rockstar Games Launcher library entry rather than guessing from the folder name.
In OpenIV, enable Edit mode, then go to Grand Theft Auto V > x64 > platypusrpf > cdl.rpf > cdl.rpf. Everything HUD-related sits in that last file. If you can’t see the path, your OpenIV is pointed at a different game root — check the folder name at the top of the OpenIV tree.
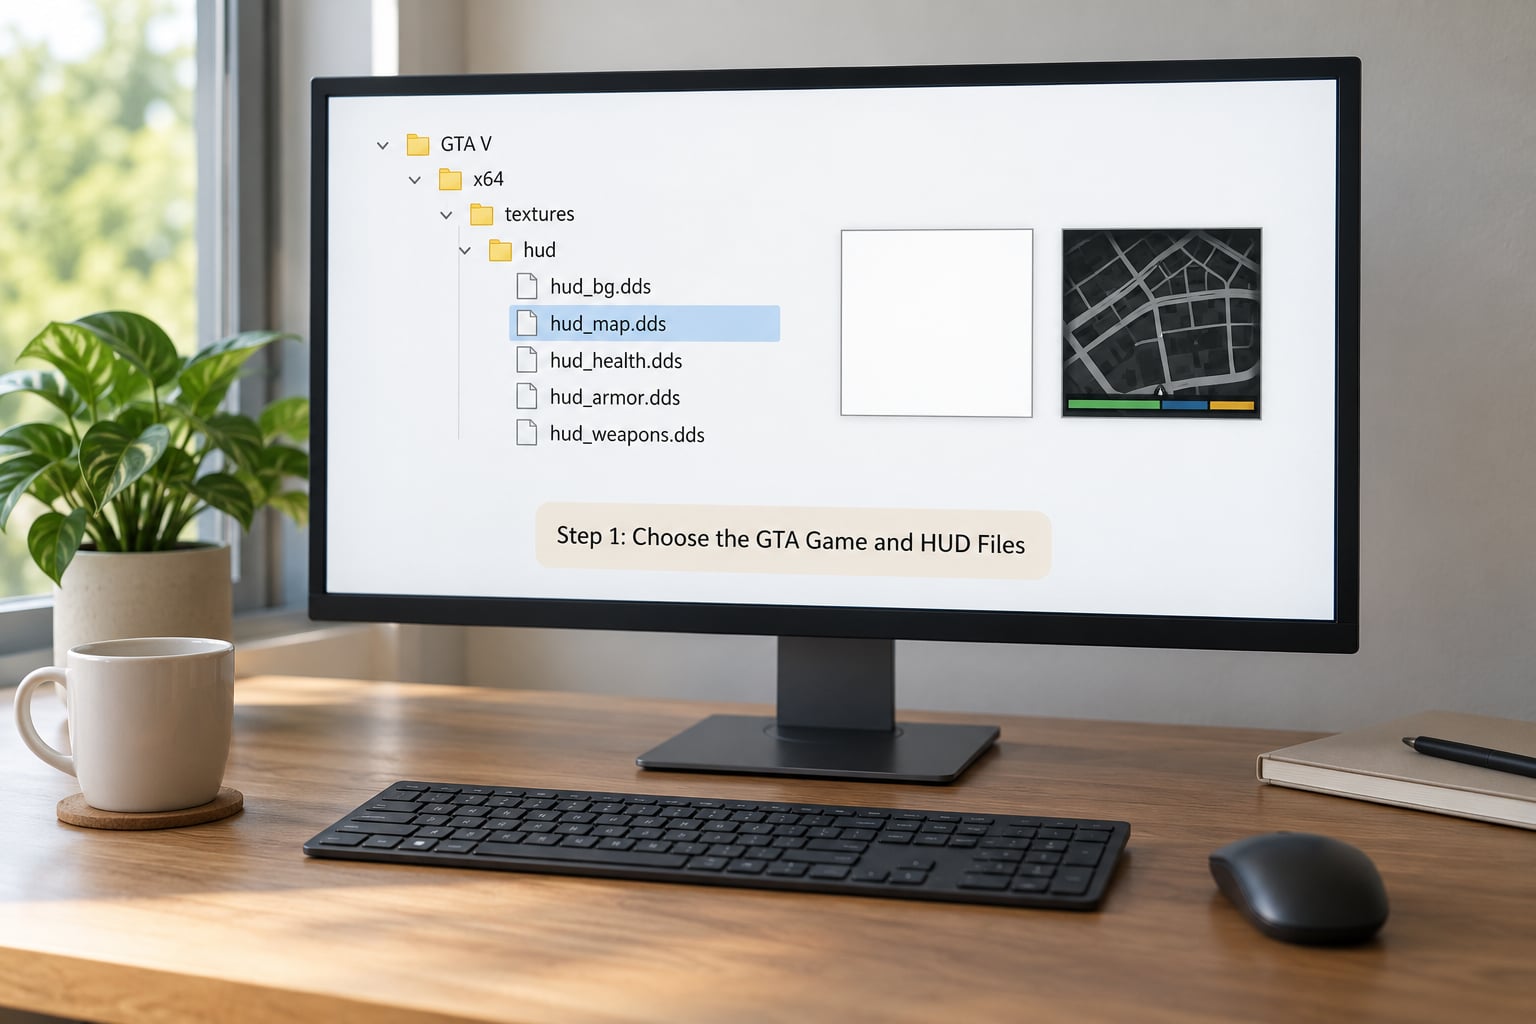
Here is the short version of what each file actually does:
| File | What it controls | Edit it when |
|---|---|---|
hud.ytd | Health and armour rings, minimap mask, weapon and ammo display, speedometer, radar | Almost every custom HUD starts here |
commonmenu.ytd | Menus, prompts, list panels, the interactive map screen | You want a themed pause or map menu |
pause_menu.ytd | The pause screen artwork itself | You are reskinning the pause menu |
minimap.gfx | How the minimap renders, including radar shape | You are changing the radar shape, not just its art |
minimap_main_map.gfx | The full-screen map view | You are changing the pause-menu map |
Two rules before you edit anything. Keep the texture names inside the dictionary exactly as they were — GTA V looks up HUD artwork by name, and a renamed texture simply won’t be found. And keep the original pixel dimensions of every canvas; the game scales to fixed positions and a texture at the wrong size turns into a stretched or invisible element. Copy cdl.rpf somewhere safe now, while the originals are still intact.
Step 2: Create a Texture-Ready Design
Open the original hud.ytd in OpenIV’s texture editor, select the texture you want to work on, and export it as PNG into your original folder. You now have a template with the correct dimensions and the correct transparent regions already in place.
Open that PNG in your editor and keep the canvas size locked. If the template is 1024×1024, yours stays 1024×1024 even if you design at a bigger size — resize the content, never the canvas. Photoshop’s Image Size dialog and GIMP’s Canvas Size will happily break the alignment, and it’s not obvious until you’re in game.
Keep your work on separate layers. The HUD is built from stacked pieces, and you may want to tweak one element later without repainting the whole texture. Don’t flatten, don’t merge down, don’t save a working copy that erases the original.
The transparency is the part people get wrong. HUD elements sit on top of the game world, so anything you leave transparent stays transparent and anything you fill becomes a visible block. If you paste artwork from another source, clear the alpha channel behind it first — an opaque black background is the single most common cause of a HUD that turns into a black screen.
Be realistic about what a texture pack can do. You are restyling artwork the game already displays: rings, bars, icons, the radar mask. You cannot add a new fuel gauge or a second speedometer, because nothing in the game code asks for that. And design against 16:9 at 1920×1080, then test at your actual resolution, because a pack built and checked at 1080p can sit noticeably off on a 1440p, 4K or ultrawide display.
Step 3: Export the Custom HUD Textures
Export your finished texture as PNG in RGBA mode at the original dimensions, with no resampling. Then bring it back into OpenIV: open hud.ytd in the texture editor, select the matching texture by name, click Replace, pick your PNG, and save the .ytd into your edited folder. Replacing textures inside the existing dictionary, rather than building a new file from scratch, is the path that keeps the names and references correct.
If your workflow needs DDS instead — some pipelines and some ports prefer it — use DXT1 for textures with no transparency and DXT5 where the alpha channel matters. Leave mipmaps enabled. Importing with compression and mipmaps left at zero is what produces blurry or flickering artwork at an angle.
Going the other way, converting a .ytd back to PNGs, takes one of two routes. In OpenIV, open the .ytd, select the textures you want and use Export. In Texture Toolkit, load the file and export the whole dictionary as PNGs in one pass. The OpenIV route is fewer clicks for a single texture; the Texture Toolkit route is better if you’re pulling a whole pack apart to study it.
Step 4: Install the Pack on PC
Open the mods folder path: Grand Theft Auto V > mods > x64 > platypusrpf > cdl.rpf > cdl.rpf. Replace hud.ytd here. This is the single most important habit in this whole guide: you replace files inside the mods folder, never inside the original game files. OpenIV overlays the mods folder on top of the real game at launch, which is what makes the change reversible.
If your mods folder isn’t there, that’s expected — it isn’t created until OpenIV needs it. Enable Edit mode, accept the prompts, then navigate to the path and use Add New Item to create each missing folder. A mods folder that exists but looks empty usually means you navigated before enabling Edit mode, or you’re browsing a different game root than the one OpenIV is pointed at.
Mods distributed as an .oiv package are simpler. Run OpenIV’s Tools > Package Installer, point it at the .oiv file, and it places the files and creates the folder structure itself. That workflow is increasingly what mod pages specify, and it removes the path-typo problem entirely.
Launch story mode and stand somewhere with traffic and pedestrians. Walk into a fight so the health and armour rings populate, drive so the speedometer and radar appear, and open the pause menu to check the menu skins. Then deliberately switch to a car and a weapon you didn’t design for — untouched elements reveal whether the rest of the dictionary survived your edit.
Step 5: Install or Test the Pack on Android
GTA V has no official Android release, so there is no OpenIV install path on a phone. Mobile builds are community ports that bundle their own assets inside the app package, and OpenIV is a Windows program.
The workable route is hybrid. Extract the port’s HUD textures on your PC, or start from the PC originals, do the design and dictionary edit there, then push the rebuilt .ytd into the port’s data folder with a file manager that can reach inside the app’s storage. Paths differ per port, so the port’s own documentation is the only reliable source for where its texture folder lives.
Test on a copy. Make a duplicate of the port’s data folder before you write anything, and check your HUD at the device’s native resolution rather than assuming the 1080p layout holds — the renderer scales to the screen, so a rectangular radar assumption can leave blips misaligned. If the port re-downloads its assets on update, expect to reinstall the pack afterwards.
Step 6: Troubleshoot Missing or Distorted HUD Elements
The whole HUD is gone or black. Almost always a missing alpha channel. The replacement was exported as opaque, so the transparent background became a black rectangle covering the screen. Re-export as RGBA PNG with the background transparent.
One element is invisible, the rest are fine. That texture was renamed, exported at the wrong dimensions, or written to a different slot. Restore the original texture name and the original canvas size.
Textures don’t load, or show as flat purple or black. Check two things: that Edit mode was enabled when the file was placed, and that the path is exactly mods/x64/platypusrpf/cdl.rpf/cdl.rpf. Also confirm the .ytd saved cleanly by reopening it in OpenIV’s texture editor.
The minimap vanished or turned into a white block. You likely replaced minimap.gfx or graphics.ytd without matching the mask. Those two files are the most common conflict in this whole scene — a HUD pack and another mod both claiming them will silently break each other. Restore both originals and pick one mod.
Blips sit in the wrong place on a circular radar. That’s geometry, not art. Blip anchors are positioned for a rectangular radar, so swapping the shape leaves every blip offset. Keep the radar shape the game expects, or accept that you’ll be correcting positions by hand.
The game crashes on launch after installing. The .ytd is likely truncated or malformed. Rebuild it from the exports and replace it again; if that fails, delete the file from the mods folder and confirm the original HUD returns.
Textures are broken across the whole game, not just the HUD. That’s texture loss from editing original game files. Verify the game’s files through the launcher to restore them, then redo the install properly through the mods folder.
Common Mistakes
Replacing files in the original game folder. The reason is that it feels faster and it looks identical in the file browser. The result is texture loss, which is hard to untangle. Fix: delete what you put there, verify game files through the launcher, and work only inside mods.
Renaming textures when saving. A texture called hud_health_01 becomes hud_health_01 copy, the game looks up the old name, finds nothing, and the element vanishes. Fix: keep every original name byte-for-byte and let your artwork change, not the filename.
Resizing the canvas instead of the content. Every HUD texture has a fixed size the game positions against. Resizing to 2048×2048 for a cleaner workflow breaks the layout. Fix: scale the layer inside the original canvas bounds.
Flattening or dropping the alpha channel. Flattening merges layers into one opaque image in some workflows, and the transparency that makes the HUD readable over the world disappears with it. Fix: keep an alpha channel, keep layers, export RGBA.
Importing with compression and mipmaps disabled. The file loads but the artwork looks soft, shimmers, or vanishes at certain angles. Fix: DXT5 for anything with transparency, DXT1 for anything without, mipmaps on.
Two mods editing the same file. graphics.ytd, minimap.gfx and minimap_main_map.gfx are shared territory. Whichever loads last wins, and the result looks broken rather than duplicated. Fix: remove one of the two and pick a single owner for each file.
Designing at one resolution and playing at another. Layouts are built for a 16:9 frame. On ultrawide or at a different aspect ratio, elements drift from their intended positions. Fix: test at your real resolution before you build the whole pack, not after.
Editing an existing pack without checking what it already replaces. If the base pack you downloaded also owns hud.ytd, your edit replaces its work rather than adding to it. Fix: check the pack’s file list, and decide whether you’re building on it or replacing it.
Skipping the backup. The most common answer to “how do I uninstall this” is deleting one folder. The backup is what makes that possible. Fix: copy cdl.rpf before your first replace.
Testing in GTA Online. Story-mode texture files in an online session are a ban risk, full stop. Fix: test in story mode only.
Frequently Asked Questions
Is this for the GTA V Legacy edition or the Enhanced edition?
Every file path in this guide is for the Legacy edition, which is the build the vast majority of HUD packs are made for. The Enhanced edition uses a different asset layout, so a Legacy ytd replace or oiv package will not apply cleanly. Confirm your edition in the Rockstar Games Launcher before you start, and look for a pack explicitly labelled for Enhanced if that is what you own.
How do I convert a ytd file back to PNGs so I can edit it?
Open the ytd in OpenIV, select the textures you want, and use the export option to save them as PNG. Texture Toolkit does the same for a whole dictionary in one pass. Working from extracted originals rather than from screenshots is the difference between matching dimensions and guessing them, and it keeps every texture name exactly as the game expects.
Why is my OpenIV mods folder empty or missing?
The mods folder does not exist in a fresh install. Enable Edit mode in OpenIV, accept the prompts, then navigate to Grand Theft Auto V, then mods, and use Add New Item to create the folders as you go. If the folder exists but stays empty, you are browsing a different game root than the one OpenIV is pointed at, so check the folder name at the top of the OpenIV tree.
Which image formats and compression settings should HUD textures use?
PNG in RGBA mode at the original dimensions is the safe default, because it preserves the transparency the HUD depends on. Use DDS instead when a workflow requires it: DXT1 for textures with no transparency, DXT5 where alpha matters, and leave mipmaps enabled. A black background or missing alpha channel is the most common cause of a HUD that goes invisible in game.
Can I use a custom HUD in GTA Online or on a FiveM server?
Do not load story-mode HUD files in GTA Online. Modified story files in an online session are a well-known ban risk and are not supported by the game. FiveM is a separate case: servers run their own asset pipeline, so a stock ytd replace from PC will not apply there. Treat this guide as single-player only and look for server-specific resources instead.
Can I edit an existing HUD pack, and can I change the HUD font?
Yes, and that is usually the smarter starting point. Extract the pack’s ytd to PNGs, edit what you want, and re-import, keeping every texture name unchanged. Fonts are the exception: text style is baked into the game’s text assets rather than the HUD textures, so a different typeface needs a different tool and more caution. Start with the ring, radar and ammo artwork first.
Conclusion
If you do one thing before building the full pack, make it a single small test: identify whether you own Legacy or Enhanced, copy cdl.rpf somewhere safe, then replace one texture in hud.ytd through the mods folder and look at it in story mode. That single loop teaches you the parts people find hardest — creating the mods folder, hitting the right path, and telling a successful replace from a broken one.
Once that one texture survives a launch, the rest is repetition. Export the originals, design at their exact sizes with transparency intact, replace by original name, and keep a note of every file you touch so uninstalling is just a delete. Updated for 2026.