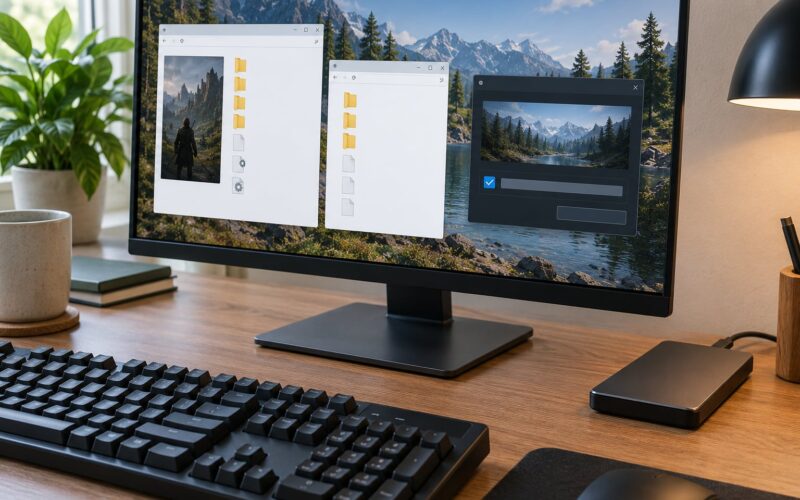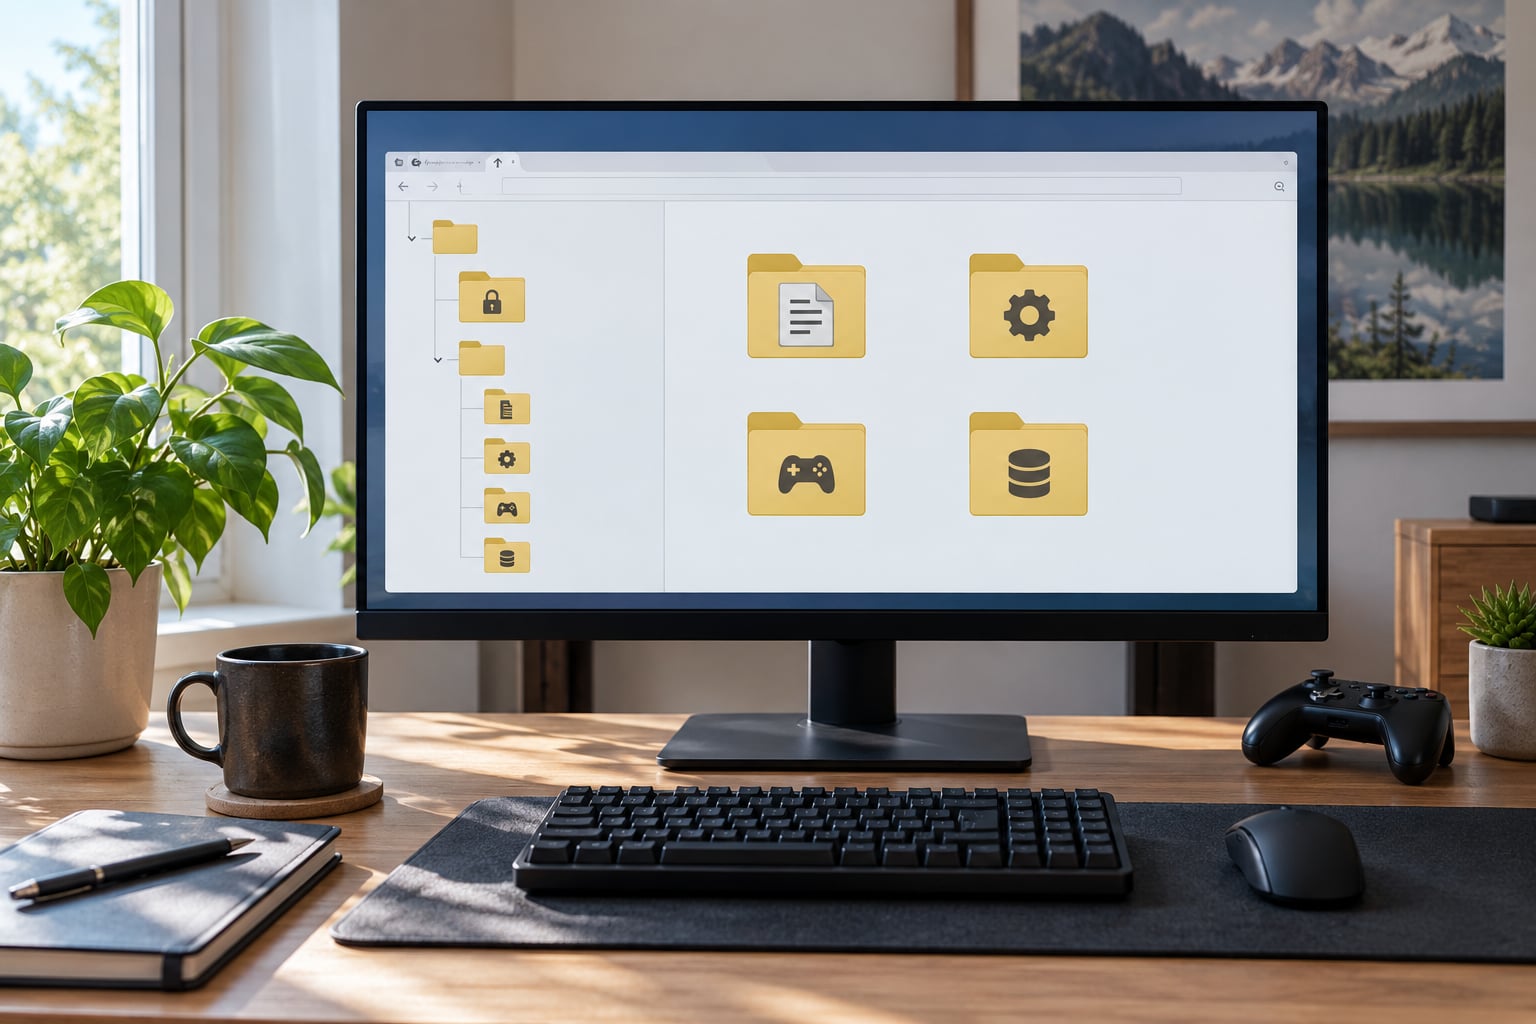
To make a clean mod install folder structure for GTA V, give every mod its own folder, mirror the game’s own file paths inside each one, and keep the game’s directory under the control of a mod manager instead of dropping loose files into it. Add a pristine backup outside your working folder and you can undo any single mod without rebuilding anything.
Most GTA mod problems are not mod problems. They are file-placement problems: a config copied one folder too deep, a script sitting loose in the root, a save from a version your game no longer reads. Ten minutes of organizing up front saves you an evening of guessing later.
It is worth saying plainly what a good structure does and does not fix. It will not stop the game crashing because of a genuine bug in a script. What it does is make every file traceable to one mod, so the difference between a working setup and a broken one is a single move, not a rebuild. That difference matters most to anyone running a long playthrough they would hate to start over.
The steps below assume a Windows PC and take about an hour, most of it spent copying the backup. If you are on Android, the same rules apply against a different set of paths, and the differences are covered in step 2.
Two situations pay off fastest. The first is anyone about to test or build a mod on a playthrough they have invested hundreds of hours in; a separate working structure plus a labelled backup is the only thing standing between a bad experiment and a restart. The second is anyone switching tools, since an organized folder is what makes the move take minutes instead of a full reinstall.
Table of Contents
- 1What You Need
- 2Step-by-Step: How to Make a Clean Mod Install Folder Structure
- 31. Close the Game and Create a Full Backup
- 42. Create a Simple Top-Level Folder System
- 53. Build the Clean Mod Install Folder Structure
- 64. Extract Only the Files You Need
- 75. Create a Per-Mod Folder and Record Changes
- 86. Test One Change at a Time
- 97. Save a Working Clean Copy
- 10Common Mistakes
- 11Mixing manual and manager installs
- 12Misspelled or duplicated directories
- 13Files from the wrong game version
- 14Overwriting configuration files by accident
- 15Ignoring dependencies
- 16Testing an untested combination
- 17Treating a backup folder as a working folder
- 18Loose files at the root of the game folder
- 19Frequently Asked Questions
- 20Does this folder structure work for every GTA game?
- 21Should every mod have its own separate folder?
- 22How should I handle two mods that replace the same file?
- 23What is the safest way to restore my game after a broken mod?
- 24Do I need a separate mod folder structure when using OpenIV, Script Hook V, or another mod manager?
- 25Start With One Clean Working Copy
What You Need
Before you move a single file, get these six things in place.
- The game installed and playable. Launch it once, play for a minute, quit cleanly.
- A mod manager or loader. OpenIV, Script Hook V, and a trainer-capable loader cover most manual work; anything larger needs a manager that tracks load order.
- An archive tool. 7-Zip or WinRAR, so you can look inside a mod before you extract it.
- A text editor. Notepad is fine. You will edit ini files and read a readme.
- A backup method. Enough free disk space to hold one full uncompressed copy of the game folder.
- The mod documentation. The readme that shipped with the mod, downloaded and readable offline.
Paths differ by game and platform. GTA V on Steam sits under SteamsteamappscommonGrand Theft Auto V, while the Rockstar Games Launcher build puts the same files under its own install directory with an installers folder alongside. Android is a different animal entirely: the game lives in an internal storage folder, and any expansion data sits in a separate obb directory. Confirm your actual path in your launcher before you create anything.
Keep your working folder on a different drive from the game if you can. It means an errant search-and-replace can never touch your install, and it keeps a mod-heavy folder from fighting the game folder for disk speed.
Step-by-Step: How to Make a Clean Mod Install Folder Structure
Seven steps, roughly an hour for a full set-up including the backup copy. Work through them in order and check each one before moving on.
1. Close the Game and Create a Full Backup
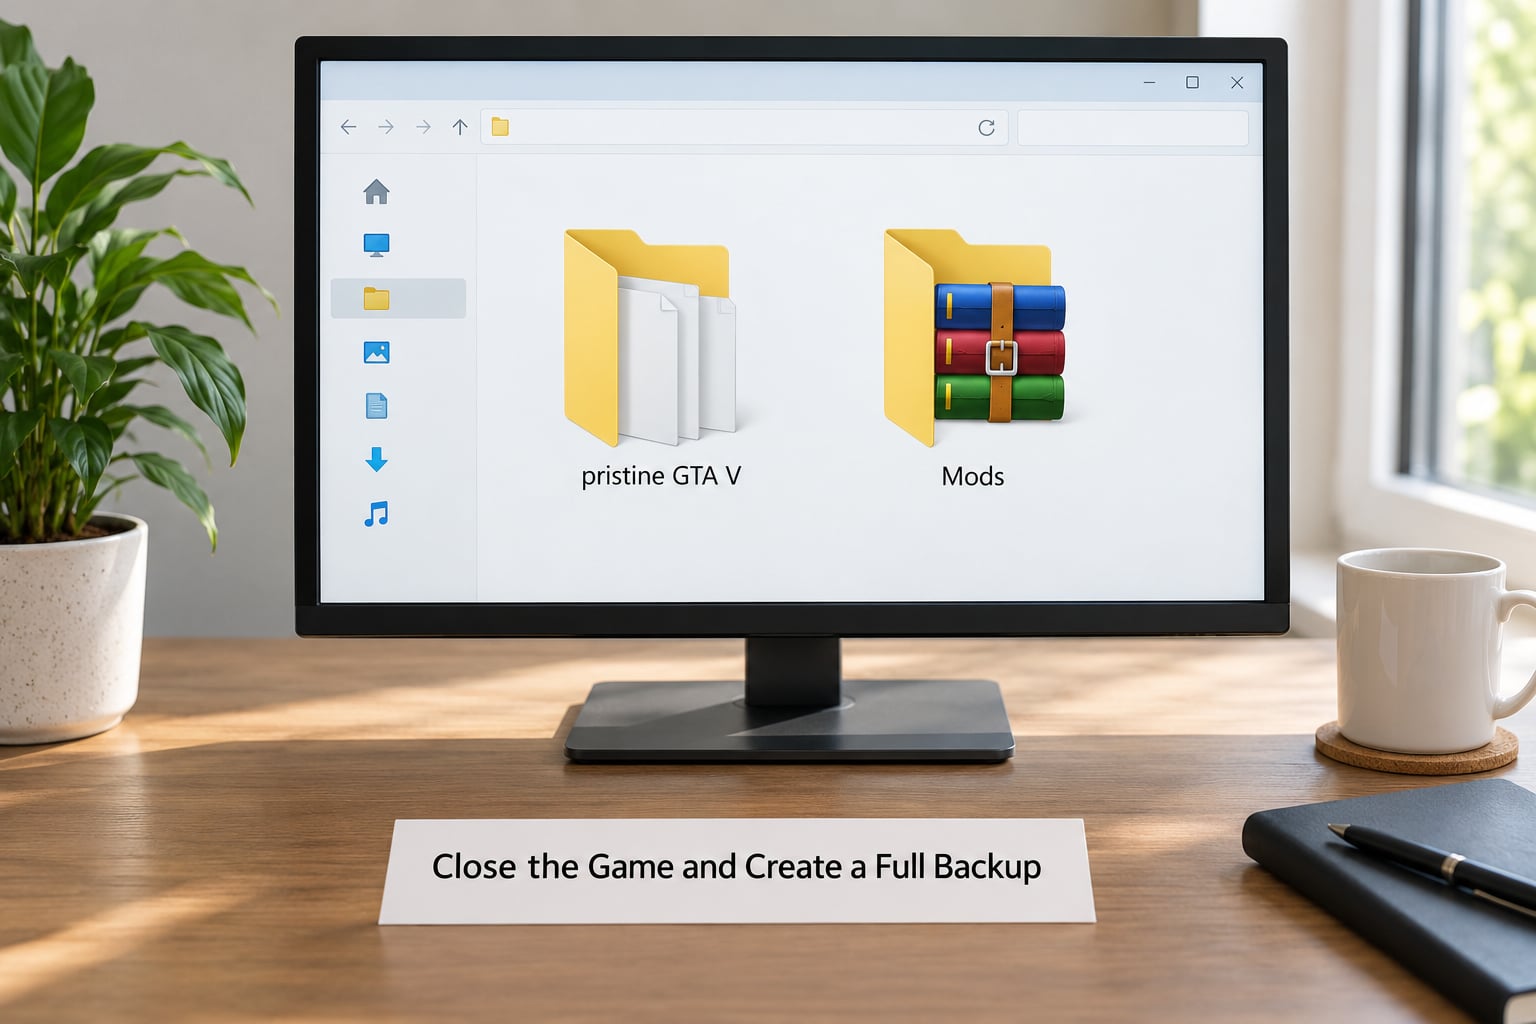
Quit GTA V and the launcher, not just the game window. Open Task Manager from the taskbar and confirm nothing GTA-related is still running. Copy the entire game directory into a folder named GTA V - pristine backup and keep it somewhere outside your working area, ideally on another drive.
You will know it worked when the copy finishes and the folder sizes are close to identical. If the numbers differ by more than a few hundred megabytes, copy it again.
Then make a second point-in-time copy right away, before any mod touches anything. That pair, pristine and untouched, is the answer to every future question about whether it looked like this before.
2. Create a Simple Top-Level Folder System
Make one working folder, then eight subfolders inside it. Give each one a job and do not let a file serve two jobs.
- Scripts — ASI loaders and the .asi files they call.
- Archives — every downloaded zip you have not extracted yet, kept intact.
- Config — ini and xml files, named after what they configure.
- Resources — skins, replacers, textures, and map files.
- Tools — the loaders and editors themselves, not the content.
- Saves — copies of your game saves, dated.
- Backups — snapshots of your working game folder, not your originals.
- Documentation — readmes, install notes, and your own changelog.
It is ready when you can say what belongs in each folder without hesitating. If you find yourself putting something into a folder because it does not fit anywhere else, that is usually a sign your structure has a gap rather than that the file is unusual.
A consistent naming scheme matters more than a clever one. These patterns cover almost everything:
- Mod folder: category then short name, no spaces where avoidable, for example
vehicle_super_mod. - Mod note: always
notes.txtinside the folder, so you never have to guess which file documents it. - Archive copy: mod name plus version, for example
vehicle_super_mod_v2.1.zip. - Backup copy: game, state, tool version, date, for example
GTA V - working - SHV5 - 2026-03-14. - Config file: named after what it changes, for example
traffic_mod.ini.
Dates in backup names are the part people regret omitting. A folder called backup_final_v2 tells you nothing about which one you tested, and picking wrong costs you an evening.
On Android, the top-level idea stays the same but the locations change. Expansion files live in an obb directory rather than beside the executable, and on recent Android versions scoped storage can hide the game’s own folder from other apps entirely. If a file manager shows you nothing where the game should be, grant it All files access in the system settings before assuming your structure is wrong.
One Android difference bites harder than the rest. You rarely get a spare copy of the whole game to back up, so make a copy of the game’s own folder onto the same card before you touch anything. Internal storage gets full quickly once a few texture packs are in play, and a failed copy that runs out of space halfway is worse than no copy at all.
3. Build the Clean Mod Install Folder Structure
Here is the shape you are aiming for. Every mod gets a folder, and inside that folder the paths mirror the game’s own layout exactly.
GTA V Mods/
|-- Scripts/
|   |-- openiv.asi
|   `-- ScriptHookV.asi
|-- Config/
|   `-- mods/
|       |-- traffic_mod.ini
|       `-- weapon_tweaks.ini
|-- Resources/
|   |-- Skins/
|   |   `-- character_mods/
|   |       `-- readme.txt
|   |       `-- files/
|   |           `-- x64/
|   |               `-- dlc.rpf/
|   |                   `-- common/
|   |                       `-- data/
|   |                           `-- models/
|   |                               `-- player/
|   `-- Maps/
|       `-- map_mod/
|           `-- readme.txt
|           `-- files/
|               `-- x64/
|                   `-- dlc.rpf/
|-- Tools/
|-- Saves/
|-- Backups/
|-- Documentation/
|   |-- changelog.txt
|   `-- mod_list.txt
Three rules make this work. One mod, one folder, never two. Paths inside the folder mirror the game, so a file that goes to x64dlc.rpfcommondata in the game goes to filesx64dlc.rpfcommondata in the mod folder. And nothing loose ever sits at the root of your working folder.
Here is how that rule pays off with a single mod. OpenIV uses a folder called mods at the game root, and a texture mod goes into modstexturesskin_mod with its files mirrored underneath. Move that whole skin_mod folder into your working area and the mod is gone, completely, with one drag.
It is correct when you can take any file in any mod folder, look up its path, and know exactly where it belongs in the game.
The mirroring rule is the part people skip. If the readme says a texture goes into x64dlc.rpfcommondatacdtextures, then inside your mod folder those same folder names appear under files, in the same order. Copying a mod folder into the game root becomes a copy-and-paste job with no thinking, which is exactly what you want at install time.
Use a predictable naming pattern too, so folders sort in a useful order rather than alphabetically by accident. Something like 01_vehicle_air.txt style prefixes, or a plain category then name, both work; the only real requirement is that you use the same one everywhere.
4. Extract Only the Files You Need
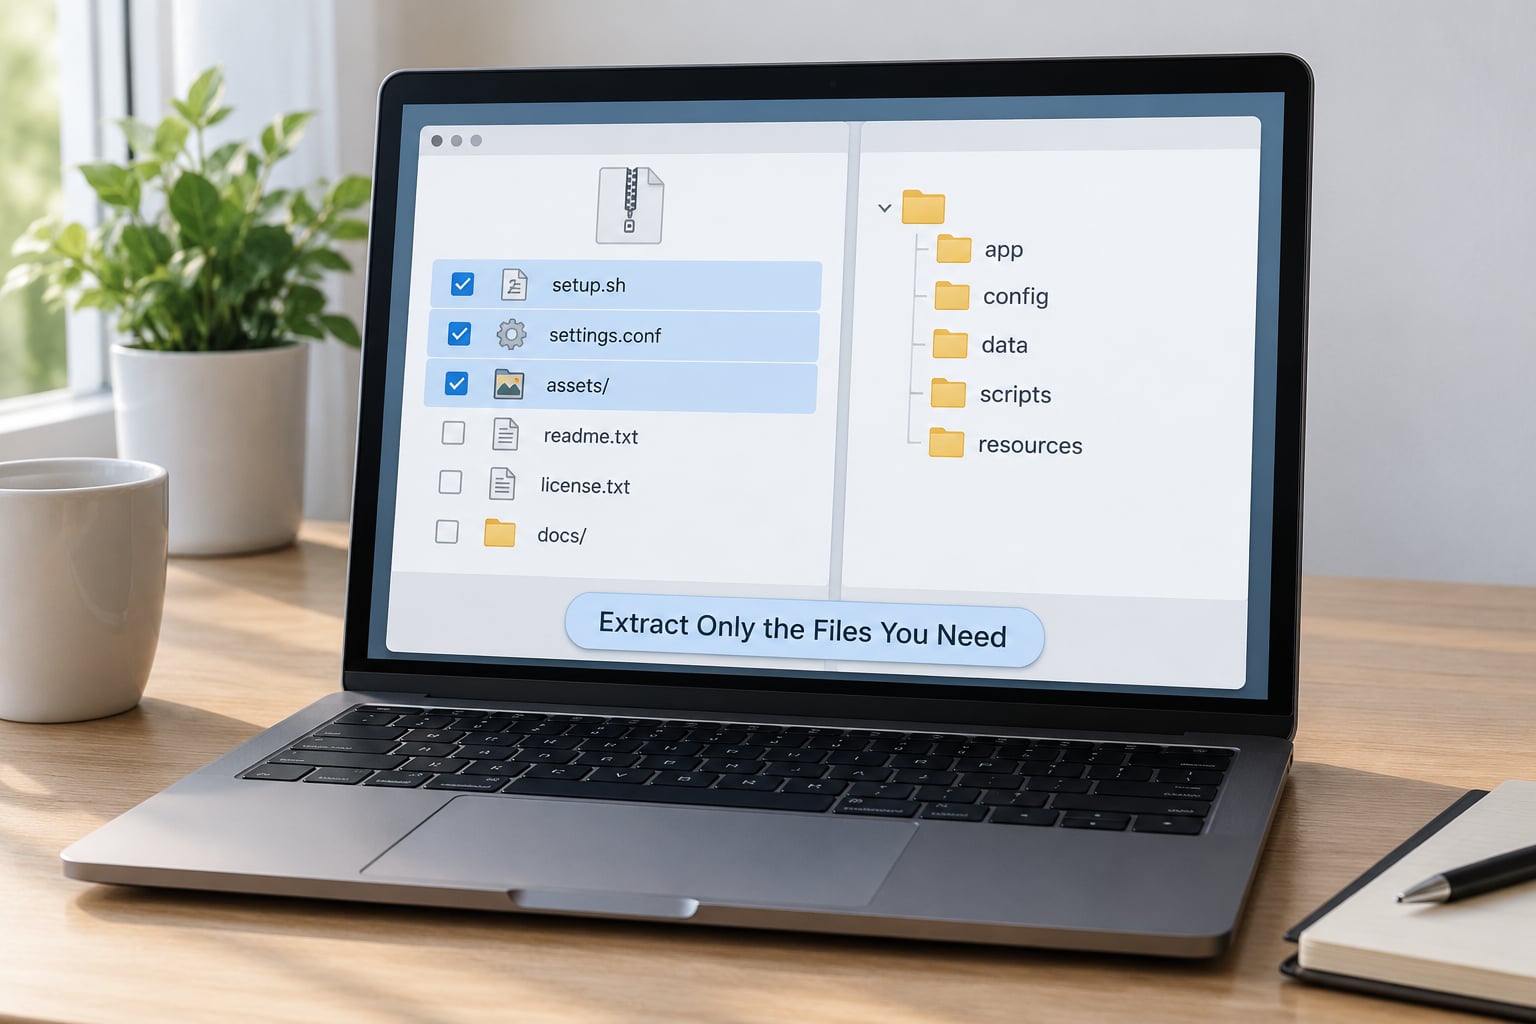
Open the mod archive before extracting anything. Most zips contain three kinds of content: the files the game actually loads, an installer program, and a readme.
Read the readme first. It tells you the destination path, any dependencies, and whether the mod is meant to overwrite a file that another mod also touches. Then extract only the loadable files, into the mirrored structure you built above.
Never run the installer executable that ships inside a mod archive. Those installers usually drop files straight into the game folder, which is exactly what your whole structure exists to avoid.
Move the untouched archive into Archives, named with the mod and its version. You have done it right when the archive is still readable and the game folder has gained nothing yet.
Versions matter more than most people expect. A mod updated for a later game build will often refuse to install or quietly fail, and having the older archive sitting next to the newer one turns a hunt through your download history into a two-second fix.
5. Create a Per-Mod Folder and Record Changes
Inside each mod folder, keep four things: a readme, the source files, any optional variants you did not install, and a note listing conflicts and required tools.
A five-line note per mod saves hours later. Write the game version it was tested on, the files it replaces, whether it needs another mod to run, and whether it works alone.
This step is what turns uninstalling from a scavenger hunt into a delete. You know exactly which files came from where, so removing one mod means removing its folder and nothing else.
The notes also do their job when a mod stops working months later. A mod that depends on another, which itself was updated, is a very common cause of a break that nobody would guess from the error message alone.
Keep your notes in plain text, not in the tool you used to download. A text file opens on any machine, survives moving to a new PC, and can be pasted into a support thread when you need to describe what you have installed.
6. Test One Change at a Time
With the game closed, move one mod, or one tightly related group of mods, from your working folder into the game folder. Launch the game and test the specific thing that mod changes. A vehicle mod needs a spawn test in the right district; a weather script needs a night cycle.
Write the result down in your changelog: date, mod, what you tested, what happened. If something breaks, pull that one mod back out and confirm the game runs clean again before adding anything new. Your changelog is what lets you skip re-testing a combination you already tried, which is the whole point of writing it down.
Testing groups of fifteen is how people end up reinstalling the game. One change, one test, one note.
When something does break, change one variable and re-test before drawing conclusions. A crash that only appears at one district or at night is usually a conflict with something else you added that week, not a fault in the newest mod.
7. Save a Working Clean Copy
Once a configuration runs well, copy the whole working game folder into Backups. Name it with the game, the loader or manager version, and the date. Something like GTA V - working - SHV5 - 2026-03-14 tells you everything six months from now.
Keep two or three of these at a time and delete the rest. They get large quickly, and a wall of nearly identical folders is its own kind of mess.
This becomes your restore point. Before any risky experiment, before a big mod batch, before changing your graphics settings, copy it again rather than trusting your memory of what was stable.
You are done when you can break something deliberately, restore in a few minutes, and carry on.
That is the point of the whole exercise. After a while you stop needing the folder tree, because you already know which file came from where.
One more thing worth doing now: keep your changelog and mod list outside the game folder entirely, on the same drive as your working folder but not inside it. Saves get wiped, game folders get rebuilt during updates, and a documentation folder that lives inside the thing being rebuilt is a documentation folder you will one day find empty.
Common Mistakes
Eight mistakes come up again and again. Each has a direct fix, and all eight are cheap to correct once you know what you are looking at.
Mixing manual and manager installs
Some files are copied straight into the game while others go through a loader or manager. You get two copies of the same file and no way to tell which one won. Pick one method per mod and write it on the mod’s note.
Deciding in advance which method belongs to which kind of mod also speeds things up. Loaders and the .asi files they call go in Scripts and are installed once. Everything else stays in its own folder until you are ready to copy it in. That keeps the permanent part of the setup visually separate from the part you change weekly.
Misspelled or duplicated directories
dlc.rpf and DLC.RPF are the same folder on Windows, but Dlc.Rpf typed wrong creates a second one that the game never reads. Turn on file extensions in the View tab of File Explorer, then look down your tree for near-duplicates before you assume a mod is at fault.
Files from the wrong game version
A mod built for the Rockstar build will not sit correctly in a Steam Library folder, and Legacy builds need their own set. Note which launcher build you use and keep two mod folders if you switch between them.
Overwriting configuration files by accident
When two mods ship the same ini file, the second one silently replaces the first. Compare the files side by side before copying, and merge settings by hand rather than picking one wholesale.
Ignoring dependencies
A script that needs another script installed first will either do nothing or crash. List dependencies on the mod’s note and install them in order, as a group, before testing either alone.
Testing an untested combination
Installing thirty mods and launching once tells you almost nothing. You will get a crash or a black screen and no idea which change caused it. One at a time, noted, or you will be bisecting for an evening.
Treating a backup folder as a working folder
The moment you edit files inside your pristine backup, it stops being pristine. Backups get copied out and modified; the original stays untouched and read-only if you can manage it.
Loose files at the root of the game folder
A stray .asi or .ini directly in the install directory bypasses your whole system. Open the game folder and check that nothing mod-related sits at the top level. If something does, move it into the right mod folder.
If you already have a folder in this state, clean it in stages rather than deleting everything. Move every mod-related file out to your working folder one mod at a time, keep the loaders in Scripts, then compare the game folder against your pristine backup and copy back anything that differs. That comparison is the honest test of whether a folder is clean, and it takes about ten minutes on a game this size.
Symptoms help you narrow it down. Models that look wrong, textures that appear as flat purple or pink squares, and a menu option that is there but does nothing all point at files that arrived in the wrong path rather than a mod being broken. A game that crashes on launch usually means something landed in the game root that should not have. Once you accept that, the fix is almost always moving one folder back where it belongs.
Frequently Asked Questions
Does this folder structure work for every GTA game?
Yes. The rules are about file paths, not one title. Mirror whatever path the game reads from, keep one folder per mod, and keep the game directory clean. Stories, Three, and Liberty City each have their own data paths, so the folder names change while the structure holds. What changes between versions is the specific path inside files, which your readme should tell you.
Should every mod have its own separate folder?
Yes, one folder per mod, always. Two mods sharing a folder means overwriting a file to install one and losing it when you uninstall the other. Separate folders also give you a single place to record what the mod replaces and what it needs. The exception is a mod that is explicitly published as a bundle of several parts, which then gets its own single folder.
How should I handle two mods that replace the same file?
Treat it as a conflict and record it on both notes. Compare the two files before installing either, then decide which one you actually want to win and install that one last. Do not merge text or binary files by hand unless you know the format. If both features matter, look for a combined version or a patch that resolves the overlap instead of stacking both.
What is the safest way to restore my game after a broken mod?
Copy your labelled working backup from the Backups folder over the game directory, and confirm the loaders you rely on are present before launching. That returns you to the last state you tested and wrote down. If you have no backup, restore the pristine copy and reinstall only the mods on your list, one at a time. This is why step one comes before any extraction.
Do I need a separate mod folder structure when using OpenIV, Script Hook V, or another mod manager?
You need it regardless of the tool. Managers handle installation and load order, but they still read files from somewhere, and your own structure decides whether you can trace, move, or remove anything. Keep the same eight top-level folders either way. What changes is only where the loader expects files to land, which you configure once and then leave alone.
Start With One Clean Working Copy
Do it in this order and nothing else. Preserve the original game folder outside your working area. Create the eight top-level folders. Move one mod at a time, note what changed, test it in game. Save a labelled copy once it works.
That last step is what makes the whole system worth the hour. Once you have a known-good copy you can restore from, you can test risky mods, move to a different tool, or rebuild from scratch without losing your settings or your saves.
Start there tomorrow, not with the biggest mod on your list. The first mod through the new system should be a small one you can afford to lose, because it teaches you the process without teaching you patience.
You will know your clean mod install folder structure is finished when you can name every file in your game folder, explain where it came from, and undo it in minutes.
Test the system once before you need it: move a single mod out, launch, confirm the game still runs, move it back. An untested backup is a hope, not a restore point.