Learning how to use WinRAR and 7-Zip for mod archives takes about ten minutes once, and it saves you from the two mistakes that ruin most first installs: extracting into the wrong place and overwriting game files with no backup. Both programs do the same job, which is packing a folder of loose mod files into one compressed download and unpacking it again. The only real differences are who can create which format, and which context menu appears when you right-click.
This guide walks through the whole cycle on Windows: check the archive, back up what you are about to replace, extract, copy the files into the right game folder, test, and then repackage if you are uploading a mod of your own. Menu names come from current Windows 10 and 11 File Explorer plus standard 7-Zip and WinRAR installs, so older versions may label things a little differently.
Table of Contents
- 1What You Need
- 2Step-by-Step: How to Use WinRAR and 7zip for Mod Archives
- 31. Identify the Archive Format and Read Its Contents
- 42. Back Up the Files the Mod Will Replace
- 53. Extract the Mod Archive
- 64. Inspect the Extracted Folder Structure
- 75. Copy the Correct Files Into the Game
- 86. Launch the Game and Test the Mod
- 97. Create a Mod Archive With WinRAR or 7-Zip
- 10Common Mistakes and the Fix for Each One
- 11Safety Tips for Downloaded Mod Files
- 12Frequently Asked Questions
- 13Should I use WinRAR or 7-Zip for a GTA mod archive?
- 14Why does my extracted mod contain an extra nested folder?
- 15Can I extract a RAR file with 7-Zip or a 7z file with WinRAR?
- 16Why does replacing a mod file make the game crash or show missing assets?
- 17What should I do if a mod archive asks for a password?
- 18Which archive format should I use when uploading my own mod?
- 19Conclusion
What You Need
You need five things, and two of them take about a minute to sort out.
- A Windows PC. The right-click commands in this guide are Windows-specific. macOS and Linux are covered at the end.
- 7-Zip, WinRAR, or both. 7-Zip is free and can extract RAR archives. WinRAR can extract 7z archives too, but only WinRAR creates RAR.
- The downloaded mod archive in your Downloads folder, still compressed.
- The game installation directory, found through the launcher or by right-clicking the desktop shortcut and choosing Open file location.
- A backup folder somewhere outside the game, named with today’s date.
Download both tools only from their official sites. Fake 7-Zip and WinRAR installer pages are one of the most common ways people end up with junk software, and the pop-up that nags you to buy WinRAR after a few days is a trial reminder, not a broken install.
One Windows 11 note before you start: the redesigned right-click menu hides older entries under Show more options. If you right-click an archive and see no 7-Zip or WinRAR line, that is where it went.
Step-by-Step: How to Use WinRAR and 7zip for Mod Archives
1. Identify the Archive Format and Read Its Contents
Start by looking at the file extension, because it tells you which menu command will work and whether the download is even complete.
A .zip is the most common and the only format Windows handles on its own. A .7z usually gives the smallest file, which is why big texture and vehicle packs use it. A .rar comes from mod authors who prefer WinRAR. If you see .part1.rar, .part2.rar and so on, that is a multipart archive and you must keep every part in the same folder before doing anything else.
To look inside without unpacking anything, open the archive and read the file list. In 7-Zip that is Open archive; in WinRAR it is the same double-click, with the preview pane on the right. What you are checking for: does the archive start with a named mod folder, and does it contain an .exe, .bat or .cmd file? A mod does not need an installer to work. If one is bundled in, do not run it. Mod authors do not need your computer to execute anything for a texture swap, and that is the standard way malware rides along with an archive.
It worked if you can see the folder structure without any files landing on your disk yet.
2. Back Up the Files the Mod Will Replace
Copy the existing game files the mod is going to overwrite into a dated folder before you touch anything, because game updates and mod conflicts are easier to undo from a copy than from a reinstall.
Work out which files are involved from the mod page first. The readme usually lists a destination path such as modarchive or a scripts folder. Find that same folder in your game directory, select the files inside it, and copy them to a backup folder on another drive or in your Documents folder. Naming the folder with the date is what makes it obvious later which copy matches which game version.
Open the backup folder and confirm the files are actually there, with real sizes rather than zero bytes. An empty backup folder is worse than none, because it gives you false confidence. If your game uses a mod manager instead of loose files, the manager may already keep its own copy, but a manual backup costs nothing and covers the games where you are not using one.
It worked if the count in your backup folder matches what you selected in the game directory.
3. Extract the Mod Archive
Extraction is one right-click. The only decision is whether you want loose files or a new folder, and for mods you almost always want a new folder.
Extract to a staging folder on your desktop, not straight into the game directory. It keeps the game folder clean while you work, and it means a failed mod costs you one folder to delete instead of a cleanup across several game subfolders.
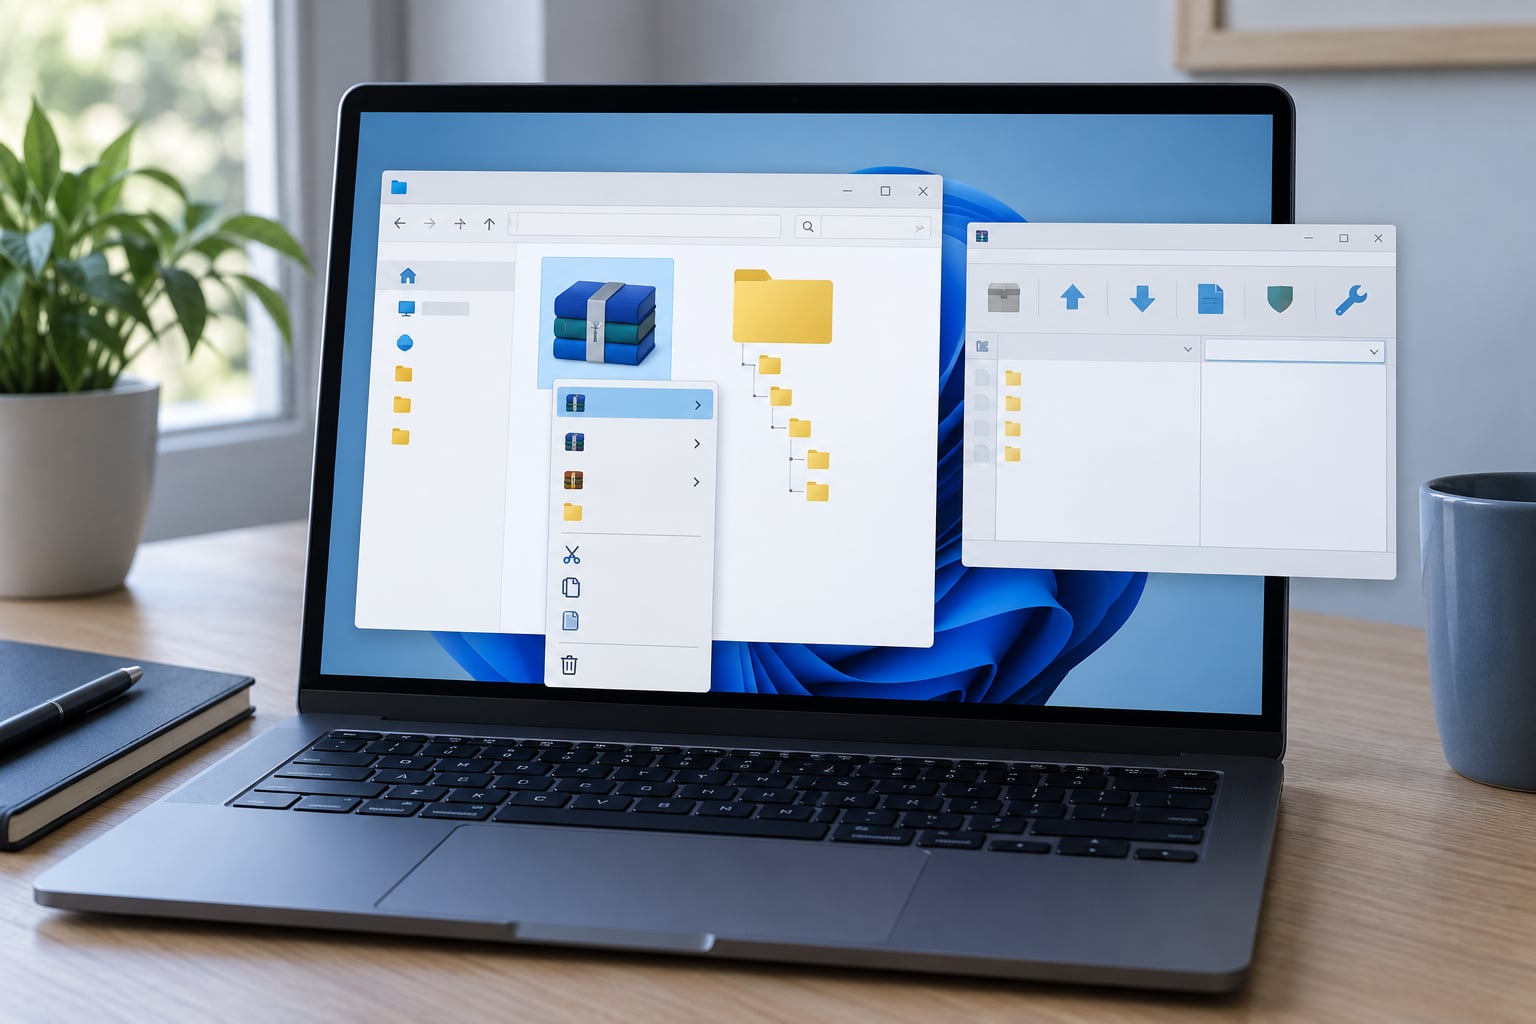
- Right-click the archive in File Explorer. On Windows 11, pick Show more options first if you do not see the program names.
- Hover over 7-Zip and choose Extract to <archive name>. The program creates a folder with the archive name and drops the contents inside it. This is the safe choice.
- Or hover over WinRAR and choose Extract To <folder name>. The dialog lets you pick the destination before it starts, which is handy when you want the files somewhere other than beside the archive.
- For a .zip only, you can skip both programs and use the Windows Extract All button at the top of the Explorer ribbon.
- For multipart archives, start from part 1 and keep all parts in one folder. WinRAR finds the rest automatically; 7-Zip usually needs the command
7z x part1.rar -ooutfolderrun from a terminal in that folder.
Avoid Extract Here when you are installing a mod. It dumps the contents loose next to the archive with no folder of their own, which is the single most common reason a mod looks like it vanished. The one exception is a loose-file mod whose readme explicitly says the files go straight into a game folder.
It worked if you have one new folder with a name matching the archive, sitting where you told it to go.
4. Inspect the Extracted Folder Structure
Before copying anything, compare the extracted folder to the mod author’s instructions, because the difference between right and wrong is usually one folder level.
There are three layouts you will meet. A named mod folder at the top, containing subfolders and files, is the standard and usually copies straight into a mod directory. Loose files and folders at the top level with no mod folder usually means the contents belong to an existing game folder listed in the readme. A second archive inside the first means you stopped one step early: go back into the extracted folder, find the .7z or .zip inside, and extract that too.
Check names character by character. Mod folders are frequently case-sensitive on Linux tools and on game engines that care, so Textures and textures are not always the same folder. It also helps to turn on File Explorer’s Details view so you can see extensions; a file called readme.txt.exe is not a readme.
It worked if the structure inside your new folder lines up with the paths on the mod page, level for level.
5. Copy the Correct Files Into the Game
Copying is where most installs go wrong, and the fix is almost always that an extra folder level got carried along.
Select the contents of the extracted mod folder, not the folder itself, unless the readme tells you to copy the folder. Then paste into the matching game folder. If the mod is a named folder, paste it into the mod directory so you end up with one new folder sitting beside the others. If the mod is loose files, paste the files into the specific game folder the readme names, such as the game’s data or scripts directory.
When Windows asks about merging with an existing folder, choose Replace the files in the destination. You already made a backup, and this is how a new version of a file replaces an old one. Keep both is the wrong choice here unless the mod author says the game reads both copies.
Close the game and any mod manager before pasting. A file in use by a running game will refuse to overwrite, and that error often gets misread as a broken mod. Afterwards, open the game folder and confirm the new folder is one level below where you pasted from, not two.
It worked if the game folder now shows the mod folder at the level every other mod sits at, with the same name and capitalisation.
6. Launch the Game and Test the Mod
Launch the game normally, not through a launcher bypass, and give it a few minutes in the area the mod changes.
What you are watching for: crashes on load, missing textures on models that should be replaced, vehicles that spawn in the wrong place or not at all, and script errors popping up on start. Each points somewhere different. A crash that happens the instant the game opens usually means a script file landed in the wrong folder. Missing textures on an otherwise correct model usually mean a texture subfolder was flattened. A vehicle that does not appear points at a configuration or data file that the readme said to edit separately.
When something fails, the mod page is the right place to look, not the archive tool. Version requirements, load order and dependency mods are game-specific, and no compression setting fixes them. If the page lists a dependency, install that first and test again before you decide the archive was bad.
It worked if the mod appears in game, does not crash, and behaves the way the page described.
7. Create a Mod Archive With WinRAR or 7-Zip
Creating an archive is the reverse of extracting, and choosing ZIP instead of RAR keeps your mod installable for everyone.
- Put the mod in its own folder first, named without spaces or odd characters. One folder, containing everything the mod needs.
- Right-click that folder in File Explorer. Do not select a pile of loose files, because the archive then has no top-level folder and the person installing it has to guess where things go.
- With 7-Zip, choose Add to archive. Set the archive format to zip, leave the compression level on normal, and give the file a clear name. Click OK and wait for the progress bar to finish.
- With WinRAR, choose Add to archive from the same right-click menu, set the format dropdown to ZIP, and confirm. The RAR option is the default there, which is why a lot of uploaded mods arrive as .rar files.
- Open the finished archive and click Test to confirm it is not damaged before you upload it.
Leave the files field as a single mod folder so extraction gives the installer one clean folder. If your mod is large, split volumes are fine for distribution, but name them in order and upload every part, because most download managers treat a missing part as a failed download.
Never type a password into archive metadata or a file name if you plan to publish. A password on your own upload blocks every downloader unless you post the password in the mod description.
It worked if the archive opens on your machine, tests clean, and extracts into one correctly named folder.
Common Mistakes and the Fix for Each One
Nearly every failed mod install is one of these nine things.
- An extra folder level. You pasted the mod folder inside another folder. Copy its contents one level up instead.
- Loose files from Extract Here. Nothing has the folder name the game or mod manager looks for. Re-extract using Extract to folder.
- An archive inside an archive. The first extraction stopped early. Open the new folder, find the .7z or .zip inside, and extract it too.
- “The file cannot be opened as an archive.” Usually a truncated download, a renamed file that is not really an archive, or a format the tool does not handle. Run the test function first, then re-download.
- A missing part in a multipart set. Keep every .partN.rar in one folder and start with part 1. Never rename the parts.
- Wrong password. The prompt means encryption, not corruption. The password is on the mod page, usually under installation notes.
- Overwriting the wrong file. You copied into a similarly named folder elsewhere. Check the full path in the address bar before pasting.
- Missing dependencies. A script mod needs another mod or a specific game version. The archive was fine.
- Case mismatch on a folder name. Rename the folder to match the readme exactly, capital letters included.
Also check the reverse case: if a mod that worked before stopped working, the game updated and the mod is now for an older version. That is a version problem, not an extraction problem.
Safety Tips for Downloaded Mod Files
Archives are containers, and a container can carry anything. Six habits cover nearly all of it.
- Download only from the mod’s own page on a site you already trust, and follow the file link rather than a third-party mirror.
- Never run an .exe, .bat, .cmd or .scr that came out of a mod. A self-extracting archive is itself an executable, which is why you extract it with 7-Zip or WinRAR instead of double-clicking it.
- Scan the archive and the extracted folder with your antivirus before copying anything into a game folder.
- Test the archive before you install using the Test or Check command in 7-Zip or WinRAR. A quick check now beats a broken mod later.
- Keep the dated backup until the mod has been stable for a few sessions.
- Check the required game version and dependencies on the mod page, since neither tool can fix a version mismatch.
On macOS, double-clicking a .zip opens Archive Utility, and Keka or The Unarchiver handle .7z and .rar. On Linux, File Roller and Engrampa cover both formats from the right-click menu. Windows 7-Zip stays the tool most mod communities reach for, mainly because it is free and opens everything a mod page is likely to link.
Frequently Asked Questions
Should I use WinRAR or 7-Zip for a GTA mod archive?
Use 7-Zip for extraction. It opens .zip, .7z and .rar, so one tool covers nearly every mod download, and its right-click menu is the one most mod pages assume when they say Extract Here. WinRAR is worth adding only if you need to create RAR archives or like its recovery tools for damaged files. Installing both is fine, since they do not conflict, as long as you check which menu you used.
Why does my extracted mod contain an extra nested folder?
That is usually the archive doing exactly what it should, and you copying one level too deep. Most mods ship as a named folder with subfolders inside, so extracting to folder gives you archive name plus mod name. Copy the contents of the inner mod folder, not the outer wrapper, unless the readme says to place the whole folder. A game folder that has gained a nested layer will usually fail to load the mod at all.
Can I extract a RAR file with 7-Zip or a 7z file with WinRAR?
Yes, both directions work for viewing and extracting files. 7-Zip opens RAR archives, and WinRAR opens 7z archives, so neither format locks you out. The difference only appears when creating archives: 7-Zip cannot write RAR, while WinRAR can write 7z. Some older RAR variants can also trip up 7-Zip where WinRAR recovers them, which is the practical reason modders keep both installed.
Why does replacing a mod file make the game crash or show missing assets?
It usually means the files landed at the wrong level, not that the archive was bad. A texture pack that goes in one folder too deep will load nothing, while a script copied into a data folder can crash the game on start. Close the game, compare your game folder against other working mods, and flatten the structure until the mod folder sits beside them. Then read the mod page for version and dependency requirements.
What should I do if a mod archive asks for a password?
A password prompt means encryption, not damage, so the file is not corrupt. The password is almost always on the mod page itself, usually in the installation notes or a comment thread. Mods that encrypt are commonly adult content or early betas, so if the page has no password listed, you probably have a different file than the one the author intended. Re-download from the original link rather than guessing.
Which archive format should I use when uploading my own mod?
Upload a ZIP. Every operating system and every archive utility opens it without extra software, which removes the most common reason people fail to install a mod. Seven-zip gives a smaller file but needs 7-Zip or WinRAR to open, and RAR needs WinRAR since 7-Zip cannot create it. Name the top-level folder inside the archive so installers get a clean folder, and test the archive before you upload.
Conclusion
Six steps, in order: check the extension and look inside the archive, back up the game files the mod replaces, extract to a named staging folder, confirm the folder structure matches the mod page, copy the contents into the game at the right level, then launch and test.
Use 7-Zip for opening mods because it handles .zip, .7z and .rar, and reach for WinRAR when you specifically need to create RAR files or recover a damaged archive. When you upload your own mod, ZIP is the format that works everywhere, with one clearly named top-level folder inside it.