Skin mod texture stretching happens when the UV coordinates baked into a character model do not line up with the image laid over it, so flat pixels get dragged across the surface and the skin looks smeared or pulled thin. Most of the time it is not a missing file at all, and you can fix it by working through a short diagnostic order: test one mod on a clean save, check the file format and resolution, then look at the UV map itself. Allow about 30 minutes for the quick checks and considerably longer if you end up re-unwrapping in Blender.
Table of Contents
- 1What You Need
- 2Step-by-Step
- 3Step 1: Confirm the Problem Is a Texture Issue
- 4Step 2: Back Up and Reinstall the Skin Mod Files
- 5Step 3: Check the Correct File Format and Folder
- 6Step 4: Inspect the Texture Resolution and Aspect Ratio
- 7Step 5: Repair or Replace the UV Layout
- 8Step 6: Convert the Texture Into the Format the Game Expects
- 9Step 7: Remove Conflicts and Verify Load Order
- 10Step 8: Clear Caches and Test the Skin In-Game
- 11Common Mistakes
- 12What Works Best by Game and Platform
- 13Frequently Asked Questions
- 14Why is my GTA skin texture stretched?
- 15Can I fix skin mod texture stretching without opening the UV map?
- 16What texture format should I use for my GTA skin mod?
- 17Does increasing texture resolution fix stretching?
- 18Why does the character look correct in the mod preview but stretched in the game?
- 19When should I replace the model instead of repairing the texture?
- 20Conclusion
What You Need
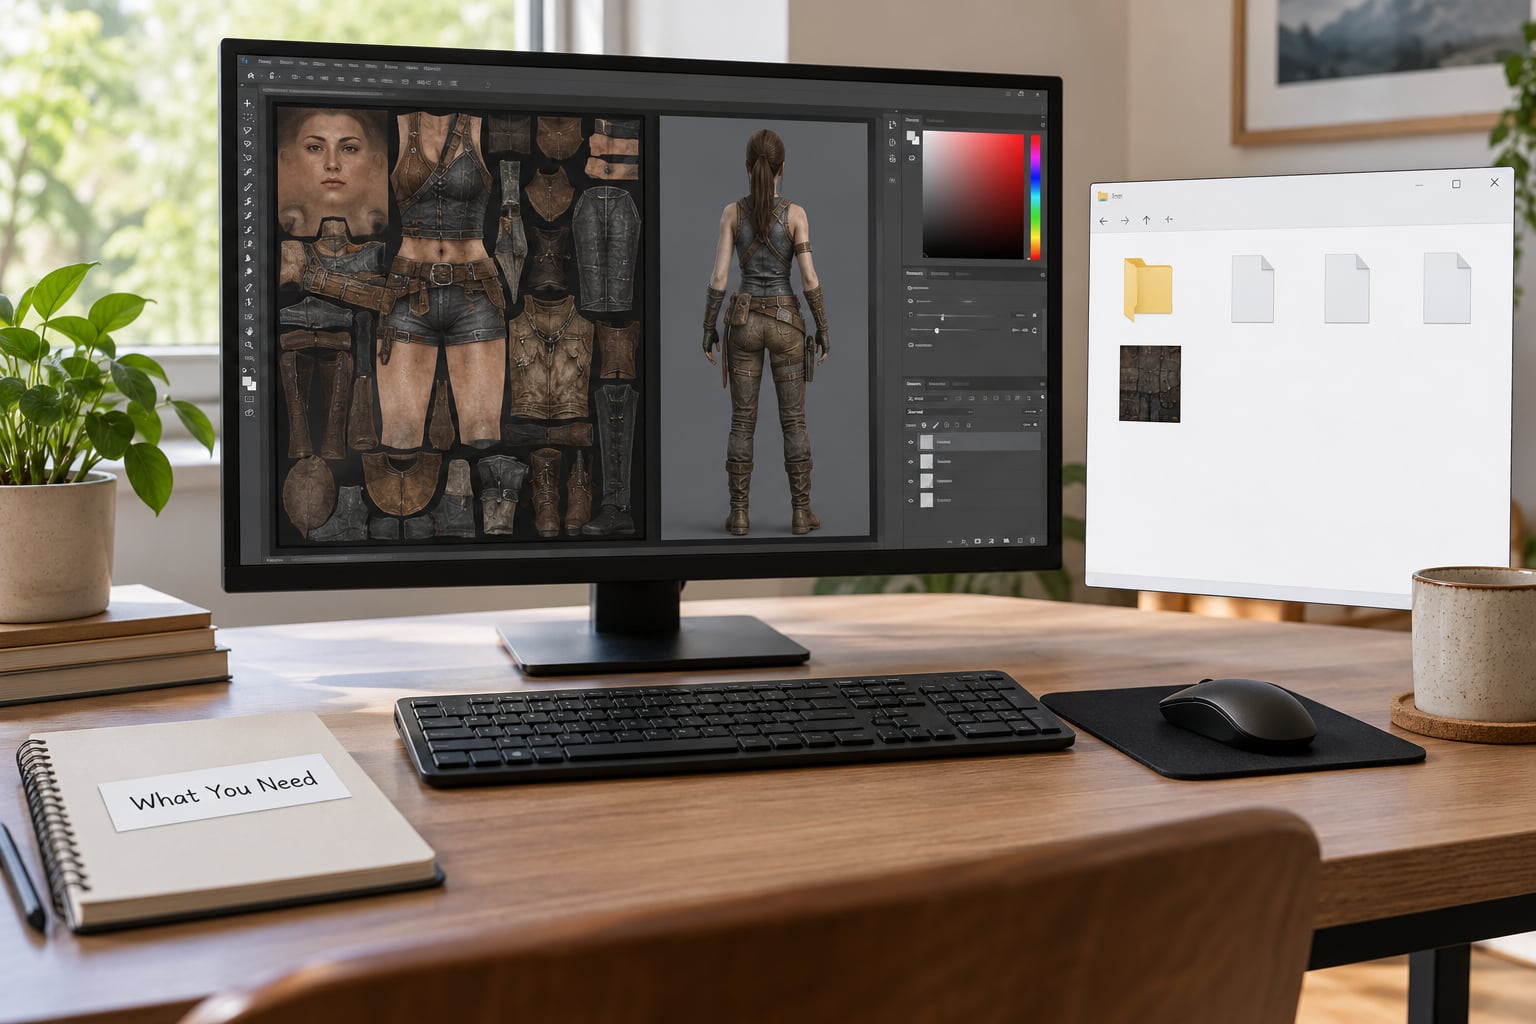
Start by pinning down which game you are actually running. GTA III, Vice City and San Andreas on desktop load loose files, GTA IV uses its own archive structure, and GTA V loads everything through its modded folder system. Android ports add one more wrinkle, because many of them run the console or older builds rather than the PC files.
Here is what each item is for:
- The exact game version and platform. PC, PlayStation, Xbox and Android builds of the same title do not share one modding method. You need to know which one you have before any other step makes sense.
- A clean save or a clean game folder. Not optional. Every test below depends on being able to rule out leftover files from an earlier attempt.
- The skin mod files themselves. Keep the original download untouched. You will be comparing the packaged file against whatever is sitting in the game folder.
- Texture editing software. Magic.TXD is the common choice for GTA V texture dictionaries, and any standard image editor works for opening the texture itself to look at it.
- A text editor. Notepad or anything similar. You will need it for config files and for checking that a file actually got written where you expected.
- Blender, if you own or made the model. This is the only realistic way to repair a broken UV map. CodeWalker is a lighter alternative for inspecting geometry without a full modelling suite.
- OpenIV, for GTA V. It is the tool that writes into the modded folder, and it is the point where most installs go wrong.
Step-by-Step
Step 1: Confirm the Problem Is a Texture Issue
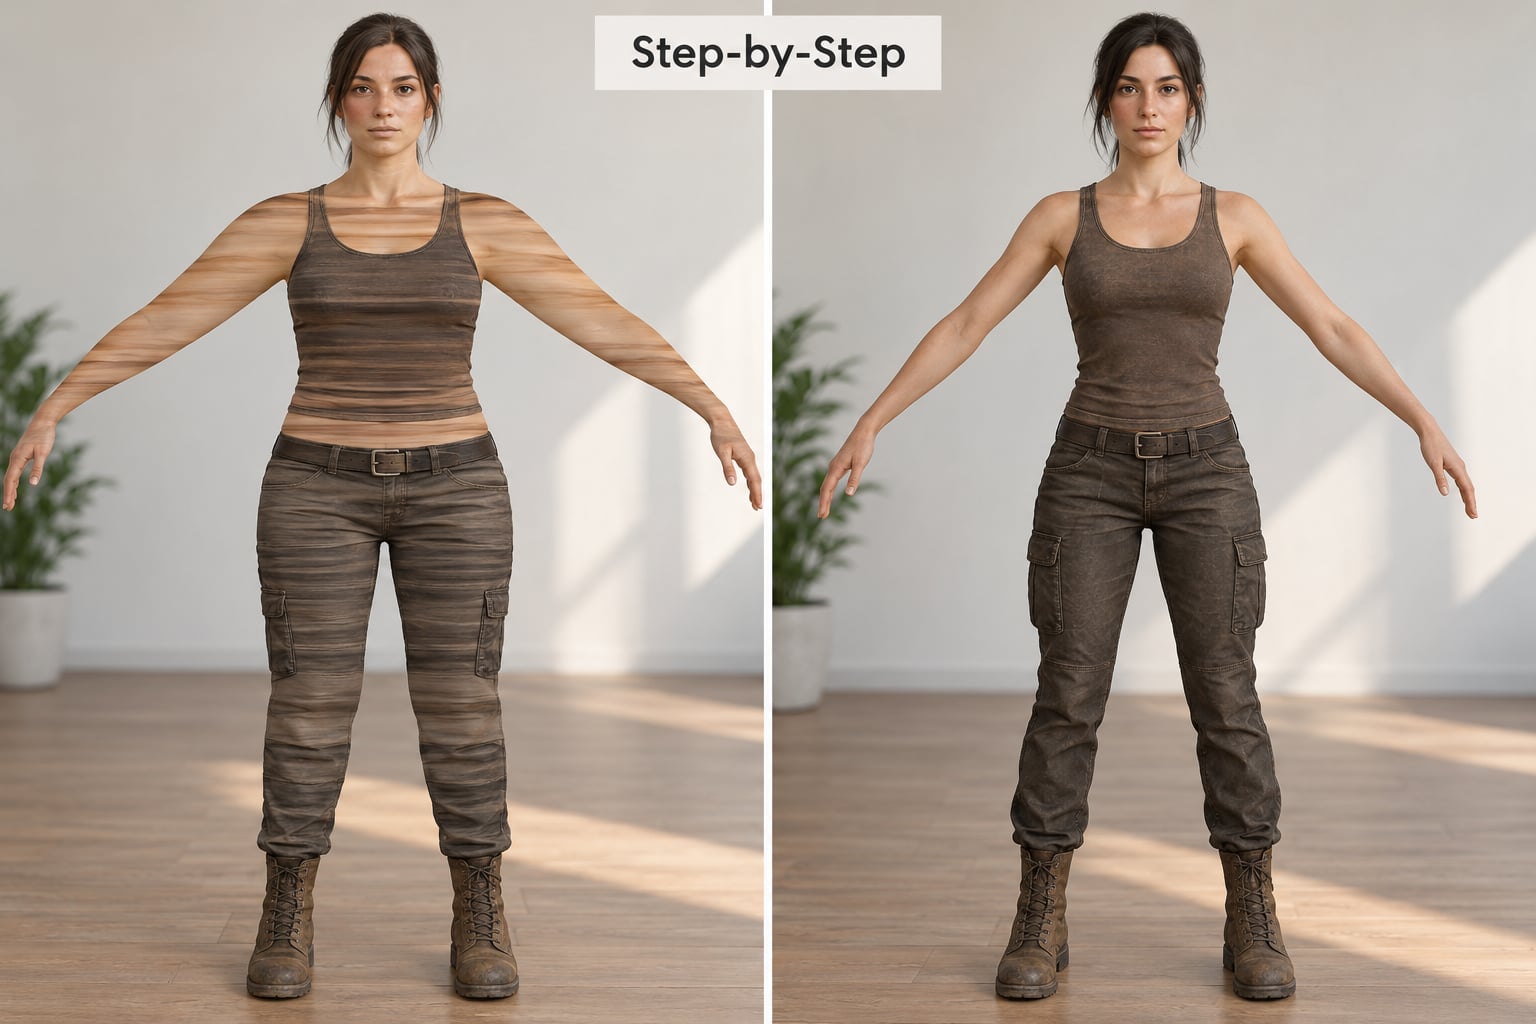
Stretching has a specific look: the pattern is smeared along one direction, features run off past where they should stop, and the distortion stays locked to the surface as the character moves. That last detail is your clearest test. If the smear slides, shifts or changes position when you take a screenshot, it is a streaming and load-order problem rather than a UV problem, and a user on r/FalloutMods traced exactly that behaviour back to load order rather than the texture itself.
Rule out the alternatives before opening anything. Broken geometry shows as holes, collapsed limbs or missing polygons. Animation faults show as the mesh lagging behind the pose. Lighting errors look like flat or wrongly shaded surfaces. A wrong model looks entirely different from the one you downloaded, usually because clothing from the base game is being worn over a replacement body.
Open the texture in an image editor and look at it flat. If it looks correct there, the file is fine and the problem sits in the model or the install.
Step 2: Back Up and Reinstall the Skin Mod Files
Make a copy of the entire mod folder before you touch anything, and name it with the date so you know what came from where. Then remove every file the previous attempt installed rather than overwriting them, because a half-replaced character with one duplicate texture still sitting in the folder will keep failing after you fix the real problem.
Load the original character first. If the vanilla skin looks correct, the game and its texture budget are working and you have a clean baseline. If the original character also looks stretched, something else is installed and that is your answer.
Step 3: Check the Correct File Format and Folder
File format is the single most common reason a correct texture shows up wrong. Texture dictionaries use extensions such as .ytd and, depending on the title and era, .dds, .tga or .png, and putting a PNG where the game expects a dictionary, or renaming the extension without converting the contents, produces artifacts that look exactly like stretching.
Renaming a file changes nothing about what is inside it. If a mod author shipped a PNG and named it .ytd, the game has no texture data to read and falls back to a default or a blank surface.
For GTA V, OpenIV is the path in. Open the modded folder, navigate to the location the mod author specified, and confirm the replacement file sits at the exact path and filename given in the readme. Filenames in these folders are not forgiving, and a file that lands one folder too high is a file the game never reads.
Step 4: Inspect the Texture Resolution and Aspect Ratio
Look at the pixel dimensions of the texture next to what the model expects. A source image that is much smaller than the target resolution gets magnified, and any compression or sharpening in it turns into smearing. An image whose proportions do not match the layout it is painted for has the same visible result even at full resolution.
Compare against the stock texture for that slot rather than against a number you found elsewhere. Sizes changed between game versions, and copying a target resolution from a different title is how people end up converting a file four times for no gain.
How to fix skin mod texture stretching without touching a UV map usually starts here, because a wrongly proportioned source image can be repainted or re-exported in a few minutes.
Step 5: Repair or Replace the UV Layout
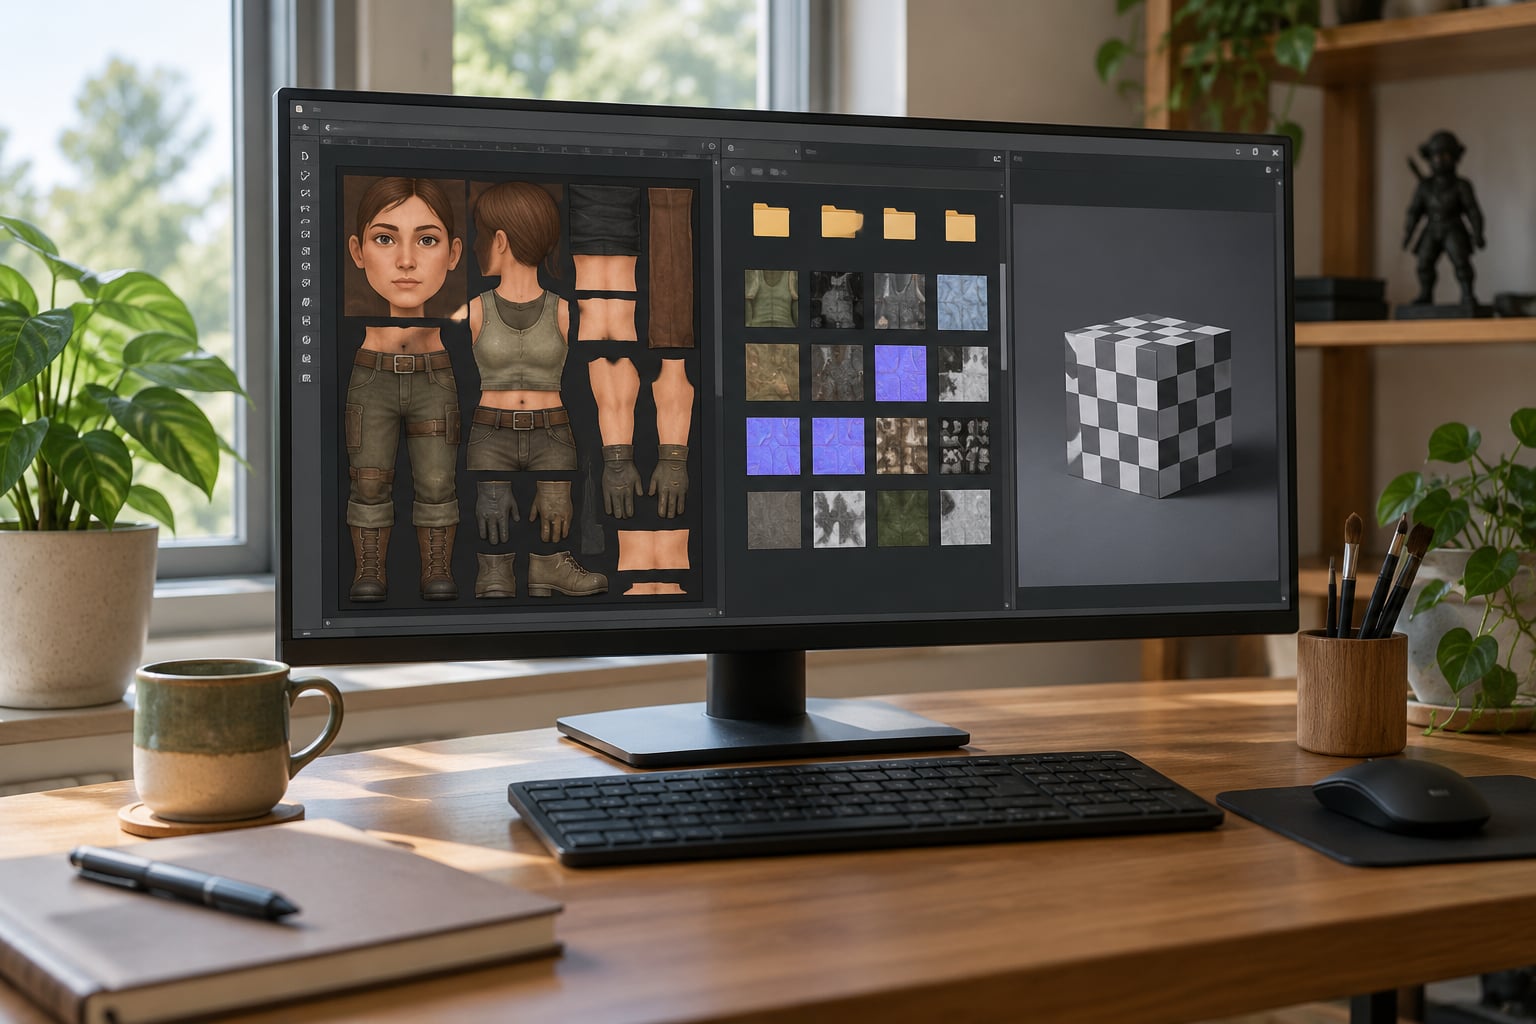
Open the model in Blender when the texture itself is correct and flat but still smears on the character. The usual culprit is object scale that was never applied before unwrapping, which makes the UV islands come out unevenly sized. Apply the scale first, then re-run Smart UV Project or unwrap the affected islands again.
Watch the result with a neutral checkerboard texture rather than your skin. An even grid that stays square across the arm tells you the UVs are correct; a checkerboard that turns into rectangles tells you exactly which island is wrong.
If you did not make the model, repairing its UVs is rarely worth it. Download a corrected version or a different mesh instead. A community answer on forums.nexusmods.com resolved a badly stretched skin by swapping the mesh rather than editing textures, and that is usually the faster route when you are only installing, not authoring.
Step 6: Convert the Texture Into the Format the Game Expects
Convert with settings that match what the game reads. Save an intermediate copy as PNG or TGA at full resolution, work on it there, then export the final file in the format the slot needs. Keeping a lossless intermediate means you can re-export as often as you like without stacking compression artifacts on top of each attempt.
Some slots expect a specific channel layout, and swapping the channels or flipping vertically changes how the pattern lands. If the texture looks correct but upside down or mirrored in game, that is a conversion setting rather than a UV problem.
Step 7: Remove Conflicts and Verify Load Order
Two mods that both replace the same character file will fight, and the one loaded last silently overwrites a correct texture. Turn every other character, clothing and body mod off, then add your skin back alone.
This matters more than it sounds with replacement bodies. Vanilla clothing worn over a modded body mesh stretches along the arms and hands because the two shapes do not line up, which was the accepted answer on the Nexus Mods forum thread about texture stretching. Nothing in the texture file will fix that.
On FiveM, the same idea applies server-side. A streaming clothing item with several texture slots, such as a beard or mask with colour variants, needs every slot replaced rather than one. Partial replacement is why beards and masks render bright green and pink for people streaming them, a problem raised on forum.cfx.re that has drawn no real answer on the thread.
Step 8: Clear Caches and Test the Skin In-Game
Close the game fully, then clear the cache folder the game creates rather than just the one for your mod manager. Relaunch, load a save with the character in front of you, and check three things: that the pattern stops at the right body part, that it stays put while the character walks and runs, and that lighting and shadows still look right.
If the character looks fine standing still and wrong in motion, you are back at Step 1 looking at animation or at the load-order case. Test under normal gameplay rather than in a photo mode, since lighting and animation state both differ.
Common Mistakes
These are the fixes that get attempted most and work least.
- Renaming the extension without converting the file. The contents still hold the wrong data. Convert it properly instead.
- Raising texture resolution to fix a smear. A bigger image stretched over the same broken UVs just stretches further. Check the UV map before the resolution.
- Running several budget or adjuster tools at once to fix stretching. Resource Adjuster raises the texture and asset VRAM budget, which on stock settings sits around 1.5GiB, and users on gta5-mods.com report it is the fix for textures that fail to load at all. It does nothing for a stretched UV map, and combining it with heap or packfile adjusters has been reported as a crash source.
- Editing the wrong texture layer. Editing a normal or specular map when the smearing is in the diffuse layer wastes an afternoon. Confirm which slot holds the pattern you can see.
- Testing with the whole mod list active. You cannot attribute the result to anything. One mod, one test.
- Using software the format does not support. Check the tool can read the game’s texture dictionary at all before importing and re-exporting.
What Works Best by Game and Platform
On the desktop GTA III, Vice City and San Andreas titles the method is straightforward file replacement, and most stretching there comes from a texture painted for a different body layout. GTA IV has its own archive handling, so read the format requirements before replacing anything. GTA V is where the modded folder and OpenIV matter, and where conflicting replacements are the usual culprit.
FiveM differs again because clothing is streamed server-side, which means the fix often belongs in your server resource rather than in a local install, and multi-slot textures need every slot handled.
Android ports run console or older game builds, so a texture that works on PC may not load at all, and the file paths from desktop guides will not match. Check what build is on the device before copying any path from a guide, including the instruction to test the same mod on desktop first.
One gap worth knowing about: users on gta5-mods.com have been asking for a version of these adjuster tools that works with the newer enhanced release and its DirectX 12 path, and the community standard tool has not been rebuilt for it since late 2022. On those builds, verify that the tool you are installing is supported before relying on it.
Frequently Asked Questions
Why is my GTA skin texture stretched?
It is almost always a mismatch between the model’s UV map and the texture, not a broken file. The UV islands are unevenly scaled or were built for a different body shape, so the image is dragged across the surface. Vanilla clothing worn over a replacement body mesh causes the same look, and no texture edit will fix that.
Can I fix skin mod texture stretching without opening the UV map?
Yes, when the texture itself is the problem. Repaint or re-export the image at the resolution and proportions the slot expects, reinstall cleanly, and rule out mod conflicts. If the pattern stays smeared after that, the UV map is at fault and you do need Blender or a replacement model to resolve it.
What texture format should I use for my GTA skin mod?
Match whatever the mod author specified for that slot. GTA V uses texture dictionaries such as ytd, while older titles often work with dds, tga or png. Converting is required, not just renaming, since changing the extension leaves the contents unchanged and the game cannot read them.
Does increasing texture resolution fix stretching?
No. A larger image laid over uneven UV islands stretches further, not less. Resolution only matters when the visible fault is pixelation from an undersized source. Check the UV map first, and only raise resolution once the pattern is proportioned correctly.
Why does the character look correct in the mod preview but stretched in the game?
Previews usually show the texture flat, or show a different model than the one you installed. The distortion appears in game because the UV coordinates attached to the actual mesh do not match what the author painted for. Comparing the preview against the model you actually loaded usually reveals the mismatch.
When should I replace the model instead of repairing the texture?
When you did not author the model. Repairing UVs on someone else’s mesh takes real time and often introduces new seams. If the character already looks correct in a viewer and only breaks in game, that points to the install or a conflict instead. Downloading a corrected mesh is usually faster.
Conclusion
Start with a full backup and a single-mod test on a clean save, so you know the character works before anything else. Then work down the chain in order: file format and location, then resolution and aspect ratio, then UV compatibility, then conflicts and load order, and clear the cache before the final in-game test. Almost every case of skin mod texture stretching is settled in the first four steps, and the ones that survive them need a re-unwrap in Blender or a different mesh.