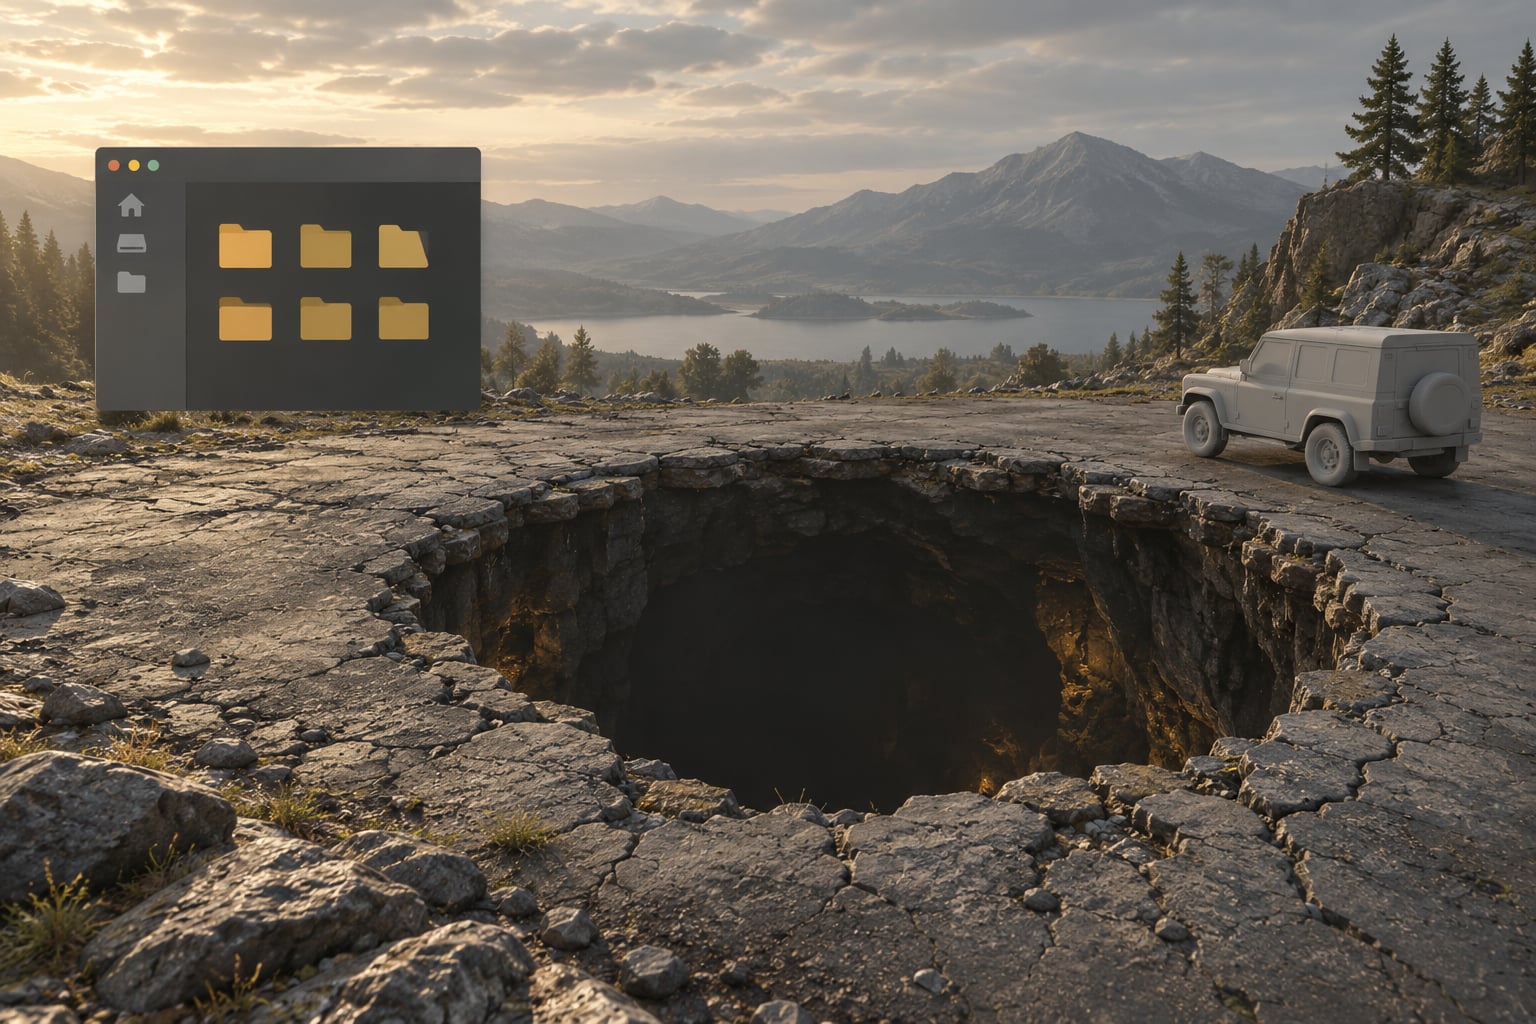
Most searches for how to fix map mod holes in the ground land on a hole that is nearly always missing collision data, not a broken game. The fix path runs from least to most destructive: confirm the hole in a clean save, test whether the surface has collision, isolate other mods, verify your install paths, reinstall the collision and map files, then clear caches and check the area again. Most readers never get past step three, because the diagnosis is usually simpler than it looks.
This guide covers the PC versions of GTA V and FiveM specifically, since that is where the file structure is the most confusing. The general method carries over to other modded games, and I have flagged where the tool names change.
Table of Contents
- 1What You Need
- 2Step-by-Step: How to Fix Map Mod Holes in the Ground
- 31. Reproduce the Hole in a Clean Save
- 42. Check the Collision Before You Fix Map Mod Holes in the Ground
- 53. Disable Other Mods and Verify Dependencies
- 64. Confirm the Correct OpenIV Installation Paths
- 75. Reinstall the Collision and Map Files
- 86. Clear Caches and Test the Repaired Area
- 9Common Mistakes
- 10Frequently Asked Questions
- 11Are black holes in GTA map mods caused by missing collision?
- 12Why does the map look solid even though objects fall through it?
- 13Can I fix map mod holes by changing only the .ymap file?
- 14Where should I install collision files with OpenIV?
- 15How do I know which GTA edition a map mod was made for?
- 16What should I do if the hole remains after reinstalling the files?
- 17Conclusion
What You Need
You do not need much. You need the right files in the right place, and about twenty minutes.
- The exact map mod version, matched to your game edition. Legacy and Enhanced builds of GTA V take different files. Installing the wrong one gives you a hole that never goes away.
- Your original, unmodified game files. These are the reference you compare against when a replacement is doing something unexpected.
- A backup of your mods folder. Copy the whole thing before you touch anything. This is the one step people skip and then regret.
- OpenIV. The modding file browser. It reads and writes the game’s loose files and lets you see the
modsfolder that a normal install leaves hidden. - A plain text editor. Notepad is fine. You need it for
dlclist.xmland for checking filenames character by character. - The map mod’s documentation. This is the single most useful item on the list. It tells you the install path, the dependencies and the load priority. Guessing at any of those three is what creates most of the problems described below.
- CodeWalker, optionally. A free world-viewing and editing tool for GTA V that lets you look at the map data directly instead of guessing from in-game views.
Tools differ by game, so here is the short version. If you are modding a different title, the fix logic still applies.
| Game | Usual fix tool | Where it goes |
|---|---|---|
| GTA V (Legacy) | OpenIV with a collision repair pack | mods/update/x64/dlcpacks, registered in dlclist.xml |
| GTA V (Enhanced) | Collision packs built for Enhanced only | Same loose-file structure, but pack versions must match your build |
| FiveM | Server resource folder and map editor | Server resources and cfg, driven by the server owner rather than each client |
| Skyrim | Previsibine Repair Pack (PRP.esp) | Bottom of the load order, last plugin enabled |
| Farming Simulator | Map editor, plus an object hider for stray props | Map folder in your documents directory |
| Minecraft survival servers | Auto-fill or hole-filling server plugins | Server plugin folder, separate from the map mod itself |
One note on OpenIV itself, because it comes up constantly: if your mods folder looks empty, that is usually the folder being hidden rather than missing. Windows hides the mods directory inside the game folder by default, so you are looking at a display setting, not a broken install.
Step-by-Step: How to Fix Map Mod Holes in the Ground
Work through these in order and stop as soon as the hole disappears. Each step has a success test, so you know whether to keep going.
1. Reproduce the Hole in a Clean Save
Load a save you have not touched since before the problem started, or start a new one, and walk to the location. If the hole is there in a clean save, it belongs to the mod setup rather than to a corrupted playthrough.
You also want to check whether it is there when you stand still. A hole that only appears while you are moving fast is usually a streaming problem, not a collision problem, and those have a completely different fix.
Run the same test with an empty or heavily reduced mod list. If the hole vanishes, you have a mod conflict and can skip ahead to step three. Success test: the gap is visible in a clean save, at a fixed location, in the same shape every time.
2. Check the Collision Before You Fix Map Mod Holes in the Ground
Walk onto the edge of the hole. If you fall through and see sky, nothing, or a texture from a lower level, the collision is gone. If you stand on it but the ground looks wrong, you have a visual problem instead, and reinstalling collision will not touch it.
Test a vehicle next. Drive across the area slowly. A car that drops through or bounces oddly where the road should be confirms missing or broken collision data rather than a broken mesh.
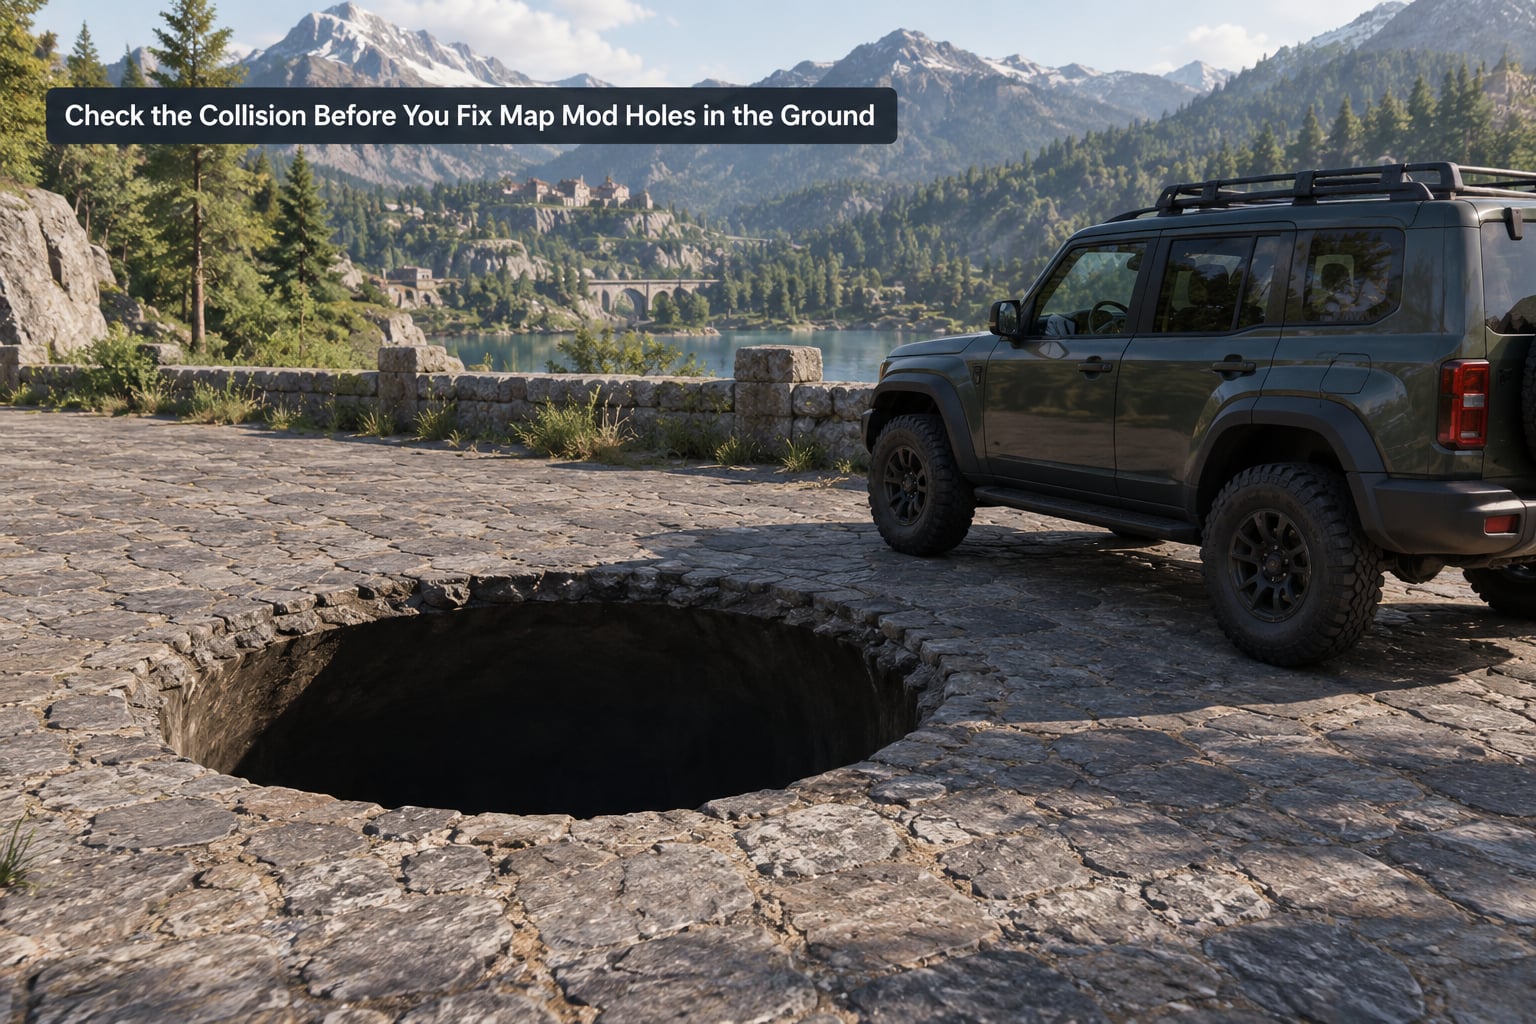
Do the same test with an NPC or a physics object. When peds, animals and vehicles all fall through the same patch, the collision data for that tile is not loading, and the cause sits in the map or collision files rather than in one broken model.
Here is how the three symptom types map to the repair, which decides everything that follows.
| What you see | What is actually wrong | The fix that works |
|---|---|---|
| You fall through into a void, sky or a lower texture | Collision file missing or not loaded | Reinstall the collision and map files (step five) |
| Ground looks solid but you pass through it | Collision exists but the bounds or archetype data is wrong | Repair pack, or a bounds-limit patch in an editor |
| Black or untextured patch, but you stand on it fine | Drawable or texture file missing, collision intact | Reinstall the drawable and texture files only |
| Chunk appears only at speed, resolves after a moment | Streaming or draw-distance, not a hole at all | Raise draw distance, fix stream-in limits, restart |
Success test: you can name which of the four you have, and you know whether collision, visuals or streaming is the target.
3. Disable Other Mods and Verify Dependencies
This is where most of the actual fixing happens. Turn off half your active mods, test the location, and keep halving until the hole disappears. The last group you disable is where the culprit lives.
Start with the usual suspects: vehicle replacements, script mods, visual overhaul mods, and anything that touches map or stream-in limits. On big setups this bisecting takes a few rounds, and that is fine. It is still faster than reinstalling things at random.
Then check dependencies against the mod author’s documentation. Repair packs in this scene often require one another, and installing them in the wrong order, or skipping a stated requirement, produces a hole that looks identical to the original problem. Restore whatever the author lists as required.
Success test: with a specific mod disabled, the ground is solid again and you have a named culprit.
4. Confirm the Correct OpenIV Installation Paths
Open the mod’s documentation and match the path exactly. On a 64-bit GTA V install, the common target is mods, then update, then x64, then dlcpacks. Server-side and older builds use different layouts, and a pack designed for a different edition will not repair anything on yours.
Check three things before you move on: the folder name matches the documentation character for character, the filename extension matches, and the pack is listed in dlclist.xml if it is a dlclist-based pack. A pack sitting in the right folder but absent from that list is simply never loaded.
Also verify you are not running a pack that expects a different build. File versions move around, and a pack built for one game version can produce collision holes on another.
Success test: the pack is in the documented folder, listed in dlclist.xml, and built for your edition.
5. Reinstall the Collision and Map Files
First, remove any conflicting copies. Two packs replacing the same collision file will fight each other, and the loser leaves a hole. Keep one version of each file.
Then place the correct files. Collision lives in .ybn files. Map and object definitions live in .ymap and .ytyp. Visible models live in .ydr and .ytd. If step two said the problem was visual, you only need the drawable and texture files, and reinstalling collision is wasted work.
Be careful not to replace original game files you have no reason to touch. Packs that overwrite vanilla assets rather than adding loose files are harder to undo, and a backup is your only way back.
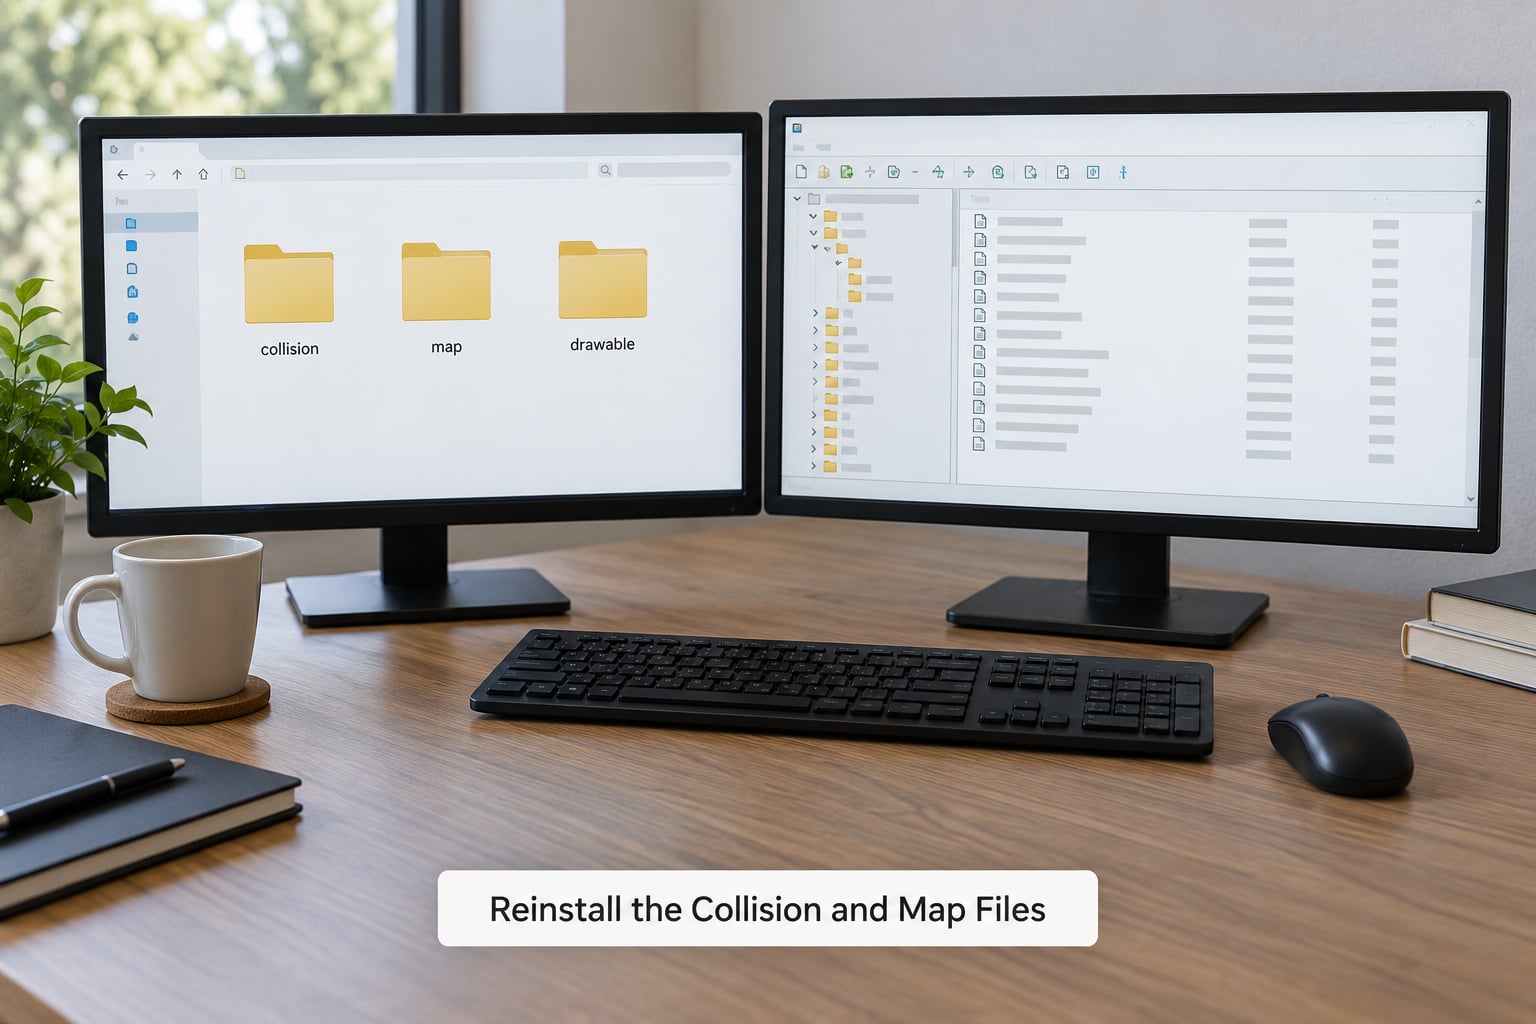
For single stubborn holes, a world editor lets you patch the data directly rather than replacing a whole tile. Select the affected tile, check whether its archetype references the right collision, and re-export. If you have many separate holes across a large area, a repair pack is faster than hand-editing each one. This is where most installs finally close the gap.
Success test: files are in place once, no duplicates, and the game loads without errors on startup.
6. Clear Caches and Test the Repaired Area
Follow whatever cache-clearing or restart procedure the mod’s documentation specifies. Some setups need a full game restart, and some need the game closed entirely rather than just a new session. A stale cache will keep showing you the old broken data no matter how correct your files are.
Load the clean save from step one and walk back to the location. Test on foot and in a vehicle, and watch an NPC cross the repaired patch. Check a second nearby location too, since repairs sometimes shift a problem rather than removing it.
If you use a noclip command for testing, treat it as a diagnostic, not a fix. It lets you fly to the hole and look at it, which is genuinely useful, but it changes nothing about the underlying data.
Success test: the player, a vehicle and an NPC all interact with the ground correctly, and you can no longer reproduce the hole.
Common Mistakes
Installing the pack for the wrong game edition. This is the top cause on PC. A Legacy pack on an Enhanced build, or the reverse, either does nothing or produces new holes. Check the version line in the documentation before downloading anything.
Missing map or archetype files. A collision file with no matching .ymap entry has nothing to attach to. If the file is in the folder but the hole persists, check that the map definition referencing it is present too.
Duplicate packs replacing the same file. Two repair mods installed together is the single most common reason a fix appears not to work. Remove one and test again.
Ignoring replacement priority. When two files have the same name, the game uses a defined order. If your intended file has lower priority than another, yours never loads. Packs that claim to be last-loaded usually say so, and that claim matters.
Outdated dependencies. Repair packs in this genre reference each other, and the required version changes between game updates. An old dependency against a new game build is a quiet failure.
Flattening or repainting the terrain. This is the tempting fix and the worst one. Repainting terrain changes the visual layer and leaves collision exactly as broken as it was, so you burn an hour and land in the same place. Fix the data that is actually missing.
Reinstalling the landscape or map mod first. If the hole came from a conflict rather than a broken install, a clean reinstall changes nothing. Confirm the cause with the bisecting test before you reinstall anything.
Confusing a visual hole with missing collision. A black or untextured patch where you can still stand is a texture or drawable problem. Reinstalling collision there does nothing at all, and the reverse is true as well.
One more worth naming: if a repair mod crashes the game or throws a corrupted-data error on load, the usual cause is a pack built for the other edition or a missing limit patch. Remove the newest addition first, confirm the game loads, and reinstall with the version matching your build. Back up before you start, every time.
Frequently Asked Questions
Are black holes in GTA map mods caused by missing collision?
Usually not. A black or untextured patch means the drawable or texture file failed to load while collision still works, so you can stand on it normally. Missing collision looks different: you fall through the surface into a void or a lower texture. Test by walking onto the area. If you stay on the ground, reinstall the model and texture files rather than the collision ones.
Why does the map look solid even though objects fall through it?
Because the visual mesh and the collision mesh are separate files, and only one of them loaded. The surface can render perfectly while the physics data beneath it is absent, so your character, NPCs and vehicles all drop through a road that looks solid. This is the clearest sign that the problem is collision data rather than a visual glitch, and it points straight at the collision and archetype files.
Can I fix map mod holes by changing only the .ymap file?
Sometimes, but rarely on its own. The ymap holds the placement data that tells the game what sits where, so replacing it helps when the tile is misplaced or its entries are wrong. For a genuine collision void, the fix usually involves the ybn collision file and the ytyp archetype definition as well. Check which of the three the documentation names before you edit anything.
Where should I install collision files with OpenIV?
On a 64-bit GTA V install, most collision packs go into the dlcpacks folder inside the x64 update folder within the game’s mods directory, and the pack must also be listed in dlclist.xml to load. Other builds and servers use different paths, so match the documentation for your version. If your mods folder looks empty, that folder is hidden by Windows rather than missing.
How do I know which GTA edition a map mod was made for?
The download page and the archive name usually say so, and the file versions inside the archive make it obvious. Legacy and Enhanced builds are not interchangeable for map and collision data, which is why installing the wrong one leaves you with a hole that no amount of reinstalling will fix. When a page does not state the edition clearly, treat that as a reason to look for a different pack.
What should I do if the hole remains after reinstalling the files?
Work back up the list rather than reinstalling again. Confirm the hole appears in a clean save, confirm collision is really missing rather than just visuals, then isolate other mods one group at a time. After that, verify the pack is listed in dlclist.xml and that no duplicate pack is replacing the same file. If it still persists, the map data itself is faulty and needs a patch in a world editor.
Conclusion
Start at the top and stop when the hole is gone. Reproduce it in a clean save, confirm the collision is actually missing, disable other mods until a culprit appears, verify the install path and the dlclist.xml entry, then reinstall the collision and map files and clear your caches before testing again.
The two mistakes that waste the most time are trying to fix it with terrain painting and reinstalling a map mod that was never broken. Both feel productive and neither touches the data that is causing the problem. Back up your mods folder first, and it is a twenty-minute job rather than an evening one.