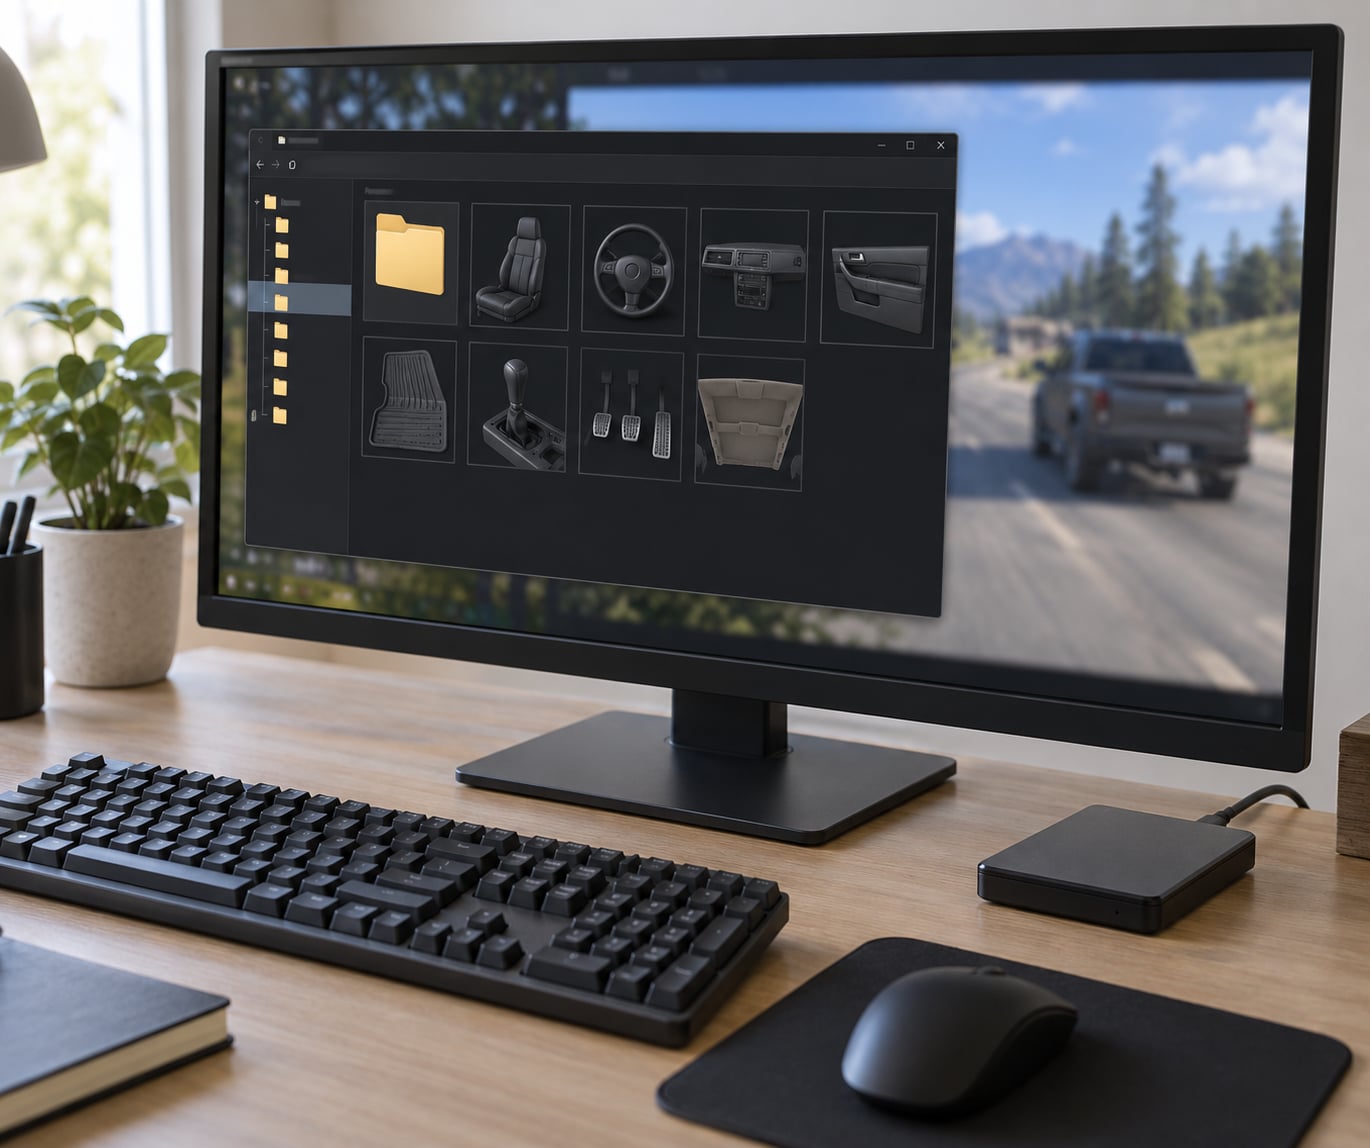
Low resolution car interiors in GTA V are not a settings problem. Rockstar reuses one small interior texture across a whole family of cars, so every dashboard, seat and speedometer inherits the same lack of detail no matter where you move the texture quality slider. The real fix is to replace vehicles_dom_interior.ytd with a higher resolution version using OpenIV in Edit mode, and it takes about 15 minutes if you back the original file up first.
That matters more than it sounds. Interiors are the first thing you see when you drop into a car in first person, and the vanilla assets are the most obvious unfinished-looking part of the whole game. Reddit threads on r/GrandTheftAutoV_PC are full of players asking whether Very High textures should look better, and the answer that keeps coming back is that the settings menu was never the problem.
Table of Contents
- 1What You Need
- 2Step-by-Step: How to Fix Low Resolution Car Interiors
- 3How to Fix Low Resolution Car Interiors Step by Step
- 41. Check Your GTA V Version and Mod Setup
- 52. Download a High-Resolution Interior Mod
- 63. Back Up the Original Vehicle Files
- 74. Install the Replacement Files
- 85. Update the Mod Configuration or Game Settings
- 96. Launch GTA V and Test the Interior
- 107. Fixes When the Interior Still Looks Low Resolution
- 11Common Mistakes
- 12Frequently Asked Questions
- 13Can I fix low resolution car interiors in GTA V without installing a mod?
- 14Can you mod GTA V without OpenIV?
- 15Why is my car interior blurry even on Very High texture quality?
- 16Will HD interior textures crash the game or lower my FPS?
- 17Does this fix work on PS4, PS5 and Xbox?
- 18Is modding GTA V safe for my account?
- 19Final Checklist
What You Need
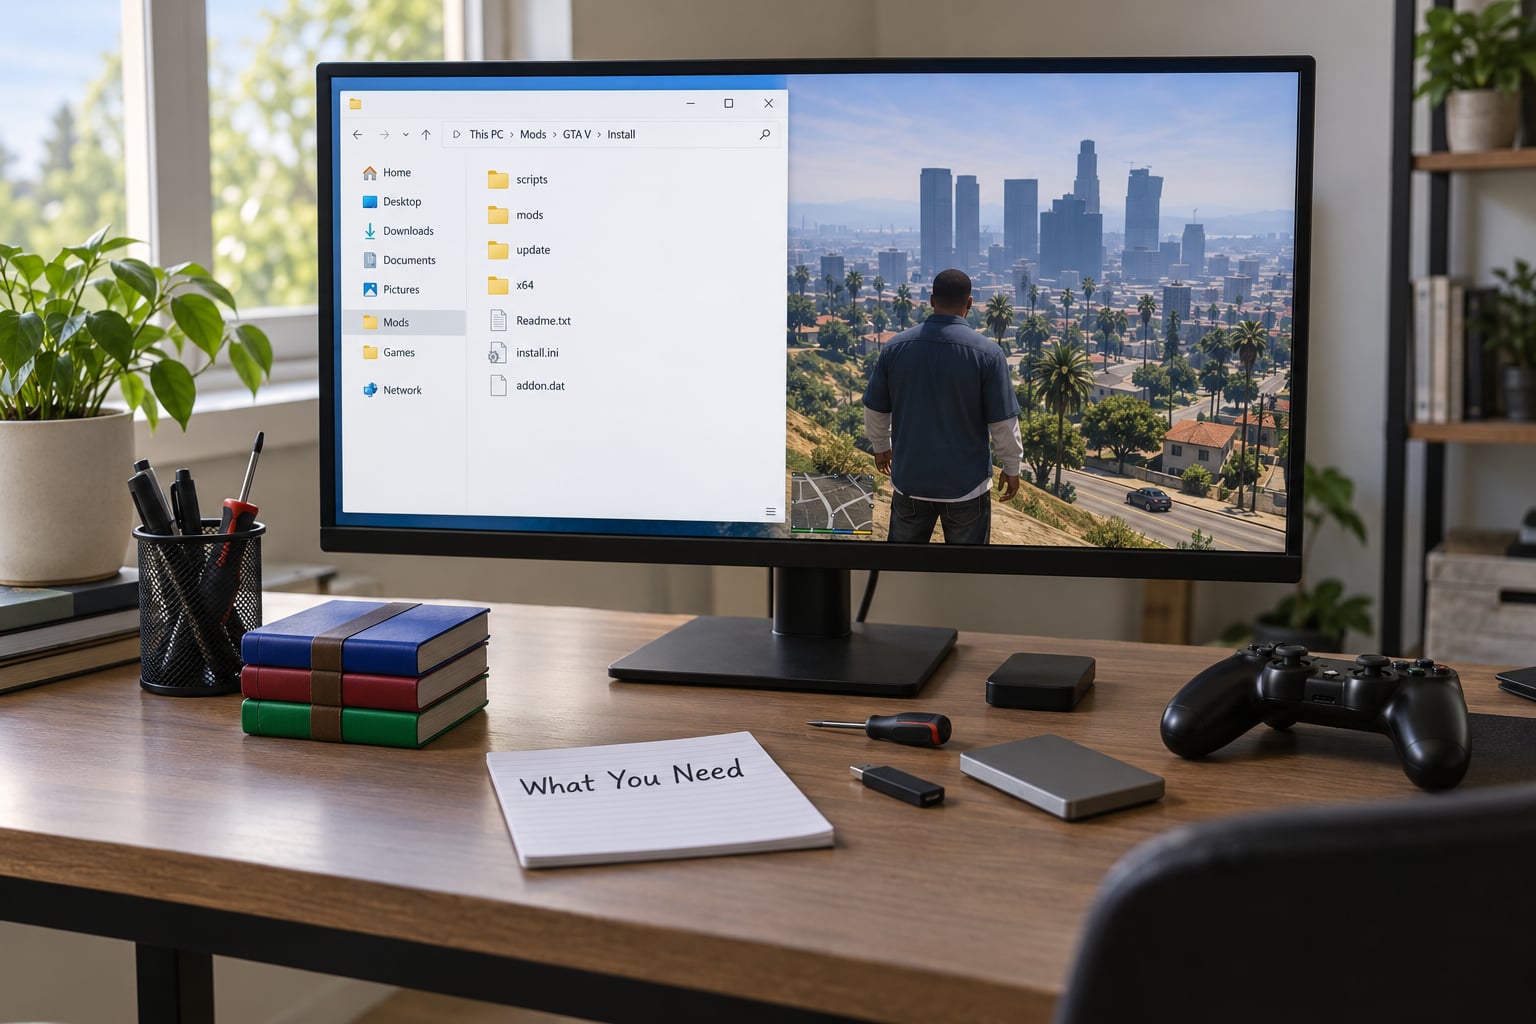
This guide covers the PC version of GTA V. You do not need anything exotic, but a couple of items are non-negotiable, and one of them is the thing most people skip.
Required:
- OpenIV with Edit mode unlocked. This is the only tool most players need.
- A replacement interior texture file that names
vehicles_dom_interior.ytdin its file list. - A backup location outside your game folder. A copy on your desktop is fine.
- Ten minutes of free time, ideally when you are not mid-session on a modded save.
Optional but useful:
- ASI Loader and a mods folder. This keeps the fix update-proof, which matters if you play often and Rockstar patches the game.
- CodeWalker, if you want to confirm which vehicles share the vanilla interior template before you install anything.
- A screenshot tool or the in-game photo mode, so you can compare before and after at the same camera angle.
Look up your graphics card’s VRAM before you start. Interiors at higher texture sizes eat a noticeable slice of it, and users on low-VRAM cards report stutter and crashes after installing a retexture, so it is worth knowing your budget before you download anything.
Step-by-Step: How to Fix Low Resolution Car Interiors
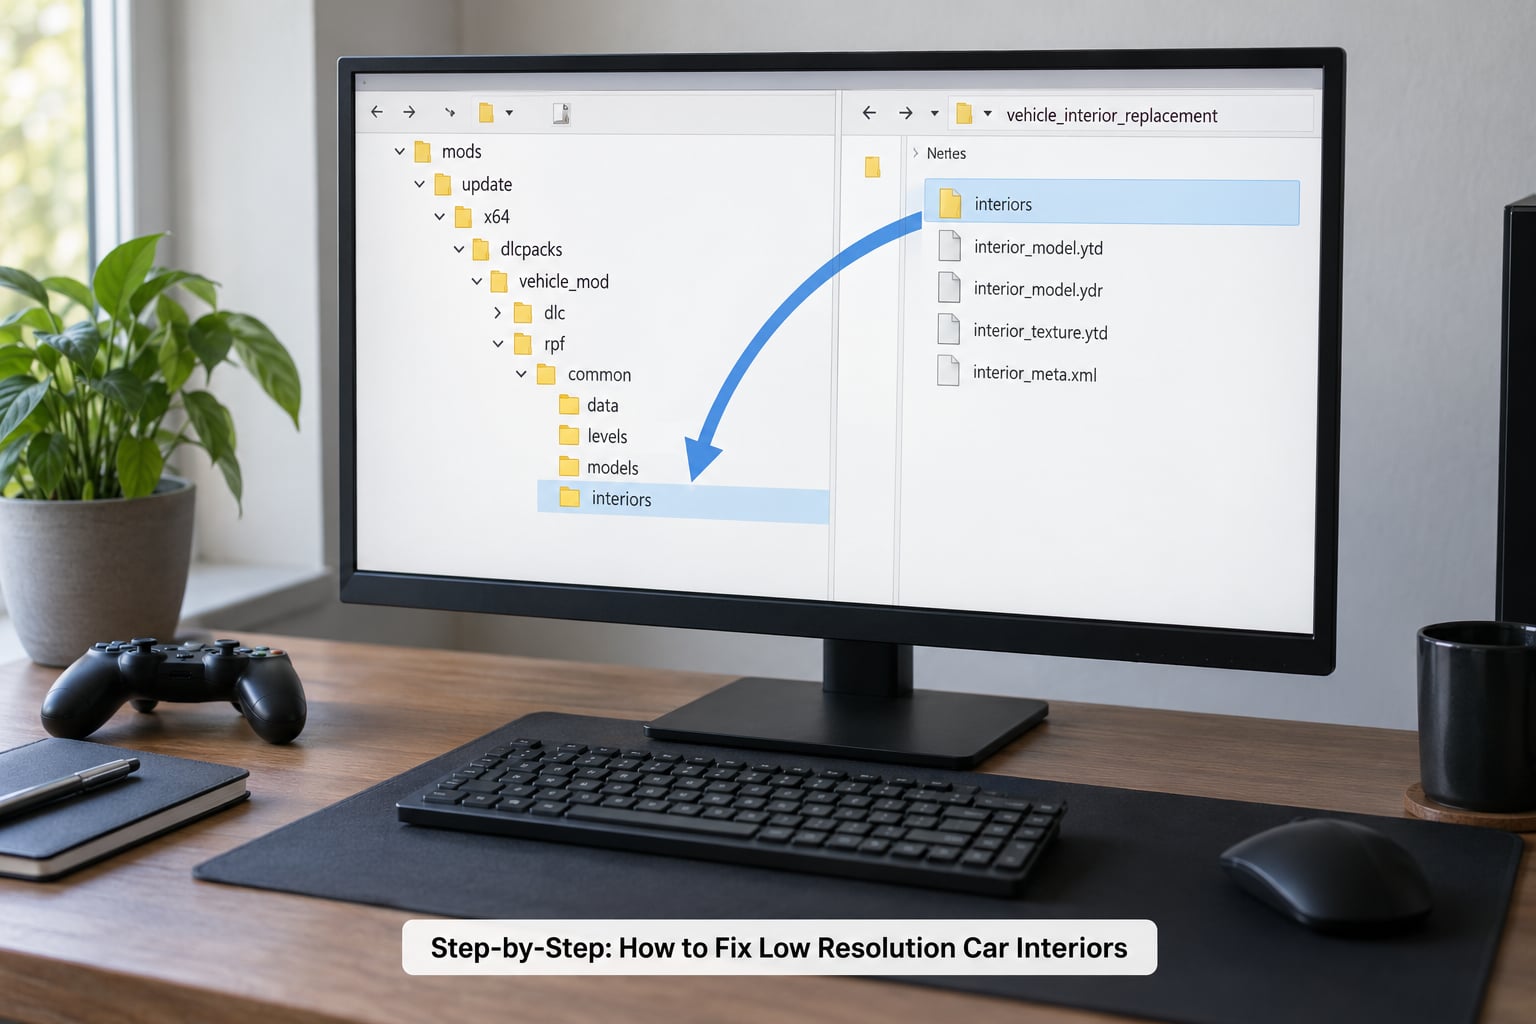
The order matters here, because each step either tells you what kind of problem you have or protects you from having to reinstall the game. Work through them in sequence.
How to Fix Low Resolution Car Interiors Step by Step
Seven steps: confirm your build, find a compatible retexture, back up the original, replace the file in OpenIV, adjust settings, test in first person, and troubleshoot whatever is left. Steps one and three are the ones people regret skipping, and they take five minutes combined.
1. Check Your GTA V Version and Mod Setup
OpenIV, click Tools then OpenIV, and expand the GTA V folder until you see x64e.rpf. Note which build you are running: the Legacy structure and the newer Enhanced release do not share identical paths or identical mod support, and a retexture built for one will look wrong or do nothing on the other.
Next, check what you already have installed. Most modded setups keep a mods folder in your GTA V directory. If you find vehicle folders there, something else may already be replacing the interior, and two replacements fighting over the same texture is a common reason a fix appears to do nothing.
For a clean check, temporarily rename or move any existing interior mods out of the way, confirm the game still runs, then do the reinstall from scratch. Rockstar Game Launcher updates also silently overwrite direct file replacements, which is another reason to know what is currently sitting in your folders.
2. Download a High-Resolution Interior Mod
Search for an HD retextured interior mod, then read the file list before downloading anything. You are looking for vehicles_dom_interior.ytd, because that single shared file serves several muscle cars at once. Users on Reddit consistently point out that the vanilla template is shared across the Dominator, Ruiner, Sabregt, Picador, Bucaneer and Coquette Classic, so one replacement changes all of them.
Check two more things. Does the page say which GTA V build it supports, and does it publish a VRAM warning? The classic Dominator retexture warns about needing at least a couple of gigabytes free, and that warning is worth reading rather than skipping.
If your favorite car uses its own unique interior file instead of the shared one, you will need a vehicle-specific retexture. That is a separate download, and it takes the same OpenIV steps with a different filename.
3. Back Up the Original Vehicle Files
In OpenIV, right-click vehicles.rpf inside x64e.rpflevelsgta5 and choose Export to folder. Put it somewhere outside the GTA V directory, like C:gta-backup. That single folder is your undo button for everything that follows.
OpenIV also writes its own copies into a modsbackup folder whenever you save an edit, but treat that as a convenience rather than your safety net. If the file you replaced was already wrong, the backup is wrong too.
Players on gtaforums mention the fear of breaking a modded install more than the fear of the fix itself. This step is what turns a bad install into a two-minute undo.
4. Install the Replacement Files
In OpenIV, enable Edit mode from the top menu or the Tools tab. Then navigate to x64e.rpflevelsgta5vehicles.rpf and find vehicles_dom_interior.ytd.
Right-click the replacement file you downloaded and choose Replace. OpenIV will ask you to confirm the change and warn you that editing game files is risky. Confirm it, then click Save in the toolbar. Wait for the progress window to report that the process finished, then close OpenIV.
Two mistakes are common at this exact moment. Dropping files into the wrong folder, such as x64 instead of x64e.rpf, does nothing at all. And editing without Edit mode enabled produces an error rather than a change. If you see no confirmation window, Edit mode is off.
Do not close OpenIV while the save is still processing. An interrupted write is the fastest route to a corrupted archive that will not open until you verify the game files.
5. Update the Mod Configuration or Game Settings
Launch the game and look at the Graphics settings. If your texture quality is set to anything below Very High, raise it. Remember the limit though: the slider tells the renderer how much VRAM it may spend, it does not add detail to a low resolution file. A 1024-pixel texture stays 1024 pixels whatever the setting says.
If you play with graphics mods such as Reshade, ENB, RadienceV or Brighter Lights, you may get a separate problem: an interior that is far too bright, flashes oddly, or glows in daylight. That is a lighting conflict rather than a texture conflict. The fix that surfaced on the FiveM support forum is editing the Emissive Bits section of visualsettings.dat instead of removing your Reshade preset entirely.
For an update-proof install, move your replacement file into the mods folder structure with an ASI Loader in place. Files inside mods are re-applied every time the game starts, so a launcher update cannot quietly undo your work. This is the version I would set up if you play more than once a week.
6. Launch GTA V and Test the Interior
Start GTA V, drive or spawn a car that uses the shared interior, and switch to the first person camera. Look straight at the instrument cluster and the stitching on the front seats, which are where vanilla assets fall apart fastest.
Check the rear-view mirror too. Mirrors render on their own path and were one of the worst offenders in an older Reddit thread, so they are a good honest test of whether the change actually applied. If everything is sharper, take a screenshot from the same angle as your before shot so you can see the difference side by side.
7. Fixes When the Interior Still Looks Low Resolution
If the interior is unchanged, black at distance, missing pieces, flashing or crashing, work down this list. Each entry pairs the symptom with the most likely cause and the fix.
- Interior looks exactly the same as before. Usually a wrong build, or a second mod overriding your file. Recheck the build, then remove competing interior mods from the mods folder and replace the file again.
- Black or missing interior at a distance. A low detail model popping in, which is a level of detail limit. Pull the camera back in slowly; if it resolves, it is LOD rather than a broken file.
- Pink or purple surfaces. A corrupt archive, or a texture over the engine limit. Verify game files in the launcher, then reinstall the replacement file.
- Interior light flickers or glows. A graphics mod conflict with the emissive settings. Adjust Emissive Bits in
visualsettings.dator disable the preset temporarily. - Crash on entering the car. The texture size goes beyond your VRAM. Drop texture quality one step, or use the 2K version instead of the 4K one.
- Fix disappears after a launcher update. Your direct file replacement was overwritten. Move the file into the mods folder and install an ASI Loader.
One note on the distance artifact, since it confuses people constantly. A black interior from across the street and a sharp one up close is normal engine behaviour, not a broken mod. The game deliberately swaps in a cheaper interior model when you are not close enough to see the detail, and no texture file will override that.
Common Mistakes
Editing without Edit mode on. OpenIV will not save and will not tell you clearly why. Enable Edit mode first, every single time.
Installing into the wrong archive. The file belongs in x64e.rpflevelsgta5vehicles.rpf, not in x64 and not in a loose mods folder with no ASI Loader to read it. Wrong folder, no visible change.
Two retextures fighting over one file. If you have an older interior mod installed, the higher-priority one wins and the other sits there doing nothing. This is the most common reason a fresh install appears to fail.
Ignoring the VRAM warning. Authors report FPS loss and stutter far more often than they report crashes, and users on Steam forums note that texture quality is effectively capped by VRAM, not by the settings menu. On a card with limited headroom, use the 2K texture.
Skipping the backup. One user on Reddit ended up effectively reinstalling the game because a mod made things worse and there was no clean undo. Two minutes of copying files prevents that entirely.
Forgetting that updates overwrite direct edits. Any time Rockstar ships a patch, files you replaced by hand can be restored to vanilla. The mods folder plus ASI Loader is the durable option.
Expecting a mirror fix from an interior file. Mirror quality is a separate rendering path. An interior retexture sharpens the cabin, and mirrors usually improve with it but are not fully solved by it.
Two habits keep a modded install sane. Keep one folder outside the game that mirrors what you have installed, and change one thing at a time so you know which step caused a new problem.
Frequently Asked Questions
Can I fix low resolution car interiors in GTA V without installing a mod?
No. The base game uses fixed vehicle textures, and one shared interior template serves many cars, so a noticeably sharper cabin generally requires replacing the texture file. You can raise the texture quality setting and the in-game resolution to make the existing assets cleaner, but no slider adds pixels that were never in the file.
Can you mod GTA V without OpenIV?
Yes, partly. ASI Loader reads replacement files from a mods folder without you touching game archives by hand, and some mods ship as .OIV packages that walk you through installing them. CodeWalker is useful for inspecting archives. For a direct vehicles_dom_interior.ytd swap, OpenIV in Edit mode remains the simplest and most widely supported route.
Why is my car interior blurry even on Very High texture quality?
Because texture quality controls the VRAM budget, not the resolution of the file itself. The vanilla interior template is low resolution and shared across a family of cars, so the slider has nothing extra to draw from. You need a higher resolution replacement file rather than a different setting.
Will HD interior textures crash the game or lower my FPS?
They can. Higher resolution interiors use more VRAM, and users report stutter, FPS loss and crashes on low-VRAM cards. Check your card’s memory before installing, start with the 2K texture rather than 4K, and keep texture quality one step below maximum until you have measured the frame rate yourself.
Does this fix work on PS4, PS5 and Xbox?
No. These steps are PC-only. Console builds are closed, the game folders are managed by the platform, and there is no supported way to replace the interior texture file. On consoles your options are limited to the in-game graphics settings, which will not change the asset resolution.
Is modding GTA V safe for my account?
Single player modding is not a ban risk and is the normal way to use these files. GTA Online is a separate matter and should be played on an unmodified install. FiveM is a separate platform with its own server rules. Keep modded and clean installs separate if you play both, and never launch online from a modded copy.
Final Checklist
Start with the backup. Export vehicles.rpf from x64e.rpflevelsgta5 to a folder outside your game directory, and do it before you touch anything else. That single step is what makes everything after it reversible.
Then: confirm your build, download a retexture that lists vehicles_dom_interior.ytd, enable Edit mode in OpenIV, replace the file, save, and test in first person view on a car that uses the shared template. If you play often, put the file in a mods folder with an ASI Loader so launcher updates cannot undo the work.
If the interior is still soft after a clean install, the remaining causes are VRAM, a level of detail limit at distance, or a car that uses its own unique interior file. In that case, look for a vehicle-specific retexture for that model rather than repeating the same install.