Installing a player skin in a GTA game comes down to one habit: replace or add the right model file in the right folder, then tell the game to load it. On PC that usually means OpenIV and a dlcpacks modfolder registered in dlclist.xml. On the classic games it can be as simple as dropping a file into a skins folder.
This guide covers how to install skin mods for the player character across GTA III, Vice City, San Andreas, GTA IV and GTA V, with the exact folder paths for each. Expect 15 to 30 minutes for a first install, most of it spent reading the mod page before you touch anything. Updated for 2026.
Table of Contents
- 1What You Need
- 2Quick Install: 10 Steps
- 3Step-by-Step
- 41. Confirm the Game, Platform, and Skin Format
- 52. Back Up Your Saves and Current Mods
- 63. Install the Skin in GTA III, Vice City, or San Andreas
- 74. How to Install the Skin in GTA IV or GTA V
- 85. Launch the Game and Verify the Skin
- 96. Update, Remove, or Troubleshoot the Skin
- 10Common Mistakes
- 11Quick Tips for Reliable Skin Mods
- 12Frequently Asked Questions
- 13Can I use the same player-character skin mod in every GTA game?
- 14Why can I not see the player after installing a skin mod?
- 15Do I need OpenIV to install a player skin mod?
- 16Will installing a player skin delete my existing mods or saves?
- 17Does OpenIV work with the Enhanced edition of GTA V?
- 18Can I use my modded skin in GTA Online?
- 19Conclusion
What You Need
Most failed skin installs trace back to something missing from this list, so work through it before downloading anything.
- The right game edition. Know the exact title, the platform and the region. A skin built for GTA V will not load in San Andreas.
- A skin file that matches your game. Check the download page for the supported game, the build or patch version, and the required tools.
- A mod tool. OpenIV is the standard choice for GTA IV and GTA V. TXD Workshop or an IMG editor covers the classic games when the basic route does not.
- A backup of your saves and current mods. Copy your save folder somewhere outside the game directory. Replacing vanilla files without a backup is the fastest way to break a save permanently.
- A text editor. Notepad is enough. You will edit dlclist.xml, and the file is picky about formatting.
- A mod loader, only when required. Some skins need AddonPeds, Skin Control or a trainer script. Those need an ASI loader plus ScriptHookV in your game folder before anything else works.
Quick Install: 10 Steps
This is the short version for GTA V on PC. The detail for each step sits further down the page.
- Confirm the skin supports your exact game and edition.
- Back up your saves and current mods.
- Open OpenIV and set Edit Mode on.
- Point OpenIV at the folder holding the game executable.
- Open update/x64/dlcpacks.
- Copy the skin’s modfolder into dlcpacks.
- Add a dlclist.xml entry naming that folder.
- Save the file and close OpenIV.
- Launch Story Mode and load a save.
- Check the model and textures, then save.
Step-by-Step
The sequence below runs from checking the download to confirming the change in game. Steps one to three are shared across every GTA title, and the game-specific install starts at step three. Work through it once and the method stops feeling like guesswork.
1. Confirm the Game, Platform, and Skin Format
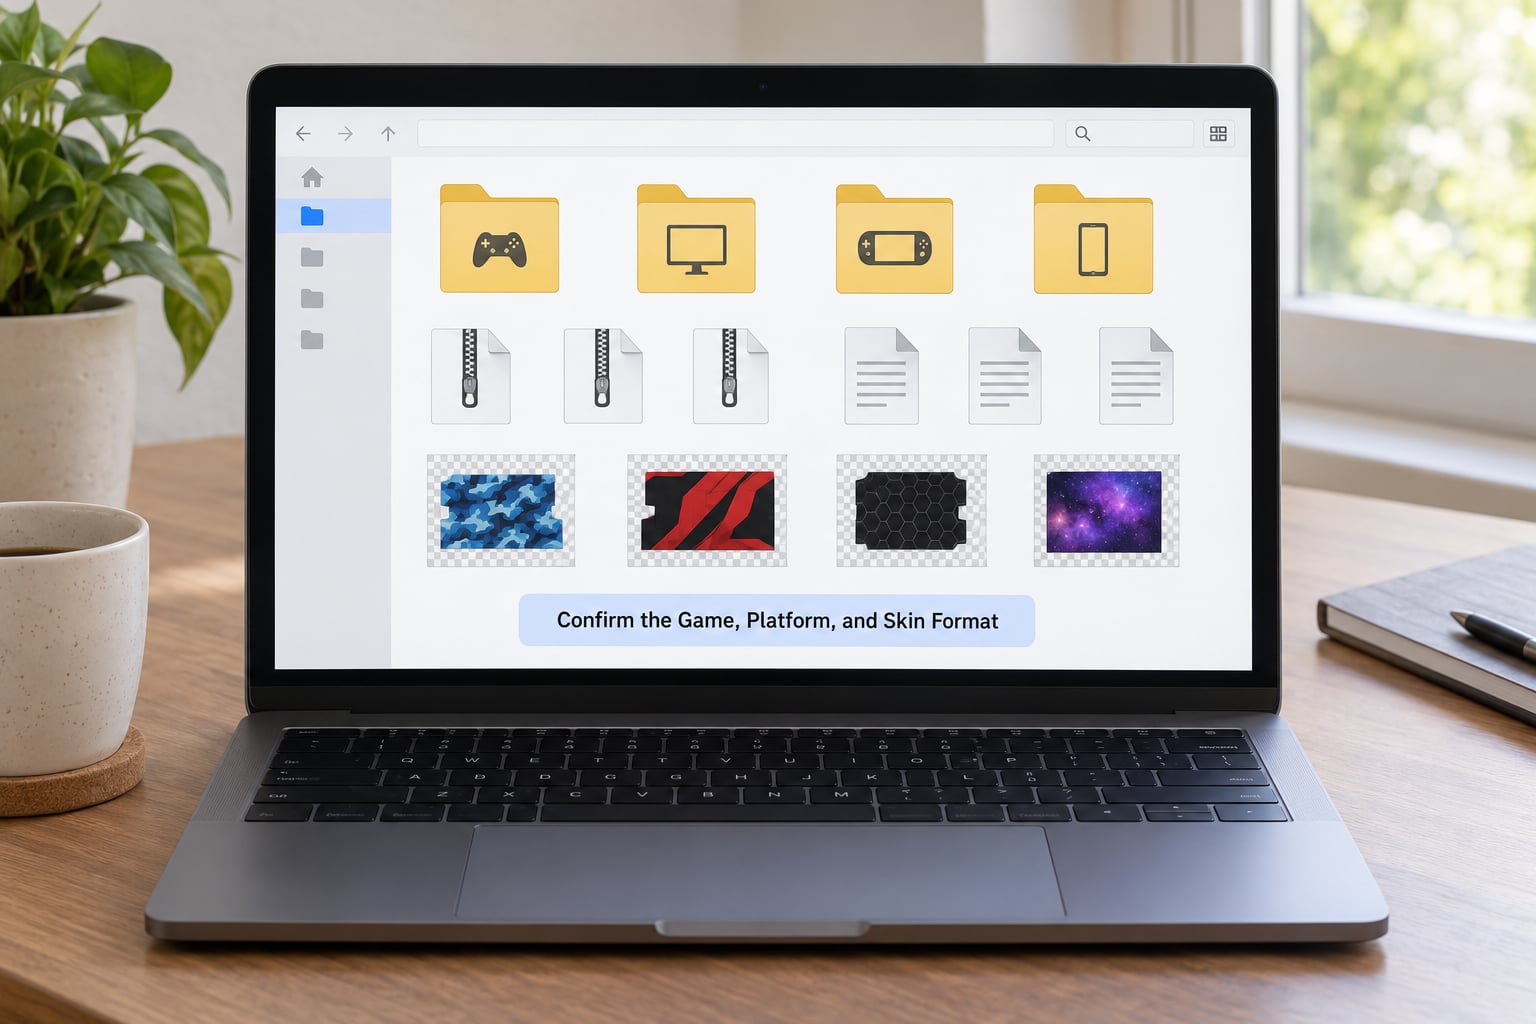
Open the archive you downloaded and look at what is actually inside before you install anything. Skin mods usually arrive in one of four shapes, and each one takes a different path.
- Loose replacement files. Plain .yft, .ydd, .ytd or .dff files that overwrite the vanilla character directly.
- Add-on packs. A ready-made modfolder to drop into dlcpacks.
- Scripts and installers. An .asi, .exe or .lua file plus instructions for a mod menu.
- Archive contents. Classic-game skins that need an IMG editor to reach the .img files inside.
A readme file in the download usually names the supported game build. If it does not, treat that as a warning sign rather than a detail.
2. Back Up Your Saves and Current Mods
Copy your save games and every existing replacement file out of the game directory before you add anything. Save locations differ by title and by store, so search your user folder for a saves or Saved Games directory rather than guessing at a path.
OpenIV also keeps its own backup area. Every file you replace through the Replace Files option is copied there automatically, which is why using OpenIV is safer than dragging files over the originals in Windows Explorer.
One backup takes a minute. Debugging a bricked save takes an evening.
3. Install the Skin in GTA III, Vice City, or San Andreas
The classic games use a simple two-tier approach, and you should try the first tier before touching any tool.
Basic route: drop the skin file into the skins folder inside the game directory, launch the game, open the player setup screen and pick the new skin. That works for most skins in GTA III and San Andreas.
Advanced route: open the game’s archive with TXD Workshop or an IMG editor, replace the player file inside the relevant .img archive, and save. Use this when you need to swap the model rather than the outfit, or when the skins folder route does not show up in the menu.
In OpenIV, do the same thing through Edit Mode with the Replace Files option rather than editing the archive directly. OpenIV keeps the original so you can undo it later.
One classic caveat worth knowing: in GTA III, Claude can revert to her default outfit during the opening mission if you have not also replaced the prison uniform skin.
4. How to Install the Skin in GTA IV or GTA V
These two titles use the same architecture. The difference is that GTA IV has no dlcpacks folder out of the box, so you create the whole structure yourself.
Open OpenIV, choose the game from the dropdown, set Edit Mode on, and point it at your game directory. It will warn that the folder does not contain gta5.exe if you picked the wrong one. Navigate to update/x64/dlcpacks. In GTA V the folder already exists; in GTA IV you create it, along with a mods folder if it is missing.
Copy the skin’s modfolder into dlcpacks. Then open update/update.rpf, find common/data/dlclist.xml and add the folder name as a new line item:
<Item>dlcpacks:/my_skin_folder/</Item>Save the file, close OpenIV, and launch the game. That line is what registers the pack. A modfolder copied in but never listed in dlclist.xml is the single most common reason a skin silently fails to appear, and it is the first thing to check when you install skin mods for the player character and get nothing on screen.
Files placed directly in the game root or in a mods folder behave differently from registered dlcpacks. Use the mods folder only when the mod author explicitly asks for it, such as for an ASI loader.
If the skin ships as a script instead, you need a mod loader rather than a dlcpacks entry. AddonPeds is the most common: install the ASI loader and ScriptHookV, run AddonPeds.exe, name the mod in the box it gives you, then press the assigned key in game and browse to the model. Skin Control works the same way but stays available in a menu so you can switch peds mid-session.
5. Launch the Game and Verify the Skin
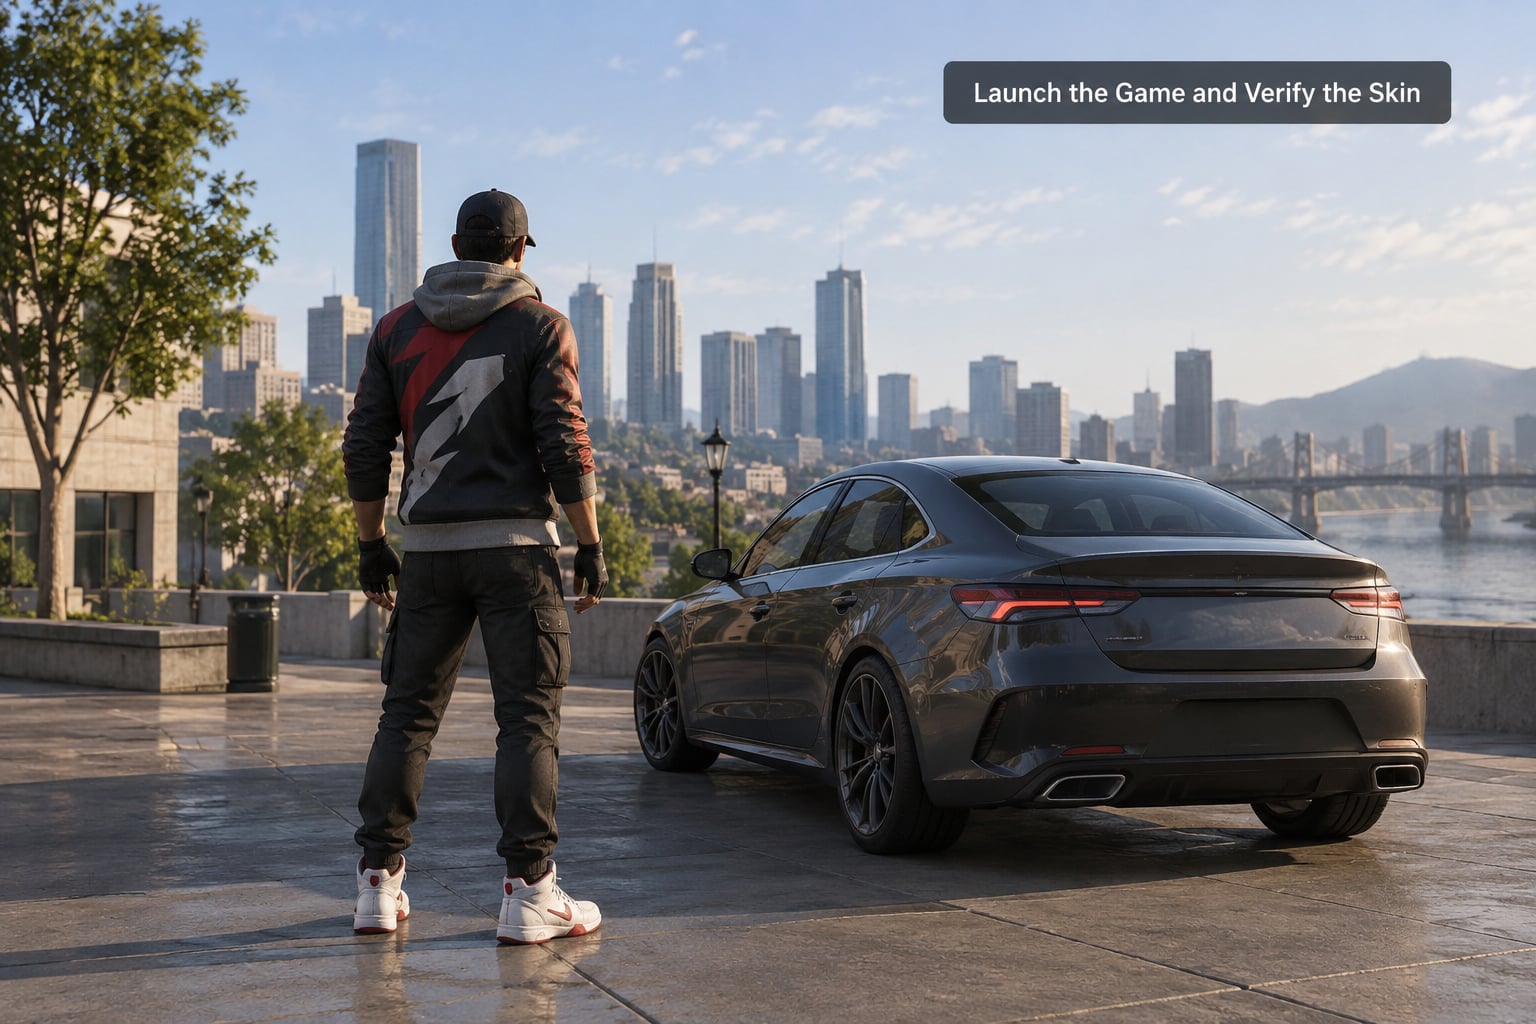
Start a new game or load a backed-up save, not the one you have been playing for forty hours. Give the loading screen its full moment, because a first-time ped load can stutter.
Walk up to a reflective surface or open the character display and look at the model in motion. Check three things: the skin appears at all, the textures are not missing or pink, and animations still play.
Then load a mission. A skin that swaps only the body model can leave cutscenes looking wrong, and a bad replacement file is the usual reason the game closes during a story scene. If everything holds up, save and move on to the next mission.
6. Update, Remove, or Troubleshoot the Skin
To remove a skin, delete its modfolder from dlcpacks and remove its line from dlclist.xml. If you replaced vanilla files directly, restore the originals from your backup or from the OpenIV backup area.
After a game update, run the game once with no mods loaded so the patch completes, then reinstall your skins one at a time. File paths and asset formats shift between builds, and an install that worked last month is not guaranteed this month.
If you want to experiment with a different ped without touching your files at all, a menu-based mod like Skin Control lets you cycle models in game and change nothing permanently.
Common Mistakes
Each of these shows up over and over in modding threads. The fix is almost always something small.
The player character is invisible or grey. The textures did not load, usually because the .ytd file is in the wrong place or the model and texture names do not match. Confirm the modfolder name in dlclist.xml matches the folder on disk exactly, including capitalisation.
The game crashes on launch. Almost always two mods writing to the same asset. Disable your new skin, and if the crash stops, a file you already had installed is now conflicting. Install one mod at a time and keep a note of what is in the folder.
Only the clothes changed. You installed a texture replacement, not a model replacement. You need the .yft and .ydd files, not just the .ytd.
Your mods folder is not showing in OpenIV. OpenIV only displays the mods folder after Edit Mode is on and the folder has been created at least once. If it is still missing, create mods inside update/x64 yourself.
OpenIV says the folder does not contain gta5.exe. You pointed it at the wrong directory. Select the folder that holds the game’s executable, not the parent folder, and do not use a Rockstar Game Install folder as a shortcut.
The skin does not appear in GTA Online. This is working as intended. Modded models and scripts do not load in Online, and trying to force them there is how people get their accounts actioned. Keep your modded play in Story Mode.
OpenIV does not work with the Enhanced edition. The Enhanced and Legacy editions are not interchangeable. Files and tools built for one do not carry over to the other, so check which edition you own before you copy any file.
Console or Android players. Xbox and PlayStation builds are closed, so skins do not install the same way. Android ports use a separate file structure and a different community of tools entirely. Both need their own guide rather than a translated PC one.
The table below is the fastest way to find where your files belong.
| Skin mod type | Tool needed | Destination folder |
|---|---|---|
| Loose vanilla replacement | OpenIV (Edit Mode) | update/x64/dlcpacks/modfolder |
| Ready-made add-on pack | OpenIV | dlcpacks plus a line in dlclist.xml |
| ASI loader or scripts | ASI loader, ScriptHookV | game root or mods folder |
| GTA V add-on ped | AddonPeds | Scripts folder, then load in game |
| GTA IV skin | OpenIV | update/x64 (create dlcpacks if missing) |
| GTA III, VC or SA skin | None, or TXD Workshop | skins folder, or inside the .img archive |
Quick Tips for Reliable Skin Mods
- Install one skin at a time so you always know which change broke something.
- Keep every download in its own folder with the readme inside it.
- Follow the game build the mod author named. A skin for an older patch can break on a newer one.
- Never install two mods that replace the same vanilla file without reading both instruction pages first.
- Test with a save you do not mind losing before you commit to a long playthrough.
- Check the mod page for required tools before you start, not after the install fails.
Frequently Asked Questions
Can I use the same player-character skin mod in every GTA game?
No. Each skin is built for one game, one platform and often one game build. A GTA V mod uses .yft and .ytd asset files that have no equivalent in San Andreas, and classic-game skins rely on .img archives that do not exist in the modern titles. Always check the download page names your exact game before you install anything.
Why can I not see the player after installing a skin mod?
The replacement is usually in the wrong folder, disabled in OpenIV, or built for another game format. Set Edit Mode on, confirm the destination path, and check that your modfolder name matches the line in dlclist.xml character for character. If you used a script-based mod, confirm the ASI loader and ScriptHookV are both present in the game folder.
Do I need OpenIV to install a player skin mod?
OpenIV is the safest common choice for loose files and archive-based installs because it backs up what it replaces. It is not the only route. Some downloads ship with an installer of their own, classic games can use TXD Workshop or an IMG editor, and script mods need a mod menu or trainer instead. Follow the instructions the mod author wrote.
Will installing a player skin delete my existing mods or saves?
A correctly installed skin should not touch your saves, but replacing the same asset file will override or conflict with another mod. Back up your saves and your current replacement files first, and install one skin at a time. If you use OpenIV, the files it replaces are stored in its own backup area, which makes undoing the install straightforward.
Does OpenIV work with the Enhanced edition of GTA V?
Not interchangeably. The Enhanced and Legacy editions use different file structures, so a mod built for one will not load on the other, and some tools refuse to run at all. Confirm which edition you own, then check that the mod page lists that edition as supported. Installing a Legacy mod into an Enhanced game usually ends in a crash or a missing model.
Can I use my modded skin in GTA Online?
No. Modded models, scripts and trainers do not load in GTA Online, and attempts to run them there risk action on your Rockstar account. Keep modded play in Story Mode, where nothing is shared competitively. If you want to change your Online character, use the in-game clothing editor rather than mod files.
Conclusion
Start by confirming the exact game, platform and file format of the skin you downloaded, then back up your saves before you open any tool. Install through the path the mod author describes: the skins folder or an IMG editor for the classic games, a dlcpacks modfolder registered in dlclist.xml for GTA IV and V, or a mod loader for script-based skins. Test the player character straight away in Story Mode, on a save you can afford to lose, and you will know within a couple of minutes whether the install worked.