The best graphics settings for modded open world games are the ones you pick after you work out whether your bottleneck is the GPU, the CPU, or VRAM. Mods add draw calls, script processing and streamed assets that vanilla presets never account for, so a generic best-settings guide often buys you nothing at all.
That is the whole idea running through this guide: diagnose first, tune second, and change things in a fixed order. Get the order wrong and you will spend an evening dragging sliders for no result.
Last updated October 2026. Paths and menu names are for the current desktop and mobile builds of the games named here; menu layouts shift between versions and engines, so treat the labels as landmarks rather than exact strings.
Table of Contents
- 1Best Graphics Settings for Modded Open World Games at a Glance
- 2What the best graphics settings for modded open world games look like by tier
- 3What Should You Change Before Installing Graphics Mods?
- 4How to Set the Resolution and Display Mode
- 5Best Graphics Settings for GTA V and Other PC Mods
- 6How to Balance Texture and Graphics Mod Quality
- 7Best Settings for Shadow, Lighting, and Weather Effects
- 8How to Set Modded Graphics on Android
- 9How to Keep Modded Games Running Smoothly
- 10Common Graphics Mod Mistakes and Fixes
- 11Frequently Asked Questions
- 12What are the best graphics settings for a modded open world game on a low-end PC?
- 13Can I use the same graphics settings for GTA V on PC and Android?
- 14Do graphics mods cause crashes if I set every option to ultra?
- 15Should I increase texture quality before enabling expensive lighting mods?
- 16How do I fix stuttering after installing a visual mod?
- 17Will changing graphics settings delete my mods or saved games?
- 18Start With a Stable Baseline
Best Graphics Settings for Modded Open World Games at a Glance
Start from this table and adjust one row at a time, never the whole page at once. Mods change the safe range of several settings at the same time, so a preset built for a vanilla open world will either cost you performance you need or leave quality on the table.
| Setting | What it costs | Visual return | Safe to lower with mods? | Start at |
|---|---|---|---|---|
| Shadow quality | High | High | Yes, first choice | High, not Ultra |
| Foliage / vegetation density | High | High | Yes | Medium |
| View distance | Medium to high | Medium | Yes | Medium to High |
| Volumetric lighting and weather | Medium | High | Yes, after shadows | Medium |
| Ambient occlusion | Low | Medium | Rarely worth it | On |
| Texture quality | VRAM only | Very high | Not until VRAM is measured | Highest that fits VRAM |
| Anti-aliasing (TAA or DLSS) | Low | Medium | Yes, but never MSAA plus upscaling | TAA or upscaler |
| Resolution | Very high | Very high | Yes, this is the diagnostic | Native, or upscaled |
| Motion blur | Low | Low | Yes on most builds | Off |
| Frame generation | Low GPU, VRAM | None on its own | Only after FPS is stable | Off until tuned |
What the best graphics settings for modded open world games look like by tier
Hardware tier decides your ceiling, not your starting point. The starting point is the vanilla game plus a small number of visual mods, at these values.
Low tier, 8GB VRAM and 16GB RAM: 1080p native or 900p with an upscaler in Quality mode, textures Medium, shadows Low or Off, foliage Low, view distance Low, volumetrics Off, ambient occlusion Off, frame generation Off. Hold this until the load order stops growing, then raise one setting per session.
Mid tier, 12GB VRAM and 32GB RAM: 1440p native, or 1080p upscaled to 1440p in Quality mode, textures High, shadows Medium, foliage Medium, view distance High, volumetrics Medium, ambient occlusion On, TAA or the upscaler doing anti-aliasing.
High tier, 16GB+ VRAM and 32GB+ RAM: native 1440p or 4K with an upscaler in Quality mode, textures High or Ultra if the pack fits, shadows High, foliage High, view distance Ultra, volumetrics High. This tier can afford a 4096px texture pack, but only if VRAM headroom survives it.
Whatever the tier, keep one rule above all of it: change one setting, replay the same route through the world, and record the frame rate before you touch anything else.
What Should You Change Before Installing Graphics Mods?
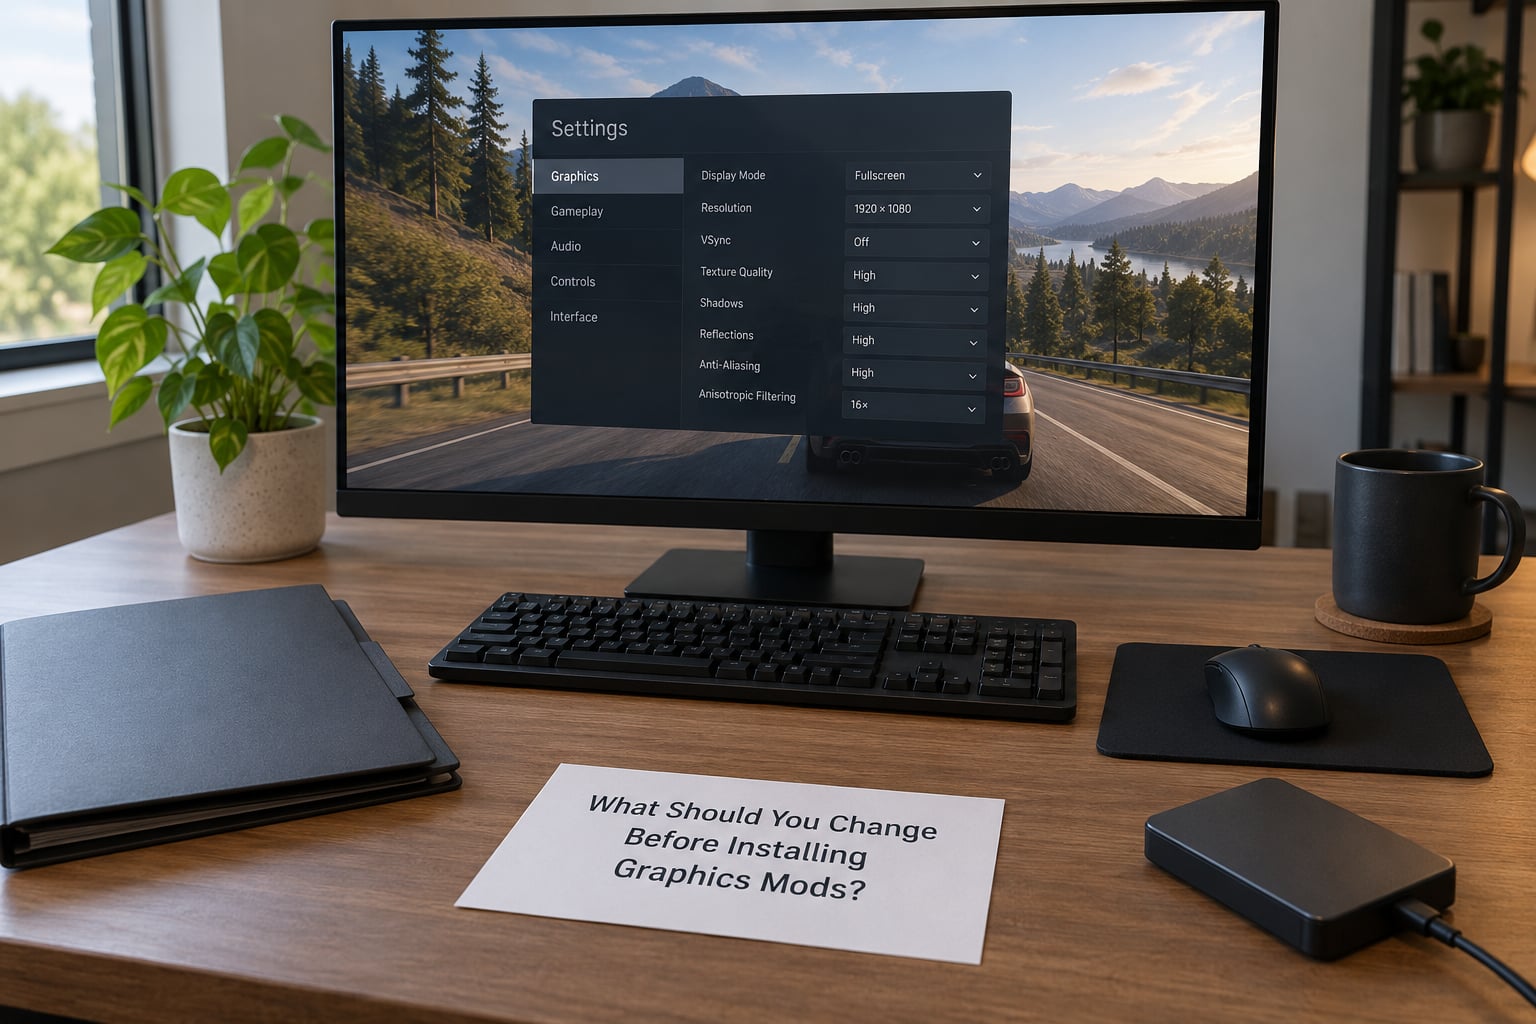
Change the base game first. Graphics mods multiply whatever the vanilla engine is already doing, and a bad baseline makes every later measurement meaningless.
Launch the unmodded game, walk to the same spot in the open world you actually play in, and write down three numbers: average frame rate, the VRAM the process uses, and how long it takes to draw that distant skyline. A single screenshot of the settings screen is worth more than memory later.
Then confirm which executable you are launching. A mod manager can point a launcher at the wrong binary, in which case settings you changed simply never apply. Check the path your profile or launcher reports, not the shortcut you click.
Make a save backup before the first mod goes in. Copy the save folder to another drive and name it with today’s date. Save files do not care about your graphics settings, but a bad asset override can corrupt them, and recovering from a dated copy takes minutes rather than a weekend.
Finally, decide your VRAM ceiling now. Open the GPU control panel, note total memory, and aim to keep peak usage at roughly 80% of it in dense areas. Anything above that and the game starts thrashing, which looks exactly like a bad setting.
How to Set the Resolution and Display Mode
Set resolution to your monitor’s native panel resolution first, then decide whether to run native or hand the image to an upscaler. Everything else about the display should follow from that one choice.
Display mode: use exclusive fullscreen when the game offers it and you want the lowest input latency. Borderless windowed is more forgiving with overlays and alt-tab, and on modern builds the difference is small, so pick whichever you can live with rather than treating it as a performance lever.
Refresh rate: match the in-game refresh rate to the monitor, then set the frame rate cap slightly below it or leave it uncapped if your frame times are steady. Capping to the refresh rate costs nothing and stops the constant 1% low swings that feel worse than a slightly lower average.
HDR and VSync: HDR is fine on a modded build as long as your texture budget already fits VRAM, because HDR raises internal buffer size slightly. VSync is a latency decision, not a performance one. If frame times are uneven, turning VSync off and capping manually usually feels smoother than leaving it on.
On Android the same principles apply with a different ceiling. Phones and tablets rarely hit native panel resolution; most mobile variants expose a resolution scale slider instead, and the frame rate cap is set per game or through the device’s battery saver profile. Thermal throttling replaces the desktop’s background-process problem as the main cause of late-session slowdowns.
Best Graphics Settings for GTA V and Other PC Mods
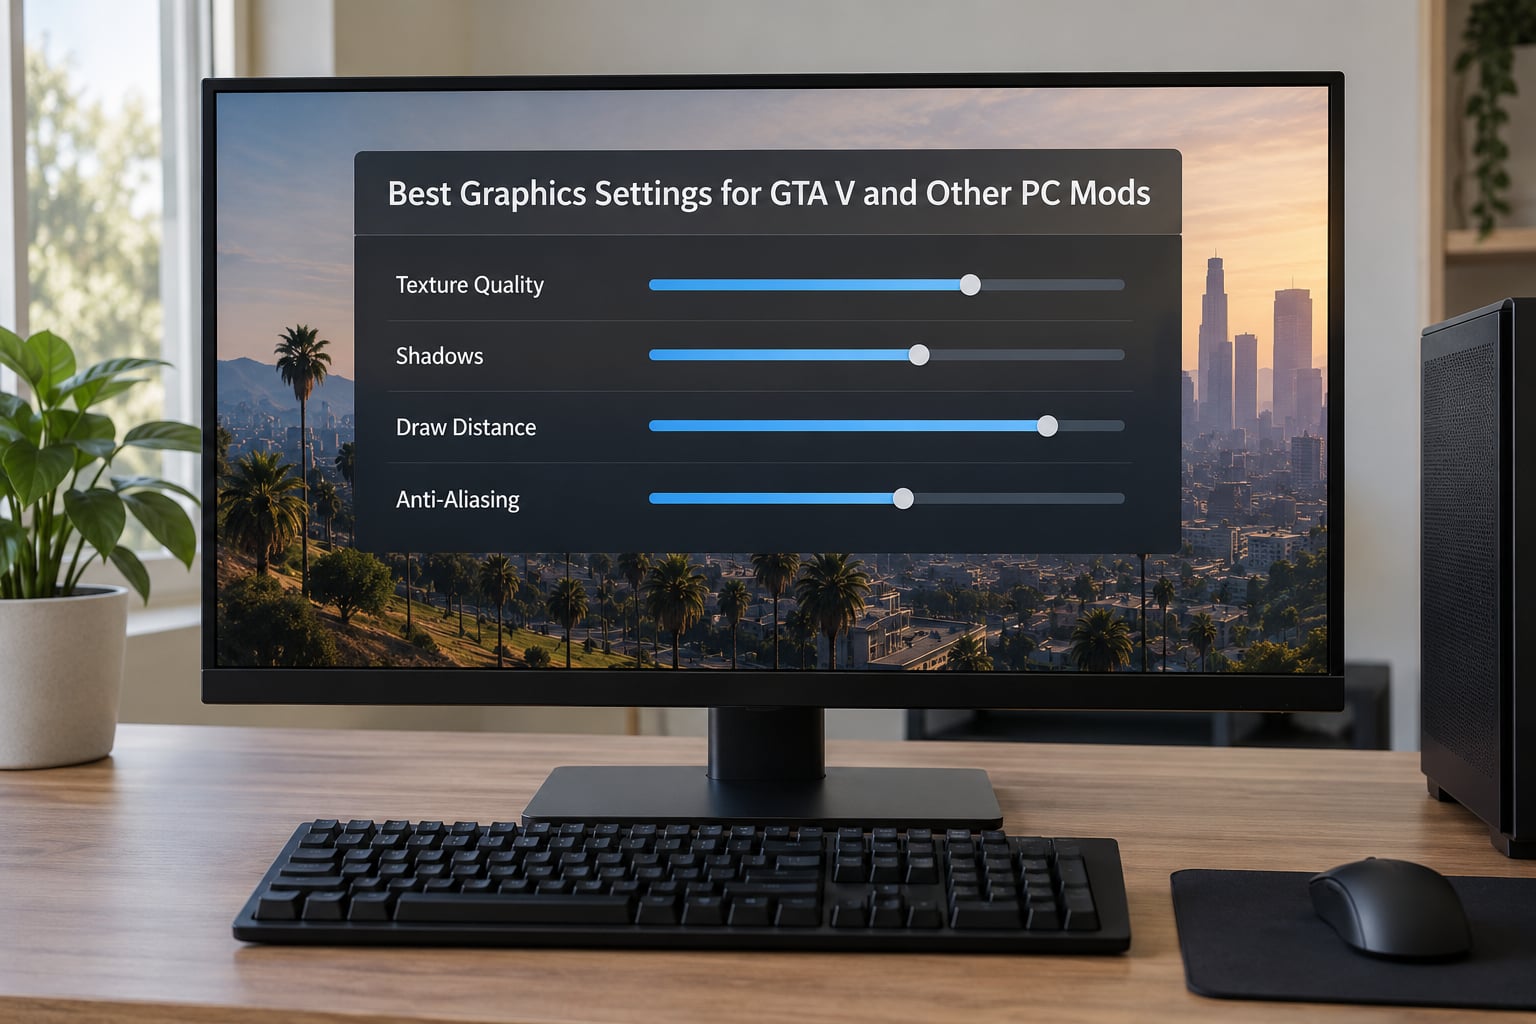
On PC, the Graphics tab is where the useful work happens. In GTA V and other Rockstar builds the path is Settings, Graphics, then Advanced for the per-feature list; in most other engines the equivalent is a Graphics menu with a Display tab for resolution and an Advanced or Quality tab for everything else.
Resolution and display: native resolution, fullscreen, refresh rate matched to the monitor. Change nothing else in this tab before you have a baseline number.
MSAA: set it to off when you run an AI upscaler such as DLSS, FSR or XeSS, because the upscaler already resolves edges. Running MSAA on top of an upscaler costs a lot of GPU time and blurs the image twice.
Texture quality: leave this where your VRAM measurement puts it. It is the one setting that does not reduce frame rate directly, only memory pressure, so dropping it too early hides the real cause of any slowdown you are seeing.
Shader quality and post-processing: shader quality can force expensive permutations on heavily scripted load orders, which is where stutter comes from rather than raw speed. Post-processing bundles several effects into one slider, so turn it down only after you have already addressed volumetrics separately.
Shadow quality: drop one tier, not three. Going from Ultra to High is where most of the recoverable frame rate sits on a dense city map, and the difference on screen is small outside close-up cinematic shots.
Water quality and grass quality: these are the quiet wins in open worlds. A large water surface and dense grass are both fill-rate heavy, and both look fine at a lower tier when you are moving at speed.
Soft shadows and ambient occlusion: soft shadows are close to free on most engines. Ambient occlusion is worth keeping because it costs little and adds contact depth that upscalers do not replace well.
Population density and draw distance: on modded builds, these two are where you find the CPU. Lowering draw distance helps frame rate; lowering population density helps the simulation, and on a 300-mod list it is the one that stops the game stuttering when you walk into a market district.
My rule after any of these: change one row, replay the same 60 seconds of gameplay, write the new number down. Three settings at once tells you nothing when the result is bad.
How to Balance Texture and Graphics Mod Quality
Balance them by measuring VRAM against the pack, not by picking a tier name. A 4096px texture pack is a memory commitment, and on 8GB cards it usually forces everything else down too, because the memory pressure shows up as stutter rather than as a crash.
Measure peak usage in the densest part of the world, not in a menu. Watch the dedicated GPU memory counter while you drive through the city or fly over the tallest region, and note the highest number it touches. If it pins at 100%, every other setting you change will feel broken until you fix textures.
The quality-balanced combos that work best follow a pattern: maximum texture, medium-to-high shadows, medium everything else. Visual quality mods on surfaces read much better than the ones on lighting, so when you must give something up, give up lighting first.
After installing any texture pack, test it in this order: fast travel to a new zone, walk through a forest, look at reflective water, then check the same route you benchmarked before. Texture pop-in and blur appear here rather than in a static menu.
Why a visually enhanced game stutters after a texture upgrade: higher resolution textures mean more streaming work and less room in the pool, so the engine waits on disk during movement. The fix is usually fewer pixels of texture resolution combined with a wider streaming pool, not more shaders.
Best Settings for Shadow, Lighting, and Weather Effects
Shadows and volumetrics deliver the clearest visual improvement per unit of frame rate, in that order. Everything in this category costs real GPU time in an open world, because you are asking for many overlapping effects across a wide view distance.
Soft shadows: keep them on. They cost very little and they stop hard shadow edges from looking cheap at low tiers.
Shadow quality: the first thing to drop. Ultra to High recovers a meaningful chunk of frame rate on a dense city, and Low is the last resort because contact shadows disappear and characters look detached from the ground.
Volumetric lighting and god rays: strong visual payoff, moderate cost, and they scale with view distance, so cutting draw distance cuts their cost automatically. Medium is the sensible tier for most modded loads.
Bloom: cheap, and it hides the softness an upscaler introduces. Leave it on at low intensity.
Ambient occlusion: one of the best value options. It is far cheaper than raising shadows and it adds grounding that upscalers do not fake.
Motion blur and depth of field: turn motion blur off on most builds. It hides frame pacing problems visually, which means it also hides the improvement you were trying to measure. Depth of field is a preference; at a low tier it costs more than it returns.
Screen-space reflections: the first effect to cut on a heavy load order, because they are expensive and only visible on wet or polished surfaces.
Weather and time of day: dynamic weather changes are effectively a second shader load every time the sky updates. On a scripted list, cap the number of active weather states rather than dropping the quality of each one.
How to Set Modded Graphics on Android
On Android, the goal is a stable frame rate you can hold for a full session, not maximum settings. Mobile variants of open world games often run modified engines, and the settings menu you get depends on the port rather than the desktop original.
Tier the device first. If your SoC is a recent flagship, run the native resolution with shadows on Medium and volumetrics Off. On a mid-range chip, drop the resolution scale to around 80 to 85 percent, shadows to Low, and textures to Medium. On an older device, run at the lowest resolution scale, shadows Off, and skip weather effects entirely.
Resolution scale is your best single lever because it is the only one that reduces both GPU fill cost and memory pressure at once, and on a phone it also lowers heat, which protects your sustained frame rate.
Set the frame rate cap deliberately. Phones default to 60 or 30 depending on the game, and an uncapped mobile build generates more heat than it delivers. A locked 40 often beats an unstable 60 after twenty minutes.
Watch for thermal throttling as the real limiter. If the frame rate holds for a few minutes and then slides downward while the phone is warm, that is heat, not settings. Close background apps, drop the resolution scale one notch, and expect the first ten minutes after a charge to look better than the last ten.
Mobile texture packs are the most common cause of crashes and black screens, because phone memory is shared with the system. Install one pack at a time, keep the previous pack backed up, and if a new pack fails, remove it fully rather than leaving a partial install.
Know your safe reset. Every mobile variant ships with a way to clear the graphics config or reinstall the original data files, and you want to find that option before you need it rather than during a crash loop. Full reinstall, clear cache, then restore your mod folder one group at a time is the order that works.
How to Keep Modded Games Running Smoothly
Smooth means consistent frame times, not a high average. A build holding 55 FPS with even pacing feels better than one averaging 70 with frequent dips, and that is what most modded stutter complaints are actually about.
Close what you can before launching. Overlays, screen recorders, voice chat widgets and background capture tools all hook the graphics pipeline, and on a modded build that is one more thing competing for frame time. Disable hardware-accelerated GPU scheduling only as an experiment; it helps some systems and hurts others, so test it rather than assuming.
Set the power plan to High Performance or Balanced with the minimum state turned off, and check that the game is not being throttled by a laptop power profile. Storage matters more than people expect: streaming stalls come from the drive, and an NVMe drive with a page file on it removes a lot of the hitches you would otherwise chase in the settings menu.
Keep GPU drivers current, since upscalers and frame generation are patched per driver release. Update while the game is closed, and keep your previous driver available in case a newer one breaks a specific engine.
Benchmark the same way every time. Use the built-in performance overlay or a third-party counter, fly a fixed route through the densest part of the world, and record the average, the 1% low, and peak VRAM. Same route, same conditions, same distance from the first wall to the last corner, or the numbers mean nothing.
Frame generation is the last thing you enable, not the first. It smooths motion but adds input latency, costs VRAM, and can misbehave on builds with very high draw-call counts, which is exactly what a heavy load order produces.
Common Graphics Mod Mistakes and Fixes
Most modded graphics problems are one of four things wearing a different mask. Identify which one before you start changing settings.
Black screen after a mod: almost always a resolution or HDR mismatch. Reset the config file to defaults, relaunch at native resolution with HDR off, then reapply one setting at a time.
Flickering or purple-black textures: a missing or conflicting shader, often from a visual mod that requires an enabler or a framework that is not installed. Reinstall that framework first.
Stutter that appears only when entering a new zone: this is streaming and shader compilation, not raw GPU load. It is fixed by widening the streaming pool and pre-compiling shaders, not by lowering quality.
Low frame rate everywhere with settings already low: you are probably CPU or RAM bound. Watch the GPU utilisation counter: if it sits well below 90 percent while the CPU is pinned, no graphics setting will help, and the fix is population density, draw distance, script load or more system memory.
Washed-out lighting: an ambient occlusion or post-processing mod set to a different profile than the game expects. Match the in-game lighting slider to the mod’s intended value.
Settings that reset on every launch: a mod manager is overwriting the config, or the game writes to a different profile than the one you edited. Point the manager at the active profile and confirm the path after each launch.
Crash on load after a texture pack: VRAM overflow. Drop texture quality one tier, or remove the pack entirely and verify the game boots before adding anything else back.
There is one failure mode worth naming because it wastes more time than any other. If you prune a heavy load order and performance collapses, that is not always your imagination. A documented example on r/CitiesSkylines saw a 46-mod build with roughly 3000 custom assets drop from playable above-vanilla settings to 2 to 9 FPS after unused assets were removed on a Ryzen 9 5900HX with 16GB of RAM. Asset count is not linear against performance, and a smaller library can leave the streaming pool underfilled. The fix is to restore the pool settings and the removed assets, then tune from a known-good state rather than pruning further.
Frequently Asked Questions
What are the best graphics settings for a modded open world game on a low-end PC?
Run 1080p native, textures Medium, shadows Low or Off, foliage Low, view distance Low, volumetrics Off, ambient occlusion Off, motion blur Off and frame generation Off. Hold those values until the load order stops changing, then raise one setting per session and record the frame rate each time. On 8GB of VRAM, keep texture quality fixed rather than dropping it early, because memory pressure shows up as stutter.
Can I use the same graphics settings for GTA V on PC and Android?
No. The PC build exposes options for MSAA, shader permutations and higher texture tiers that mobile variants simply do not have, and the Android version trades resolution scale for hardware the desktop does not use. What transfers is the order of operations: match native resolution first, then shadows, then volumetrics, then textures. Expect to run the Android version at a reduced resolution scale and a locked frame rate to control heat.
Do graphics mods cause crashes if I set every option to ultra?
They can, and the crash usually comes from memory rather than shader cost. Ultra texture tiers with a high-resolution pack can exhaust VRAM and produce a black screen or a load crash. Ultra shadow and volumetric settings more often cause frame times in the 100ms range than a hard crash. If you want maximum visuals, raise texture quality within measured VRAM headroom and leave the lighting effects at Medium.
Should I increase texture quality before enabling expensive lighting mods?
Not on a tight VRAM budget, because the order that fails worst is a large texture pack installed on top of volumetrics and reflections. Texture quality costs memory, and lighting effects cost fill rate, so they fail in different ways. On 12GB or more of VRAM, textures first is fine. Below that, install the lighting mods first, confirm a stable frame rate, and only then raise texture quality.
How do I fix stuttering after installing a visual mod?
First confirm the stutter is not low frame rate. Watch GPU utilisation while the hitch happens: near 90 percent means you are GPU bound and need a lower setting, while low utilisation means streaming or shader compilation. Widen the texture streaming pool in the config file and pre-compile shaders before launch. If the hitch only occurs entering a new zone, it is streaming, and raising quality settings will not touch it.
Will changing graphics settings delete my mods or saved games?
No. Graphics settings live in the game’s configuration file, mods live in the mod folder, and saves live in a separate save directory, so normal changes to any of them do not affect the others. The exception is a mod manager that rewrites the config on every launch, which silently reverts settings rather than deleting anything. Keep a dated save backup anyway, since an asset override can affect save compatibility independently of settings.
Start With a Stable Baseline
The best graphics settings for modded open world games are the ones you arrive at from a measurement, not a preset. Back up your saves, record a vanilla baseline in the part of the world you actually play, confirm your VRAM ceiling, and then change one setting at a time in the order above.
Start conservative: shadows down one tier, foliage and view distance at Medium, volumetrics at Medium, textures at the highest tier your measured VRAM headroom supports. Benchmark after each change, and raise quality only while the game stays stable.
And if a setting change produces nothing, stop adjusting settings. Check GPU utilisation, because a saturated CPU or a stalled drive will not respond to any slider in the graphics menu.