A sound overhaul mod replaces your game’s stock audio with a larger, more realistic set: different footsteps per surface, real weapon impacts, denser city ambience, new engine notes. To install one safely, confirm which game build you own, copy the original audio to a backup folder, drop the mod files into the matching sound directory, then test in small stages before you commit to a full playthrough. Most failed installs come down to one thing: files in the wrong folder. Updated for 2026, this guide covers GTA V, GTA IV, San Andreas and RageMP, plus the manual route when you do not want a mod manager. The whole job takes about 20 minutes including the backup.
Table of Contents
- 1What You Need Before You Start
- 2Step-by-Step: Installing a Sound Overhaul Mod
- 3Confirm the Game and Mod Requirements
- 4Back Up the Original Game Audio
- 5Open the Correct Mod Destination
- 6Copy the Sound Overhaul Files
- 7Replace or Add Audio Files Safely
- 8How to Install a Sound Overhaul Mod Without a Mod Manager
- 9Launch the Game and Test the Sound
- 10Common Mistakes and How to Fix Them
- 11Frequently Asked Questions
- 12Can I install a sound overhaul mod on GTA V?
- 13Do I need OpenIV to install a sound overhaul mod?
- 14Should I replace the original game audio files?
- 15Why does my sound overhaul mod make the game crash?
- 16How do I restore the original sounds after installing a mod?
- 17Can sound overhaul mods be installed on console or Android?
- 18Conclusion: Back Up First, Then Install in Small Stages
What You Need Before You Start
Everything below assumes the base game is already installed and has been launched once, so its audio folders exist and the engine has generated its sound cache. If you have never started the game after buying it, do that first. It takes a few minutes and it removes a whole category of confusing problems later.
Here is the short list of what you need:
- The game and its edition. GTA V on Steam, Rockstar Game Pass and Epic are different builds with different folder trees, and the Definitive Edition of the older titles is restructured again.
- The overhaul’s requirements list. Read it before you download anything. Many packs need a script extender such as SKSE64, an unofficial patch, an SSE engine fixes file, or a sound distribution tool before they will play a single file.
- A file tool. Vortex or Mod Organizer 2 if you already mod with them, otherwise plain 7-Zip or WinRAR is enough.
- OpenIV for any game where you have to write into the protected game root, or a mod manager that handles the virtual file layer for you.
- A backup folder on another drive if you have one. The same drive is fine for small packs, but large overhauls can add several GB.
- Free disk space. Keep room for the extracted mod, the backup copy and the game files side by side. Running out of space halfway through is a common cause of silent installs.
Most overhaul packs are free downloads, and the reputable ones come from established mod sites. Paid packs exist and occasionally sound better, but nothing about the install process changes. If a pack asks you to disable your antivirus to “unlock” it, close the page.
Step-by-Step: Installing a Sound Overhaul Mod
Confirm the Game and Mod Requirements
Open the mod page and check three things before you touch a file: which game versions it supports, which scripts it lists as dependencies, and what kind of pack it actually is. Sound mods fall into three groups and they install differently.
- Full overhauls replace large swaths of the vanilla audio: footsteps, weapons, armour, creatures, weather, UI.
- Vehicle or weapon packs add one specific category, usually through a folder of custom engine or gun audio.
- Standalone audio mods replace a narrow set of events without a script requirement.
Note your exact game build too. On GTA V, right-click the game in your launcher and check the properties for the current build number; a pack that predates a major update is the most common reason a sound overhaul goes quiet. When you search for the file itself, use the exact mod name plus the game version, not a generic term like audio pack, because that is how you end up downloading someone else’s reupload.
Back Up the Original Game Audio
Find the game’s sound folders, then copy the whole lot to a clearly named folder on your desktop or a spare drive. Name it something obvious like GTA-V-audio-backup so you will recognise it in six months when you need it.
How to confirm the backup worked: open both folders side by side, check that the file count matches at the top level, and open one folder inside each to compare contents. If the backup is short by even a handful of files, copy it again. A ten-second check here saves an evening of hunting later.
This backup is your undo button. It is also the fastest diagnostic tool you have: when something breaks, restoring the original folder proves whether the problem is the mod or something else in your setup.
Open the Correct Mod Destination
This is where most installs go wrong, because GTA titles do not share a folder layout. Here are the real destinations:
- GTA V: the destination is
Rockstar GamesGTA Vx64datagtasounds. Game files are read-only, so either use a mod manager that overlays a virtual folder or open OpenIV, enable Edit mode, and navigate to that same path. DLC-specific audio sits in the dlc folders underx64datadlc, not in the main sounds directory. - GTA IV: audio lives under
Rockstar GamesGTA IVpcdatasounds, with subfolders for effects, ambience and voice. Older builds of the game may place some files inpcdataaudio, so check both before you conclude anything is missing. - San Andreas: the folders are
audiosfx,audioambandaudiomusicin the game root. Footsteps and weapons go in sfx, weather and city beds go in amb, and any replacement track goes in music with the matching numbered filename. - RageMP and FiveM builds: server-side audio usually drops into a
user_resourcesfolder rather than the game directory. Check the server or project page for the exact subfolder. - Definitive Edition remasters: the folder tree was rebuilt, so follow the path on the mod page rather than copying an old install guide. This is the most common source of wrong-folder posts on forums.
How do you know the right folder is open? For GTA V, the path bar at the top of your window should end in sounds and you should see folders like ambient, dlc, frontend and speech. If you see a handful of loose files and no folders, you are one level too high or too low.
Copy the Sound Overhaul Files
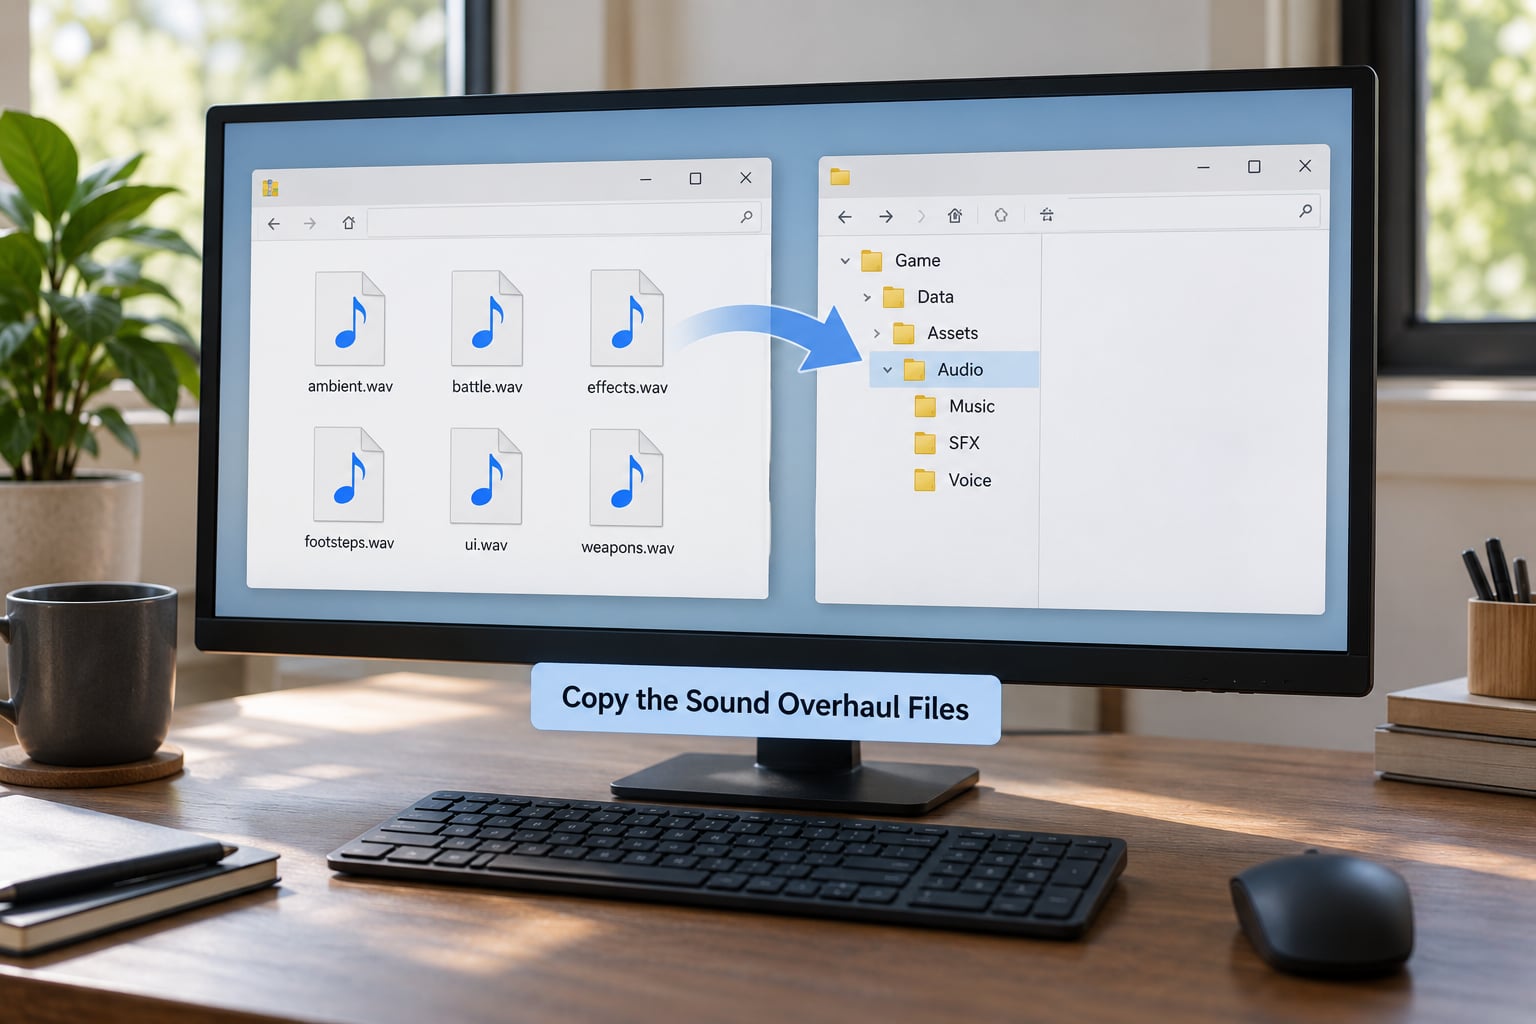
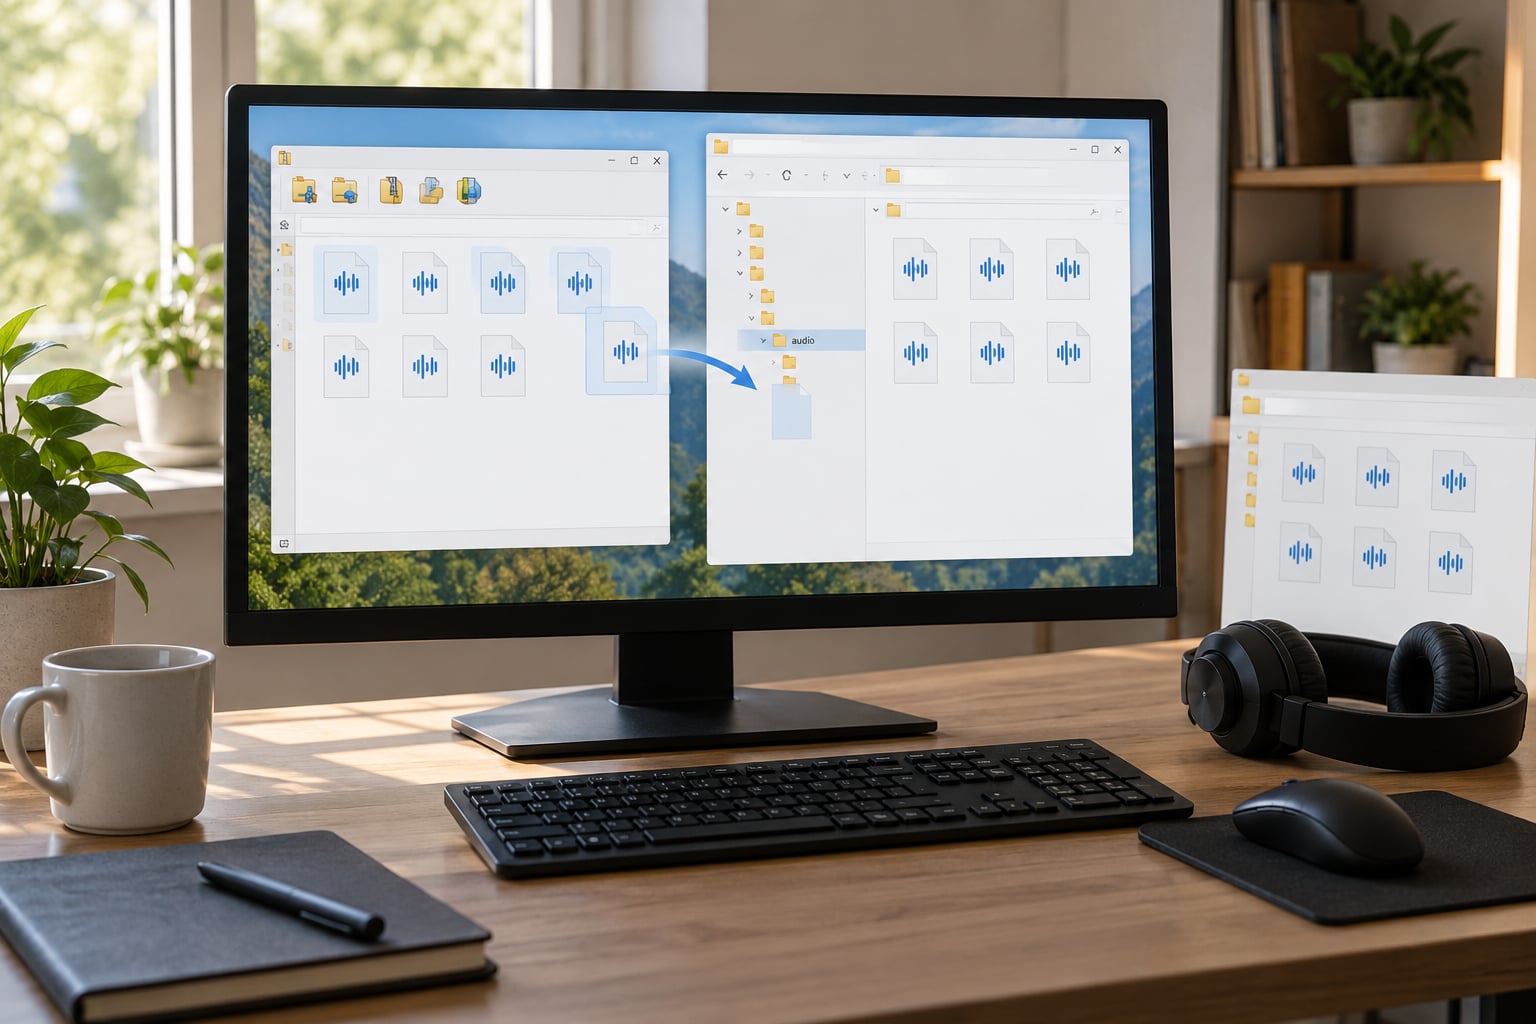
Extract the download to its own temporary folder first. Never install straight from inside the archive, because that is how a folder ends up one level deeper than the game expects and produces the most common silent-install bug there is.
Then copy the contents of that folder into the destination you verified. Copy the contents, not the parent folder itself, and keep the internal structure exactly as it came. If the pack has an sounds or sfx folder inside it, that inner folder has to survive the copy.
Skip the junk while you are at it: readme files, screenshots, licences and any nested archive left inside the pack do not belong in your game folder. A nested zip is worth a second look, because some authors ship the real files inside it and expect you to extract twice.
Replace or Add Audio Files Safely
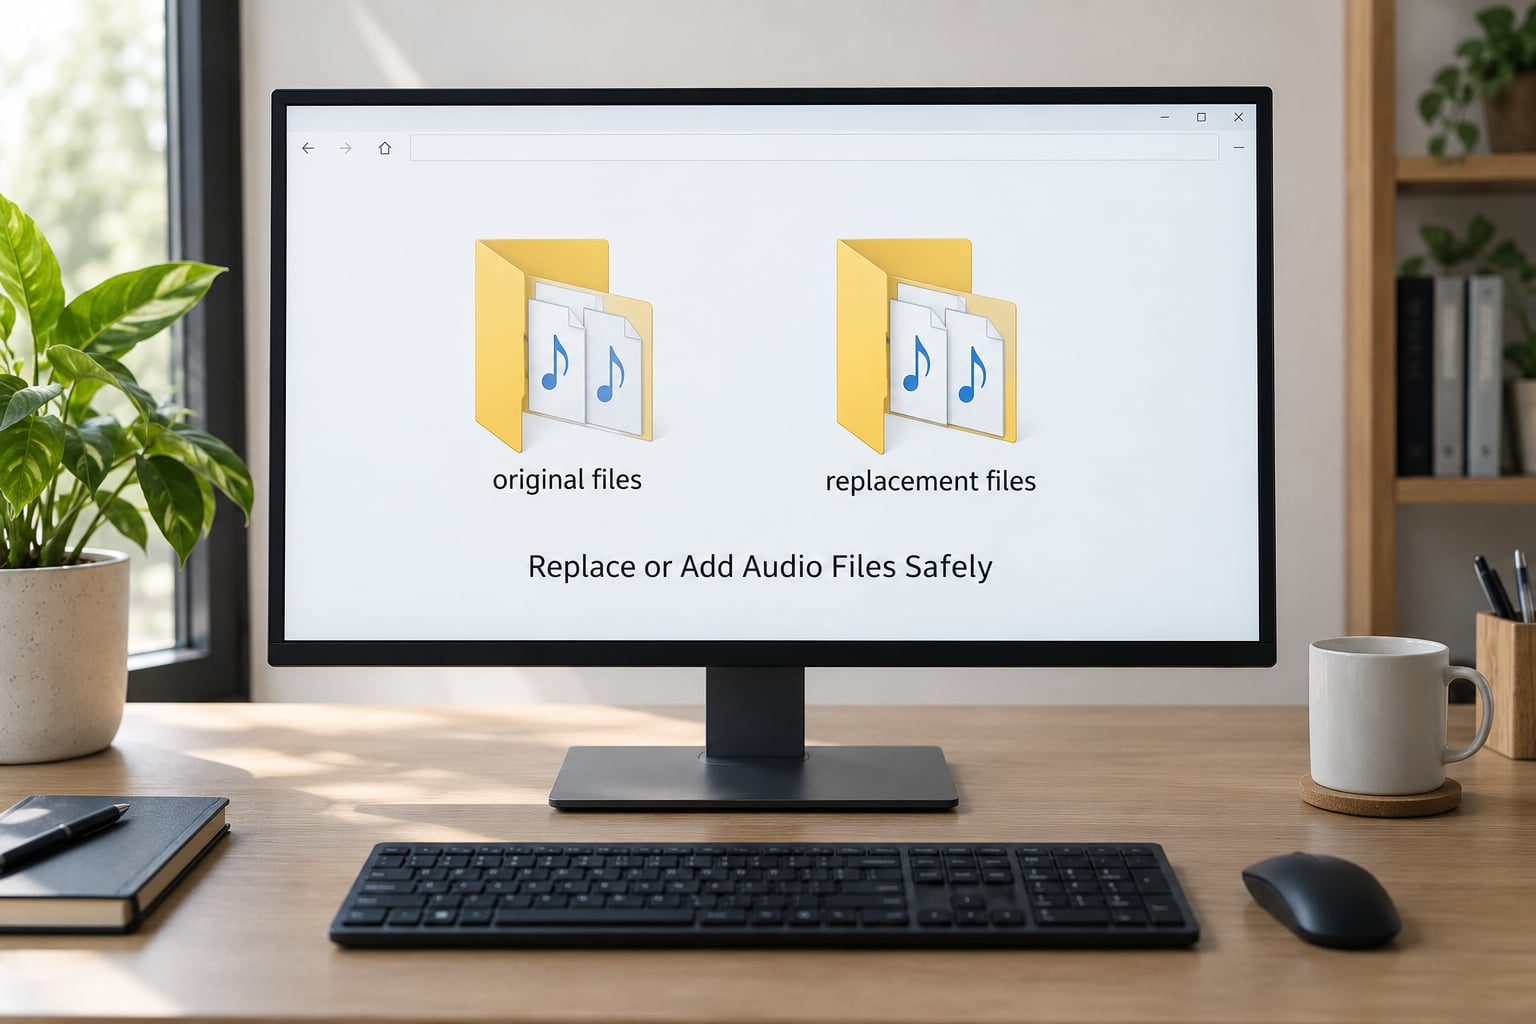
Overwrite existing audio when the mod’s filename matches one already in the game. That is the whole mechanism: the game plays the file it finds, so a same-named file replaces the original. Add new files only when the mod ships something the game does not have, such as a new engine type for a vehicle pack.
Match names exactly. A trailing character difference, a different extension or a missing number means the game never looks at your file. Keep the format the game expects: GTA V and San Andreas use uncompressed or lightly compressed audio in their own containers, and packing a folder into a BSA or archive without knowing which format the engine reads from it is a fast route to silence.
Stay inside the folder you verified. Do not drag a whole pack over the top of a DLC directory by accident, because replacing an entire DLC folder takes out its scripts as well as its audio and you will get a much worse bug than a silent mod. When a pack includes DLC content, install that part into the specific DLC folder the mod author names.
If you use a mod manager instead of copying by hand, the same rules apply through the priority order. Load order decides which pack wins when two mods ship the same filename, and that is the entire answer to which of two overhauls is playing.
How to Install a Sound Overhaul Mod Without a Mod Manager
Manual installation is completely legitimate and plenty of players never use one. It is also the only route on some consoles-adjacent and server setups. The sequence is short:
- Download the pack and extract it to a temporary folder.
- Open the game’s sound folder directly in Explorer.
- Copy the extracted contents in, preserving the folder structure inside the pack.
- Replace files with matching names; leave unrelated files untouched.
- Delete the temporary folder so the next install does not grab the wrong copy.
- Launch the game and run the test sequence below.
If your game files are read-only, as on GTA V, you need OpenIV in Edit mode or a mod manager that writes through a virtual file layer. Copying files over read-only originals does nothing at all, and that silent no-op is a very common first attempt.
One practical note from the community: when an overhaul goes quiet and you cannot work out why, a manual install often tells you more than another hour in a mod manager. If the sound works when you copy the files by hand, the cause is a load-order or virtual-file problem, not a broken download.
Launch the Game and Test the Sound
Do not judge a sound overhaul from the main menu. Test it in stages, in the game, on foot:
- Menus and UI. Button clicks and hover sounds should feel different from vanilla within seconds.
- Footsteps. Walk on at least three surfaces: pavement, grass and metal or water. Surface-based footstep mods are the feature most overhauls are bought for.
- Combat. Draw and sheathe a weapon, swing it, and land a hit on a solid surface. Swing and impact sounds are the ones most likely to be missing if something is wrong.
- Ambience. Stand still in a city street for a minute, then move to open countryside. Overhauls usually split ambient beds by location.
- Vehicles. If the pack includes engines, start three different vehicles. Engine notes that never change pitch are a sign the file was not replaced.
If anything is silent, stop and revert rather than installing something else on top. If your mod manager has a log or file-conflict view, open it and look for a conflict on the exact file that is not playing. Then restore your backup folder, confirm the sound is back, and reinstall one piece at a time.
Common Mistakes and How to Fix Them
Almost every broken sound overhaul falls into one of these categories. Work down the list until the symptom disappears.
No sound changed at all. The files landed in the wrong directory, most often a folder one level above the real audio folder. Confirm the path bar ends where you expect before touching anything else.
Some categories work, others are silent. Footsteps playing but weapon swings missing usually means a partial load order: a second sound pack is overriding the same filenames. Disable one overhaul, test, and see whether the missing category returns.
Total silence after copying. The original files were overwritten with an incompatible format, or a required dependency such as SKSE64, an unofficial patch or a sound distribution tool is missing. Restore the backup first, then read the requirements list again.
The game crashes on launch or in one area. A corrupt or partially extracted archive is the usual cause. Delete the installed files, re-download, extract with a different tool, and copy again. If it persists, check that you did not replace an entire DLC folder.
Nothing happens because the files are read-only. On GTA V, dragging files onto the game folder writes nothing. Use OpenIV in Edit mode, or a mod manager.
Sounds worked, then an update killed them. A game patch changed the sound files your mod was replacing. Reinstall the mod after the update, and if the mod has not been updated yet, expect silence until it is.
Engine sounds never change pitch. The pack expects a specific container format and the file was converted on the way in. Keep the files exactly as shipped.
Two overhauls, one set of sounds. That is a load order result, not a bug. Whichever pack loads later wins every file they share.
Three habits prevent most of this. Back up before installing. Test in stages rather than in one long session. And when something breaks, revert immediately instead of stacking another mod on a broken base.
Frequently Asked Questions
Can I install a sound overhaul mod on GTA V?
Yes. GTA V is the easiest of the three because its destination folder is fixed at x64/data/gta/sounds. Because game files are read-only, use OpenIV in Edit mode or a mod manager that writes through a virtual file layer. Download the pack, extract it to a temporary folder, copy the contents in, and launch the game to test footsteps and weapons before playing on.
Do I need OpenIV to install a sound overhaul mod?
Only when you have to write into a protected game folder. GTA V, for example, blocks plain drag-and-drop into the game directory, so OpenIV in Edit mode or a mod manager handles that write for you. San Andreas and GTA IV usually let you copy files straight in with no extra tool. If the game root is read-only, use OpenIV or switch to a mod manager.
Should I replace the original game audio files?
Yes, that is how audio replacement works. The game plays whichever file it finds, so a mod file with the same name as a vanilla one replaces it automatically. Add new files only when the mod ships audio the game does not already have, such as a new vehicle engine. Never overwrite a whole DLC folder, because that removes scripts as well as sounds.
Why does my sound overhaul mod make the game crash?
A crash right after installing usually means a corrupt archive, a partly extracted file, or a DLC folder that got replaced along with its audio. Delete what you installed, re-download the pack, extract it with a different archive tool, and copy the contents rather than the parent folder. If the crash persists, restore your backup and reinstall one dependency at a time.
How do I restore the original sounds after installing a mod?
Copy the audio folders from the backup you made before installing back into the game, replacing the current files. With a mod manager, disable or uninstall the sound pack instead and the vanilla files return on their own. Restoring the backup is also the fastest way to prove whether a silence problem comes from the overhaul or from something else in your setup.
Can sound overhaul mods be installed on console or Android?
Not in the usual way. Consoles have no file browser and no OpenIV, so any sound pack there depends entirely on the games own mod or creator tools, and those support a limited number of mods per game. Android has the same problem in reverse: there is no writable game data folder, so packs are installed through a launcher or a tool that repacks the APK. Neither route works like a PC install.
Conclusion: Back Up First, Then Install in Small Stages
Start with the backup. Copy the game’s audio folders somewhere safe, confirm the copy, and only then start installing. After that, the whole job is: verify your game build, extract the pack to a temporary folder, copy the contents into the matching sound directory for your specific title, and launch the game to test.
When something sounds wrong, revert straight away instead of adding another mod on top. Working out how to install a sound overhaul mod is mostly about knowing which folder your files belong in, and knowing how to put things back when they land in the wrong one.