To convert MP3 files for in-game radio mods, you transcode each track into the exact format, bitrate and sample rate the mod expects, then drop it into the game’s radio folder. Most stations want OGG Vorbis at 64 or 96 Kbps and 44.1 kHz stereo; a few older Bethesda titles use WMA, and GTA V radio mods read WAV or OGG from an audio bank. The conversion itself takes about five minutes once the settings are right.
The part that trips people up is renaming. Dragging a file to your desktop, changing .mp3 to .ogg, and pushing it into the game folder produces silence, a stutter, or a track that never appears in the station list. Nothing was actually transcoded. The container label changed; the audio inside stayed MP3, and the game’s decoder is looking for Vorbis data that is not there.
So this guide walks through the whole path: reading the mod’s requirements, picking a converter, cleaning the audio, exporting, installing, and troubleshooting when playback misbehaves. It covers the formats used across GTA V, Fallout 4, Skyrim, FiveM and Farming Simulator, because the settings differ more than the forums let on.
Table of Contents
- 1What You Need
- 2Step-by-Step: How to Convert MP3 Files for In-Game Radio Mods
- 31. Check the Radio Mod’s File Requirements
- 42. Choose and Configure an Audio Converter
- 5Audacity (free, Windows, Mac, Linux)
- 6Format Factory (free, Windows only)
- 7ffmpeg (free, every platform, command line)
- 83. Trim, Fade, and Normalize Each Track
- 94. Convert and Rename the MP3 Files
- 105. Install the Tracks Into the Correct Radio Folder
- 116. Test the Radio and Fix Playback Problems
- 12Common Mistakes and Quick Fixes
- 13Tips for a Cleaner In-Game Radio Experience
- 14Frequently Asked Questions
- 15Can I just rename .mp3 to .ogg for a game radio mod?
- 16What bitrate should I use for in-game radio tracks?
- 17Why does my custom radio station stutter or crackle?
- 18What sample rate do games expect, 44.1 kHz or 48 kHz?
- 19Do I need to apply a radio filter effect before importing tracks?
- 20Can I convert MP3 files for a radio mod on Android?
- 21Conclusion
What You Need
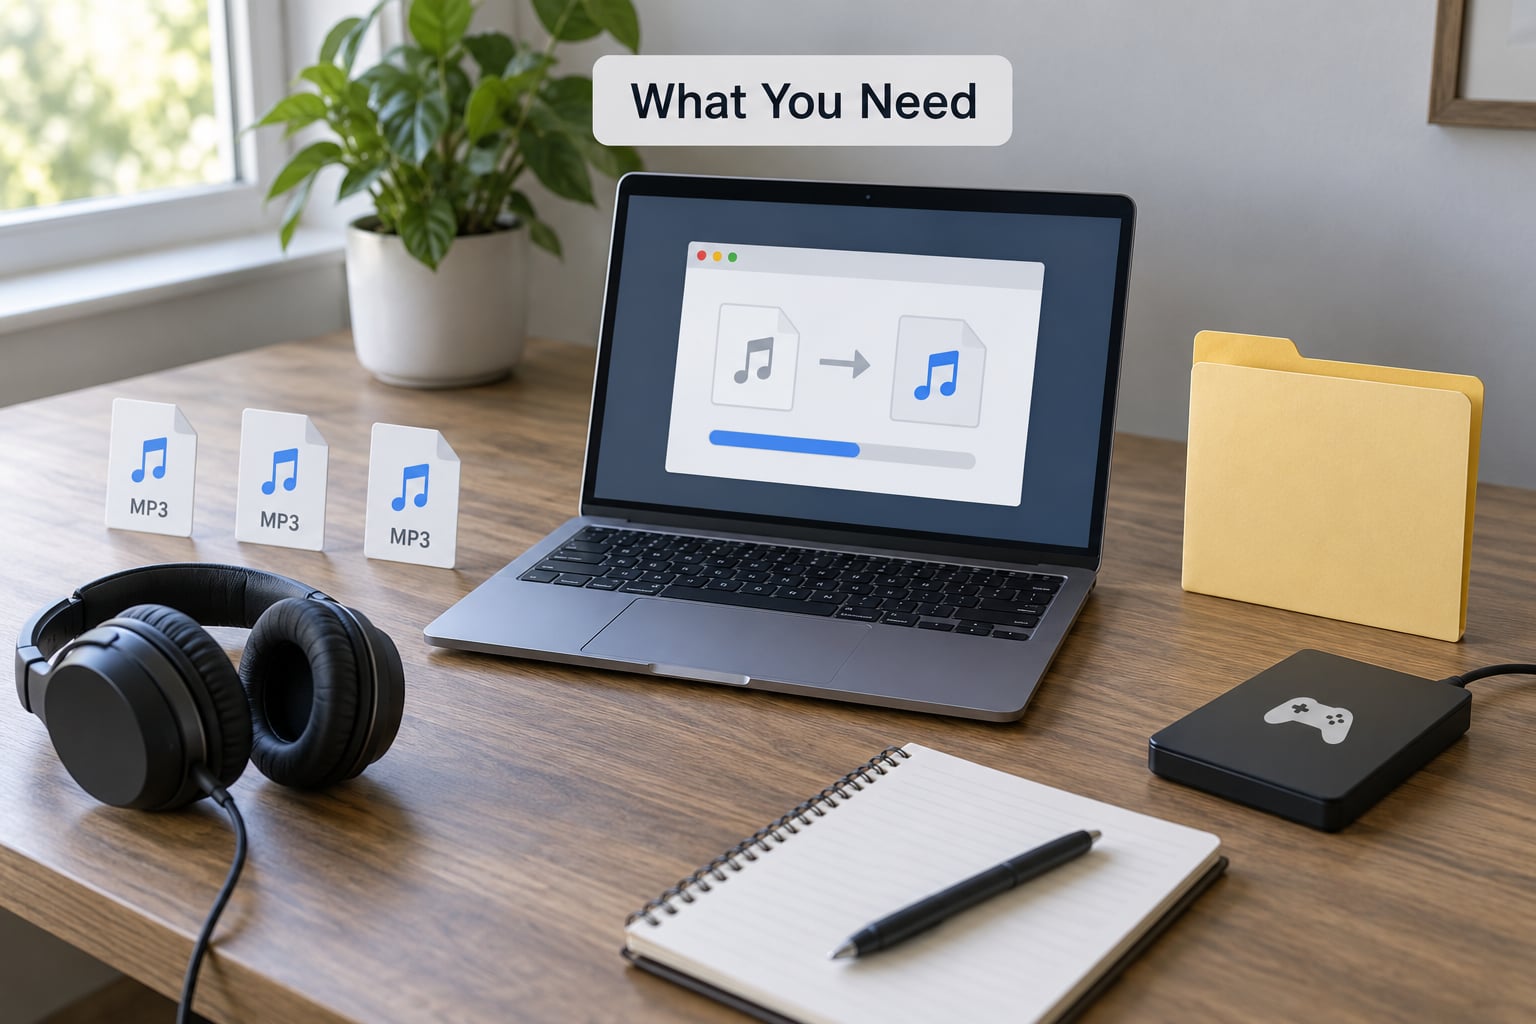
You need three things: your source music, one audio conversion tool, and a copy of the radio mod you plan to use.
- Source audio. MP3 works, but the mod author for Fallout 4’s Radio Music Manager recommends starting from WAV or MP3 at 160 to 320 Kbps. Converting a 128 Kbps rip twice sounds worse than converting a decent file once.
- A converter. Audacity and Format Factory are free on Windows. Yakitori Audio Converter is the tool Bethesda modders reach for, and ffmpeg handles batch jobs from the command line.
- The mod’s readme. It names the format, bitrate, sample rate, and folder path. Without it you are guessing.
- A backup. Copy your game’s radio folder before you touch anything, so a bad install is reversible.
- Storage. A 4-minute track at 96 Kbps is roughly 3 MB. Fifty tracks stay under 200 MB, which is nothing next to a game install.
On Android, add a file manager with write access to the game’s folder and the same converter in APK form. The format rules do not change; only the path does.
Step-by-Step: How to Convert MP3 Files for In-Game Radio Mods
1. Check the Radio Mod’s File Requirements
Open the mod page and find the format line before you touch a single file. It usually states something like “OGG Vorbis, 64 or 96 Kbps, 44.1 kHz” and gives a destination folder.
Five things to pull from it:
- Container format. OGG Vorbis for most Bethesda and FiveM stations, WMA for some older Fallout 3 and New Vegas setups, WAV or OGG for GTA V.
- Bitrate. 64 or 96 Kbps covers most radio mods. Fallout 4 station mods sit in that band.
- Sample rate. 44.1 kHz for Bethesda titles and FiveM, often 48 kHz for WAV sources on PC.
- Channels. Stereo for music, mono for dialogue or DJ-barred interludes.
- Naming rules. Many loaders build the station list straight from filenames, and some choke on spaces or punctuation.
If the readme mentions a specific game version, match it. A station built for a GTA V build from 2026 earlier may not load after a game update, because radio mods depend on the engine’s audio bank structure rather than loose files.
2. Choose and Configure an Audio Converter
Pick the converter based on how many tracks you have and how much you like typing. Three options cover nearly everything.
Audacity (free, Windows, Mac, Linux)
Good for one track at a time, and the only option here that lets you trim and fade before exporting. Open the MP3, use the selection tool to cut, then choose File and Export Audio. Pick Ogg Vorbis for OGG output, and set the quality slider to roughly 0.3 to 0.5 for radio-sized files.
Format Factory (free, Windows only)
The fastest route for single files with no editing. Choose Output, select OGG, set the bitrate in the destination folder options, then click Start. It handles WMA output too, which Audacity does not without an extra plug-in.
ffmpeg (free, every platform, command line)
The right choice for 50 tracks or more, and the only one that gives you exact, repeatable settings. Install it, open a terminal in the folder holding your music, and run:
ffmpeg -i "track01.mp3" -c:a libvorbis -b:a 96k -ar 44100 -ac 2 "track01.ogg"Change 96k to 64k for smaller files, 44100 to 48000 where the mod asks for it, and the extension on the last line to match your target. For a whole folder on Linux or macOS:
for f in *.mp3; do ffmpeg -i "$f" -c:a libvorbis -b:a 96k -ar 44100 -ac 2 "${f%.mp3}.ogg"; donePowerShell on Windows does the same job:
Get-ChildItem *.mp3 | ForEach-Object { ffmpeg -i $_.FullName -c:a libvorbis -b:a 96k -ar 44100 -ac 2 "$($_.BaseName).ogg" }Have the wrong format going in? Fix that first. Opus files in particular are common in Steam Workshop radio mods, and converting them to MP3 before OGG avoids two lossy passes:
ffmpeg -i "track01.opus" -c:a libmp3lame -b:a 192k "track01.mp3"Need WAV instead? Swap the codec for pcm_s16le and name the output .wav.
3. Trim, Fade, and Normalize Each Track
Clean audio before you encode, because encoding locks in whatever is already wrong. Two edits do most of the work.
Trim the silence. Long fade-ins and fade-outs at the end of a track read as a stutter in-game, since the gap is more obvious when music switches stations. In Audacity, use Effect and Noise Reduction, then Get and Remove Silence, leaving about half a second at each end. Keep a one-to-two second gap between tracks so the station does not butt songs together.
Normalize the loudness. Radio mods apply their own filter and gain, so a track that peaks at full scale gets pushed into distortion. Use Effect and Normalize, set the target to minus 1 dB, and apply it. Normalizing the whole batch to the same level also stops one track from being noticeably louder than the next when you are driving.
A short 0.5-second fade at the start and end removes clicks. Do this last, right before export.
4. Convert and Rename the MP3 Files
Export with the settings from step 1, then rename before they go anywhere near the game folder.
Safe filenames are lowercase, no spaces, no special characters, and numbered in order:
station_a_01.ogg
station_a_02.ogg
station_a_03.ogg
Underscores survive every loader I have seen. Spaces sometimes work, but a mod that reads filenames into a config file can break on them, and apostrophes in artist names have caused the same trouble. Renaming to track01.ogg costs you nothing and removes the question entirely.
If the mod supports artist and title display, set the tags before exporting. Audacity has Artist and Track Title fields under the export dialog, and ffmpeg takes them as flags. Missing metadata is one of the top reasons a station shows a column of blank names instead of track listings.
Keep the tags short. Some loaders truncate anything past roughly 30 characters per field.
5. Install the Tracks Into the Correct Radio Folder
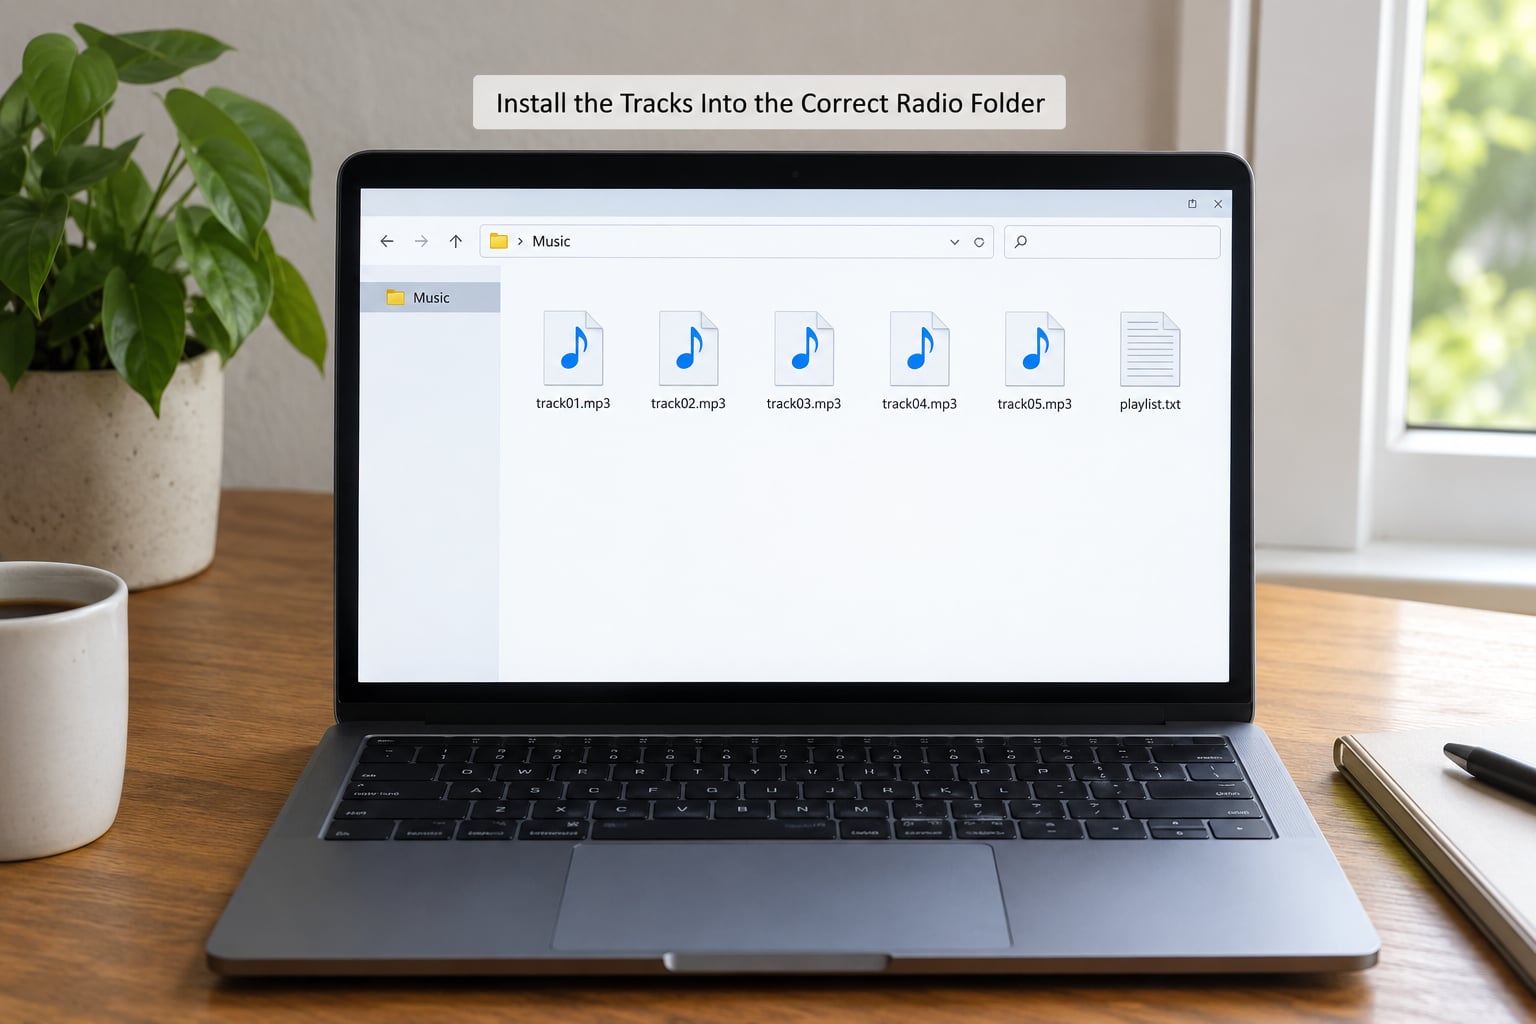
Where the files go depends entirely on the game and the mod. These are the common ones.
PC, Fallout 4, Skyrim, Fallout 3 and New Vegas. These titles read loose audio files from a radio folder inside the game directory. The mod’s readme gives the exact path, and creating it yourself in the wrong place is the single most common reason a station does not show up. If a .m3u playlist is mentioned, keep it in the same folder as the audio, with filenames matching the audio exactly.
PC, GTA V. Radio content lives inside audio banks rather than loose folders. Importing means opening the game files with OpenIV or CodeWalker, replacing the bank contents, and keeping the internal structure intact. There is no drag-and-drop folder here, which is why GTA V radio mods ship as installers instead of zips you unpack yourself.
FiveM servers. OGG Vorbis in a server resource folder, with a playlist file listing each track. Paths are relative to the resource folder, and the server caches audio, so an edit needs a resource restart before it appears in-game.
Farming Simulator and other titles with a simple music folder. Usually a music or radio directory under the game install, and the least fussy of the bunch.
Android. Many mobile ports read from an Android folder rather than the PC path. Copy the converted files over with a file manager, mirror the folder names from the mod’s instructions, and keep the filenames identical. Anything the PC version accepted will work here too.
Two rules save a lot of pain. Keep the mod’s config and playlist files exactly as shipped, and never overwrite the game’s original radio folder without a backup. A renamed original is easy to restore; a deleted one is not.
6. Test the Radio and Fix Playback Problems
Launch the game and find your station. Drive a short distance so the DJ intro and the first track both play. Most problems show up in the first 30 seconds.
Station missing entirely. Wrong folder, wrong extension, or the playlist file does not match the filenames. Confirm the file is really OGG by opening it in a player; if it plays as MP3 with the wrong extension, you renamed instead of converting.
Silence on every track. Same root cause, or the loader expects a different sample rate. Re-export one track at 44.1 kHz and test again before redoing the whole set.
Stuttering or crackling. Almost always a bitrate the game is not built to stream. Modders report high-bitrate MP3s stuttering until they were downsampled to 64 or 96 Kbps OGG. Also check for a corrupt file by skipping to the second track.
One track loops or cuts out. That file is truncated or has a header problem. Delete it and re-export from the original.
Distortion on loud passages. The track was normalized too high before encoding. Drop it to minus 1 dB and re-export.
Test with two or three tracks before importing the full collection. If one plays clean, your settings are right and the batch will follow.
Common Mistakes and Quick Fixes
Renaming instead of converting is the top cause of silent stations. The extension says .ogg, the bytes are still MP3, and the decoder finds nothing. Convert the file properly with Audacity, Format Factory, or ffmpeg.
Bitrate set too high causes stuttering, because radio playback streams from storage rather than memory. Drop to 64 or 96 Kbps for OGG and re-export.
A mismatched sample rate distorts playback or kills the track. 44.1 kHz suits Bethesda titles and FiveM; check the readme when a mod asks for something else, usually 48 kHz for WAV output.
Filenames with spaces, accents, or apostrophes break loaders that build playlists from names. Use lowercase, underscores, and digits.
Lost tags leave the station showing blank entries. Set artist and title fields before export, and keep them short.
A station that never appears is almost always a wrong path. Create the folder yourself in the exact location the readme names, rather than assuming it exists.
Encoding twice is avoidable. If your source is Opus, convert to MP3 first and then to OGG, rather than running Opus straight to OGG through two lossy stages.
On FiveM, a changed playlist needs a resource restart. The server caches audio and will not pick up new files mid-session.
Editing the game’s original radio files without a backup leaves you stuck if a mod fails to load. Copy the folder before the first change.
Tips for a Cleaner In-Game Radio Experience
Convert one track from the mod author first. Their published station is proof that the format, bitrate and folder all work together, so you isolate your own mistakes from the mod’s.
Keep a settings note next to your music folder. Write down bitrate, sample rate and channels once, then never guess again. It pays off the moment you build a second station.
Name files in the order you want them heard. Most loaders sort alphabetically, so station_a_01 through station_a_20 plays in the order you expect.
Avoid duplicate titles. Two tracks with the same name confuse several loaders and produce two identical entries in the station list.
Keep your originals in a separate folder, untouched. Re-exporting from a compressed copy is how quality loss snowballs.
Mix tracks from the same era and loudness level. A station where one song sounds like a phone call and the next sounds like a club is distracting in a way no bitrate setting fixes.
Use a DJ intro for the station header, since a station that starts mid-song on the first track feels broken even when the audio is fine.
Frequently Asked Questions
Can I just rename .mp3 to .ogg for a game radio mod?
No. Renaming changes the file extension, not the audio inside, so the game finds an MP3 stream where it expects Vorbis data. The track shows up but plays silence, or never loads at all. Run the file through a real converter such as ffmpeg or Audacity, then install the exported OGG. This is the single most common reason custom stations fail.
What bitrate should I use for in-game radio tracks?
64 or 96 Kbps covers the vast majority of radio mods, including Fallout 4 station mods, where the published recommendation is to convert to 64 or 96 Kbps from a 160 to 320 Kbps source. Higher bitrates tend to stutter during playback because the game streams tracks rather than loading them into memory. Match whatever the mod readme specifies if it states a different number.
Why does my custom radio station stutter or crackle?
Stuttering almost always points to a bitrate above what the game streams smoothly, or to one damaged file in the batch. Convert everything to 64 or 96 Kbps OGG and test. If the problem follows a single track, delete it and re-export from the original source, since a truncated header plays the same way. Normalizing too high also causes distortion that can read as crackling.
What sample rate do games expect, 44.1 kHz or 48 kHz?
44.1 kHz stereo fits most Bethesda titles and FiveM servers, and it is the safe default for radio mods. Some PC mods ask for 48 kHz, usually when the output format is WAV rather than OGG. Check the readme before converting. A mismatch will not always fail outright, but it can introduce distortion or a silent track, so it is worth matching exactly.
Do I need to apply a radio filter effect before importing tracks?
For Fallout 4 and Skyrim, the radio character comes from a Sound Descriptor in the Creation Kit, which applies the radio filter at the engine level. You do not need to bake the effect into your audio first, and doing so usually sounds wrong when the descriptor is active. For GTA V, radio mods work through audio banks and their own sound descriptors, with no pre-processing required on your tracks.
Can I convert MP3 files for a radio mod on Android?
Yes. Use a converter app or a command line tool such as ffmpeg for Android, then copy the finished files into the game’s music folder with a file manager. The format rules stay identical: same container, bitrate and sample rate as PC. Mirror the folder structure from the mod’s instructions, because many mobile ports use a different path than the desktop version.
Conclusion
Start by reading the mod’s format line. Format, bitrate, sample rate and folder path are the four settings that decide whether a station works, and everything else follows from them.
Convert one track to OGG Vorbis at 96 Kbps and 44.1 kHz, name it simply, and install it in the folder the readme names. Play it in-game. If it sounds clean, batch-convert the rest with the same settings and rename in the same pattern. Keep your originals and a backup of the game’s radio folder, and you can rebuild the whole station from scratch whenever you want.