To lock a game version for mod compatibility, you record the build you are running, stop the launcher from overwriting it, and install only mods written for that exact build. On PC that means a branch or depot pin in the launcher plus a verified backup outside the game folder. It takes about 30 minutes the first time, and every minute after that when a patch drops.
Most mod breakage is not a bug in the mod. A launcher updates overnight, the game files change underneath, and a script extender or asset database stops matching. Locking the version is how you stop that from happening on a night you did not plan for.
Table of Contents
- 1What You Need
- 2Step-by-Step: How to Lock a Game Version for Mod Compatibility
- 3How to lock a game version for mod compatibility in OpenIV
- 4Disable automatic game updates where your platform allows it
- 5Pull an older build with SteamDB when the Betas tab is empty
- 6Match every mod to the locked game build
- 7Test the locked version and create a rollback point
- 8Common Mistakes
- 9Frequently Asked Questions
- 10Can I lock a GTA game version without preventing every future update?
- 11How do I find out which GTA V or GTA IV game build I have installed?
- 12Will locking a game version stop Rockstar or Steam from updating it?
- 13Can I use old mods after a game update if I keep an older version?
- 14Should I back up mods separately from the original game files?
- 15Does version locking work for GTA mods on Android or consoles?
- 16Conclusion
What You Need
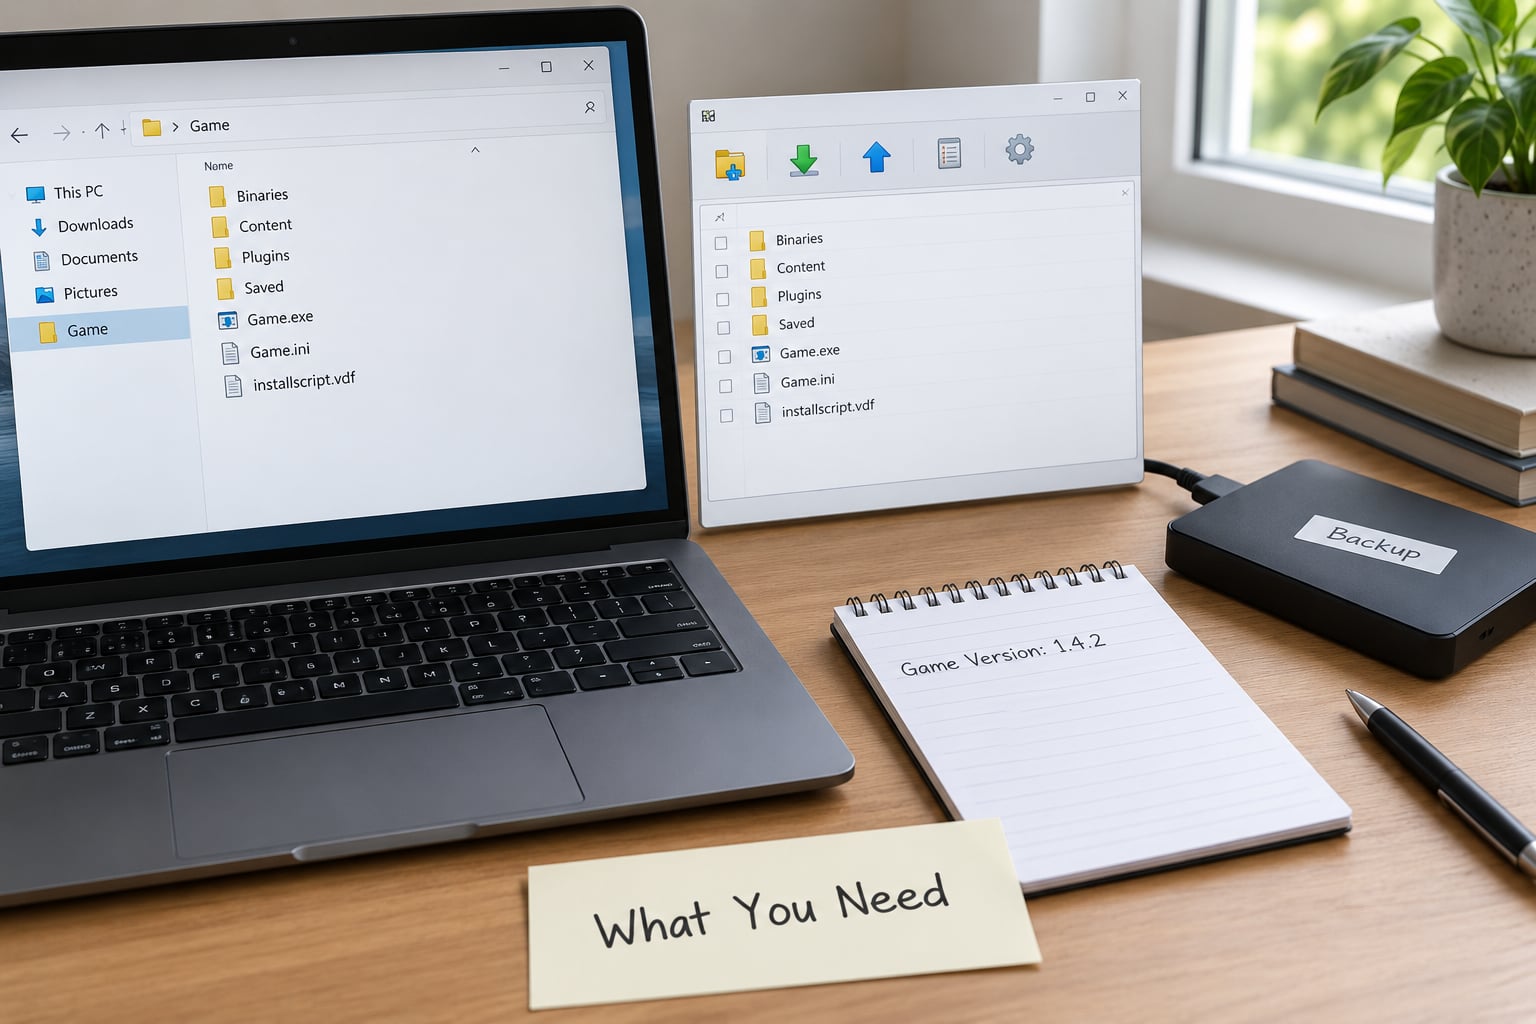
Most of this is free and already on your machine. You need a little more care than clicking through.
- The original release and launcher. A copy installed outside its launcher (an ISO, a repack, a handheld port) cannot be version-pinned the same way, because the launcher is what decides which build you get.
- A clean game folder. Right-click the game in your launcher library and run verify or repair before you start, so your baseline is not already carrying someone else’s edits.
- An archive and replacement tool such as OpenIV. This is what keeps a pristine copy of the original files and stores your replacement mod files.
- Administrator access. Writing into a Steam or Rockstar install folder usually needs it.
- External storage. A drive that is not the game drive and not the same folder as the game.
- A written record of the current build. A text file with the exact version string, the date, and your mod list. This is the single most useful thing you will make.
Also decide now whether this game is single-player only. If it has an online mode, check the publisher’s rules on third-party tools before you install anything.
Step-by-Step: How to Lock a Game Version for Mod Compatibility
The order matters. Record first, back up second, then change anything — reversing two of these steps is where people lose save files.
How to lock a game version for mod compatibility in OpenIV
OpenIV does not pin builds. What it does is protect the original files and hold your replacements, which is the other half of locking a version.
Open OpenIV, set Tools > Settings to steamapps or GTA V mode, and locate your game folder. Select the files you want kept pristine — for GTA V that is usually the game executable and the x64 data folder entries — and use Tools > Save as backup. That writes a copy inside the OpenIV backups folder that you can restore later even if the game is broken and will not launch.
That protected copy is what lets you recover when a patch lands anyway. Knowing how to lock a game version for mod compatibility in practice comes down to knowing which half you are doing: the launcher stops the update, the archive tool keeps the fallback you would otherwise not have.
Mod installers also drop replacement files into the same folders; keeping originals alongside them means one file swap restores a working game. Archive tool in hand, do not extract a mod over the game until step four below. An unfinished extraction is the most common cause of a half-installed mod.
Disable automatic game updates where your platform allows it
Automatic updates are the reason locked setups break on their own. Here is where the setting lives on each platform.
Steam. Open your library, right-click the game, choose Properties > Updates, and set it to Only update this game when I launch it. Then open Properties > Betas and pick the branch matching your target build. A branch selection is the actual pin: Steam serves that branch’s manifest and leaves it alone until you change the tab again.
GOG. Use Manage installation > Revert to a previous version when the game exposes older builds, and turn off automatic updates in the same panel. GOG’s list is short, but it is the supported route.
Rockstar Games Launcher and Epic Games Store. Neither offers a per-game update toggle or a historical build list for most titles. Your options there are switching the launcher to offline mode while you play or removing the title from your library and reinstalling it later. Say that plainly to yourself before you rely on it.
Consoles and Game Pass PC. Console game files are rebuilt by the platform and cloud sync will happily push a newer build back over your changes. Treat console version locking as unsupported and keep your modded testing on PC.
One warning that catches almost everyone: pressing Play in the launcher can re-apply the pending update even with auto-update switched off. If your mods die the second you launch, launch the game through its own shortcut or the script extender executable instead of the launcher button.
Pull an older build with SteamDB when the Betas tab is empty
When the Betas tab only shows a live beta, you need the depot route. This is advanced, and it stays inside your own purchase — a Steam Community guide exists purely because most other write-ups tell people to grab repacks from elsewhere, which is not the same thing.
- Find the app on SteamDB and note the manifest ID for the build you want, plus the depots listed under it.
- Launch Steam with the
-consoleflag so the developer console opens. - In the console, run
download_depot <appid> <depotid> <manifestid>for each depot in the build. - Copy the downloaded files over the game folder, then copy your backed-up mod folders back in.
Tools such as DepotDownloader do the same job without the console. SteamDB tracks the build history and the manifest IDs for most Steam titles.
The legal line is simple: downloading a build of a game you own, using Steam’s own systems, is fine. Downloading someone else’s repack is not, and it is also the version most likely to carry something you did not ask for.
Match every mod to the locked game build
A locked build only helps if every mod in your list was written for it. Check four things on each mod page before you download.
Look for the supported game version stated on the page, then check the archive type matches what your installer expects, then confirm every dependency is present, then compare the release date with the build’s date. A mod released before your target build cannot be using a feature that build does not have.
Real examples from mod communities make this concrete. On r/skyrimmods, people target the named build 1.6.117 and run the Nexus manual downgrader before extracting anything else. On r/cyberpunkgame, a user reported patch 1.3 stopping Redscript and every mod alongside it, which is exactly the case where pinning an older build is the answer. The same pattern shows up in the Mount & Blade II: Bannerlord community threads: lock the version in your library first, then check each mod against that build.
Write your final list into the same text file as the build number. When something fails later, you will want to remove one mod at a time and know which ones are still in play.
Test the locked version and create a rollback point
Do not discover a conflict on your main playthrough. Test on a throwaway save first.
Launch the game through its own executable rather than the launcher button, watch the script extender or mod loader window on start-up for errors, and confirm the files you replaced are the ones actually loading. Open the launcher log if something failed to load; it usually names the missing file.
Then make your rollback point: a full copy of the modded game folder and a copy of your save folder on the external drive, dated today. If the test crashes, restore both rather than rebuilding from scratch. A rollback point you never created is not a rollback point, and this is the step people skip when they are in a hurry.
Once the test session runs clean, that combination of build number, mod list and dated backup is your locked setup. From here you repeat it after any deliberate change.
Common Mistakes
These six failures account for nearly every broken setup I have seen come back around.
Mixed game builds. Some files came from the new build and some from the old, usually after a partial depot download or an interrupted update. Fix: verify or repair the install, then re-apply your mods from the backup rather than trying to patch individual files.
Missing loaders and dependencies. Script extenders such as F4SE, Redscript and UE4SS are version-locked themselves. A mod that worked last week fails because its loader or its dependency .dll was left behind by an update. Fix: reinstall the loader for the locked build and every library it needs, then start the game again.
Incorrect replacement paths. The mod went to the wrong folder or the file name did not match, so the game read the original instead. Fix: confirm the replacement file name matches the original exactly and sits in the path the installer specified.
Overwritten mod folders. A second installer replaced a folder a previous mod owned, and both lists said they were fine. Fix: install in a fixed order and keep that order written down.
Unfinished archive operations. An extraction was interrupted or a 7-Zip archive was never closed, leaving a few kilobytes where a 200 MB file should be. Fix: check file sizes before launching, and re-extract anything implausibly small.
Backups stored inside the game directory. A backup folder inside the install gets wiped by verify, by an update, or by the next clean install, which defeats the point. Fix: keep backups on external storage and name the folder with the build number and date.
Two more habits that pay off. Record your mod list and load order every time you add something. And when a patch lands, decide deliberately between updating the mods and pinning the game, rather than discovering the answer after a crash.
Frequently Asked Questions
Can I lock a GTA game version without preventing every future update?
Yes. Set the launcher to only update when you launch the game, then pin your build through the Betas tab or a saved depot copy. Updates stay available in your library, they just do not touch a game you are not launching. When the mod authors catch up, switch the branch back to the live one and let the update install normally.
How do I find out which GTA V or GTA IV game build I have installed?
Right-click the game executable in your install folder, choose Properties, then the Details tab, and read the Product version or File version field. That number is the build your mods need to match. Cross-check it against the build history listed for the app on SteamDB before you record it in your notes file.
Will locking a game version stop Rockstar or Steam from updating it?
On Steam, yes: a selected beta branch plus Only update this game when I launch it stops automatic updates. On the Rockstar Games Launcher and Epic Games Store, there is no per-game update toggle for most titles, so the honest answer is that you cannot fully block them. Use offline mode or reinstall later instead of trusting those launchers to hold an old build.
Can I use old mods after a game update if I keep an older version?
You can, but only if every mod was written for that older build. Script extenders and asset databases are version-locked, so a mod released for the newer build will not run on the old one, and vice versa. Keep a copy of the mod list that matches your locked build, and test each addition on a throwaway save before it touches your main file.
Should I back up mods separately from the original game files?
Yes, keep both and keep them off the game drive. One copy holds the pristine game files, the other holds your modded folder, plus a dated copy of your saves. Store them on external storage, not inside the installation, because verify and update steps can wipe anything sitting in that folder.
Does version locking work for GTA mods on Android or consoles?
Not in any practical sense. Console installs are rebuilt by the platform and cloud sync pushes newer builds back over local changes. Android ports use their own asset packaging and update through the app store. Keep locked-build testing on PC, where you control the launcher, the files, and the backups.
Conclusion
Start with the boring part, because it is the part that saves you. Open the Properties window, write the exact build number and today’s date into a text file, and make a verified copy of your game files and saves on external storage.
Then switch off automatic updates in the launcher, pin the matching branch, and install only mods that name that build. Test on a throwaway save, and keep the rollback point you just made until the setup has run clean for a while. That is the whole of how to lock a game version for mod compatibility: a recorded build, a fallback copy, and mods that admit which build they were written for.