Most mod installs go wrong because someone opened the archive, dragged files into the game folder, and hoped. Reading the readme first takes about ten minutes and prevents the two problems that cost beginners the most: a missing dependency and files dropped one folder too deep.
A mod readme is the instruction document that ships with a download, usually as a readme.txt inside the archive or as the description on the mod page. It tells you what the mod needs, where the files go, and what breaks if you get it wrong. Below is a fixed order for reading it, plus the small number of phrases that separate a hard requirement from a nice-to-have.
One quick note before we start. Search results for this question are full of people trying to play .MOD files, which is an old audio format used by trackers like Scream Tracker. That is a completely different thing from a game mod archive, usually a .zip or .rar. If you landed here trying to open a music file, this is not the guide you need.
Table of Contents
- 1What You Need
- 2Step-by-Step: How to Read a Mod Readme File Correctly
- 3Step 1: Read a Mod Readme File Correctly from Top to Bottom
- 4Step 2: Check the Game, Platform, and Version
- 5Step 3: Identify Dependencies and Required Tools
- 6Step 4: Translate File Paths and Installation Order
- 7Step 5: Read Commands, Options, and Configuration Notes
- 8Step 6: Install the Mod and Perform a Clean Test
- 9Step 7: Troubleshoot Using the Readme’s Final Section
- 10Common Mistakes
- 11Frequently Asked Questions
- 12What file type is a mod readme?
- 13What should I do if a mod has no readme file?
- 14How do I handle conflicting installation instructions?
- 15Why does a documented mod stop working after a game update?
- 16How can I safely uninstall a mod after installing it?
- 17Conclusion
What You Need
You need the mod archive downloaded but not yet installed, plus a way to look inside it without unpacking everything. 7-Zip is the usual tool for that. It opens a .zip or .rar and shows you the folder tree read-only, which is exactly what you want at this stage.
You also need a plain text editor. Notepad on Windows and TextEdit in plain-text mode on Mac are enough. Word can be used, but it wraps long lines and hides the formatting that separates sections, which is how you spot headings and lists.
Then get the facts about your own setup:
- Your game edition and platform
- Your current game version or build number
- Which expansion packs or DLC you actually own
- Your mod manager, if you use one
- A clean backup or a save you are willing to lose
Knowing your version and DLC list before you open the readme is what makes step two possible. If you cannot find your version number quickly, look it up now, not later.
Step-by-Step: How to Read a Mod Readme File Correctly
Seven steps, in this order. The order matters because each one answers a question the next one depends on. Skipping ahead to the file list is how people end up installing something that cannot possibly work, and the readme itself warned them three paragraphs earlier.
Step 1: Read a Mod Readme File Correctly from Top to Bottom
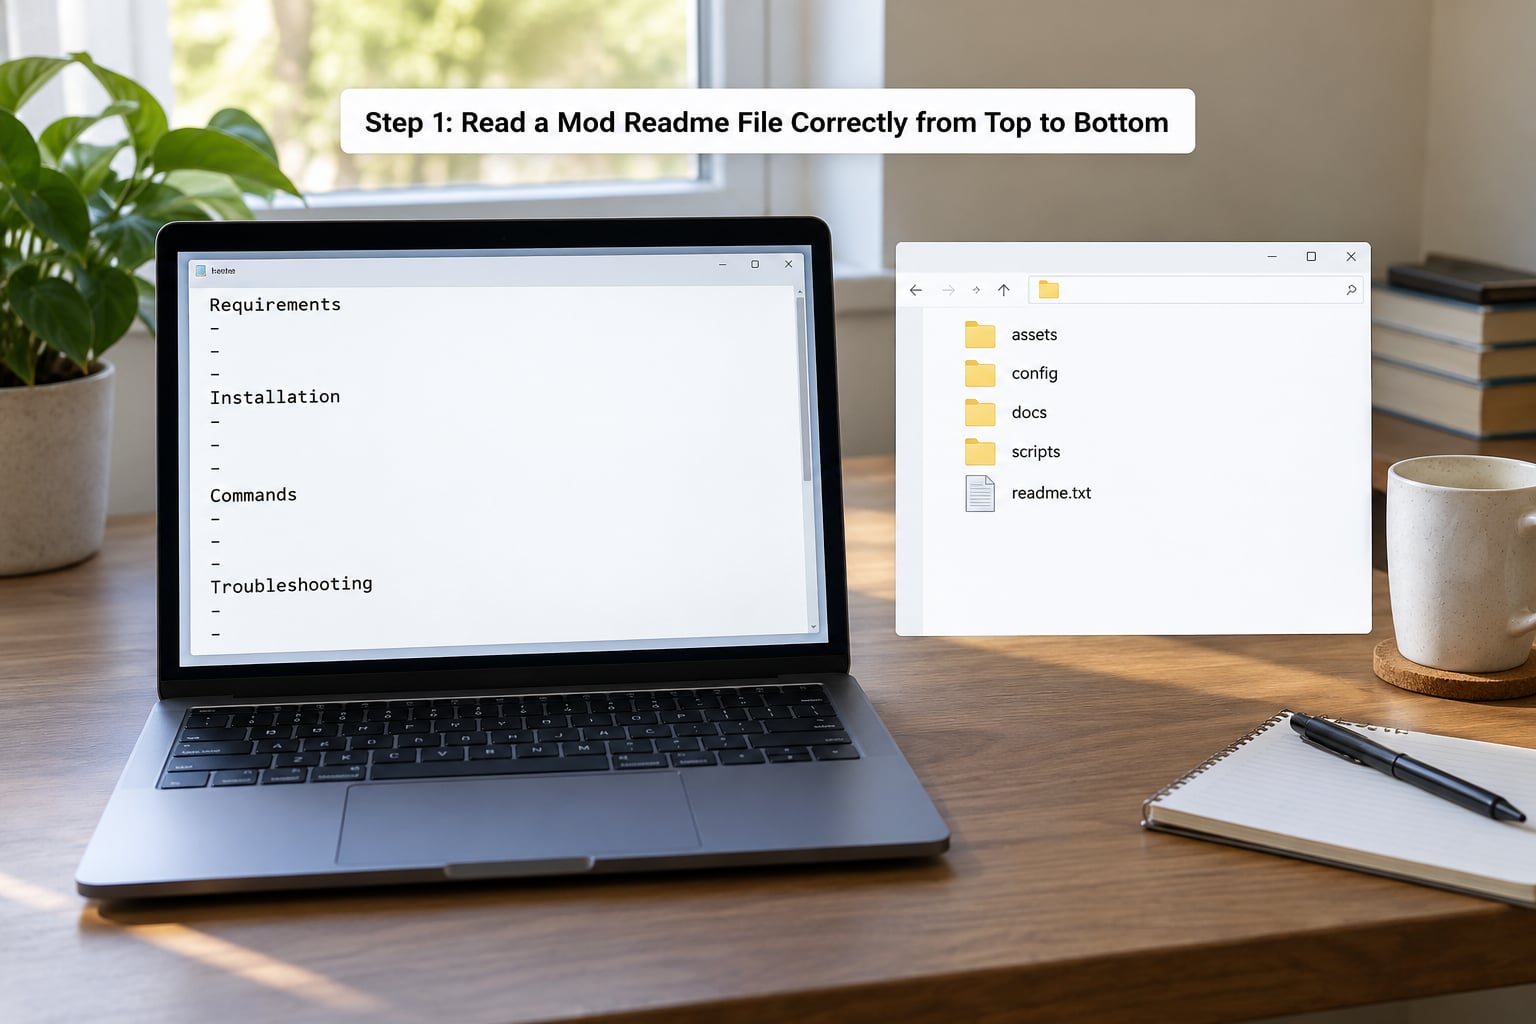
Open the archive in 7-Zip and locate the readme. Common names: readme.txt, Readme.txt, README.md, installation.txt, or install.html. Some mods have several, one for the base game and one for a DLC version. Read all of them, not just the one with the shortest name.
If the readme is HTML, open it in your browser rather than your text editor. If it is a PDF, use a PDF reader. Both are fine, but note which one you used, because a PDF hides the raw file paths in a way plain text does not.
Now read straight through once without doing anything. You are looking for six blocks in this order:
| Readme section | What it tells you | What you do |
|---|---|---|
| Requirements and dependencies | Other mods, frameworks, or script extenders the mod cannot run without | Install and verify each one before continuing |
| Version and DLC | Which game version, edition, and expansion packs the author tested against | Compare against your own setup, and stop if they differ |
| Installation | Which files, which folder, which method, which order | Follow it literally, in the numbered order given |
| Options and configuration | Checkboxes, INI settings, or commands that change behaviour | Apply the recommended ones now, note the rest for later |
| Load order and conflicts | Where the mod’s plugin must sit relative to others, and which mods it clobbers | Record the position before you close the file |
| Known issues and uninstall | What the author already knows breaks, and how to remove the mod cleanly | Skim now, return to it when something goes wrong |
If your readme is missing one of these blocks, that is a signal about the author, not about you. A readme with no requirements section on a mod that obviously needs a framework is a warning to check the comments and the mod page before installing.
Step 2: Check the Game, Platform, and Version
Find the version line. It usually reads something like “tested on 1.6.1170”, “requires game version 1.5.97 or higher”, or “not updated for two years”. Then check your own version against it.
Three outcomes are possible. Your version is newer than the author tested, which is usually fine for texture and visual mods and risky for anything that touches game systems. Your version is older, which means the mod may simply not work. Your version is newer by a lot and the mod has not been updated in a long time, which means treat the readme as a historical document and check the comments for reports from people on your version.
Platform matters too. Console and mobile versions of games run on separate tooling, and a readme written for PC will not transfer. DLC matters most: a mod that needs an expansion pack you do not own will crash or silently do nothing.
Step 3: Identify Dependencies and Required Tools
Dependencies are the single biggest source of wasted evenings in modding. People install a mod, it does not appear, and hours later they find out a required framework was never installed. It happens because the requirement line was three lines down in a readme nobody opened.
Read the author’s wording carefully, because requirement strength is encoded in plain language:
| What the author wrote | What it actually means |
|---|---|
| “Required”, “requires”, “you must have”, “hard requirement” | Mandatory. Without it the mod will not work at all. |
| “Depends on”, “needs”, “incompatible without” | Also mandatory, usually phrased more casually. |
| “Recommended”, “strongly advised”, “should be installed alongside” | Your call. It will run without, but you may lose features or hit bugs. |
| “Optional”, “if you want X”, “additional files” | Skip unless you specifically want the extra feature. |
| “Note”, “FYI”, “heads up”, “edit:” | Information. Often important, but not an instruction to act. |
Among the dependencies you will meet: a script extender, which is a separate program that lets mods run code inside the game engine; a framework, which is a shared library several mods depend on; other mods, listed by name with links; and tools, such as an archive utility or an INI editor.
Install each mandatory item first, launch the game, confirm it is present, and only then return to the original mod. A partially installed dependency chain is worse than none, because the mod will fail in a way that looks like its own problem.
Step 4: Translate File Paths and Installation Order
Installation instructions are paths, and paths are where mistakes happen. A backslash separates folder levels, so modsmycarmodelscar.ymf means the mycar folder inside the mods folder inside your game directory.
The most common error is nesting one level too deep. If the readme says the file goes to modsmycar and you create modsmycarmycar, the game never sees it and nothing appears. Compare the readme’s first folder name against the first folder name inside your game directory, character for character.
Also watch for the words “replace” and “overwrite”. A replacement file has the same name and path as a game file and takes its place. If you are not backing up, that original file is gone. “Overwrite if asked” in a mod manager means the manager detected a file that already exists in your game folder, and it is asking whether the mod’s version should win.
Numbered install steps are order-dependent, not decoration. When a readme says install A, then B, then apply the patch from C, doing it in another sequence can produce a working-looking install that breaks the first time you enter a specific area.
Loose file installs mean the archive contains no installer and no plugin, just folders. They work fine in a mod manager, which tracks and can undo them, and they work badly when copied by hand, because nothing is recorded. Veterans on r/skyrimmods recommend opening the archive first, checking the folder structure, and reading the readme before anything moves.
Step 5: Read Commands, Options, and Configuration Notes
Not every mod is drag-and-drop. Some need a line typed into the game’s console, some need an INI file edited, some need a key bound. These instructions come with a strength marker too, and mixing them up causes its own problems.
Console commands and key bindings are mandatory unless clearly marked optional. An INI setting with a listed default is usually a suggestion, and you can safely leave it. Values written as a range, such as “0.5 to 2.0”, are tuning ranges for performance or visuals.
FOMOD installers deserve their own mention. A FOMOD is a checkbox installer that runs when you open a mod in a mod manager. Options come in three flavours: required ones you cannot uncheck, recommended ones marked with a check, and optional ones left blank. The “recommended” marker is the author’s tested configuration, so leaving the defaults alone is the right call for a first install.
Game-specific limitations are easy to miss. A line like “does not work in first person” or “disable this setting on the DX12 beta” is a known-issue statement hiding in the options section. Note these on the way through.
Step 6: Install the Mod and Perform a Clean Test
Install exactly what the readme said, in the order it said, with the options it marked recommended. Do not add extras on the first pass. If you are modding an existing save, make a separate copy of that save before touching anything, and load the copy for your test.
Your test should confirm one specific thing, not just “does it launch”. If the mod adds a vehicle, spawn it. If it changes lighting, enter the location where it should be obvious. If it patches a quest, check that quest.
Then check the game folder or your mod manager’s mod log for anything unexpected. An empty or clean check is a pass.
Step 7: Troubleshoot Using the Readme’s Final Section
Every mature readme ends with a known-issues section, and it is the first place to look when something fails. Authors have already collected the crash reports and solved the problem you are about to spend an hour on.
Match your symptom to the entry. A missing model usually means a path mistake or a missing dependency. A failed script points to the wrong script extender version. An absent HUD element is often a disabled plugin in your mod manager’s plugin list rather than a broken install. A crash on load points to a conflict, a load order problem, or an over-aggressive INI change.
Fix the cause the readme describes, change one thing, and retest. Chasing several variables at once is how a working setup gets wrecked, and load order edits made mid-playthrough are a well-known way to break a save that ran fine yesterday.
If the readme has no known-issues section, the mod is young, abandoned, or the author was in a hurry. In that case the comments below the mod page are the next best source, since that is where the author answers questions in public.
Common Mistakes
These six account for most failed installs, and every one of them is prevented by reading the readme in order.
Skipping the version check. You assume the mod is current and install it into a game that updated last month. The readme’s version line would have told you in five seconds.
Ignoring dependencies. The mod needs a framework or another mod, and you install around that line because it is buried in the middle of the document. Nothing works, and nothing tells you why.
Nesting files one level too deep. The archive contains a folder that duplicates the folder you created, so the game never sees the content. This is the most common manual install failure and the easiest to spot from the readme’s path.
Treating optional files as required. You install everything in the archive “to be safe”. Optional files often add alternate content or experimental options that conflict with your setup. Install required and recommended only.
Overwriting originals with no backup. Replacement files destroy the game file they replace. A backup takes seconds and turns a broken install into a five-minute undo.
Following instructions for the wrong edition. The readme covers a different platform, a deluxe edition, or the next generation remake. It can be technically correct and still useless for you.
Five habits prevent all of it. Read the readme before downloading dependencies rather than after. Note hard requirements separately from preferences. Record the install and load order as you go, in writing. Keep backups. And when the readme and the mod page disagree, trust the newest dated source, then check the comments to see which one other people are following.
Frequently Asked Questions
What file type is a mod readme?
Usually a plain text file named readme.txt, but there is no single standard. Mods also ship readme.md in Markdown, install.html as a styled web page, or a PDF with screenshots. Some have no readme file at all, only a description on the mod page. Any of them can be read with the right tool: Notepad or TextEdit for text, a browser for HTML, a PDF reader for PDFs.
What should I do if a mod has no readme file?
Look in three more places before installing: the files tab on the mod page, the mod’s own wiki or Discord, and the comments, where the author often pastes instructions. If none of those exist, treat the mod as undocumented. Check the file structure inside the archive, install only what is clearly required, and keep a backup. An undocumented mod is a good one to try on a throwaway save.
How do I handle conflicting installation instructions?
Go by the most recently updated source. The mod page description, the bundled readme, and a wiki can drift apart when the author updates one and forgets the others. Check the file dates and the changelog, then look at recent comments to see which instructions people are currently succeeding with. For modlists and large guides, the guide’s own versioned documentation usually beats anything bundled in an individual mod.
Why does a documented mod stop working after a game update?
Because the game changed underneath it. Updates can rename or relocate files, change plugin formats, and alter how scripts are loaded, which breaks mods that were working perfectly. That is also why a readme with an old date and a version number you do not match is a warning sign. Keep the readme, check the mod’s update history, and expect visual mods to survive updates far better than anything touching game systems.
How can I safely uninstall a mod after installing it?
If you used a mod manager, deactivate or remove the mod through it, then run any automatic conflict check the manager offers. That is the clean route because the manager knows what it changed. If you installed loose files by hand, delete exactly what you added and restore anything you replaced from your backup. Never delete game folders you did not create, and test on a copied save first.
Conclusion
Reading a mod readme correctly is a fixed routine, not a skill you either have or lack. Open the archive, scan the six sections in order, check your game version against the author’s, install every hard requirement, follow the paths exactly, apply the recommended options, and test one thing before moving on.
Start with the version and the dependency list, before you move a single file. Those two lines decide whether the install has any chance of working, and everything after them is just careful file handling.