To change car top speed in a mod, open the vehicle’s handling file in OpenIV, raise the maximum velocity value to your target speed in metres per second, then replace the file back into your mods folder. That single number is the speed cap the physics engine respects, and it is almost always the reason a downloaded car refuses to go faster than it does out of the box.
Three things trip people up before they ever get a working result. The value is written in m/s, not km/h, so typing 400 gives you a car that crawls. The speedometer on the HUD is a separate system that caps out regardless. And the engine itself has a hard ceiling, so there is a point past which no config edit does anything at all.
The short version:
- Copy the original vehicle files to a separate backup folder before you touch anything.
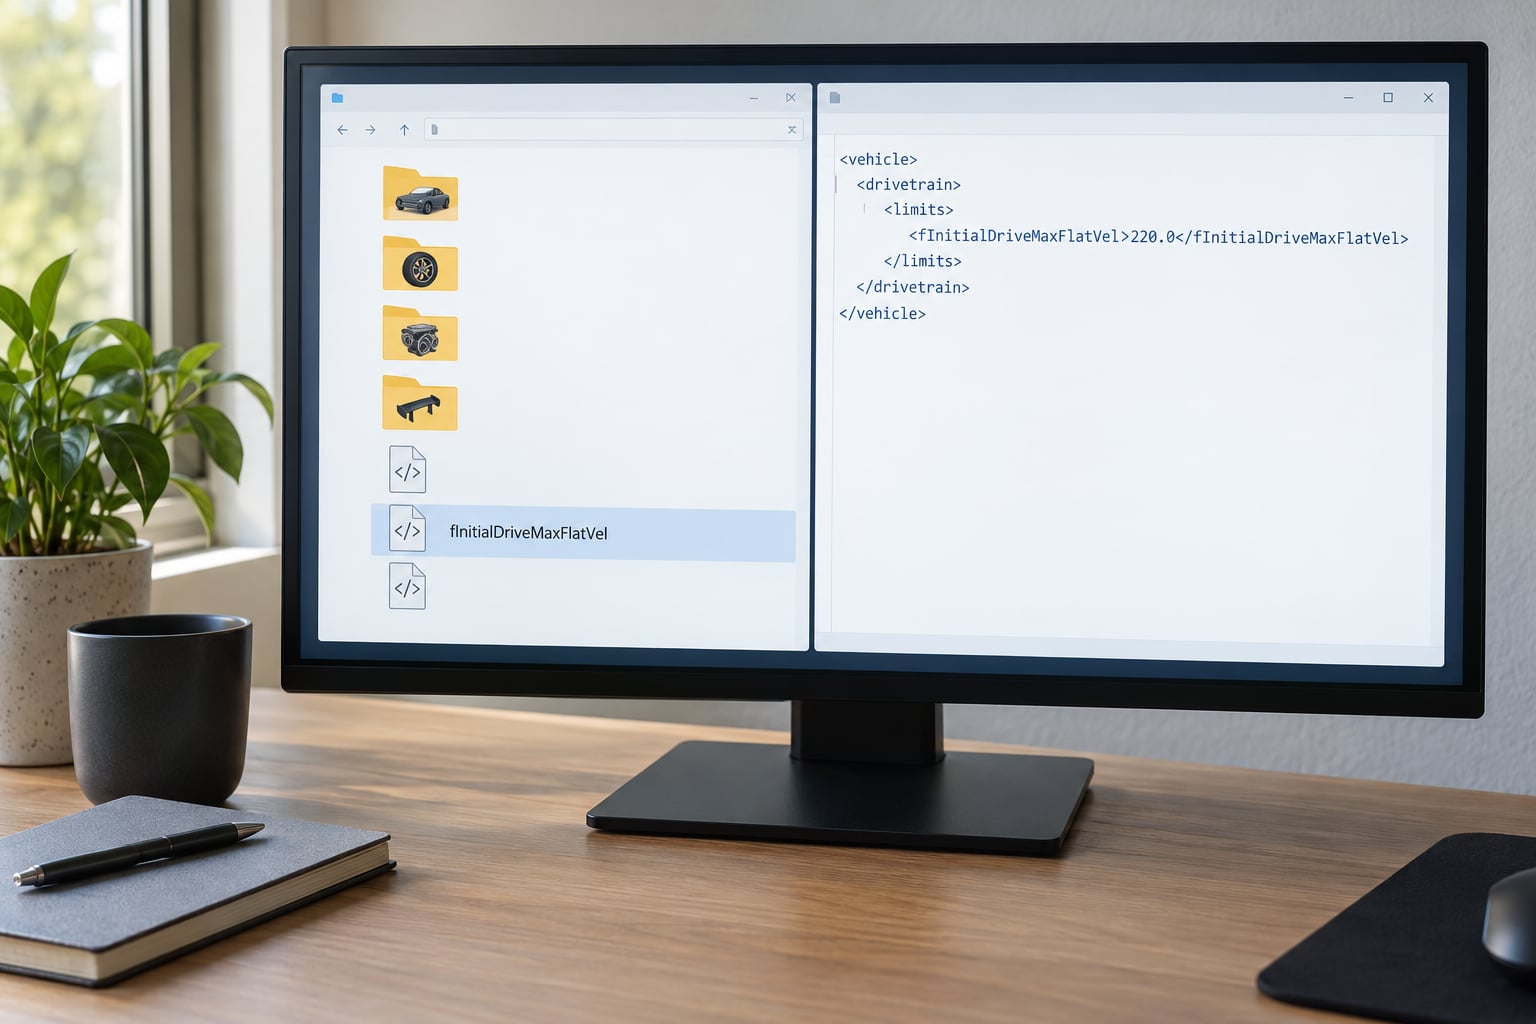
- Open the handling file in OpenIV and find fInitialDriveMaxFlatVel inside the CCarHandlingData block for that car.
- Enter your target speed in m/s, save, replace the file, then test on a clear stretch of road.
Below is the full workflow, including what to do when the change appears to do nothing.
Table of Contents
- 1What You Need
- 2Step-by-Step: How to Change Car Top Speed in a Mod
- 31. Back Up the Original Vehicle Files
- 42. Find the File That Controls Top Speed in a Mod
- 53. Increase the Speed Value Safely
- 64. Validate and Save the Edited File
- 75. Test the Car and Check for Game Errors
- 8Which Method Should You Use?
- 9Common Mistakes When Editing Vehicle Top Speed
- 10Frequently Asked Questions
- 11What value should I change to increase a modded car’s top speed?
- 12Can I make a GTA car go faster than the game’s normal speed limit?
- 13Why did my speedometer change but the car’s acceleration stay the same?
- 14Which file do I edit for GTA 5, GTA 4, or San Andreas vehicle mods?
- 15How can I test and safely revert a top-speed change?
- 16Conclusion
What You Need
You need the original mod download, a clean extraction folder, OpenIV, a plain-text editor, and the right mod-loading setup for your game. None of that is expensive, and the whole job takes about fifteen minutes once you know which file to open.
- The original mod download. Keep the .zip or .rar somewhere intact. This is your fallback if the installed files get mangled.
- A clean extraction folder. Unpack the mod onto the desktop so you can see every file it contains, including ones OpenIV hides in archives.
- The config file named by the mod creator. Read the description first. A replace mod and an add-on mod put their editable files in different places.
- OpenIV. The standard tool for browsing and editing GTA V game files. You will need Edit mode enabled, which means being able to write to your game folder.
- A plain-text editor such as Notepad++. It highlights the XML tags, which makes a missing bracket obvious instead of invisible.
- The correct loader setup. For GTA V, the modsupdateupdate.rpf and modsupdatex64dlcpackssetup2.mod structure. Use the mod’s documented tool rather than guessing which game version you have.
- An empty place to test. A runway, a long straight road, or a quiet stretch of highway at night. You need distance, not corners.
Checking your game version first saves a lot of frustration. OpenIV’s Tools tab shows the build number, and the mod page usually lists the version it was made for. A file extracted from the wrong build is the most common reason a spawn produces a car that is missing wheels or sits floating an inch off the road.
Step-by-Step: How to Change Car Top Speed in a Mod
1. Back Up the Original Vehicle Files
Back up the vehicle folder before you make a single edit, and confirm the copy contains the same file types as the original. Most GTA V vehicle mods ship a mixture of .rsc, .yft, .ytd, .ymap and .meta files, and a partial backup is worse than none because it looks like a backup.
Copy the whole folder rather than the handful of files you think matter. Mod authors add subfolders and loaders that are easy to miss, and a complete copy means you can restore the exact state you started from. Name the folder something obvious like mycar_backup_original so you do not overwrite it by accident a week later.
Open both folders side by side and check the file counts match. If the extracted mod shows a vehicle.meta, a handling.meta and a carcols.meta, your backup should show the same three. If a file is missing, re-extract before continuing.
2. Find the File That Controls Top Speed in a Mod
The speed cap lives in handling data, not in the model’s geometry or textures, so the file you want is almost always a .meta file. For GTA V, handling data sits inside the vehicles.rpf archive under the commondataai path, and the exact subfolder shifts between game builds, so browse in OpenIV rather than trusting a path from a two-year-old video.
There are four places worth checking, depending on what you are working with:
- Global handling.meta. One
CCarHandlingDatablock per vehicle type, all in one file insidevehicles.rpf. Editing here changes every car in the game at once. Useful for a private playthrough, terrible if you only wanted one vehicle faster. - The vehicle’s own .meta file. Add-on cars usually ship a meta named after the model, sitting in the
commondataaivehiclesfolder. This is the right target for changing a single modded car. - carcols.meta. This file holds the tuning parts. Each upgrade entry points at a handling subtype name, which means a part you fit at a shop can override the handling you edited. This is the single most common reason a careful edit gets ignored in game.
- vehicle.meta. The model definition, which contains the
HandlingIdtag. That tag is the link between your car and the handling block it uses, and it is how you point a vehicle at a custom handling profile.
Inside OpenIV, use the search function on the extracted mod folder for the words top speed, max velocity and drag. The field is formally called fInitialDriveMaxFlatVel, so searching for “speed” alone will miss it in some files.
3. Increase the Speed Value Safely
To increase the value, raise fInitialDriveMaxFlatVel in small increments and leave everything else untouched. A working street-car target sits somewhere between 70 and 120 m/s, which covers roughly 250 to 430 km/h. Values far beyond that mostly make the car twitchy rather than fast.
Here is the unit conversion that catches almost everyone:
- 200 km/h is about 55.6 m/s
- 300 km/h is about 83.3 m/s
- 400 km/h is about 111 m/s
- 500 km/h is about 138.9 m/s
Take 80 and type 80 into the field and you have set a cap near 288 km/h. Take 80 and type 400 and you have quietly told the game to cap the car at 1440 km/h, which is why the vehicle then behaves like it has no limit at all and keeps pulling long after the speedometer pegs.
While you are in the file, three related parameters are worth understanding even if you leave them alone. fInitialDragCoeff sets aerodynamic drag, and lowering it is how you raise terminal velocity, since drag is what eventually beats engine power. fDriveInertia controls how eagerly the car converts revs into forward motion, so it shapes acceleration far more than it shapes top speed. fMass feeds the power-to-weight calculation, which is why a heavier mod feels sluggish no matter what you do to the speed cap.
Increase the number in steps of 10 to 20 m/s and save each time. Jumping straight from 60 to 200 m/s produces a car that is technically faster and practically undrivable, and it makes it far harder to tell which change caused a problem.
4. Validate and Save the Edited File
Save with the original filename, the original extension and the original encoding, then reopen the file to confirm the value stuck. OpenIV’s editor will show you any parse failure immediately, and a silent no-op is nearly always a file that failed to load at all.
Keep these three details intact while editing:
- Decimal separators. Use a full stop. A comma in some regional settings silently breaks the value, leaving the game to fall back to a default.
- Tag structure. You are changing a number between two tags, not deleting, adding or reordering tags. A missing closing bracket breaks the entire file.
- Indentation and line endings. Not strictly required by the parser, but keeping the file’s existing shape makes it obvious later which lines you touched.
If the game refuses to spawn the vehicle after your edit, run the file through an XML validator or open it in a browser-based validator. A single stray character is invisible in a narrow editor pane and obvious the moment the validator points at a line number.
5. Test the Car and Check for Game Errors
Reinstall the edited file through the correct mod loader, spawn the vehicle in an empty area, and compare it against the original on the same strip of road. Flat ground and a consistent run matter more than any dashboard reading, because the speedometer is a display choice rather than a measurement of the cap.
Read the result in this order:
- Acceleration to about 100 km/h. If this feels identical, your edit did not load and you are testing the unmodified car.
- The point where forward thrust stops increasing. That is your real top speed, whatever the HUD says.
- Last-gear behaviour. If the car keeps accelerating past its usual flat spot, drag is the limiting factor rather than the velocity cap, and you need the next method below.
A black screen, a crash on spawn, or a vehicle that appears with missing parts means the file is broken rather than merely capped. Restore the backup immediately instead of trying more values on a file that will not load.
Which Method Should You Use?
Editing the velocity value is the right starting point, but it is not the only route, and each one fails differently. Picking the wrong method is why so many people report that nothing happened.
- File edit (fInitialDriveMaxFlatVel). Changes the cap for one car or for the whole game, persists between sessions, and is fully reversible. Does nothing about drag, so a car with high drag will still plateau early.
- File edit (fInitialDragCoeff). Raises the speed the car can actually reach rather than the number the engine allows. Riskier to tune, since a drag value of 0.0 means the car never stops accelerating at all. Forum regulars describe the sweet spot as a narrow band: too high and the car never reaches its rated top speed, too low and it runs away from you.
- Script, at runtime. Natives such as
SetVehicleHandlingFloatandSetHandlingFloatapply handling changes while the game runs, andSetVehicleMaxSpeedraises the cap on a specific vehicle. Quick to test and easy to undo, but the change is not saved anywhere. One well-known limitation on the Cfx.re forum:SetVehicleMaxSpeedalters the cap without touching the gear ratios, so the car simply accelerates past its last-gear redline instead of reaching a higher terminal speed. - Speed limiter script. An ASI script running on ScriptHookV that lets you raise or lower a cap in game with a keybind. Easiest option if you refuse to open a text editor. Its comment thread is a wall of the same three complaints: it does not work in FiveM, the keybinds stop responding after a few seconds, and the limiter re-applies itself.
For a single-player car you plan to keep, the file edit is the honest answer. For experimenting, the script route costs you nothing.
Common Mistakes When Editing Vehicle Top Speed
Almost every failed top-speed edit comes down to one of a handful of causes. Work through this list in order, because it is ordered by how often each one turns out to be the problem.
- Editing the wrong file. You changed the global handling.meta but your add-on uses its own handling subtype. Check the
HandlingIdtag in the vehicle’s own meta to see which block actually drives the car. - Typing km/h into an m/s field. The single most common cause of a no-op. Divide your target by 3.6, or use the conversion list above.
- Changing only the speedometer. The HUD has its own scale and its own maximum. A car reading 400 on screen may still be capped at 200, and conversely a car pegging the needle may not be going anywhere fast.
- Ignoring drag. If fInitialDriveMaxFlatVel is no longer the limiting value, raising it changes nothing. Watch for the car still accelerating past its old flat spot, which means drag is now the ceiling.
- Being blocked by tuning parts. A carcols.meta upgrade can point at a different handling subtype, so your edits apply only when that part is not fitted.
- Overwriting the original mod. Editing the copy inside your mods folder with no backup means a bad change is permanent. Keep the extracted original somewhere else.
- Wrong folder structure. Files dropped into the game root instead of
modsupdateupdate.rpfare simply ignored. Nothing errors, nothing changes. - Expecting handling to follow automatically. Top speed and acceleration are separate. A car can reach a higher terminal speed while feeling slower off the line, and a drag edit changes the ceiling without touching how quickly the car gets there.
- Chasing an impossible number. The RAGE engine carries a hardcoded ceiling of roughly 356 MPH that no configuration value can exceed. If you are typing 200 into the field and expecting a car that runs forever, stop.
- Multiplayer desync. In FiveM, handling data is loaded server-side from streamed resources, so a local edit changes nothing for you or anyone else. Resources and the
addon_vehiclesfolder have to be updated on the server, and players need the matching download.
Three habits prevent nearly all of this. Back up first, change one value at a time, and write down what worked. A short note next to your mod folder saying “drag 0.05, cap 95, feels right” saves you an hour of blind re-editing next week.
Frequently Asked Questions
What value should I change to increase a modded car’s top speed?
Change fInitialDriveMaxFlatVel inside the CCarHandlingData block in handling.meta. The number is in metres per second, so a 400 km/h target needs roughly 111, not 400. Raise it in steps of 10 to 20 m/s, save the file under its original name, then replace it through OpenIV and test.
Can I make a GTA car go faster than the game’s normal speed limit?
Yes, within reason. A well-tuned street car usually reaches somewhere between 300 and 430 km/h after the edit, which is a long way past a stock road car. You cannot go past the engine’s hardcoded ceiling of roughly 356 MPH though, so expect the last stretch to behave oddly rather than to climb forever.
Why did my speedometer change but the car’s acceleration stay the same?
The HUD and the physics cap are separate systems. Raising the velocity value changes the number the engine respects, while the on-screen display follows its own scale, and a tuning part fitted in carcols.meta can point the car at a different handling subtype and ignore your edit. Verify the real top speed on a clear straight run rather than trusting the dial.
Which file do I edit for GTA 5, GTA 4, or San Andreas vehicle mods?
In GTA V, handling data sits inside vehicles.rpf under the common data ai path, and add-on cars usually carry their own meta alongside it. GTA IV also uses editable XML metas in the vehicle’s folder, so a text editor works there too. Classic titles are different: San Andreas stores handling in binary vehicle.dat files that need a dedicated DAT editor, not Notepad++.
How can I test and safely revert a top-speed change?
Test on a long flat straight at night, run the original and the edited car over the same stretch, and compare the speed at which acceleration stops increasing rather than the dashboard reading. To revert, copy your backup folder over the installed files through the same mod loader and restart the game. Keep the backup until the new value has survived several sessions.
Conclusion
Start by copying the vehicle folder somewhere safe, open the handling file the mod creator named, and change one value: fInitialDriveMaxFlatVel, entered in metres per second. Test on a clear straight, watch for the point where acceleration stops increasing rather than reading the speedometer, and restore the backup the moment the file fails to load. Everything beyond that depends on the game version, the loader and whether you are on a server.