Fixing headlights not working on a modded car in GTA 5 is rarely about the lamps themselves. It is usually a model name mismatch inside the vehicle file, light data that never loaded, a dlc.rpf or gameconfig entry missing, or a second mod quietly overwriting the same files. Work those four in that order and you will find it fast.
Every add-on car ships as a small set of files that tell Rockstar’s engine what the body, wheels and lights are. If one piece of that set is missing, mismatched or loaded out of order, the car spawns and drives normally and simply has no lamps.
The whole check takes about twenty minutes on a clean install. You need OpenIV with edit mode on, a plain text editor, the original mod download and a backup of your current setup before you begin.
Table of Contents
- 1What You Need
- 2Step-by-Step: How to Fix Headlights Not Working on a Modded Car
- 3Confirm the Original Vehicle Lights Work
- 4Check the Mod Folder and Required Addon Files
- 5Inspect the Model and Lights Configuration
- 6Check Gameconfig and Mod-Loading Order
- 7Test the Fix in GTA 5
- 8Common Mistakes
- 9Frequently Asked Questions
- 10Why are the headlights not working after installing a GTA 5 vehicle mod?
- 11Do I need OpenIV to fix a vehicle mod with missing headlights?
- 12Can I fix the lights by editing the vehicle model file myself?
- 13How do I know whether another mod is overwriting the vehicle?
- 14Will reinstalling the vehicle mod restore its headlights?
- 15Why do the headlights work only on some GTA 5 vehicles?
- 16Conclusion
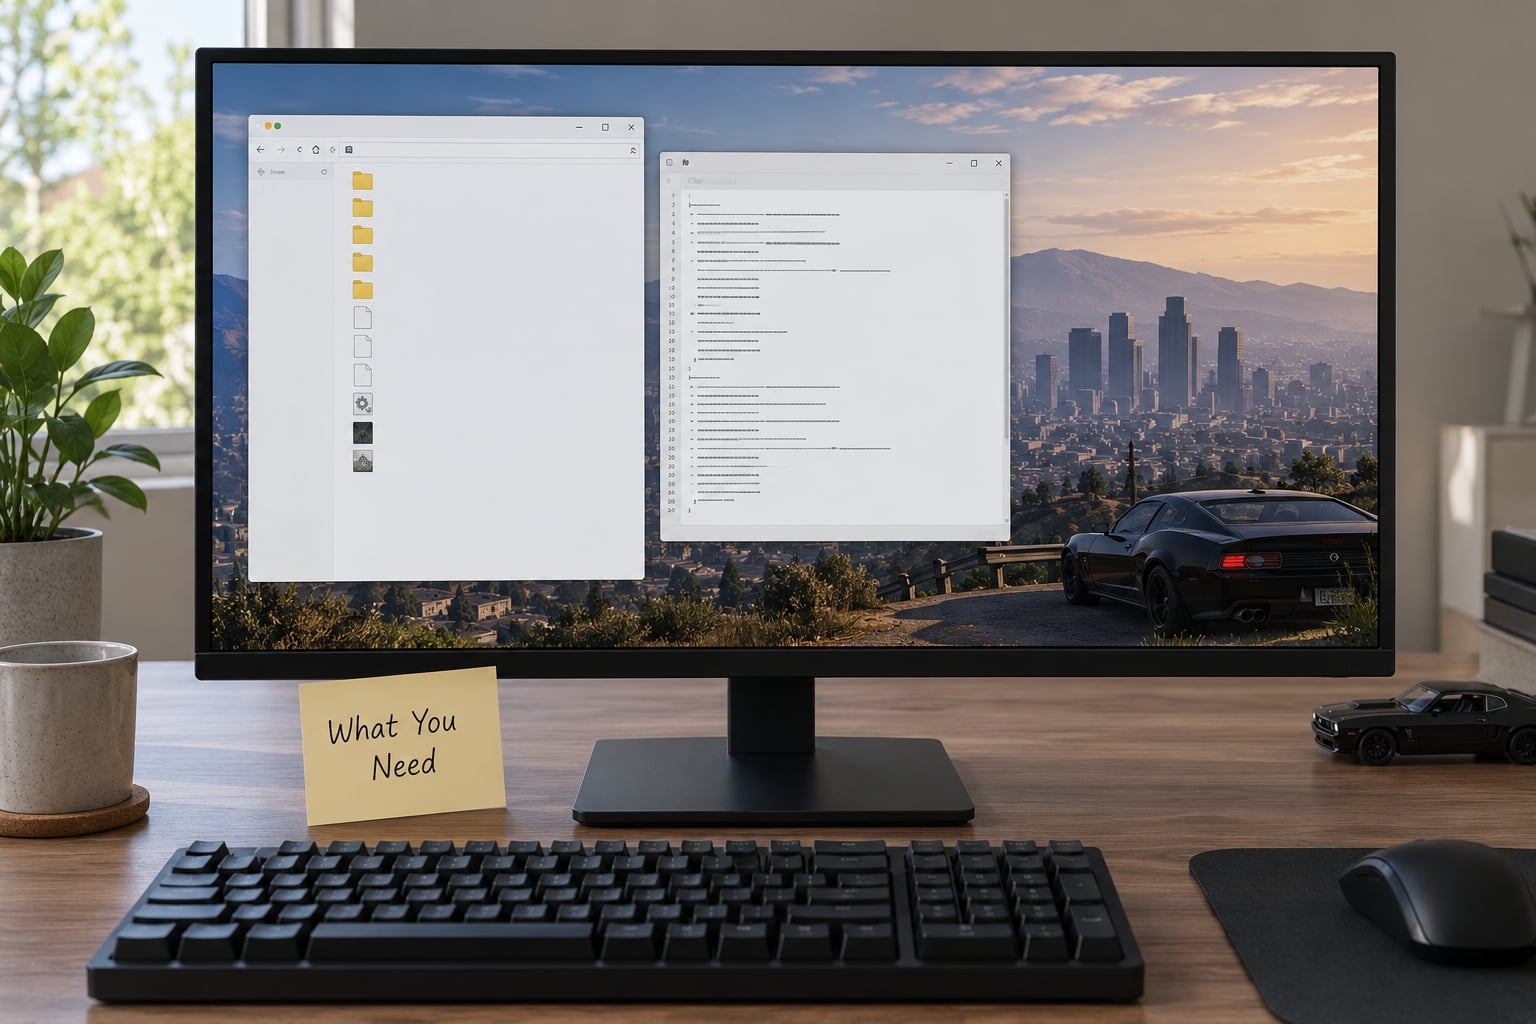
What You Need
Gather these before you touch anything. Troubleshooting goes badly when the fix is a file you deleted an hour ago.
- The unmodified vehicle, in game. You spawn it to prove the fault belongs to the mod, not to the world or time of day.
- OpenIV, with edit mode enabled. Without edit mode you can browse the game folder but not change it. Edit mode is a toggle in the OpenIV menu, and it makes your game files read-only as a side effect, so use it deliberately.
- The original mod download and any archive labelled extra files. Plenty of add-on cars split required data across a second download, and the extra files archive is usually where the working lights live.
- A plain text editor. Notepad works. You are checking file names and model strings, nothing more.
- A backup of your mods folder and of any gameconfig file you have edited, so you can return to a working state.
- CodeWalker, if you want to look inside the vehicle file itself. Optional, but it is the only comfortable way to read model data.
One note on version. If your game has been updated since you downloaded the mod, an older vehicle file can stop loading or lose lights. Check the mod page for a recent update before you start.
Step-by-Step: How to Fix Headlights Not Working on a Modded Car
Confirm the Original Vehicle Lights Work
Spawn the stock version of the car and switch the headlights on. Both sides should light. If they do not, you are chasing a game or weather setting, not a mod.
Move the clock to night or find a dark street, because daytime lighting makes headlights hard to judge. Turn on low beam, then high beam, then the indicators. Each of those is a separate light in the vehicle data, so a lamp that fails on the stock car rules the whole vehicle out of the argument.
Check the Mod Folder and Required Addon Files
Open mods in your game folder and compare what is there against the mod download. Folder names have to match the download exactly, including case and any suffix like addon, gamepass or a version number. Windows accepts a folder named for one thing while the mod’s instructions refer to another, and the load order breaks quietly.
Inside the vehicle folder you should find a matching set: the model file ending in yft, its texture file ending in ytd, an idr or ydr file for the rim, a ybd for the physics file where one is supplied, a meta or vehicles.meta file, and a dlc.rpf. A missing texture file alone will not kill the lights. A missing model file, a wrong model name or an absent dlc.rpf will.
If the mod page listed a separate extra files archive, extract it over the same folder. This one step resolves a large share of broken-light reports, because the base download is often the body only.
Check the extraction too. A truncated download produces a folder that exists with files that do not, which looks identical to a correct install from the outside.
Inspect the Model and Lights Configuration
This is the step most guides skip. Inside a vehicle file there is a model name string, and it has to match the name referenced by the vehicles.meta entry that points the game at the car. If the download was re-exported by someone else, or you mixed a yft from one version with a meta file from another, the two names no longer agree and the game has nothing coherent to load lights from.
Open the meta file in your text editor and look at the entry for your car. Note the model name it expects. If the model file you are using was named differently, that mismatch alone explains a car with no working lamps.
Next, look at whether light data exists in the model at all. Some conversions and some texture-and-lighting overhauls strip lights out of older vehicles, and the original download is then the only source that has them. Open the yft in CodeWalker, select the car model, and look for light entries on the front end. A few numbers will not tell you anything useful, but an empty lights section is a clear answer: the file you are running has no lights to load.
Watch for obvious configuration errors while you are in there, such as a meta entry pointing at a folder that does not exist or a duplicated vehicletype block. Do not invent values to fill a gap. Copy the entry from a vehicle that works and change it only where you have confirmed what the field means.
Check Gameconfig and Mod-Loading Order
Modded vehicles only load if the game knows to look for them. That instruction lives in your gameconfig file, usually under patchdayng or dlc.rpf entries, and each vehicle mod needs one line per dlc.rpf it adds.
Search the gameconfig for the dlc.rpf path of your vehicle. If nothing comes back, the game was never told to read the folder and no amount of reinstalling the car will light it up.
Then look for duplicates. Two vehicle mods that share a model name, or an old merged gameconfig left behind by a previous mod manager, will load in an order you did not choose. The second file quietly wins, and if that second file is the one without light data, you get a dark car from a folder that looks perfect.
Mod loaders let you set priority, and priority is the fix here. Put the mod you suspect last in the list, reload, and see whether the lights return. If they do, you have your conflict and you can decide which of the two cars you actually want.
Test the Fix in GTA 5
Test in single player first, and pick a dark location so a working lamp is obvious. Start the game fresh after any file or gameconfig change rather than relying on a fast travel or a sleep, because the game caches vehicle resources it has already loaded.
Then work through the lamps in order: low beam, high beam, front indicators, then the rear cluster if the mod is meant to change it. Each lamp is independent in the data, so a car can pass low beam and still fail high beam, which usually points at the meta entry rather than the files.
If the lights still refuse, add your other mods back one at a time and retest after each. Adding back is faster than removing, because a working car is one you can test immediately.
Common Mistakes
These are the failures that come up again and again, roughly in the order you are likely to hit them.
| What you see | Most likely cause | Fix |
|---|---|---|
| Car spawns with no lights at all | Missing gameconfig line for the dlc.rpf, or the folder name does not match the download | Add or correct the gameconfig entry and rename the folder to match |
| Low beam works, high beam does not | Meta entry does not map the high beam light, or the model name differs from the one referenced | Compare the meta entry against a working car and confirm the model names match |
| Both lamps work until another mod loads | Two mods share a model name and load order decides the winner | Change the priority so your mod loads last, or rename one model |
| Car appears untextured or invisible as well | Files landed in the wrong path or the download extracted incompletely | Reinstall from the original archive and verify every file in the set is present |
| Lights worked, then stopped after a game update | Vehicle file predates the update | Install the mod version updated for your current game build |
| Intermittent lights, working after a fresh restart | Two vehicle folders with the same name and unstable load order | Remove the duplicate and keep one folder |
Two more worth naming. Running a mod manager and hand-editing files at the same time produces exactly the kind of conflict described above, so pick one method. And never test a newly installed car in a session where five other mods just loaded, because you cannot attribute the result to anything.
Frequently Asked Questions
Why are the headlights not working after installing a GTA 5 vehicle mod?
Most often the vehicle file’s model name does not match the entry in the meta file, so the game loads the body without any light data. The next most common reasons are a missing gameconfig line for the vehicle’s dlc.rpf, a folder name that does not match the download, and a second mod overwriting the same files. A missing extra files archive is frequent too, since many cars ship body and lights separately.
Do I need OpenIV to fix a vehicle mod with missing headlights?
For reinstalling files, yes, or any equivalent archive tool that writes into the game folder. OpenIV is the usual choice because it understands the packed archive layout the game uses, and it has an edit mode toggle you switch on before writing. If you only want to inspect what is inside a vehicle file, you can open it read-only first and avoid edit mode entirely.
Can I fix the lights by editing the vehicle model file myself?
Editing a vehicle file by hand in a text editor will not restore lights, because the model and light data are binary inside the yft. What you can fix in a text editor is the meta file, the gameconfig entries and the folder and file names, and that covers most cases. Use CodeWalker to view the light entries in a model, and treat any change to the model itself as a job for the mod’s author.
How do I know whether another mod is overwriting the vehicle?
Compare the model name inside your vehicle file with the name referenced by the meta entry, then search your mods folder for any other vehicle using the same name. If two mods share it, the one that loads last wins. Set the load priority so your mod loads last and restart the game. If the lights come back, that conflict was the cause.
Will reinstalling the vehicle mod restore its headlights?
It will if the files on disk were damaged, incomplete or placed in the wrong path. It will not help if the conflict is in gameconfig, if two mods share a model name, or if the download you are reinstalling is itself the version without light data. Reinstalling from the original archive and the current extra files archive is still the first move, because it costs little and rules out file damage.
Why do the headlights work only on some GTA 5 vehicles?
Because lighting is stored per vehicle rather than globally. Each add-on car carries its own light data, so a car built from a different base model, or exported from a newer game version, can behave differently from one that was authored against your game build. Swapping light data between vehicles is not a simple copy, which is why a mod that lights correctly on one car can be dark on another.
Conclusion
Start with the cheapest test and stop at the first one that explains the symptom. Spawn the stock car and confirm its lights work, compare the mod folder against the download including the extra files archive, then check the model name against the meta entry and the gameconfig line for that dlc.rpf. Only after those pass is it worth blaming load order or a second mod.
That order resolves most dark add-on cars in one sitting, and when it does not, the conflict check at the end will.