To add working light bars to a police mod in GTA V you need four things in place: a roof bar whose bulbs are assigned vehicle light IDs, a flashing pattern wired to those IDs, the files installed where the game looks for them, and a night test to confirm all three. A light bar stays completely dead until that first assignment happens. Paint it, texture it, merge it into the roof, and it will still sit there like a plastic prop.
Most of the frustration comes from the fact that those four pieces live in four different communities. The model comes from a ZModeler 3 resource, the light IDs come from the engine documentation, the flashing pattern comes from ELS or LSPDFFR, and the install comes from an OpenIV guide. This walkthrough joins them into one sequence. Budget about an hour for your first bar once the tools are open, and a good half of that hour is checking your work before you save.
Table of Contents
- 1What You Need to Add Working Light Bars to a Police Mod
- 2Step-by-Step
- 31. Confirm the police mod’s format and requirements
- 42. Back up the original vehicle files
- 53. Check the light-bar model and texture
- 64. How to Add Working Light Bars to a Police Mod: edit the files
- 75. Configure the flashing sequence
- 86. Install the lighting script or resource
- 97. Test the light bar in a dark location
- 10Common mistakes and what each one actually means
- 11Frequently Asked Questions
- 12Why can I see the police light bar but it does not flash?
- 13Can I add light bars to a replace police mod without changing the vehicle model?
- 14Do light bars installed in GTA V single-player work in FiveM?
- 15What should I do after a GTA V update breaks my police light bar?
- 16Can I add a working light bar to a police vehicle that never included one?
- 17Conclusion
What You Need to Add Working Light Bars to a Police Mod
The single most common reason a police light bar does nothing is that no light ID was assigned to its bulbs. The mesh renders, the texture looks right, and the engine never treats it as a light at all. Everything below assumes you fix that first, so gather the tools before you touch any file.
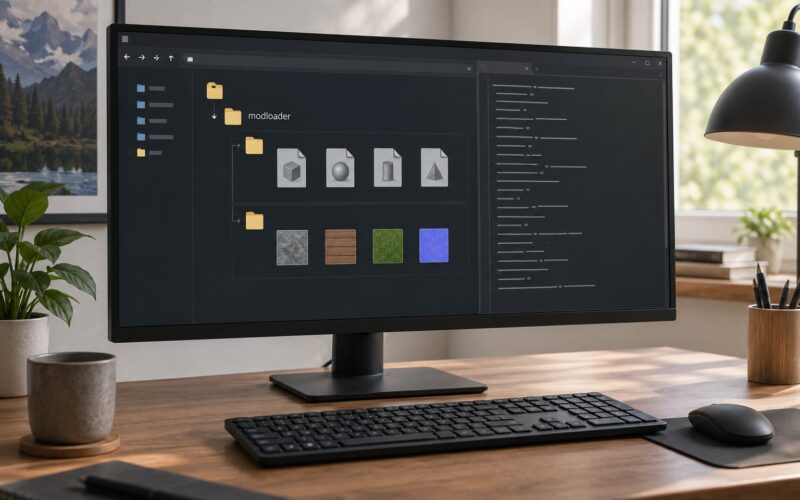
- OpenIV or another RPF editor for installing, extracting and replacing game files.
- ZModeler 3 for importing the vehicle YFT and the light bar, assigning light IDs, merging and exporting. CodeWalker works if you would rather read the RSC7 and drawables than model.
- A light bar source in .z3d or .obj form, or a bar that already exists on a stock GTA V police vehicle you can pull from OpenIV.
- ELS for single player flashing patterns, or LSPDFR if you play the police mod rather than plain GTA V.
- Sollumz and Blender if you want a cleaner mesh workflow than ZModeler 3 gives you, or Menyoo if you want to attach a bar in game without modelling at all.
- The add-on police vehicle folder with its YFT, YTD, handling and meta files, plus write access to a tools folder that loads at administrator level.
Decide add-on or replace before you start. A replace mod overwrites a stock vehicle’s files inside the game’s vehicles folder, which is quick and makes the car appear anywhere the original spawns. An add-on lives in its own DLC RPF with its own model name, which keeps the stock car intact and survives game updates far better. For a police car you plan to keep for months, the add-on route costs a little more setup and saves you re-doing the work after every patch.
Whichever route you pick, the file names and folder structure have to match what the mod author wrote down. Deviating there is what causes the crash-on-load reports.
Step-by-Step
1. Confirm the police mod’s format and requirements
Open the mod’s readme first and find out what you actually downloaded. Some downloads are a bare light bar for ZModeler 3, some are a full replacement police car, and some are a pack with its own ELS config and meta files already inside.
Note three things: the model name, the folder it expects to live in, and which lighting system the author used. GTA V, FiveM and Rockstar Editor vehicles can share nearly identical file names and still need different components, so a FiveM resource that works on a server will not necessarily run in single player, or the reverse.
You can tell a lot from the files. A single-player FiveM-free mod usually ships YFT and YTD plus a handling.meta. A server resource adds an fxmanifest.lua and a stream folder. Anything with its own carvariations.meta is a full replacement and needs more care.
2. Back up the original vehicle files
Copy the YFT, YTD, handling file and any meta files to a folder outside your live mod directory before you change anything. For a replace, that means the vehicle’s files in the game’s vehicles RPF. For an add-on, it means the whole DLC RPF for that pack.
Label the backup with the date and the mod name. You will thank yourself the first time a bad export leaves you with a car that will not spawn.
Then load the vehicle in game with the backup in place and confirm it still appears and drives. If it does not, the problem predates your edits and you have just saved yourself an afternoon of blaming yourself.
3. Check the light-bar model and texture
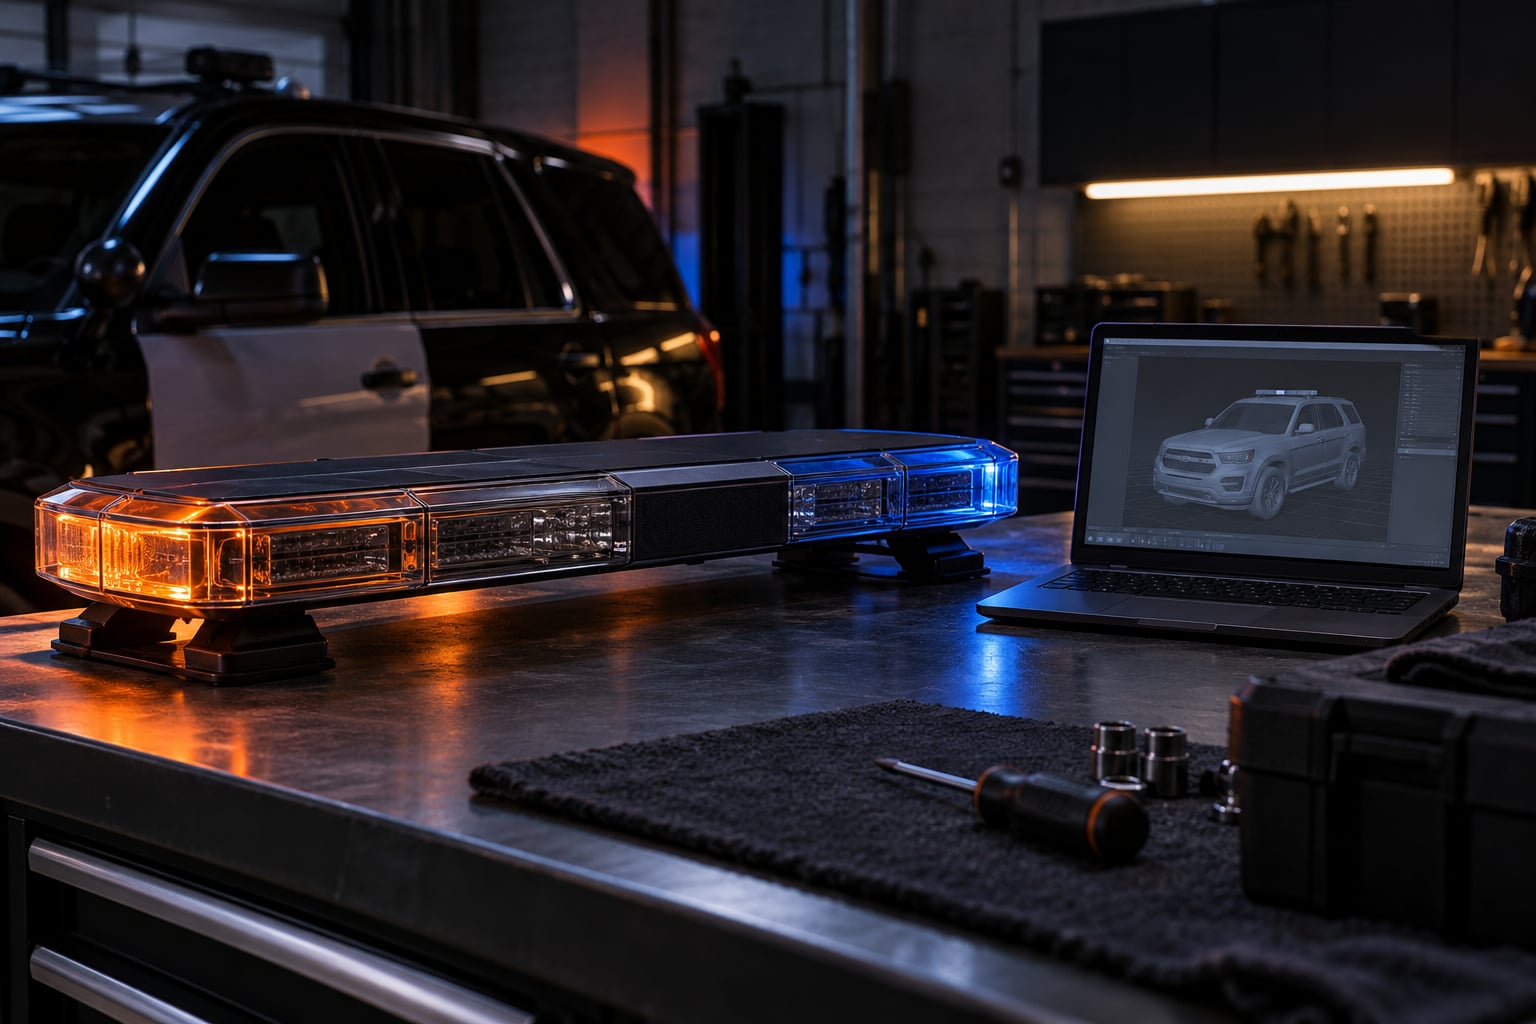
Import the bar into ZModeler 3 and look at what you have before merging anything. You want the outer shell, the lens or emitter geometry inside it, and a texture that has an emissive channel rather than a flat colour.
The classic failure here is a bar that imports fine but has no internal light geometry at all, or one whose UV areas for the lenses are missing so the shell renders with a hole in it. Both are geometry problems and neither is fixed by anything you do later in the pattern settings.
Also check the texture assignment. A light-mask or emissive texture tells the game which pixels glow, but it does not tell the engine that the object is a light. If the bar has no emissive map at all, it will look flat even after everything else is right.
4. How to Add Working Light Bars to a Police Mod: edit the files
This is the step that decides whether your lights work. GTA V has a numbered light ID system, and each ID maps to a fixed socket on the vehicle. When you assign a mesh to one of those IDs, the engine renders it as a real light that ELS can then flash.
In ZModeler 3 you set this on the material or the node properties of each bulb, in the field that names the light. For an add-on, you import the vehicle’s YFT from your DLC RPF through OpenIV, work on the bar, and export the vehicle back to the same path. For a replace, you import the stock vehicle’s YFT, edit only that police vehicle’s files, and export them over the originals.
Never paste a whole RSC7 file from an unrelated vehicle to make the editor happy. It loads, it looks like it worked, and then the car is broken in a way that is very hard to trace back.
Here is the full reference. The four extralight IDs at the bottom are the ones a light bar normally uses; the rest are there so you can also fix headlights, indicators or grille lights in the same pass.
| ID | Drawable name | Typical use |
|---|---|---|
| 1 | headlight_l | Front headlight, driver side |
| 2 | headlight_r | Front headlight, passenger side |
| 3 | indicator_lf | Front indicator, driver side |
| 4 | indicator_rf | Front indicator, passenger side |
| 5 | indicator_lr | Rear indicator, driver side |
| 6 | indicator_rr | Rear indicator, passenger side |
| 7 | taillight_l | Tail light, driver side |
| 8 | taillight_r | Tail light, passenger side |
| 9 | brakelight_m | Centre high brake light |
| 10 | reversinglight_l | Reverse light, driver side |
| 11 | reversinglight_r | Reverse light, passenger side |
| 12 | foglight_l | Front fog light, driver side |
| 13 | foglight_r | Front fog light, passenger side |
| 14 | extralight_1 | Extra light socket 1, common light bar slot |
| 15 | extralight_2 | Extra light socket 2, common light bar slot |
| 16 | extralight_3 | Extra light socket 3, common light bar slot |
| 17 | extralight_4 | Extra light socket 4, common light bar slot |
A practical split for a two-colour bar is extralight_1 for the red modules and extralight_2 for the blue, with extralight_3 and extralight_4 free for grille lights, mirror strobes or a take-down pair. Sides are listed as driver and passenger above, which matches a left-hand-drive car.
If your bar is a single mesh with red and blue sections baked into one texture, split it into separate nodes first. You cannot flash one node red and one node blue if they are a single drawable under a single ID.
5. Configure the flashing sequence
Assigned IDs make the bulbs light. They do not make them flash. The flashing comes from ELS in single player, or from the equivalent setup inside LSPDFR.
Open the ELS vehicle configuration for your model and define the pattern layout. The layout is a grid of timed slots, and you place each light ID into the slots where it should fire. Put extralight_1 in every other slot and extralight_2 in the ones between them and you have the basic alternating red-blue that most people actually want. A slower pattern with both IDs firing on the same slot gives you a steady double-flash instead.
Also set the enabled lights list for the vehicle, its default state, and the flash timing. If your ELS version exposes a synchronise or pairing option, use it to keep the two sides locked together rather than drifting apart over time.
The colour itself is set per light in the ELS or vehicle configuration, not in the diffuse texture. That is why editing the texture to green and purple can leave you with a stubbornly red and blue bar, with no error message anywhere.
6. Install the lighting script or resource
You only need a script when nothing already handles your model. With ELS installed for single player, the script is usually running and just needs your pattern registered. With LSPDFR, the framework reads its own vehicle list and ELS profile, and a model that is not on that list will never light up no matter how good the bar is.
For an add-on, the model and texture go inside your DLC RPF under the addon’s own name, and the meta files sit alongside them. For a replace, the files overwrite the stock vehicle’s YFT, YTD and metas inside the game’s vehicles folder, with a mod folder above them for the loose metas. Restart Script Hook V or your launcher only when one of those tools is genuinely required, not out of habit.
For FiveM, the vehicle needs a resource folder with an fxmanifest.lua, the YFT and YTD in a stream folder, and an entry in your server’s vehicle spawn list. Test on a local development server first, because a broken drawable index that single player ignores will hard-crash a server mid-shift.
One warning worth repeating: never run two emergency lighting systems against the same police model. Two scripts fighting over the same IDs produce random flicker that no amount of pattern editing will fix.
7. Test the light bar in a dark location
Spawn the car the same way the mod’s author documented, then drive it somewhere dark. Daylight hides almost every problem with emergency lighting, so an alley, a car park at night or a garage with the door shut is the honest test.
Work through it in order. Headlights first, then each colour on its own, then the alternating pattern, then whether the light reflects off nearby surfaces. Check that the bar sits flat on the roof and does not clip through a raised light frame or a spoiler.
If a colour is missing while the other works, you have a light ID or a drawable problem. If both colours work but nothing flashes, you have a pattern problem. If the whole car vanished, you have a file or meta problem. Knowing which of those three you are looking at saves you from reinstalling files that were never the problem.
Common mistakes and what each one actually means
Nearly every failure report on this topic reduces to one of nine things. Find your symptom in the first column before you change any file.
| Symptom | Likely cause | Fix |
|---|---|---|
| Bar is visible but completely static | No light ID assigned to the bulbs | Assign extralight_1 to 4 in the model and re-export the YFT |
| Both sides flash together with no alternation | All modules share one light ID | Split the mesh and put each colour on its own ID, then rebuild the pattern |
| Random flicker, pattern keeps resetting | Two lighting systems control the same model | Remove one system and leave ELS or LSPDFR in charge |
| Red and blue no matter what the texture says | Colour comes from the assigned light, not the texture | Set the colour in the ELS or vehicle configuration instead of the texture |
| Game crashes when the car loads | Malformed meta or a bad LOD export | Restore the backup, re-export with a single LOD, then re-check the meta entry |
| Bar is invisible or leaves a hole in the roof | Shell merged but the drawable is missing or mis-indexed | Check the drawable indices in the YTD and re-export the shell separately |
| Works in single player, dead in LSPDFR | LSPDFR uses its own vehicle list and ELS profile | Register the model on the LSPDFR vehicle list and match its ELS profile |
| Car will not appear in the LSPDFR garage | Model class or name does not match the list entry | Check the model name and class against the list, exact spelling included |
| Changes vanish after a game update | Replace files were overwritten by the patch | Move to an add-on install and retest after each update |
One more worth knowing: if you converted a civilian car from a police variant, NPCs may react to it as an emergency vehicle even with no bar fitted. That comes from the model’s flags, not the lights, and it is harmless but confusing the first time you see it.
Frequently Asked Questions
Why can I see the police light bar but it does not flash?
A visible bar with no light is almost always missing its light IDs. The mesh renders as a normal drawable and stays static no matter how good the texture is, because the engine never received a socket assignment. Open the vehicle in ZModeler 3, set the bulb nodes to extralight_1 and extralight_2, re-export the YFT, then reload your pattern. Editing the texture alone changes nothing at all.
Can I add light bars to a replace police mod without changing the vehicle model?
Yes. You do not have to rebuild the car. Import the existing police vehicle YFT, merge the bar into the roof as a separate node, assign the light IDs and export over the same file. The only change is the added geometry, so the car keeps its original handling, livery and model name. Keep a backup of the original YFT and YTD before you export, because a bad merge is hard to undo.
Do light bars installed in GTA V single-player work in FiveM?
Not automatically. A single-player add-on lives in a DLC RPF, while a FiveM vehicle needs its own resource folder with an fxmanifest.lua and a stream folder containing the YFT and YTD. The model also has to be added to the server’s spawn list, and drawable indexes that single player tolerates can crash a server outright. Build it as a FiveM resource from the start if a server is your target.
What should I do after a GTA V update breaks my police light bar?
A replace install gets overwritten by the patch, because the game restores its own copy of the vehicle files. That is the moment to move the car to an add-on install with its own DLC RPF and model name, then re-import the texture and pattern once. Keep a clean copy of your YFT, YTD and ELS configuration outside the mod folder so each update is a re-copy rather than a re-build.
Can I add a working light bar to a police vehicle that never included one?
That is the standard case, and it works because the light ID system is engine-level rather than model-specific. Merge a bar into the roof of any vehicle, assign the bulb nodes to extralight_1 through extralight_4, and the engine treats them as real lights. This is the core move behind how to add working light bars to a police mod on a civilian car, and the same steps cover unmarked and staff units with different colours.
Conclusion
Start by backing up the vehicle files and confirming whether the mod is an add-on or a replace, then check the light bar you are using against the light ID table above. If the bar already lights up in game, your remaining work is the pattern and the install, not the model.
Working emergency lighting comes from four things agreeing with each other: geometry the engine can see, an emissive texture that glows, light IDs that turn the mesh into real lights, and a pattern that decides when each one fires. Appearance alone never gets you there, which is why a bar that looks finished in ZModeler 3 can sit completely dead on the roof in game. Get the IDs right and the rest is adjustment.