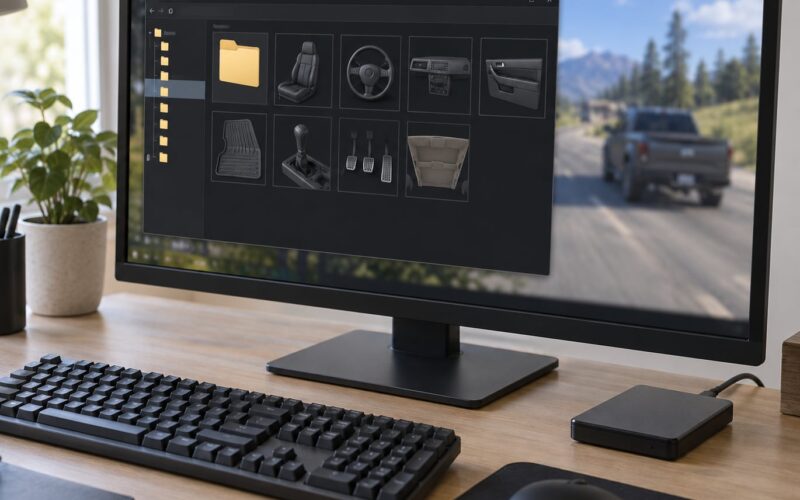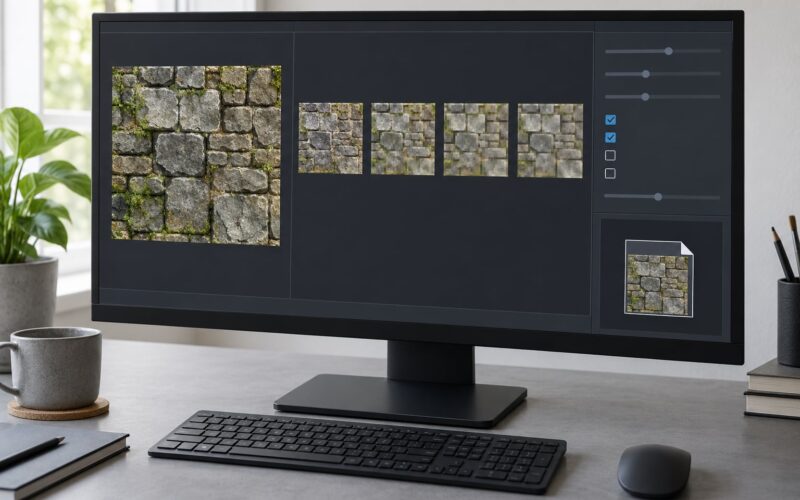
Learning how to edit car textures in Photoshop for beginners comes down to one rule: never paint on the original image. Duplicate it, work on adjustment layers, and every edit stays reversible. Whether you are recolouring a car photo or repainting a vehicle inside GTA V, the editing side is the same flat image with layers, and the whole process takes about an hour the first time.
There are two things people mean by car texture, and mixing them up wastes an evening. The first is a photo of a car you retouch, like changing paint colour or adding a wrap. The second is a game asset, a .ytd file holding the .dds or .png images wrapped onto a 3D car model. This guide covers both tracks, and you can stop reading once you find yours.
No coding, no math, and no paid software required. GIMP and Paint.NET both handle the same steps if you would rather not subscribe to anything.
Table of Contents
- 1What You Need
- 2Step-by-Step: How to Edit Car Textures in Photoshop for Beginners
- 31. Back Up the Original Vehicle Files
- 42. Extract the Vehicle Texture Files
- 53. Open the Texture and Inspect the UV Map
- 64. Create Smart Layers and Select the Paintable Areas
- 75. Paint the New Car Design
- 86. Add Numbers, Logos, and Small Details
- 97. Save the Edited Texture in the Correct Format
- 108. Install and Test the Custom Vehicle Texture
- 11How to Edit a Texture in Photoshop: The Short Version
- 12Common Mistakes
- 13Frequently Asked Questions
- 14What file should I use to edit a car texture in Photoshop?
- 15Can I edit a GTA vehicle texture with the default Photoshop tools?
- 16How do I know which part of a car texture I am editing?
- 17What resolution and color mode should I use for a car texture?
- 18Why does my edited car texture look stretched or misplaced?
- 19How do I fix a visible seam after painting a vehicle texture?
- 20Conclusion
What You Need
You need an image editor, a way to reach the texture file, and a copy of the original. That is genuinely the whole list.
| Tool | Cost | What it does for car texture work | Opens .dds? |
|---|---|---|---|
| Adobe Photoshop | Paid subscription | Layers, adjustment layers, blend modes, smart objects, warping | Yes, with a plugin |
| OpenIV | Free | Browses game folders, opens .ytd archives, exports and imports textures | Yes |
| NVIDIA Texture Tools Exporter | Free plugin | Lets Photoshop save and open .dds files natively | Yes |
| GIMP | Free | Layers, blend modes, adjustment equivalents, DDS support built in | Yes |
| Paint.NET | Free | Simple layers and selections, DDS through a free plugin | With plugin |
| Texture Toolkit | Free | Opens .ytd files and previews the texture set | Yes |
| CodeWalker | Free | Reads game vehicle data, useful for checking model and texture names | Partly |
Photoshop needs one extra step before it will touch a .dds file. Without the NVIDIA Texture Tools Exporter plugin installed, double-clicking a .dds gives you an error or a file Photoshop cannot read. Install that plugin first, restart Photoshop, and the format menu grows a DDS entry. If you would rather skip it, export from OpenIV as PNG, work in Photoshop, and import the PNG back, because OpenIV converts it on the way in.
Three terms come up constantly, so define them once. A texture is a flat image the game stretches across the car body. A .ytd file is the archive that stores those images inside the game folder. DDS is the compressed image format most of them are saved in, and it is why the plugin matters.
Inside a .ytd you will meet three kinds of texture map, and each one answers a different question.
| Map | What it controls | Edit it for | Beginner priority |
|---|---|---|---|
| Diffuse map | The colour you actually see | Paint colour, liveries, decals, numbers | Start here |
| Specular map | Where the surface shines | Making a matte wrap glossy, or killing shine | Second |
| Normal map | Surface relief under light | Carbon weave depth, panel creases, panel lines | Third |
Community consensus in the GTA modding forums lines up with that table: the diffuse map is the canvas, and specular and normal maps stay untouched until the colour is right.
Step-by-Step: How to Edit Car Textures in Photoshop for Beginners
Eight steps, in order, from an untouched backup to a texture running in game. Do not skip step one.
1. Back Up the Original Vehicle Files
Copy the .ytd file out of the game folder before anything else, and keep it somewhere outside your mod folder. OpenIV’s own Edit mode gives you a safe mode toggle in the top bar, and turning it on stops the game reading anything you write.
Write down three things on a text file: the full game path, the exact file name with its extension, and the date. File names have to match character for character on the way back in, and a typo there is the single most common reason a texture fails to load.
Check you can see the copy in a file explorer before you continue. That is your undo button for the rest of the guide.
2. Extract the Vehicle Texture Files
Open OpenIV, set the mode selector to Edit mode, and browse to the vehicle folder. On PC the vehicle packs live under x64a, then vehicles, then the model folder, where you will find a .ytd file beside a .meta and a .yft.
Right-click the .ytd and choose Edit, then open the archive and select the texture you want. Use Export to put it on your desktop as a PNG, and give it a working name such as mycar_diffuse_work.png.
On FiveM the layout differs. Textures usually sit in a resource folder inside your server data, with each vehicle in its own named folder, and the folder name matters as much as the file name. Check your server resource structure before you assume the GTA V path applies.
What you should see now: a PNG on your desktop whose resolution matches the in-game texture, often 1024 by 1024 for standard vehicles and 2048 by 2048 for high-end ones.
3. Open the Texture and Inspect the UV Map
Open the PNG in Photoshop and check the document size in the title bar and the colour mode under Image, then Mode. Game textures are usually RGB, and anything in the greyscale family is a map like a normal or specular texture rather than the colour one.
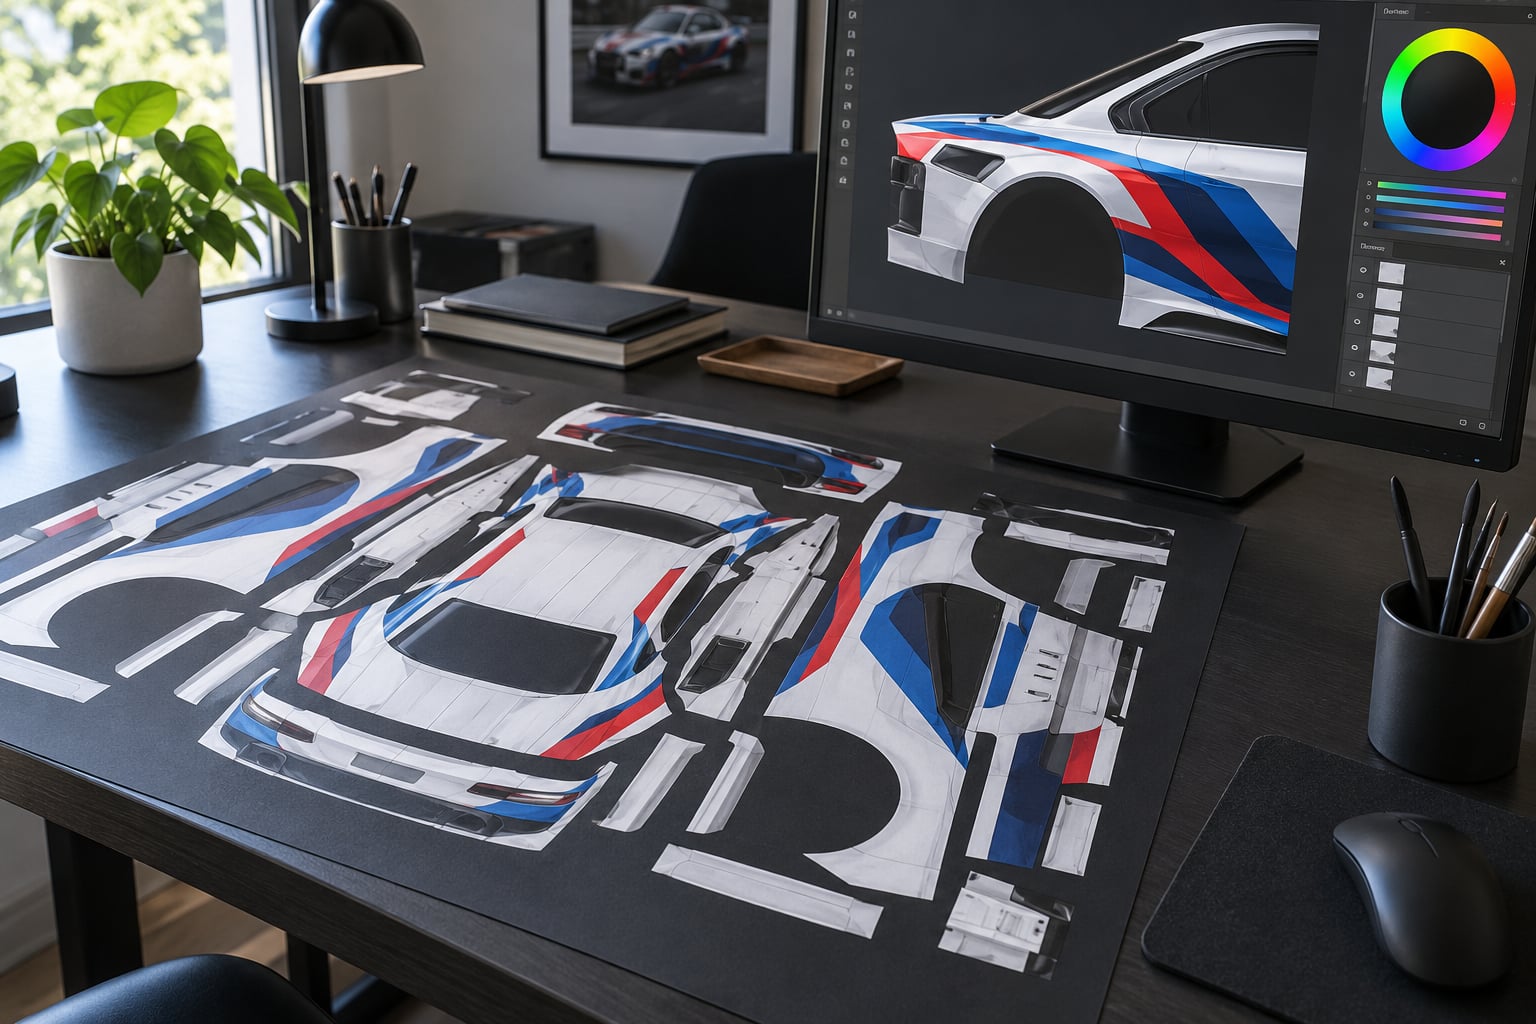
To see the UV layout, open a second file containing the UV template for that vehicle and drop it above your texture as a new layer. Each island of the template maps to one panel of the car, which is how you know that the patch of pixels near the middle is the door and not the roof.
If you have no template, you can still work. A vehicle texture is laid out roughly flat: bonnet and boot panels as large rectangles, doors and side panels as long strips, bumpers and trim in the gaps between them. Texture Toolkit and CodeWalker both show embedded texture thumbnails, which is enough to confirm you exported the right one.
Zoom to 100 percent and turn on the grid if it helps. A useful habit early on is dropping a thin outline layer of the UV template above your work and lowering its opacity to around 30 percent, so you always see where panel edges fall.
4. Create Smart Layers and Select the Paintable Areas
Turn the texture into a smart object with Layer, then Smart Objects, then Convert to Smart Object. That wraps the pixels in its own embedded document, which means every filter you run later stays editable by double-clicking the layer.
Next, duplicate the layer with Ctrl+J. You now have the original underneath and a working copy on top, and everything you do from here happens on the copy.
When you paint, clip the working layer to the one beneath it so nothing bleeds onto a neighbouring panel. Hold Alt on Windows or Option on macOS while clicking the layer below to set that clipping.
Make your selections soft at the edges. Select a panel with the Quick Selection or Pen tool, then choose Select, then Modify, then Feather and enter 1 to 2 pixels. A hard edge on a car panel reads as a sticker; a feathered one reads as paint.
5. Paint the New Car Design
For a colour change, add a Hue/Saturation adjustment layer instead of painting. Click the add adjustment layer icon at the bottom of the Layers panel, pick Hue/Saturation, tick Colorize, drag the Hue slider until the body reaches the colour you want, then adjust Saturation so it does not look like plastic.
Mask it so only the bodywork changes. Hold Alt while clicking the mask thumbnail to hide the adjustment, paint black over the glass, tyres, badges and any black trim, then clip the mask to the smart object. Wheel arches and window surrounds are where a beginner mask usually fails, so check them at 100 percent zoom.
For a carbon fibre panel, place your weave image on a new layer, set the blend mode to Soft Light or Overlay, and clip it to the panel selection. Lower the layer opacity until the weave reads as texture rather than pattern.
To make paint look wet instead of flat, take the Dodge tool with a soft round brush, set the flow low, and brighten along the existing highlight streaks. The Burn tool with the same brush deepens the shadow under the arches. Follow the light already painted into the texture rather than inventing new light, otherwise your work fights the model.
Seams show up where islands meet. After painting, use the Clone Stamp tool set to Content-Aware Fill to pull neighbouring pixels across a gap, and finish with a light Gaussian Blur on a separate layer clipped to the seam at low opacity.
6. Add Numbers, Logos, and Small Details
Put every logo, number and stripe on its own layer. Use the Type tool for numbers and racing names, and place a flat logo image as a new layer for anything custom.
Racing text usually needs perspective. Set the layer to a dark blend mode such as Multiply so the paint texture shows through, then use Edit, then Transform, then Warp, or hold Ctrl and drag a corner handle in Free Transform mode to match the angle of the door or boot panel.
Scale against the UV template rather than against the screenshot. A number that fills half the door in the template will fill half the door in game, and small is usually right.
Hide anything that crosses a panel boundary into the neighbouring island, because game geometry will stretch it across the seam. Mask the edges of the decal layer if paint shows around the letters.
7. Save the Edited Texture in the Correct Format
Save a layered PSD as your master first, with File, then Save As. That file keeps your adjustment layers, masks and smart objects, and losing it means redoing every mask.
For the game file, make a flattened copy. Choose Layer, then Flatten Image, then File, then Export, then Export As, and save a PNG at exactly the original pixel dimensions with no resizing in the export dialog.
Keep the alpha channel. If your texture has transparent areas such as glass or number plate backgrounds, an export that drops alpha leaves you with black or grey blocks in game.
If you exported DDS from OpenIV originally, export PNG anyway and let OpenIV handle the conversion on import. If you must save DDS yourself, use the DDS plugin, keep the same resolution, and match the original format and compression settings where you can read them.
Name the exported file with the same name as the texture inside the .ytd, not your working name. The import step matches names exactly.
8. Install and Test the Custom Vehicle Texture
Right-click the .ytd in OpenIV, choose Import, and point it at your exported PNG. Wait for the import to finish and for OpenIV to write its folder and .meta file. Give it a few seconds; replacing an archive while the game holds it open often fails silently.
Launch the game and spawn the vehicle. Expect the new colour, decals and numbers in the right places, with reflections and shadow still intact, and check the car from a distance and in shadow to catch a mask that missed a trim piece.
If the car is pink, black, or plain white, stop and work through the table below. Those three outcomes cover most failed installs, and each has a fix.
How to Edit a Texture in Photoshop: The Short Version
If you only want the loop, here it is in seven steps.
- Open the texture in Photoshop and duplicate the layer with Ctrl+J.
- Convert the bottom layer to a smart object via Layer, then Smart Objects.
- Select the panel you want and feather the selection by 1 to 2 pixels.
- Add a Hue/Saturation adjustment layer, tick Colorize, and choose the colour.
- Mask out glass, tyres and trim with black on the mask.
- Save a layered PSD master and export a flattened PNG at the original size.
- Import the PNG back over the .ytd in OpenIV using the identical file name.
Common Mistakes
Almost every failure below traces back to one of four things: the wrong map, the wrong file name, the wrong dimensions, or an install that did not replace the archive. Match your symptom in the table first, since that is faster than redoing the edit.
| Symptom | Likely cause | Fix |
|---|---|---|
| Car shows as a pink or black solid colour | Texture failed to load, usually a wrong name or a bad import | Re-import using the exact original file name, and confirm the archive replaced the original rather than sitting beside it |
| Car is white with no detail | You edited the wrong map, often the specular or normal map | Go back to OpenIV and edit the diffuse texture instead |
| Texture loads but is stretched or skewed | Canvas was resized, or artwork was painted across a UV island boundary | Undo to the original resolution and keep decals inside a single island |
| Blurry or smeared paint | Layer was flattened before smart object conversion, or the source PNG was upscaled | Export at the original resolution and keep your smart object unflattened until the end |
| Visible seams between panels | Paint crosses the UV island gap, where the texture wraps around geometry | Clone stamp across the gap, or mask the paint to stop short of the island edge |
| Texture replaced but old version still shows | File not replaced in the mod folder, or mod loader cache not cleared | Check the file name, confirm the folder path, then clear the mod loader cache |
| Error mentioning a 16 MB stream limit | The texture is too large or the .ytd holds several large streams | Lower the texture resolution, or split the archive into smaller files |
| Glass or number plate turned solid | Alpha channel dropped on export | Re-export as PNG with transparency preserved |
| Original texture is gone for good | Archive overwritten with no backup | Verify Singleplayer or verify the game files to restore the original pack |
The 16 MB stream limit deserves one more note, because it is a genuine engine constraint rather than a mistake. Large high-resolution textures and multi-part vehicles can exceed it, and the fix is either a smaller texture or splitting the archive. If you hit that wall on your first attempt, drop from 2048 to 1024 pixels and try again before going further down the rabbit hole.
Two habits prevent most of the table above. Save a layered PSD master before every export, and never import until OpenIV has finished writing.
Frequently Asked Questions
What file should I use to edit a car texture in Photoshop?
For game vehicles, export the texture from the .ytd as a PNG and edit that. DDS works too if you have the NVIDIA Texture Tools Exporter plugin installed in Photoshop. For a car photo, a normal layered PSD is what you want. Keep a layered PSD as your master file and export a flattened copy at the original resolution for installation.
Can I edit a GTA vehicle texture with the default Photoshop tools?
Yes, once you install the NVIDIA Texture Tools Exporter plugin so Photoshop can open and save DDS files. Alternatively, export the texture from OpenIV as PNG, edit it with standard layers, adjustment layers and masks, then import the PNG back, where OpenIV converts the format for you. GIMP and Paint.NET also handle the same workflow for free.
How do I know which part of a car texture I am editing?
Open the UV template for that vehicle as a layer above your texture. Each island of the template maps to one panel, so an island shaped like a long strip is a door and a wide rectangle is the bonnet or boot. Without a template, work from the rough flat layout and check your result by clipping a labelled layer onto each island.
What resolution and color mode should I use for a car texture?
Match the original exactly, which is usually 1024 by 1024 pixels for standard vehicles and 2048 by 2048 for high-end ones. Use RGB colour mode. Keep the alpha channel intact, because textures with transparent glass or number plates lose those regions on a flattened export. Never resize the canvas during the edit, since rescaling is the usual cause of stretched artwork in game.
Why does my edited car texture look stretched or misplaced?
Two usual causes. Either the canvas was resized, which changes the texture dimensions, or your artwork crosses a UV island boundary and gets stretched across the geometry gap. Undo to the original resolution, check that decals sit inside a single island, and mask paint that runs past an island edge. Testing in game is the only reliable check.
How do I fix a visible seam after painting a vehicle texture?
Seams appear where two UV islands meet and the texture wraps around panel edges. Use the Clone Stamp tool set to Content-Aware Fill to pull neighbouring pixels across the gap, then soften the repaired area with a light Gaussian Blur on a clipped layer at low opacity. Mask your paint layer so it stops short of the island boundary, which prevents the seam rather than repairing it.
Conclusion
That is the whole workflow: back up, extract from OpenIV, check the UV layout, convert to a smart object, colour with an adjustment layer, mask the trim, save a layered master, export a flat PNG at the original size, then import it back under the identical file name.
Start smaller than feels useful. Change one panel to one solid colour, import it, and look at the car in game. Once that round trip works and you trust the naming, liveries and logos stop being difficult and become just more layers. If you are new to this, the first successful install of an edited car texture is the whole lesson, and everything after it is repetition.