Adding a custom paintjob to a car mod means editing the vehicle’s texture dictionary so the game paints the car your way. For most add-on vehicles you edit a .ytd file, name your texture in the next free slot, then add one line to vehicles.meta so it shows up in the respray menu. The texture route takes about 15 minutes and no scripting. The tuning route, which wraps the paintjob in a .yft model file, takes an hour and some meta editing, and it is the one server owners want.
Below is the workflow I use: duplicate the vehicle first, work in a separate folder, test a flat colour before you add stripes, and only then worry about reflection maps. Nearly every “my livery disappeared” report traces back to skipping one of those three habits.
Table of Contents
- 1What You Need
- 2Where the files live in an add-on vehicle
- 3Step-by-Step: Adding the Custom Paintjob
- 4Step 1: Back Up the Car Mod and Inspect Its Files
- 5Step 2: Choose the Right Paint Texture Format
- 6Step 3: Edit or Create the Custom Paint Texture
- 7Step 4: Add Livery, Decals, Logos, and Finishing Details
- 8Step 5: Replace the Vehicle Files and Match the Config
- 9Step 6: Test the Paintjob in GTA
- 10The tuning route, when you need it
- 11Packaging it so other people can install it
- 12Common Mistakes and Quick Fixes
- 13Frequently Asked Questions
- 14What if my car mod does not come with a UV template?
- 15Do I put the 2 before or after the file extension when naming liveries?
- 16Will a livery work on any car?
- 17Why is modding GTA 5 so complicated?
- 18Is modding GTA 5 illegal or bannable?
- 19Conclusion
What You Need
Everything below is free or already on your machine. If you only install two things, make them OpenIV and an image editor.
- OpenIV — required. This is the tool that reads and writes GTA V’s packed archives. Edit mode is what lets it save changes back into a file.
- An image editor — GIMP, paint.net or Photoshop. Liveries are painted as flat 2D images, so nothing exotic is required.
- Texture Toolkit — only for the tuning route. It converts images to
.ddsand lets you inject a texture into a.yftmodel. - The vehicle’s own files — the
.ytd, the.yft, and if it ships with them,vehicles.metaandcarcols.meta. - A UV template — a flattened map showing where each panel of the car sits in the image. More on the no-template case below.
- A clean working folder — copy the vehicle files somewhere outside the game folder, edit the copies, then export back.
Keep a separate working folder inside your game directory rather than editing the live files. If something goes wrong mid-save, you restore one folder instead of reinstalling GTA V.
Where the files live in an add-on vehicle
| File | Typical location | What it controls |
|---|---|---|
.ytd | addons/cars/<mod>/stream/ | Every texture on the car, including the livery slots |
.yft | addons/cars/<mod>/stream/ | The 3D model, and with it any tuning-mounted livery |
vehicles.meta | addons/cars/<mod>/ or common/data/ | Vehicle flags, including whether liveries are offered |
carcols.meta | common/data/ | Colours and tuning upgrades, including livery entries |
carvariations.meta | common/data/ | Variation definitions that reference modkit IDs |
Step-by-Step: Adding the Custom Paintjob
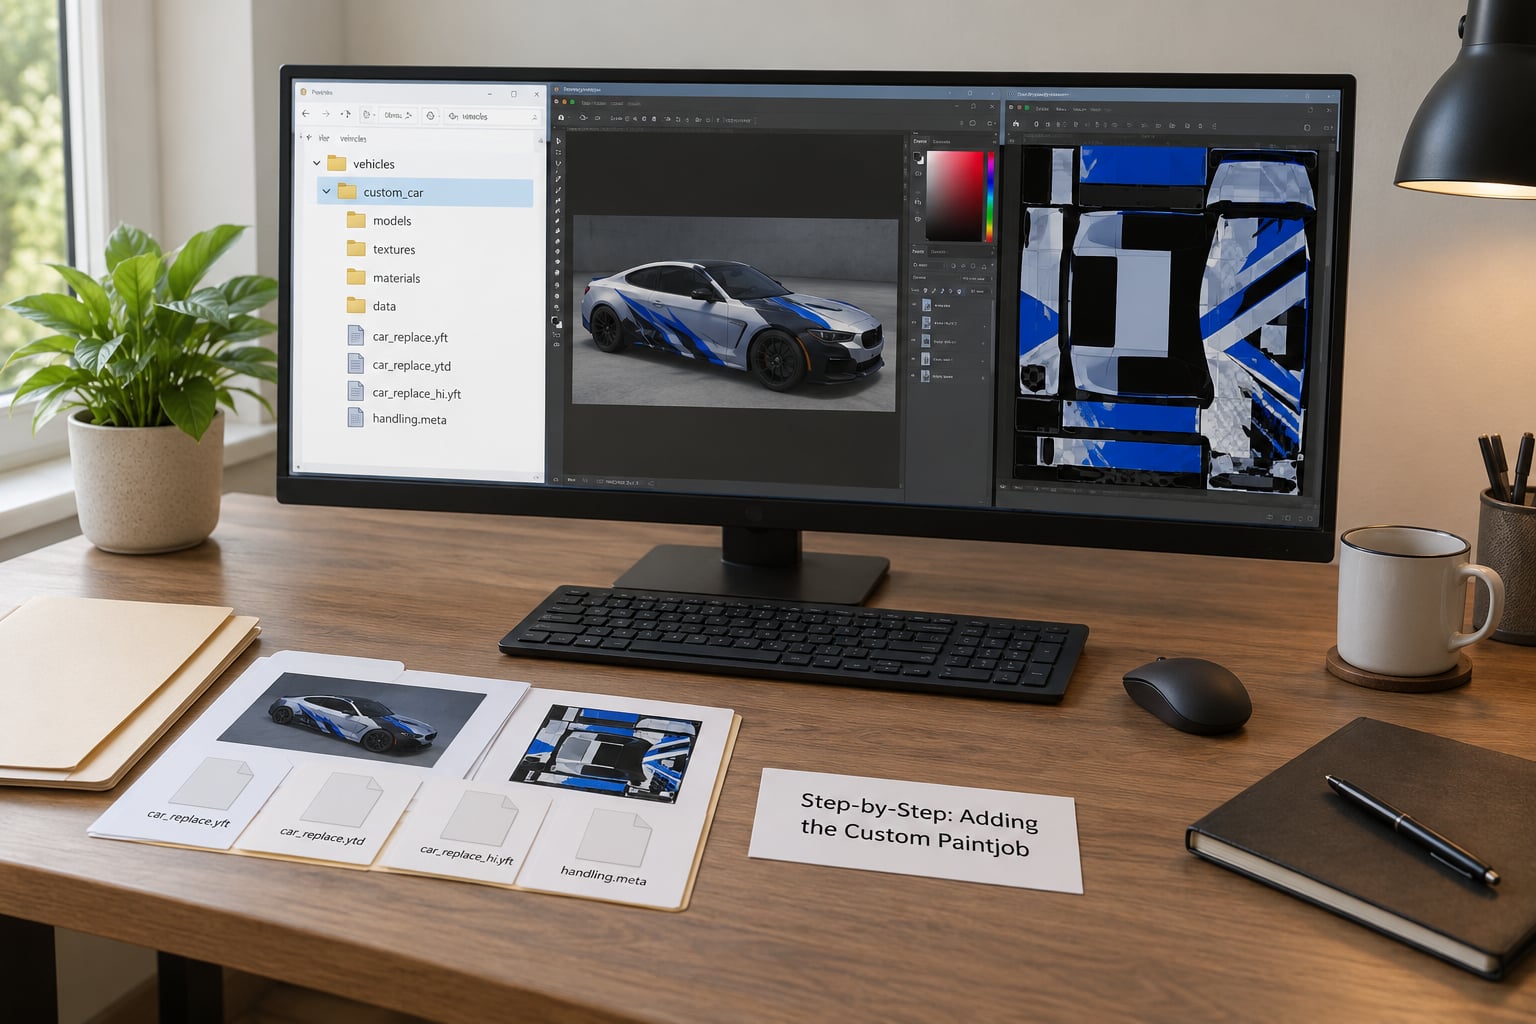
Before the first click, pick your route. They produce the same visual result in game, but they touch different files and suit different people.
| Method | What you edit | Difficulty | Respray menu | FiveM servers | Best for |
|---|---|---|---|---|---|
| Texture livery | .ytd plus one line in vehicles.meta | Beginner | Yes | Yes | Personal cars, first attempts, multiple colour options |
| Tuning livery | .dds inside a .yft, plus carcols.meta | Intermediate | No, appears as an upgrade | Yes | Server vehicle packs, packs that ship many liveries |
One sentence to keep straight: the texture method swaps artwork inside an existing model, the tuning method ships a whole extra model part. Start with the texture method. Move to tuning only when you need a livery to behave like an official upgrade, which is usually a server decision rather than a personal one.
Step 1: Back Up the Car Mod and Inspect Its Files
Duplicate the entire vehicle folder and rename the copy. Everything you do from here happens in the duplicate, so the original download stays untouched and you always have something to fall back on.
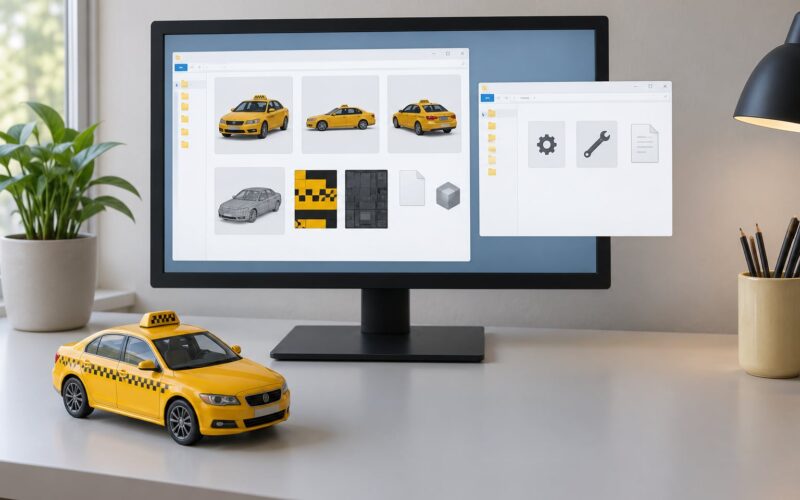
Open the duplicate in OpenIV and look inside stream. You are hunting for the .ytd that belongs to this car — add-on packs often ship more than one, and guessing wrong means your paint lands on the wrong vehicle or nowhere at all.
Open the .ytd in the texture viewer. Look for entries named like car_sign_1, car_livery1, or the vehicle’s own naming scheme. If the pack already has three liveries and you want a fourth, the next name in sequence is yours. If the slot you want is empty or a small placeholder, use the same convention the file already uses rather than inventing a new one.
Also check whether the pack includes a UV template, usually a PNG named template or something similar. Police and emergency-service packs usually ship one.
Step 2: Choose the Right Paint Texture Format
Texture route: a 1024×1024 PNG with no alpha channel, saved flat. If the original slot uses transparency, keep it transparent — a small placeholder image with a transparent 4×4 pixel works well for an unused slot.
Tuning route: the image has to become a .dds. Use DXT1 when the paintjob has no transparency and DXT5 when it does. Texture Toolkit handles the conversion in one step, and getting the compression wrong here is a common cause of textures that load as black.
Match the resolution of the texture already in the file. A 2048×2048 image dropped into a 1024×1024 slot will look soft or will fail outright, depending on the tool. Working at the same size as the original is the safe move.
Step 3: Edit or Create the Custom Paint Texture
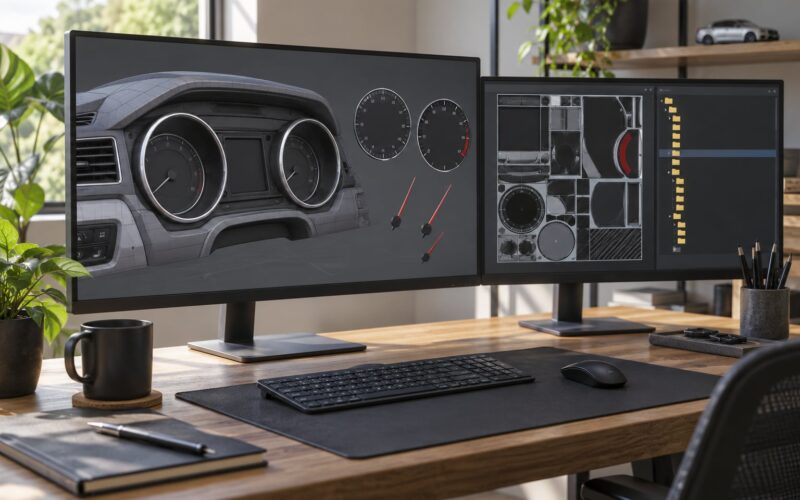
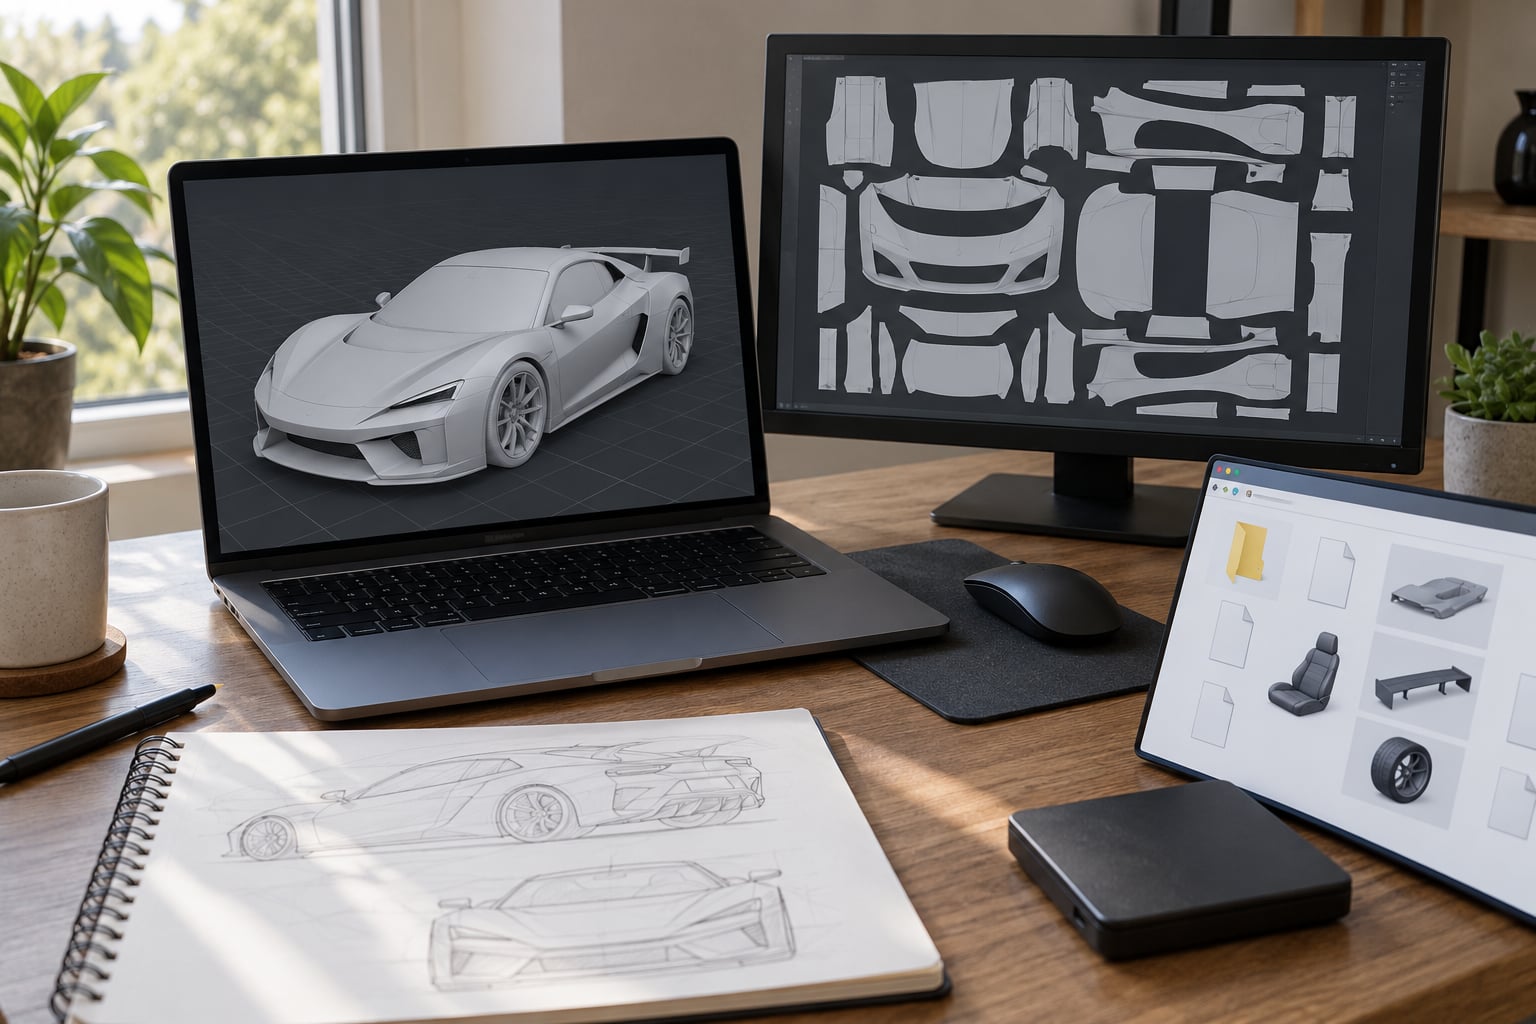
Open the template and open the original livery side by side. Paint on top of the flattened template, staying inside the panel outlines. The UV layout is what tells the game which part of your image wraps which piece of the car, so anything you paint outside those shapes is either invisible or stretched somewhere odd.
Keep the areas the game depends on intact. The window regions, the glass, and the interior are usually separate textures; leave them out of your paint file rather than filling them with body colour. Same with the number plate area if the pack treats it as its own slot.
If your mod ships no template, you have three ways out. Load the vehicle in CodeWalker and export its projected UV atlas. Extract an existing livery from the .ytd and build a template from that flattened image. Or use a browser UV atlas tool that renders the car in 3D and paints straight onto it, then exports a PNG. The third option is the fastest when all you want is a colour change.
Step 4: Add Livery, Decals, Logos, and Finishing Details
Start with the body colour and nothing else. Once you know the base colour renders correctly across every panel, add stripes, numbers or sponsor-style marks on top. Adding everything at once makes it impossible to tell whether a problem came from the colour or the decal.
Leave clean space in the areas that will be covered later — number plates, light bars, roof racks and door-mounted equipment get their own geometry. Paint over them and you get paint bleeding onto a part that sits in front of the panel.
Check the result from several angles in your editor, especially the doors, the roof edge, and the rear bumper. Those are where a template stretches its UVs and where a badly placed stripe bends visibly. For a matte finish, mute the highlight layer rather than desaturating the base colour; it keeps the reflections physically sensible in game.
Step 5: Replace the Vehicle Files and Match the Config
Import your finished image into the .ytd under the correct slot name. The numbering rule catches people out constantly: the number goes in the name, before the extension. car_sign_1.dds becomes car_sign_2.dds — not car_sign_1.dds with a 2 after the extension. Some packs use a different pattern, such as _livery1 through _livery10, so follow the convention already present in your file rather than assuming.
Save the .ytd and drop it back into the mod’s stream folder, overwriting the copy you made in step one. The filename must match exactly what the .yft references, including case.
Then handle the flag. Open vehicles.meta and find the entry for your model. Without a livery flag, the game loads your texture fine and never offers it anywhere in the interface, which is the single most common reason a finished paintjob looks like it was ignored. Add the line to that vehicle’s flags:
<Item>vehicle_name</Item>
<Flags>FLAG_HAS_LIVERY</Flags>
If the pack has no vehicles.meta at all, you are not obliged to build one from scratch for a personal car — the texture still applies to the bodywork. You need it for the respray menu, which is where you want it if you plan to switch designs in game.
Step 6: Test the Paintjob in GTA
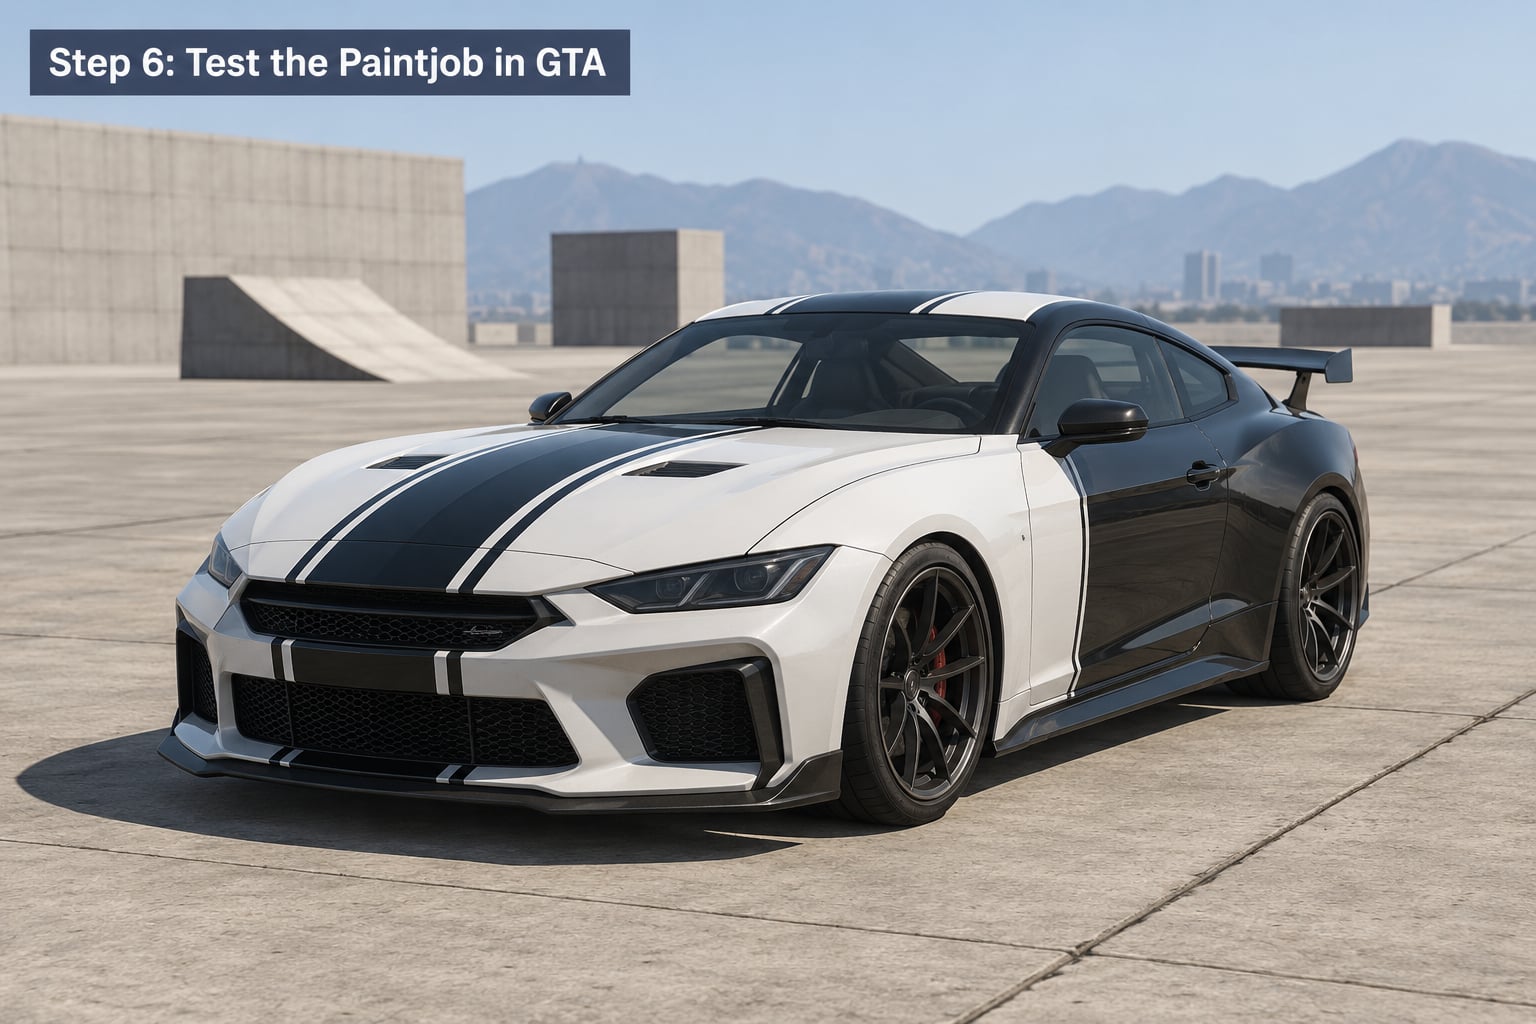
Load the game and spawn the car. Check the body colour first, then open the respray menu at Los Santos Customs and confirm your entry is listed and selectable. Switch between liveries a few times, because a slot that loads alone can behave differently when the game swaps textures.
Look at the car under direct sunlight and in shadow. Reflections come from the shared texture set rather than your image, so a paintjob can look correct in daylight and still sit oddly with the specular highlight. Matte and metallic finishes need the highlight layer tuned rather than the base colour pushed darker.
Check the windows, the interior, the number plate and any lights. Those are separate textures, and a mistake in step three shows up here. Then damage the car slightly: damaged panels use different texture sets, and it is common for a livery to vanish on a dented door simply because the damaged texture set has no matching entry.
Finally, confirm the game loads the replacement without errors. A clean load, correct paintwork and a working respray entry means the job is done. Anything else belongs in the fixes section below.
The tuning route, when you need it
Use this if you are building a vehicle pack for a server, or if you want several liveries that behave like official upgrades rather than body skins.
Convert your artwork to .dds in Texture Toolkit. Extract an existing livery .yft from the vehicle, open it, and replace the texture inside it while keeping the internal texture name identical — that name mismatch is why liveries imported this way often load as an untextured surface. Rename the file to the next number in sequence and place it in stream.
Then add an upgrade block in carcols.meta, copying an existing entry and changing the livery number to match your new file. On FiveM, a new tuning entry often appears to do nothing until the modkit ID is bumped in both carcols.meta and carvariations.meta, or the server cache is cleared. That single step explains most “my upgrade vanished” reports from first-time server owners.
Packaging it so other people can install it
Single-player and FiveM read the same folder layout, so the difference is the wrapper. Single-player wants an addons folder with your dlc.rpf inside it, dropped into the game directory. FiveM wants a resource folder with a fxmanifest.lua and a stream folder containing the vehicle files. RAGE:MP takes a zip of the same resource structure.
Ship the UV template with the pack if you made one. Most of the questions on modding forums about a given car are answered by a template existing in the download.
A short note on where this is legal: editing your own single-player install is a local change to files on your machine. GTA Online runs under anti-cheat, custom files are not permitted there, and neither FiveM nor RAGE:MP permits code that touches the game itself. Keep your edits to assets on multiplayer, and read the platform rules before you publish.
Common Mistakes and Quick Fixes
Almost every failure has a short answer. Find your symptom in the table before you start changing files at random.
| Symptom | What it means | Fix |
|---|---|---|
| Livery not listed in the respray menu | The vehicle has no livery flag, or the .ytd is not being read | Add FLAG_HAS_LIVERY to vehicles.meta, confirm the .ytd sits in stream with the exact filename the model expects |
| Car shows up pink, purple or untextured | The game cannot find a texture it expects | Check filename case and the numbering convention, then confirm the .ytd you edited is the one belonging to that vehicle |
| Paint appears stretched or bent across panels | Artwork was painted off the UV template or at the wrong resolution | Realign to the template at the original slot’s resolution |
| Livery works single-player, not on the server | The resource is not loading, or another pack overrides it | Check the fxmanifest.lua, confirm the resource starts, clear the server cache, remove competing packs for the same vehicle |
| Paint disappears on a damaged panel | The damaged texture set has no entry for your livery | Add a matching damaged variant with the same naming convention, or accept it as a known limitation |
| “This vehicle cannot be modified” | A GTA Online restriction, unrelated to your files | Test in single-player or on a FiveM server; this error does not apply to either |
| Game crashes or refuses to load after installing | A corrupted archive, often from saving into the live game folder | Restore your backup folder, then re-export from the working copy with Edit mode |
| Another mod’s paint replaced yours | Two packs for the same vehicle, with the most recently installed winning | Remove one pack; only one livery set per vehicle can load at a time |
Two habits close most of these before they start. Preview the livery inside OpenIV by loading the vehicle’s .yft — that tells you whether a texture is mapped correctly in seconds, rather than after a full game launch. And if a mod ships no template, build one from an existing livery before you start painting; guessing at the layout is the slowest possible way to work.
Frequently Asked Questions
What if my car mod does not come with a UV template?
You have three options. Load the vehicle in CodeWalker and export its projected UV atlas. Extract an existing livery from the ytd file and turn that flattened image into your own template. Or use a browser UV atlas tool that renders the car in 3D, lets you paint on it directly and exports a PNG. The second option is the most reliable for learning how the panels are laid out.
Do I put the 2 before or after the file extension when naming liveries?
Before the extension. The number belongs in the name, so the next slot after car_sign_1.dds is car_sign_2.dds. Some packs use a different pattern such as livery1 through livery10, so always follow the naming convention already present in your own ytd file rather than assuming a fixed one.
Will a livery work on any car?
A livery made for one model will not fit another, because the UV layout differs on every vehicle. Reusing a livery across a reskinned version of the same car is generally fine, since the body geometry is identical. Transplanting artwork onto an unrelated model is not, and you would need to rebuild the template for the target car.
Why is modding GTA 5 so complicated?
Most of the difficulty comes from file locations rather than skill. Artwork lives in one file, the model in another, and the flag that makes a paintjob selectable lives in a meta file somewhere else. Once you know which of the two methods fits your goal, the actual work is short. The texture route takes about 15 minutes.
Is modding GTA 5 illegal or bannable?
Editing your own single-player install is a local change to files on your computer. GTA Online is a different matter: it runs under anti-cheat and custom assets are not permitted there. FiveM and RAGE:MP allow asset mods but not anything touching the game itself. Read the platform rules before publishing anything you make.
Conclusion
Start by duplicating the vehicle’s original texture file and opening it in OpenIV. Match its resolution, keep its naming convention, and paint a single flat colour onto the template before you add anything else. Once that colour renders on every panel and appears in the respray menu, the hard part is done and everything after it is decoration.
If the colour does not appear, work through the fixes table above before touching the texture again — nine times out of ten it is the flag, the filename or a texture that never got saved back to the right folder.