To install taxi mods without breaking missions, back up your save, install the taxi car as an OpenIV add-on instead of a replace, and add script mods one at a time so you can remove the one causing trouble. The taxi itself is rarely the problem. Overwritten vehicle files and a misbehaving script in the scripts folder are.
That distinction matters more than it sounds. A long-running thread on r/GTAV_Mods describes a player whose story mode booted fine but whose missions froze the moment a character finished speaking, with a clean gameconfig.xml and a reinstalled game doing nothing to help. Moving the scripts folder out changed nothing; removing the OpenIV mods folder fixed it immediately.
So the whole job splits in two. Vehicles go into the mods folder through OpenIV and can quietly replace cars that story missions depend on. Scripts go into the scripts folder next to the game executable and run through Script Hook V, which is where subtitle suppression and mission trigger failures come from. Test them separately, in that order.
Allow about 25 minutes for a first clean install, and expect another 10 minutes of testing before you touch a mission. I have kept the steps in the order that produces the fastest answer when something goes wrong, so you can stop at the first stage that misbehaves.
Table of Contents
- 1What You Need
- 2Step-by-Step: How to Install Taxi Mods Without Breaking Missions
- 3Step 1: Back Up the Game and Mods
- 4Step 2: Check the Taxi Mod’s Install Instructions
- 5Step 3: Install the Taxi Files
- 6Step 4: Update addons.xml and Traffic Settings
- 7Step 5: Handle Taxi Scripts Separately
- 8Step 6: Test the Mod Before Starting Missions
- 9Common Mistakes
- 10Frequently Asked Questions
- 11Can taxi mods stop GTA 5 missions from working?
- 12Do I need OpenIV to install a taxi mod?
- 13Where should I put a taxi mod in GTA 5?
- 14Why does my taxi mod crash or disappear in GTA 5?
What You Need
Six things, and only two of them are the mod itself. Everything else is either a tool or a safety net.
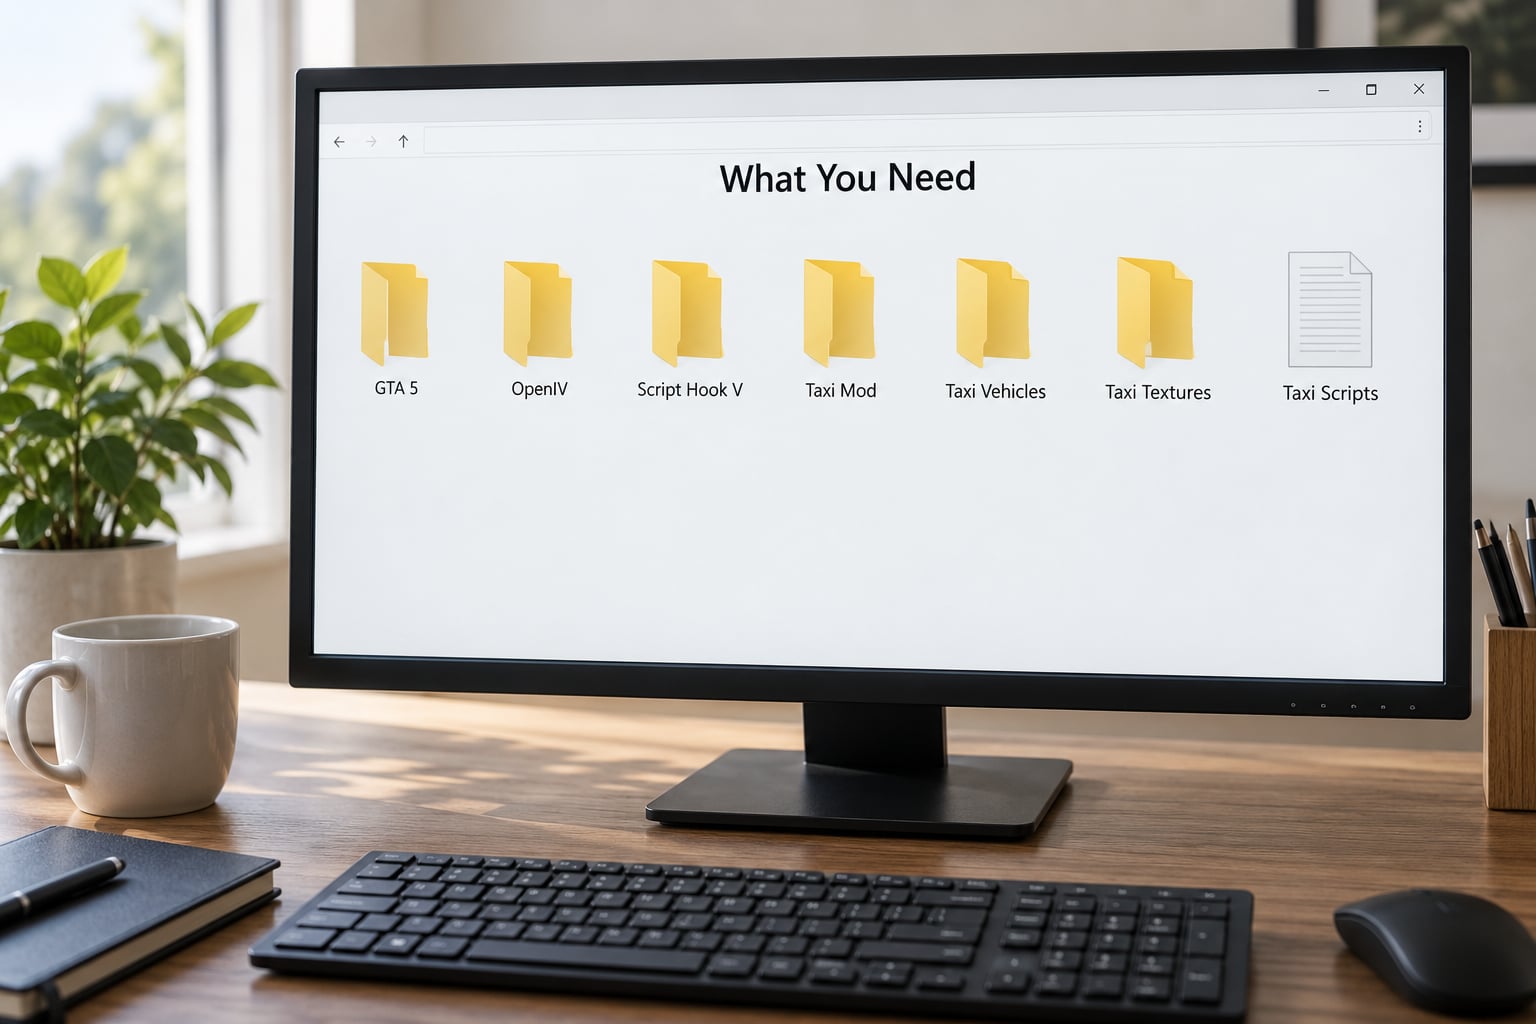
- A clean GTA V install. Verify game files through Steam first. A corrupted or half-patched install makes every later symptom meaningless.
- OpenIV for anything touching vehicles, gameconfig.xml or the mods folder.
- The mod files, unzipped. Read the included readme; several taxi mods ship a folder and a config file, not a single installer.
- A Script Hook V stack for script-based taxi mods. Legacy and Enhanced need different files, which is the single most common reason a hotkey does nothing.
- LemonUI when the mod page asks for it. One player on Uber Driver Revamped lost all story subtitles and blamed LemonUI rather than the mod itself.
- A save backup and a spare copy of your current scripts folder. This is what makes rollback a two-minute job instead of an evening.
The dependency list differs depending on which build you own, and mixing them is the classic self-inflicted wound:
| Component | Legacy build | Enhanced Edition |
|---|---|---|
| ASI loader | Required | Required |
| ScriptHookV | Required | Required |
| Script Hook V DotNet | Required | Not used |
| ScriptHookVDotNetEnhanced | Not used | Required |
| LemonUI | Only if the mod lists it | Only if the mod lists it |
Uber Driver Revamped, at version 2.0.5 in May 2026, states plainly that it needs ScriptHookVDotNetEnhanced, ScriptHookV and LemonUI, handles Legacy and Enhanced separately, and does not support Nightly builds. Copy that dependency list exactly rather than combining advice from several mod pages.
Step-by-Step: How to Install Taxi Mods Without Breaking Missions
Work top to bottom and do not skip step 1. If a mission fails later, the backup is what gets your evening back.
Step 1: Back Up the Game and Mods
Copy your entire scripts folder somewhere outside the GTA V directory, and copy your mods folder too if you already use OpenIV. Then copy your save: Documents, Rockstar Games, GTA V, Saved Games, Slots.
Verify game files through Steam after the copies, so you know the baseline is clean. It worked how it worked: missions simply will not start, a character says his line and freezes, and a clean gameconfig.xml does not help.
Step 2: Check the Taxi Mod’s Install Instructions
Before copying anything, answer three questions on the mod page: which GTA V build it targets, whether it is an add-on or a replace, and what it depends on.
Add-on vehicles sit alongside vanilla cars. Replace mods overwrite an existing model, which is exactly how you break a mission that spawns that car. One GTAForums solution for functional taxi and police cars makes the same point: match the vehicle to the one you added instead of replacing an existing one.
If the page does not say which game build it supports, assume it is not tested on your current one. Check the download date and the newest comments, which is where broken versions get reported first.
Step 3: Install the Taxi Files
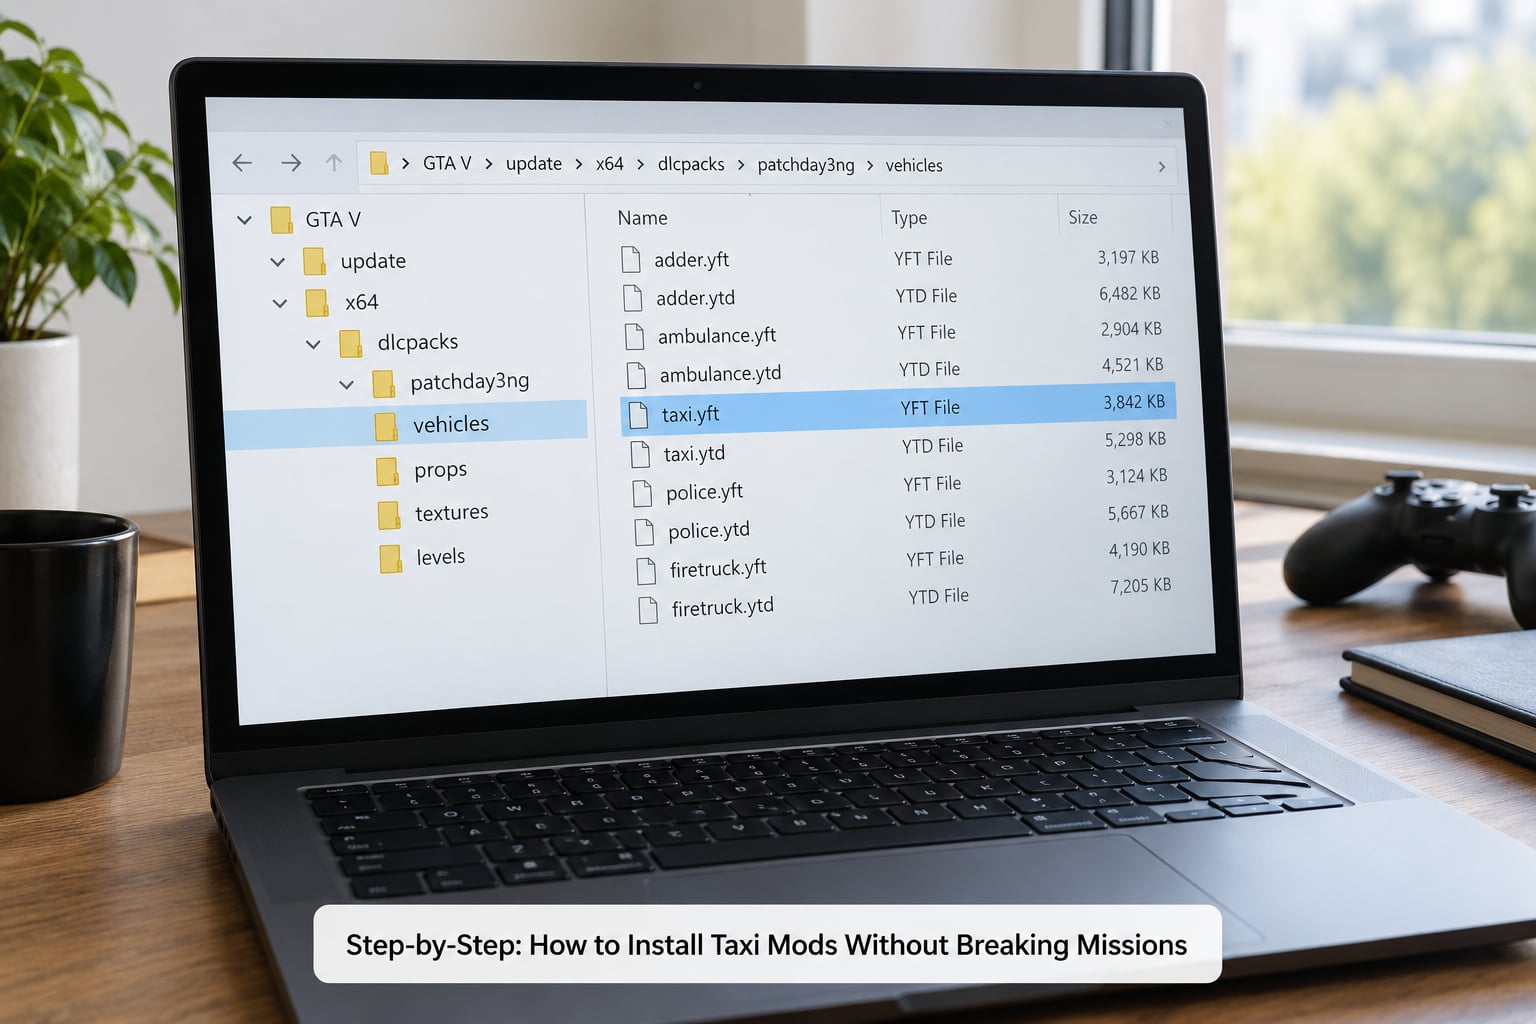
For an add-on taxi car, open OpenIV, go to Tools, then to the GTA V folder, then x64, then dlc.rpf, then dlc, then dlc.rpf. Drop the mod’s dlc or dlc.rpf folder in alongside the existing numbered folders. OpenIV will ask to edit game.rpf, and you should let it.
Vehicle yft, ytd and meta files go to dlc.rpf and dlc inside the mod’s own folder. Keep the folder structure the author shipped. A flattened folder is the most common reason an add-on loads as an invisible or untextured car.
Scripts go to the scripts folder in the GTA V directory, the same folder the game executable sits in. Do not mix the two locations.
Step 4: Update addons.xml and Traffic Settings
An add-on vehicle only shows up as traffic if it is registered. If the mod ships a dlc.rpf with a content.xml listing the model name, OpenIV handles the registration. If it does not, add the model name to addons.xml in the mods folder yourself.
Traffic density lives in the game’s own traffic settings. Change it conservatively: cranking density up with several add-on vehicles spawning can produce traffic that never clears a junction, which freezes scripted scenes nearby. One step up from default is plenty while you are testing.
Step 5: Handle Taxi Scripts Separately
Install the Script Hook V stack first, launch the game once, then close it. That boot writes the API version and any scripthook.log you will need later. Without it, a hotkey that does nothing gives you no clue why.
Then drop the taxi script into the scripts folder. Install the vehicle and the script in separate sessions so you know which one caused a failure.
If the script crashes on the toggle key, remove it before doing anything else. Uber Driver Revamped users report the hotkey doing nothing with dependencies installed, and the author ships targeted fixes, including deleting a leftover UI folder to clear a directx texture creation crash. A dependency-level break is far more common than a mod being fundamentally broken.
Step 6: Test the Mod Before Starting Missions
Boot story mode, walk to a taxi, start a fare, complete one pickup and drop-off, then leave the taxi and return to it. That exercises the passenger timer and the return-to-vehicle grace period, which is where most taxi scripts misbehave.
Then play one short story mission with the mod active. If the mission starts, plays and cuts to a cutscene cleanly, you are fine. If the model freezes mid-line, head straight to the bisect procedure below.
Common Mistakes
Almost every broken-mission report fits one of these rows. Match your symptom before you change anything.
| Symptom | Likely cause | Fix |
|---|---|---|
| Missions will not start, character model freezes after a line | Add-on in the mods folder, not a script | Rename the mods folder out of GTA V and relaunch. If missions return, re-add vehicles one at a time. |
| Cutscene never loads at the mission marker | Vehicle replaced, so the mission spawns the wrong model | Uninstall the replace mod and use an add-on instead. |
| Story subtitles and mission text disappear | A script suppressing the subtitle channel every tick, or LemonUI | Remove the taxi dll first. If text does not come back, remove LemonUI alone and test again. |
| Game crashes the moment you press the taxi key | Wrong Script Hook build, or a stale UI folder | Match Legacy or Enhanced dependencies exactly, then delete the leftover UI folder and reinstall. |
| Hotkey does nothing, no error on screen | Script Hook never loaded, so no log was written | Launch and close the game once after installing the stack, then check scripthook.log in the scripts folder. |
| Mod worked for weeks, then stopped responding after an update | Game build changed under the mod | Check the mod page for a patch. Replace Script Hook V and the mod itself, not your vehicle add-ons. |
| Stock taxi missions trigger instead of the mod | Horn-key conflict documented in Enhanced Taxi Missions | Rebind the mod toggle key in its ini file and leave the horn alone. |
One specific case is worth repeating because it is reproducible rather than rumoured. A player on Uber Driver Revamped 2.0.5 traced missing subtitles and a blocked Father/Son Los Santos Customs trigger to the mod’s per-tick subtitle suppression call, which clears the subtitle channel every frame even while the mod is idle. Patching it out restored vanilla dialogue and the mission trigger while rides kept working. A second player on the same version reported identical symptoms and pointed at LemonUI instead.
That is why the rollback procedure matters. Rather than uninstalling everything one by one, rename the mods folder to mods_off, boot, and test a mission. Then rename the scripts folder to scripts_off and test again. Two boots tell you which half of your setup is at fault, and everything inside that half goes in one at a time, newest last, because newest is almost always the culprit.
Keep a plain text list of what you add and when. A mod that works for weeks and breaks after a patch is much easier to trace when you know the install order, and your save stays untouched the whole time.
Frequently Asked Questions
Can taxi mods stop GTA 5 missions from working?
Yes, but rarely because of the taxi itself. Missions fail when a replace-vehicle mod overwrites a car a story mission spawns, when an add-on in the mods folder breaks the trigger, or when a script suppresses subtitles and stalls a cutscene. Install add-ons instead of replaces, and add one script at a time.
Do I need OpenIV to install a taxi mod?
For a taxi car, yes. OpenIV places vehicle files into the dlc folders and registers the add-on so traffic and the spawner can see it, and no other tool does both reliably. Script-only taxi mods skip OpenIV entirely and just need their dependencies copied into the scripts folder.
Where should I put a taxi mod in GTA 5?
Vehicle files belong under x64, dlc.rpf, dlc, dlc.rpf inside the mod’s own folder, added through OpenIV. Script files go in the scripts folder in the GTA V directory, next to the game executable. Keeping the two apart is what makes broken missions easy to trace, since they fail in completely different ways.
Why does my taxi mod crash or disappear in GTA 5?
Usually the files are incomplete, in the wrong place, or built for the other game version. Verify the mod supports your current build, confirm every file in the download is installed, and check you matched Legacy or Enhanced dependencies. If it vanishes from traffic, it is almost always missing from addons.xml or unregistered in content.xml.
Do this first: back up your save, install the taxi car as an add-on through OpenIV, then boot and play one mission before you add a single script. When something does break, rename the mods folder and the scripts folder in turn, and add back the newest file last. That order is the whole difference between a five-minute fix and reinstalling your setup from scratch.