To export DDS textures for game cars, open your edited car texture in a tool that can write DDS (GIMP with the DDS plugin, Photoshop with NVIDIA Texture Tools Exporter, paint.net, or the Blender DDS addon), choose Save As, pick the compression the game expects, turn mipmaps on, then drop the file into the vehicle folder under the original name. It takes about ten minutes per car once you know the settings.
Here is the short version:
- Back up the original vehicle texture files first.
- Open the car texture, or convert the extracted .dds to .png so you can edit it.
- Keep the canvas at the size the game uses, usually 2048 by 2048.
- Save as DDS with mipmaps enabled and compression set to DXT1, DXT5, or BC7.
- Save over the original file name in the vehicle folder.
- Restart the game, load the car, and check the log file if the texture did not change.
Table of Contents
- 1What You Need to Export DDS Textures for Game Cars
- 2Step-by-Step
- 3Step 1: Locate the Vehicle Texture Files
- 4Step 2: Export or Extract the DDS Texture
- 5Step 3: Edit the Texture Without Breaking Compression
- 6Step 4: Save the DDS Files for the Game
- 7Step 5: Install and Test the Custom Car Texture
- 8Common Mistakes When You Export DDS Textures for Game Cars
- 9Frequently Asked Questions
- 10How do I turn a PNG into a DDS file for a car texture?
- 11What compression should I use for a car texture: DXT1, DXT5, or BC7?
- 12Why does my exported DDS show up pink or purple in the game?
- 13Do DDS files need mipmaps?
- 14Should a car DDS file be sRGB or linear?
- 15How do I convert DDS back to PNG without losing the alpha channel?
- 16Conclusion
What You Need to Export DDS Textures for Game Cars
DDS (DirectDraw Surface) is a container game engines use for textures. It stores block-compressed pixel data instead of ordinary PNG pixels, which is why the engine can load a car body, wheel, glass, and normal map at high resolution without choking on file size.
You need four things. An image editor that can actually read and write DDS, a way to get the texture out of the game archive, a set of exact save settings, and a way to confirm in-game that the new file loaded rather than being ignored.
For the editor, GIMP handles DDS natively on current builds and is the safest free pick. Photoshop needs the NVIDIA Texture Tools Exporter plugin, which is a separate download and the step most beginners get wrong. paint.net reads and writes DDS out of the box. If you build your own car models, the Blender DDS addon is worth installing.
Batch converters handle full texture sets. texture_magic is built for GTA V and FiveM YTD work, and general-purpose tools convert whole folders of maps at once when you are repainting an entire collection.
One more thing: not every game wants a loose DDS file. BeamNG.drive cooks PNG into DDS itself, GTA V and FiveM wrap textures in YTD texture dictionaries, and some titles use GTX or dat containers. Check what your game reads before you convert anything.
Step-by-Step
Step 1: Locate the Vehicle Texture Files
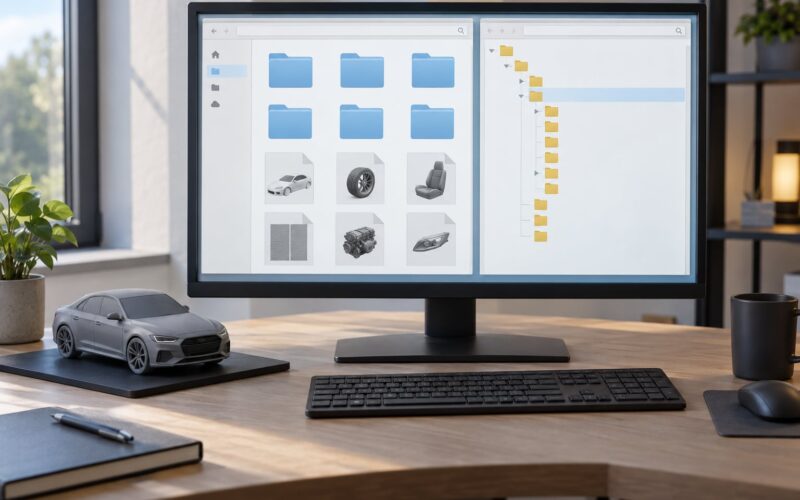
Vehicle textures usually sit inside the game’s loose-file directory or its archive, in a folder named after the vehicle or its internal model name. If the game uses an archive format, open it with the community extractor for that title and export the vehicle folder to a working directory on your drive.
Identify the right folder by loading the car in game and watching which texture file the log or debug view names, or by comparing folder names against the vehicle’s internal name. Copy that whole vehicle folder somewhere safe. That backup is the only way back when an export goes wrong, and it takes two seconds.
If the game loads textures from a dictionary rather than loose files, note that now. The DDS file you produce still has to go back into a container before the engine will read it.
Step 2: Export or Extract the DDS Texture
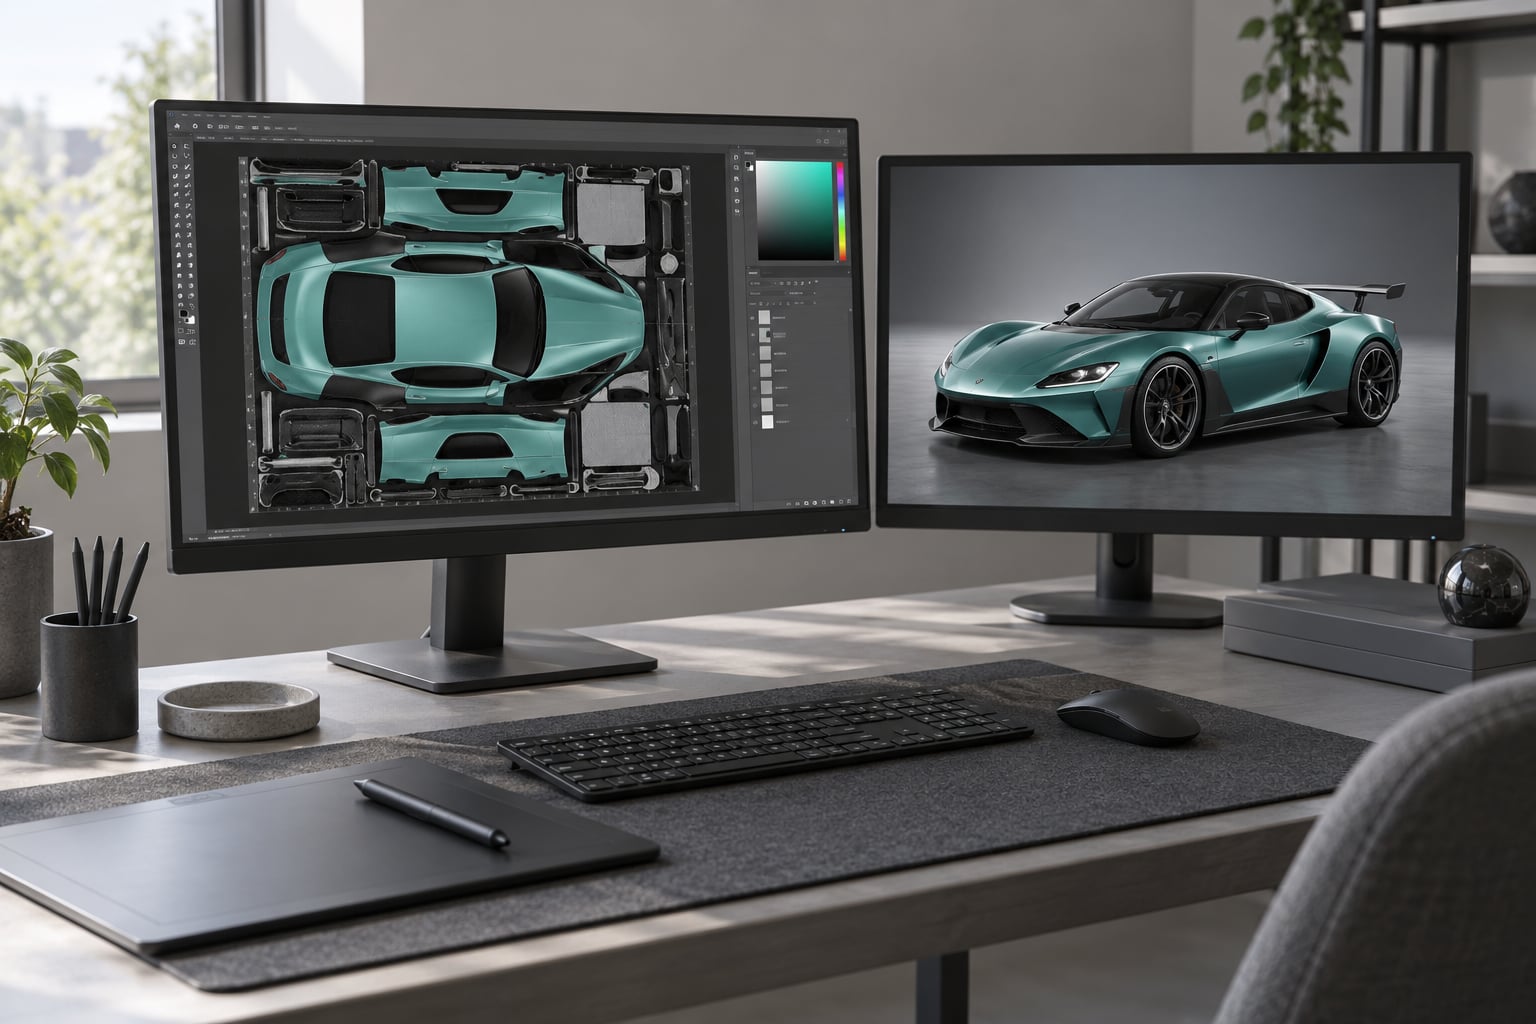
Open the original .dds in your editor. If you only have a PNG of the car texture, that is already a usable source and you can skip the reverse conversion. Otherwise convert the DDS to PNG first, edit, then convert back at the end.
Round trips cost you things. Converting a compressed file to PNG and back is not lossless in terms of what the engine will accept later, and beginners routinely lose the alpha channel this way, which is what makes glass and decals disappear. Keep the alpha layer in the PSD or XCF you work in, and re-attach it on export.
Photoshop users go File, Save As, choose DDS, and pick the preset in the NVIDIA Texture Tools Exporter panel. Select the 2D texture type, choose DXT5 ARGB 8bpp interpolated alpha with highest compression quality, and tick Generate Mipmaps. That preset is the one most older guides describe, and it works for opaque car skins.
paint.net opens the DDS directly and writes it back from File, Save As, choosing the dds extension. It is the least fiddly path if the file is already the right size.
GIMP handles DDS in its own file format dialog. Pick a 2D texture and match the format to the map you are exporting.
From Substance Painter, export the maps as PNG with the preset matching your target engine, then convert those PNGs to DDS in a second pass. Substance Painter does not write a game-ready DDS on its own for most engines.
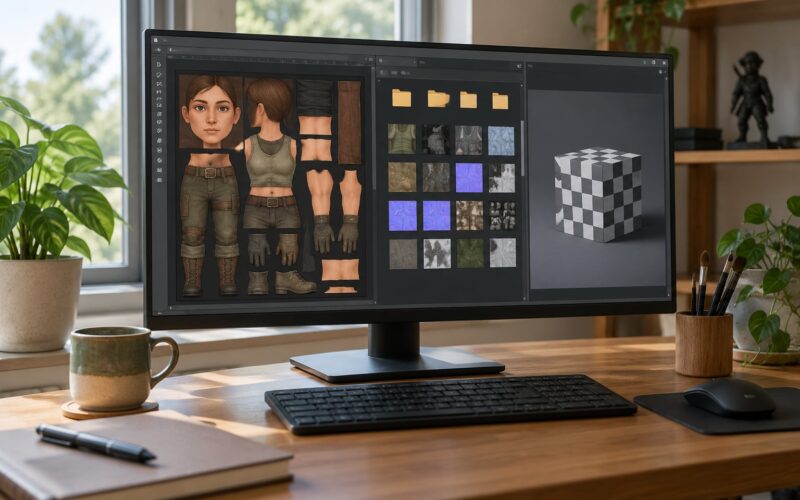
Step 3: Edit the Texture Without Breaking Compression
Keep the canvas exactly as you found it. A 2048 by 2048 car texture that becomes 2050 by 2050 after a transform will not compress properly, and the engine will refuse it or render garbage.
Power of two means both dimensions are 1024, 2048, 4096, or another doubling of 256. Nearly every engine expects it, and a non-power-of-two car texture is one of the most common reasons a skin fails to load.
Do not flatten your working copy. Keep the alpha channel intact even when the finished skin is fully opaque, because the same file is often reused for decals and glass.
Color space is the silent killer. Base color, emissive, and any map you look at with your eyes are sRGB. Normal, metallic, roughness, ambient occlusion, and other data maps are linear. Exporting a normal map with the sRGB flag ticked shifts the lighting and makes the paint look flat and slightly wrong in a way that is hard to trace back.
For normal maps, also check the green channel orientation. DirectX-style engines expect Y minus, OpenGL-style engines expect Y plus. BeamNG expects OpenGL tangent space, so a normal map made in a DirectX tool needs its green channel inverted.
Mipmaps are the smaller copies of your texture that the engine uses when the car is far away. Without them the paint goes noisy and flickers at distance, and some engines will not load the file at all. Leave mipmap generation on.
Step 4: Save the DDS Files for the Game
Save under the original file name, in the same folder, with the same extension. Renaming is how a texture gets ignored. The one exception is a deliberate override trick: name your new file exactly like a shipped texture, such as the original file name, and place it alongside the original in a higher-priority mod folder.
Compression is the setting people argue about most. The short version: DXT1 has no alpha channel, DXT5 does, and BC7 has alpha plus the best quality but needs a modern engine and a converter that can write it.
| Format | Alpha | Quality | Use it for |
|---|---|---|---|
| DXT1 (BC1) | No | Lower | Opaque base color and body panels |
| DXT5 (BC3) | Yes, interpolated | Medium | Base color with transparency, decals, glass masks |
| BC7 | Yes | Highest | Modern engines, detailed skins, data maps |
Most car skins can use DXT1 for the base color because the paint is opaque. Add DXT5 the moment you need transparency, and reach for BC7 only when you know the engine reads it. BeamNG users report on the BeamNG forum that GIMP cannot handle BC7-compressed DDS, which is a good reason to keep paint.net in your toolkit.
Not every map is a base color. This is the cheat sheet I keep open:
| Map | Color space | Typical size | Compression |
|---|---|---|---|
| Base color / paint | sRGB | 2048 x 2048 | DXT1, or DXT5 with alpha |
| Metallic / roughness | Linear | 2048 x 2048 | DXT1 or BC7 |
| Normal | Linear | 2048 x 2048 | DXT1 or BC7, sRGB flag off |
| Ambient occlusion | Linear | 1024 x 1024 | DXT1 |
| Emissive lights, exhaust glow | sRGB | 1024 x 1024 | DXT1 |
| Glass and window mask | sRGB with alpha | 1024 x 1024 | DXT5 or BC7 |
Resolution is a memory decision more than a quality one. A 2048 by 2048 BC7 map costs roughly the same per map as a high-resolution skin on one car, and a full car set can hold six or more of them. 1024 works for wheels and small trim. 4096 is the point of no return unless you have the VRAM for it, and most cars do not need it.
For a whole car set, convert in batch rather than one file at a time. A folder-based converter that keeps the original names and applies one preset across the set removes a whole class of mistakes.
On BeamNG.drive specifically, skip all of this and let the game cook the PNG. The Texture Cooker converts PNG files into DDS for you, matching the slot, color space, and format the material expects, and the cooked copies land in the user folder’s temp directory so you can inspect them. Ship the PNG in your mod and let every user convert it on their machine.
Step 5: Install and Test the Custom Car Texture
Where the file goes depends entirely on the game. Check the table before you overwrite anything.
| Game | What it reads | Where the file goes |
|---|---|---|
| BeamNG.drive | PNG, cooked to DDS in game | Vehicle node slot in your mod folder |
| GTA V and FiveM | YTD texture dictionaries | Loose DDS in stream, or packed into a YTD |
| Assetto Corsa and Competizione | DDS | The car data folder, replacing the original texture |
| Euro Truck Simulator and Farming Simulator | DDS | Your mod folder, original file name kept |
| Forza Motorsport | Archive-packed, limited loose-file support | Usually needs archive editing tools |
On the SCS titles, the advice from the SCS Software forum is as simple as it sounds: save it as a normal .dds and put it in your mod, and 2K to 4K textures work fine on large car skin sets if the quality is good. Restart the game so the cache is cleared, load the car, and look at it in daylight, in shadow, and at a distance.
If nothing changed, open the log file. SCS staff treat game.log.txt as the source of truth, and a texture that was silently skipped always leaves the real reason there. Check the same console or log output in other engines before you assume the file is broken.
One last check that catches most skin problems: look at every panel. If the door shows the bonnet texture, the material IDs on the model do not match, and no export setting will fix it. That is a modelling or part-mapping issue, not a DDS issue.
Common Mistakes When You Export DDS Textures for Game Cars
| Symptom | Cause | Fix |
|---|---|---|
| Pink, purple, or red car | Wrong compression for the engine, or an unreadable file | Re-export as DXT1 or DXT5, confirm mipmaps, check the log for the exact error |
| Black or fully untextured car | File not found at the path the engine expects | Match the original file name and folder exactly, restart the game |
| Texture ignored, old skin still shows | Renamed file, or wrong container format | Keep the original name, or repack into YTD if the game uses dictionaries |
| Blocky or noisy at distance | Mipmaps disabled | Enable Generate Mipmaps on export |
| Paint looks flat or oddly lit | sRGB flag set on a normal or data map | Export data maps as linear |
| Lighting looks inverted on bumps | Normal map Y orientation flipped | Invert the green channel if the engine expects the opposite convention |
| Glass or decals missing | Alpha lost in the PNG round trip, or DXT1 used | Keep the alpha layer, export with DXT5 or BC7 |
Two more traps worth naming. Converting a DXT5 file to PNG and back without keeping your alpha layer is the single most common way to lose transparency, so work from a layered file and only export at the end. And repacking a car texture that came with a game you have not bought is not something to do; build your own skin or work on a vehicle from a mod you are licensed to use.
Frequently Asked Questions
How do I turn a PNG into a DDS file for a car texture?
Open the PNG in GIMP, paint.net, or Photoshop with the NVIDIA Texture Tools Exporter installed, then use Save As and choose the DDS format. Set it to a 2D texture, pick DXT1 for an opaque paint map or DXT5 when you need transparency, tick Generate Mipmaps, and save with the original file name. Then place the file back in the vehicle folder and restart the game.
What compression should I use for a car texture: DXT1, DXT5, or BC7?
DXT1 is right for most opaque car bodies because it is smaller and it has no alpha channel at all. DXT5 adds interpolated alpha, so use it for decals, glass, and anything transparent. BC7 gives the best quality and supports alpha, but it only works on modern engines and needs a converter that can write it. If the game cooks its own textures, export PNG and skip this decision.
Why does my exported DDS show up pink or purple in the game?
A pink or purple car almost always means the engine could not read the file. The usual causes are a compression format the engine does not support, missing mipmaps, a canvas size that is not a power of two, or a file saved outside the expected format. Re-export at the original resolution, enable mipmaps, and read the game log file, which records the real reason the texture was skipped.
Do DDS files need mipmaps?
Almost always, yes. Mipmaps are the smaller duplicate copies of a texture that the engine uses when the car is far away or at a shallow angle. Without them the paint turns noisy and shimmers at distance, and several engines refuse to load a DDS that has none. Leave Generate Mipmaps enabled in your export settings unless a specific tool tells you otherwise.
Should a car DDS file be sRGB or linear?
It depends on the map, not the car. Base color, emissive, and decal maps are sRGB, because those are the maps you look at directly. Normal, metallic, roughness, and ambient occlusion maps are linear data, and exporting them with the sRGB flag ticked shifts the values and makes the lighting look flat. Match the color space to the type of map every time you export.
How do I convert DDS back to PNG without losing the alpha channel?
Open the DDS in an editor that understands its alpha, then export a PNG with transparency enabled rather than saving over a flattened copy. Work from a layered file such as PSD or XCF so the alpha channel survives the round trip, and check the layer is visible and not merged. If the channel is already gone, you cannot recover it from the compressed file, so go back to the backup of the original texture.
Conclusion
Export DDS textures for game cars in this order: back up the originals, work on one vehicle, keep the canvas size, choose DXT1 for opaque paint or DXT5 when you need alpha, keep mipmaps on, save under the original name, then check the log file if the skin did not appear. Once that one car looks right in daylight and at a distance, run the same settings across the rest of your collection.