Yes, you can install a graphics preset and keep your frame rate. Back up your original files, install only the preset format that matches your GTA version, then measure the same scene before and after — most of the loss comes from depth of field, Post FX, ambient occlusion and grass, and each of those you can pull back a step. The whole job takes about 20 minutes once you know which of the three file types you downloaded.
That last part is where people get stuck. A settings.xml, a visualsettings.dat and a ReShade .cfg go into three different folders, and dropping the wrong one into the wrong place is why the comment sections under every preset page are full of “it won’t launch now” posts. Get the format right and the rest is just file management.
Here is the whole procedure, updated for 2026.
Table of Contents
- 1What You Need
- 2Step-by-Step: How to Install a Graphics Preset Without Losing FPS
- 3How to Install a Graphics Preset Without Losing FPS
- 4How to Back Up Your Current GTA Settings
- 5How to Apply the Preset in the Right Order
- 6How to Test FPS and Fix the Slowest Settings
- 7How to Save the Preset and Reopen the Game
- 8Common Mistakes
- 9Frequently Asked Questions
- 10Will installing a graphics preset automatically lower my FPS?
- 11Why did my GTA V preset install cause crashes or missing textures?
- 12Is an ENB the same as a graphics preset?
- 13Should I lower resolution scale or texture quality first to improve FPS?
- 14Can I use the same graphics preset on GTA 4, San Andreas, and Vice City?
- 15How can I tell whether a preset is compatible with my laptop or PC?
- 16Conclusion
What You Need
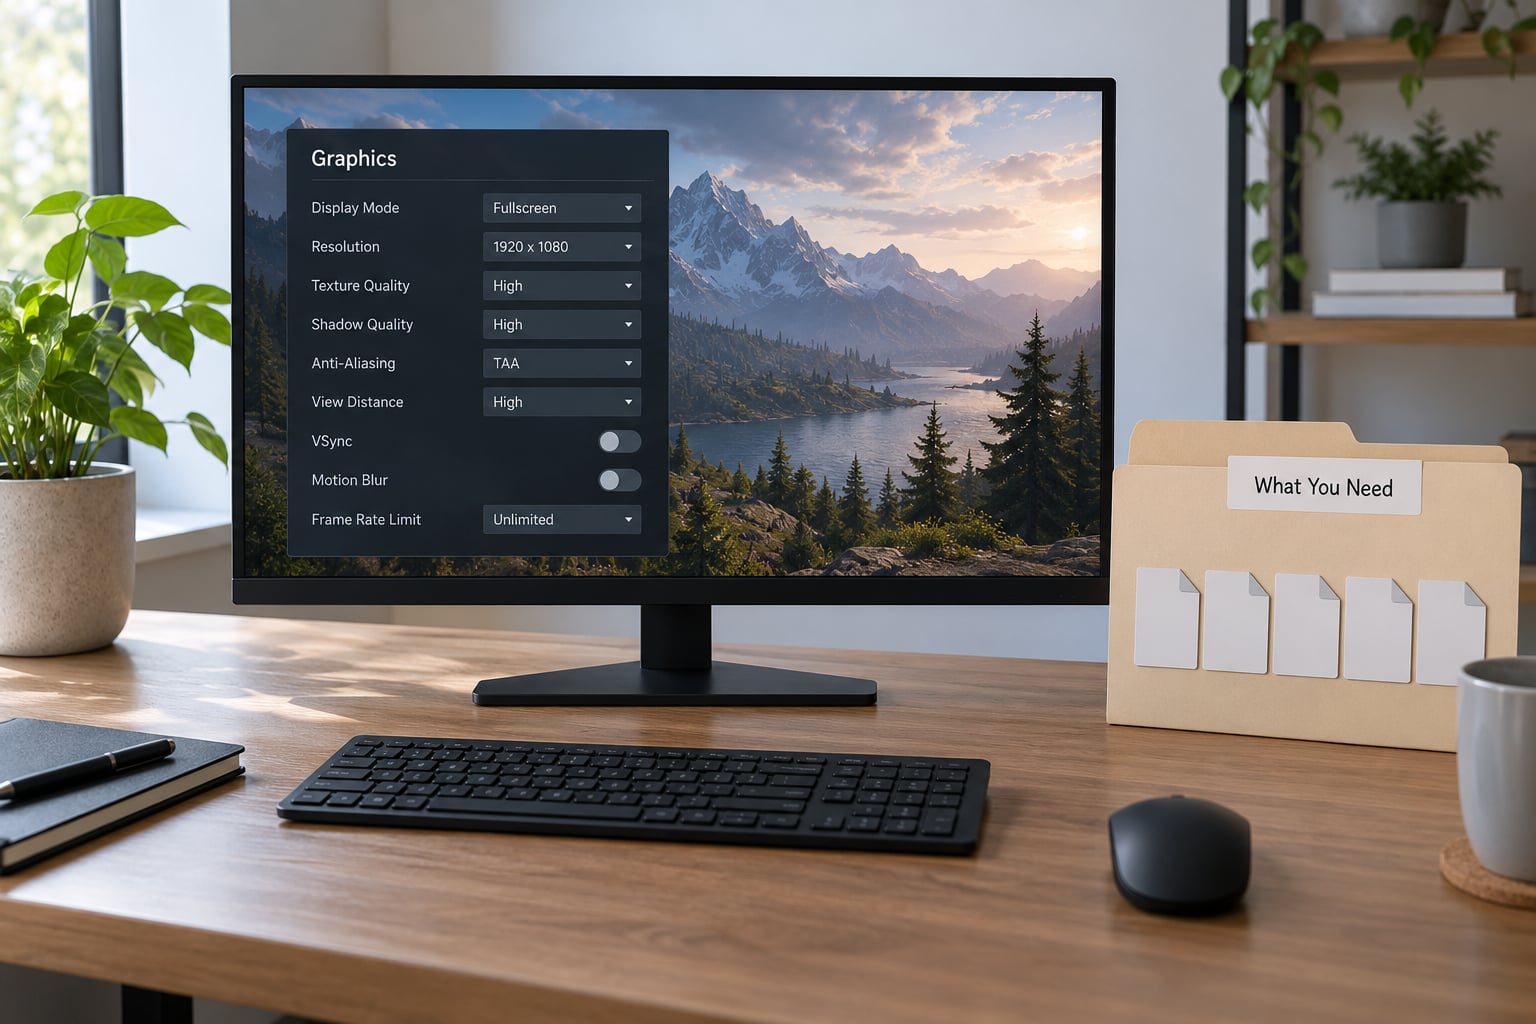
You need six things, and only one of them is optional.
- The right game version. Most presets are still written for GTA V Legacy on PC. Check whether the page names Legacy or Enhanced, and match it.
- The preset file itself, downloaded from a source with a changelog and a comment section you can actually read.
- OpenIV if the preset contains
.rpffiles. This one is not optional — GTA V will not read modded RPF archives without it. - Windows admin rights, because the game folder sits under Program Files by default.
- A backup of the files you are about to replace, and of your save games.
- Optional: an overlay or built-in counter to log frame rate, plus the free in-game benchmark under Settings > Graphics.
Back up saves before anything else. GTA V keeps single-player saves in DocumentsRockstar GamesGTAVSaved Games, and story progress you lose to a corrupted settings.xml or a bad RPF is not recoverable.
Step-by-Step: How to Install a Graphics Preset Without Losing FPS
How to Install a Graphics Preset Without Losing FPS
First, confirm the game folder. Steam users: right-click the game in your library, choose Manage, then Browse local files. That opens the folder holding GTA5.exe. Rockstar Game Pass and Epic installs land somewhere different under Games, and Origin under EA GamesGrand Theft Auto V.
Next, read the preset’s own instructions before you touch anything. Look for three things: which game build it was made against, whether it says Legacy or Enhanced, and whether it is described as a screenshot preset or a gameplay preset. RealMod S.E., for instance, states outright that it is recommended for screenshots and tells players to disable depth of field to avoid graphic issues during play. That is a useful warning, not a defect.
Finally, work out which of the three formats you actually downloaded before you copy anything.
| Preset format | What it is | Where it goes | OpenIV needed? |
|---|---|---|---|
settings.xml | Graphics values the game writes on exit | DocumentsRockstar GamesGTAV | No |
visualsettings.dat | A full override of the game’s settings table | modsupdateupdate.rpfcommondata via OpenIV | Yes |
ReShade .cfg | A post-processing shader chain | Beside the game executable, after ReShade is installed | No |
| ENB series / VisualV | A lighting overhaul that sits on top of the others | Game root folder | No |
If a preset ships a whole folder of RPF files instead of a single .dat, install it the same way as visualsettings.dat — drop the contents into the matching RPF paths, one folder level at a time. Never paste files into a random data folder and hope. That is what produces the black screen after the Rockstar logo.
How to Back Up Your Current GTA Settings
Two backups, five minutes. The first is the folder copy: open DocumentsRockstar GamesGTAV, copy settings.xml to your desktop, rename it to settings.xml.backup. Done in ten seconds, and it is the only way back from a preset that rewrites your resolution.
The second needs OpenIV. Run it, choose Tools > Open Folder, and navigate to updateupdate.rpfcommondata. Switch OpenIV into Edit mode using the Edit option at the top of the window, select visualsettings.dat, and save a copy somewhere outside the game. OpenIV is explicit that Edit mode can corrupt archives if you are careless, which is exactly why the vanilla file needs to exist somewhere safe before you overwrite it.
Copy your Saved Games folder out too. It takes a moment and it has saved more people than the backup step ever gets credit for.
How to Apply the Preset in the Right Order
For a settings.xml preset, close the game completely — not just the window, but the process. Confirm GTA5.exe is gone in Task Manager, then copy the new file into DocumentsRockstar GamesGTAV and choose replace. Launch the game and check your resolution stuck; if it snaps back to 1280×720 on every launch, the file is malformed and you go back to the backup.
For a visualsettings.dat preset, open OpenIV in Edit mode, go to updateupdate.rpfcommondata, paste the .dat in, and let OpenIV rebuild the archive. It takes a few seconds and it always shows a progress bar. Never paste into the folder named updateupdate.rpfcommondata outside OpenIV; the RPF archive will reject the file on the next launch.
For a ReShade .cfg, install ReShade first from reshade.me using the game’s API version, then copy the .cfg into the ReShade folder beside GTA5.exe and select it in the ReShade overlay. If you are installing manually rather than with the installer, the sequence the SH8 preset page documents is: copy the ReShade files into the main game directory where GTA5.exe sits, then rename ReShade64.dll to d3d9.dll. Get the API version wrong and the game either crashes on launch or never shows the overlay at all.
Inside GTA V, the paths themselves are short. Pause, go to Settings > Graphics, and the tabs are Graphics, Effects, Post Processing, Shaders and Advanced. Set Display Mode to Fullscreen, Resolution to your native panel resolution, and Resolution Scale between 1.0 and 1.5 on desktop hardware. Set MSAA to your GPU’s level — but on reflection, not the main table, if you want frames back. Distance Scaling at 1.0 is another cheap win.
Older GTA games use different menus entirely. GTA IV’s graphics options are a single scrollable panel with far fewer sliders, and San Andreas and Vice City have no integrated graphics settings menu at all — presets for those titles are config or ASI plugins, not settings.xml files.
How to Test FPS and Fix the Slowest Settings
Measure before you install, not after. Pick one repeatable scene — the same street, the same time of day, the same weather — drive the same route, and record the number. Then install, replay the exact route, and record again. Comparing two different scenes tells you nothing; the Los Santos free-roam benchmark swings wildly with weather and draw distance.
Record average frame rate and 1% lows, and treat the lows as the number that matters. Average is what the counter shows most of the time; 1% lows are the frames at the bottom of the distribution, the ones you actually feel as stutter through corners and under overpasses. A preset that holds 60 average but drops to 25 in the lows has made the game feel worse even though the headline number went up.
GamersNexus measured per-setting cost across a range of settings back in 2015, on a GTX Titan X test rig, and the ordering has aged well: MSAA and Post FX were the most expensive, grass quality next, shader and shadow quality high, reflection quality medium, and texture quality negligible. Their detail: texture quality barely moves frame rate unless your VRAM is exhausted, because it changes memory footprint more than per-frame work. Older hardware, but the shape of the cost curve still holds.
| Setting or effect | Typical frame cost | Safe to pull back? |
|---|---|---|
| Depth of field (real-time) | Highest of the common ones | Yes — turn it off, the preset still looks good |
| Post FX / MSAA | Severe | Yes — one step down is nearly invisible |
| Grass quality | Large and situational | Yes — the biggest free frames in open country |
| Shader quality | High | Yes — quality settings beat Very High for clarity |
| Shadow quality / soft shadows | High | Partly — keep distance shadows low, drop the rest |
| Reflection MSAA | Critical | Yes — switch reflection MSAA to Off, keep reflection quality |
| Ambient occlusion (modded) | High, varies by ENB | Yes — most ENBs let you disable AO alone |
| Texture quality | Negligible until VRAM runs out | No — leave it high, it is not costing you frames |
| Distance scaling at 1440p+ | Negligible | Yes — free, drop to 1.0 |
One counterintuitive point from that old benchmarking work: “Normal” is usually a trap for shader, shadow and reflection quality. Quality gives a sharper image at often similar cost, while Normal tends to be neither pretty nor fast. Grass quality is the exception, where High or lower genuinely saves frames.
Preset authors say the same thing in their own numbers. The author of RealMod S.E. puts the total cost at 5 to 8 FPS across all GPUs, with 2 to 3 FPS of that from depth of field, and calls a zero-drop preset impossible. His own rig — an i5-3570K at 4.3 GHz with 16 GB DDR3 and a GTX 980 Ti OC — held 60 FPS at 2K with the preset installed, though he notes grass on Ultra made the frame rate unstable. Someone else in the comments reported that the same preset gave them a 10 FPS boost instead, which happens when the preset dials back something vanilla had cranked.
Change one setting, re-measure, then change the next. If you turn off four things at once you will not know which one gave the frames back, and you will have thrown away quality you did not need to lose.
How to Save the Preset and Reopen the Game
Once the frame rate is where you want it, click the backtick key — the `~` key — in the top-left corner of GTA V to open the graphics menu without leaving the game, and confirm your values. Then quit properly with the in-game menu, not the alt-tab shortcut. Closing the window leaves the Rockstar social club and RAGE processes running, and the next launch will write over your settings.
Relaunch, check Settings > Graphics matches what you set, and drive the same test route again. This second run is the one that matters: the first launch after a preset install spends minutes compiling shaders, and that hitching is not a performance drop. Judge the preset from run two onward.
Then save your own version. Copy the working settings.xml from your Documents folder to a folder named something like GTA V preset - 1080p 60fps, with a short text note listing what you changed. That file is the one you reinstall in future, and it is faster than re-tuning sliders or re-running a download.
Common Mistakes
Using the wrong game version. The preset ecosystem is overwhelmingly Legacy-era. The settings.xml path is the same on both editions but the values inside are not interchangeable, and a Legacy file on Enhanced can leave the resolution stuck or the options greyed out.
Copying files into the wrong folder. This is the single loudest complaint across the forums. Game root, DocumentsRockstar GamesGTAV, the OpenIV mods tree and the ReShade folder are four different destinations, and a .dat dropped in the game root does nothing at all. Read the file extension, match it to the table above.
Stacking ENB, VisualV, ReShade and quantV with no order. The rule that generalises from the specific sequences authors publish is: weather and timecycle mods first, VisualV next, ENB series last of the lighting layers, then ReShade on top of everything, then your preset file. Install in that order and replace when asked. RealMod S.E. gives the same shape — VisualV, ENB Series, ReShade, then the graphics mod — because the later layers read what the earlier ones wrote.
Changing ten variables at once. You lose the ability to attribute the result, and if the frame rate tanks you have no idea which change did it.
Judging a preset during the first two minutes. Texture and shader compilation stutter on a fresh install, and plenty of people read that as the preset tanking their FPS. Test from the second launch.
Ignoring what else is already installed. LSPD First Response users commonly report it alone costing 15 to 20 FPS. Measure the stack you already have, otherwise you will blame the preset for losses that were there before it.
Using presets in GTA Online or FiveM. The single-player mod scene and Online are not the same environment. FiveM servers run their own resource stack, and any mod that hooks the client in Online is a ban risk you take with no upside. Keep presets and ENB for single player.
Trying preset files on console or Android. Both use entirely separate, closed methods. There is no settings.xml equivalent on PlayStation or Xbox, and the Android builds store their own config data. Anything claiming otherwise is not something you want running on your account.
Two more worth knowing: a settings.xml that resets to 1280×720 on every launch is a malformed file, not a Rockstar bug — restore your backup and try the preset’s own instructions again. And a screenshot preset with unlimited extended distance scaling will look magnificent at noon and fall apart at night and in rain, which is the weather people most often report the worst stutter in.
Frequently Asked Questions
Will installing a graphics preset automatically lower my FPS?
Usually by a small amount, and usually from specific settings rather than the preset as a whole. The author of RealMod S.E. puts the total at 5 to 8 FPS across all GPUs, with 2 to 3 FPS from depth of field alone. Some presets actually gain frames, because they dial back settings vanilla left high. Measure the same scene before and after and you will know which kind you installed.
Why did my GTA V preset install cause crashes or missing textures?
Wrong folder, wrong version, or both. A visualsettings.dat must go into modsu005cupdateu005cupdate.rpfu005ccommonu005cdata through OpenIV in Edit mode, and pasting it anywhere else means the game loads an archive it cannot parse, which shows up as a crash to desktop or a black screen after the Rockstar logo. Missing textures usually mean RPF files dropped into the wrong folder level. Restore your backup and re-check the path.
Is an ENB the same as a graphics preset?
No, though they get confused constantly. A preset overwrites the game’s built-in graphics values — resolution, shadow quality, Post FX, MSAA. ENB replaces the game’s lighting engine entirely and adds its own shaders, so it changes how light behaves rather than just turning knobs. They stack: apply your preset first, add ENB after, and expect ENB to cost frames on its own.
Should I lower resolution scale or texture quality first to improve FPS?
Neither, if you want the cheapest win. Drop distance scaling to 1.0 and set reflection MSAA to Off first, then cut grass quality and Post FX. Texture quality is close to free in frame rate terms unless your VRAM is exhausted, so lowering it hurts the look for almost nothing. Resolution scale does help, but it blurs the image, so it is a last resort rather than a first move.
Can I use the same graphics preset on GTA 4, San Andreas, and Vice City?
No. A settings.xml or visualsettings.dat written for GTA V will not work on those titles, because their graphics options are completely different — GTA IV has one scrollable panel, and San Andreas and Vice City have no integrated settings menu at all. Presets for the older games exist, but they are config files or ASI plugins built for those engines specifically, not a settings file you can copy across.
How can I tell whether a preset is compatible with my laptop or PC?
Check four things on the preset page: which game build it targets, whether it says Legacy or Enhanced, whether the author states expected hardware, and whether there is an active changelog. For laptops specifically, assume the GPU is weaker than the page implies and pick the cheapest layer that gives you the look — a ReShade .cfg costs frames far less than a timecycle and ENB stack. Reviewers on the comment thread reporting stutter at night are your best early warning.
Conclusion
Back up your current setup first — settings.xml, visualsettings.dat and your save games. Then install only the preset format that matches your game version, launch twice, and drive the same test scene to compare average frame rate and 1% lows against your baseline. If you lost frames, pull back the expensive settings in order: depth of field off, reflection MSAA off, distance scaling to 1.0, grass down, then Post FX. Save that combination as your own preset file and you never repeat the work.