Working dials are speedometer and tachometer needles that move with the car’s real speed and engine RPM, not flat artwork painted onto a dashboard. This guide covers how to add working dials to a modded car dashboard in GTA 5, from inspecting the model in CodeWalker to replacing the files through OpenIV, and it is current for 2026.
Budget 30 to 90 minutes for a first pass, and expect it to be more fiddly than installing a car mod. Two things decide whether it works: whether the dashboard still has dial components wired to the game’s animation, and whether the vehicle metadata points at the right drawable names. This is PC-only work.
Table of Contents
- 1What You Need
- 2Step-by-Step
- 31. Back Up the Vehicle Files and Check Compatibility
- 42. Inspect the Dashboard Model and Locate the Dial Components
- 53. Prepare Separate Dial Textures
- 64. Add or Refine the Dial Geometry and Animations
- 75. Update the Model Files and RSC References
- 86. Replace the Files Through OpenIV
- 97. Test the Dials In-Game
- 10Common Mistakes
- 11Frequently Asked Questions
- 12Can I add working dials to any GTA 5 modded car?
- 13Do GTA 5 dial animations work with manual transmission mods?
- 14Will these steps work for GTA 4 or GTA San Andreas vehicles?
- 15Why are my new dials visible but not moving?
- 16Can I change a modded speedometer from mph to km/h?
- 17Conclusion
What You Need
Everything below happens on PC. GTA 5 on PS4, PS5 or Xbox has no mod support, so none of these files can be installed there at all. On console you are limited to whatever vanilla and story-mode gauge behaviour you get.
- GTA V on PC with the add-on or replace car already installed and spawning correctly.
- OpenIV, for browsing and editing
modsand installing the finished files. - CodeWalker, to open the vehicle’s yft model, read the node and bone tree, and check texture references. It is free and read-only is fine for inspection.
- A model editor – ZModeler 3, or Blender with the Sollums/Sollumz add-on if you already work in Blender.
- A DDS-capable image editor – Photoshop or GIMP with a DDS plugin, for the dial textures.
- A plain text editor such as Notepad++ for the meta and RSC entries.
- A backup of the vehicle folder before you touch a single file.
Two optional extras earn their keep. A donor vehicle – any stock car whose dials already animate – gives you a dial model and texture that are known to work, so you are wiring rather than inventing. And if you only want a readable speed readout on any car in the game, an ASI loader plus a gauge script does the job in about two minutes, without touching models at all.
Worth defining two terms before you start. The drawable is the named piece of a vehicle model the game knows how to swap – a dial set, a set of seats, a bonnet. The RSC entries are the resource definitions that tell the game which file belongs to which drawable. If a drawable name and its file name disagree, the car either loads without that part or does not load at all.
Step-by-Step
The sequence below runs in order, and each stage has a visible checkpoint. If a stage does not produce the expected result, fix it there rather than carrying the problem forward.
| Step | Action | Tool | What you should see |
|---|---|---|---|
| 1 | Back up and check compatibility | File manager, OpenIV | A clean copy of the original yft, ytd and meta files |
| 2 | Inspect the dashboard model | CodeWalker | A dashboard node with child needle nodes and a named dial drawable |
| 3 | Build separate dial textures | Photoshop or GIMP | Readable dials with UVs matching the dashboard shell |
| 4 | Add or refine dial geometry and bones | ZModeler 3 or Blender | Needles parented to rotating bones on a single axis |
| 5 | Update model files and RSC references | Text editor, model editor | Matching file names and drawable names, no orphan entries |
| 6 | Replace files through OpenIV | OpenIV | Files sitting in the correct mods path |
| 7 | Test in-game | GTA V | Both needles tracking speed and RPM in first person |
1. Back Up the Vehicle Files and Check Compatibility
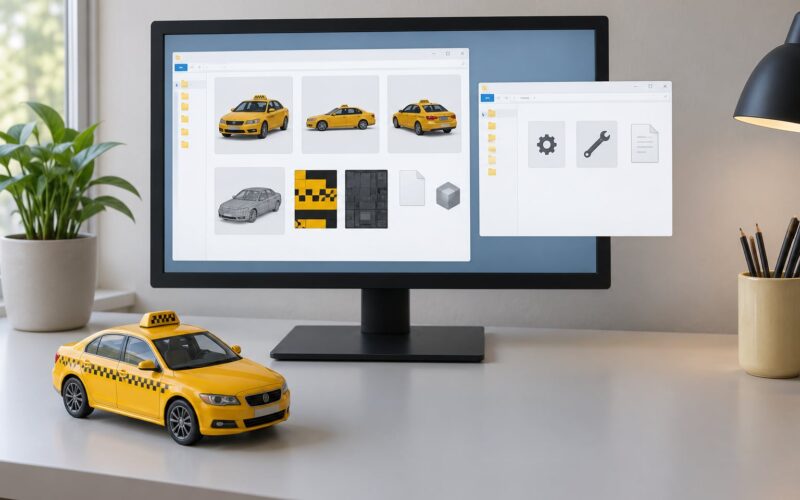
Find the vehicle folder under modsvehicles and copy the whole thing to your desktop before editing anything. Inside you will normally find the main yft, one or more ytd texture files, and a set of meta files carrying the vehicle name, the variations and the colour list.
GTA Vmodsvehicles<vehicle folder>
    vehicle.yft
    dials.yft
    dials.ytd
    carvariations.meta
    carcols.meta
    vehicleseats.meta
Then confirm two things. The car spawns and drives normally in game right now, so you know any later fault is yours. And the version the mod was built for matches your game build – a dashboard from an older model format will load and then sit there doing nothing.
2. Inspect the Dashboard Model and Locate the Dial Components
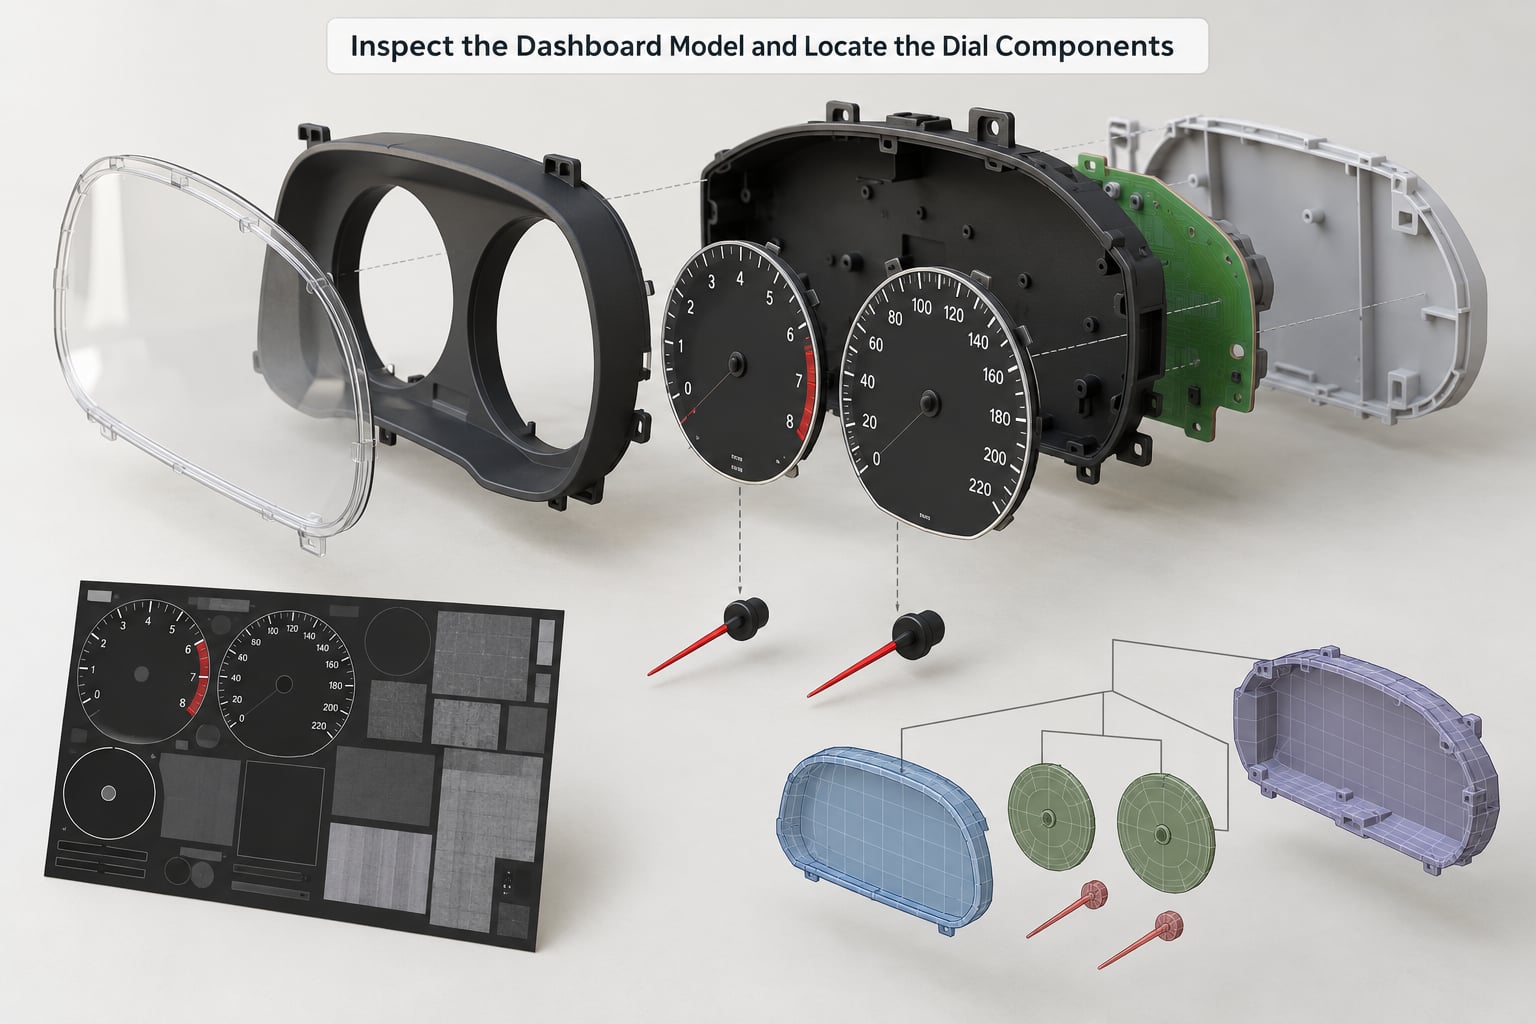
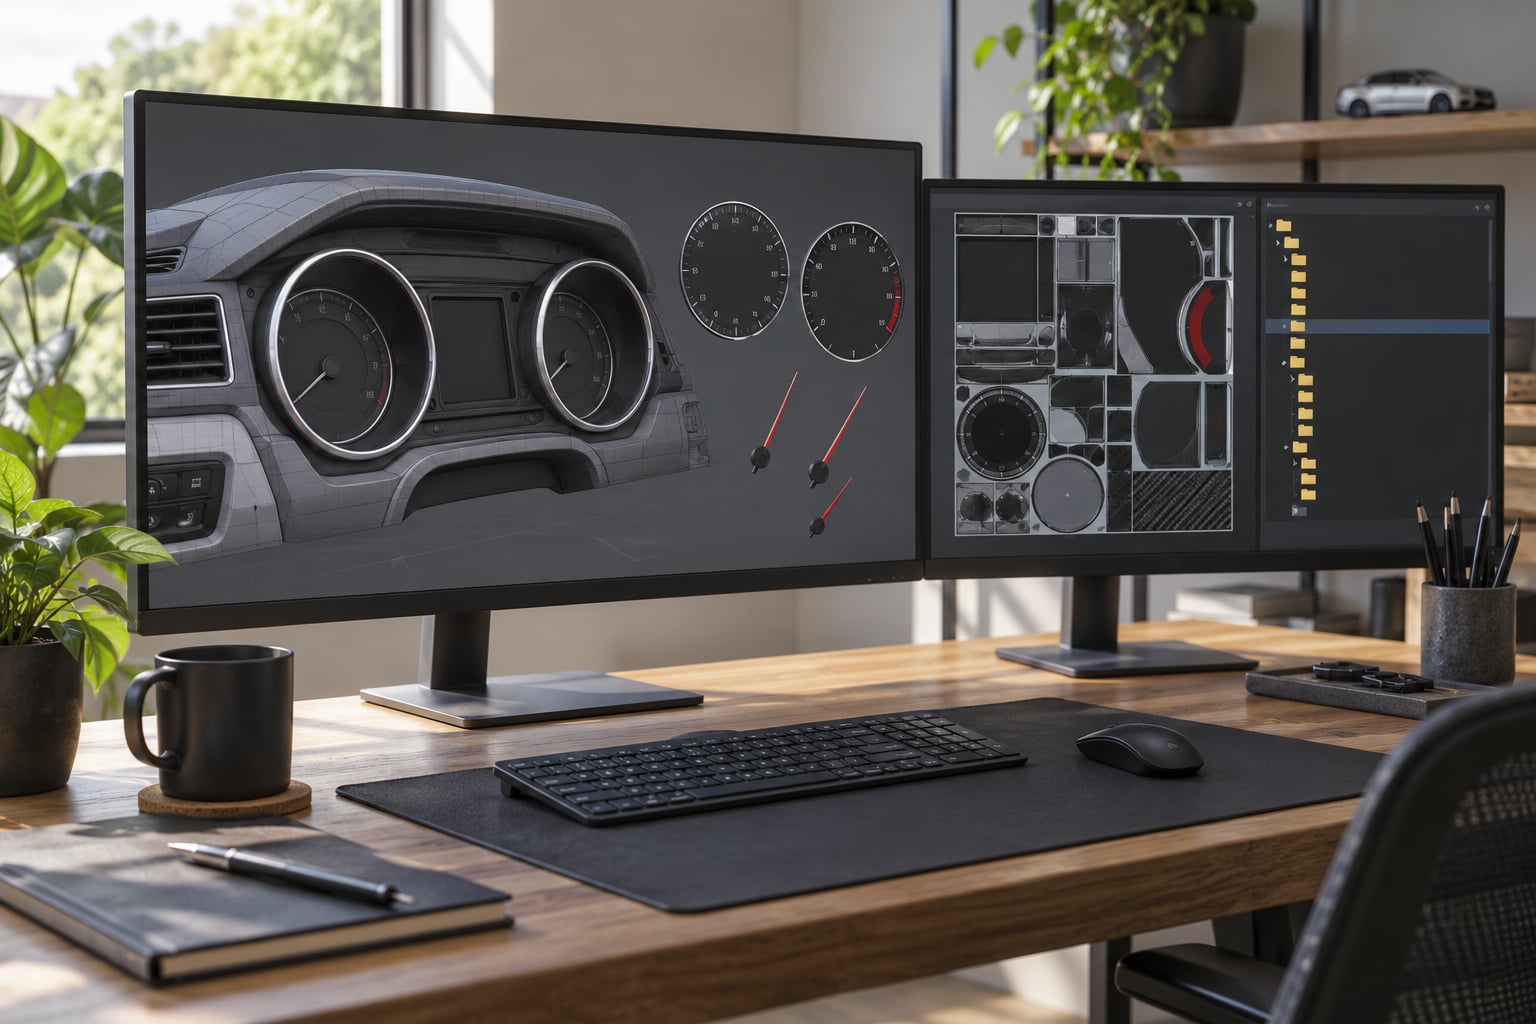
Open the vehicle’s yft in CodeWalker and walk the node tree looking for the dashboard shell and anything under it. What you are hunting for is a pair of small meshes that are children of the dash, each sitting inside a gauge housing, and each rotated about a single axis.
That shape is the whole trick. A needle that is a child of the dash with no rotation bone is a decal – it will never move, no matter what you name it. A needle parented to a bone the game can rotate is a working dial. Note the exact bone names, the axis each one turns on, and the name of the texture drawable feeding the cluster.
Write those names down. Everything after this step depends on matching them exactly.
3. Prepare Separate Dial Textures
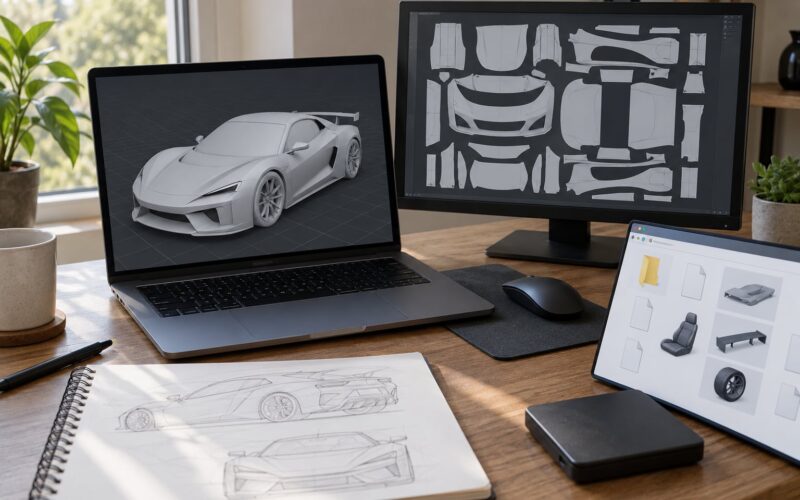
Keep the dial texture as its own drawable rather than painting the numbers into the shared dashboard atlas. A separate texture means you can redo the face later without unpainting a 2048-pixel dashboard, and it keeps the numbers crisp when the car is seen up close in first person.
Match your UVs to the existing shell rather than re-laying the whole dashboard out. Lay the speedometer and tachometer faces into the same UV regions the current dials occupy, and leave the surrounding padding alone – the atlas is shared. Export as DDS, square, at the same resolution as the original texture, and name the ytd file to match the yft drawable it belongs to.
4. Add or Refine the Dial Geometry and Animations
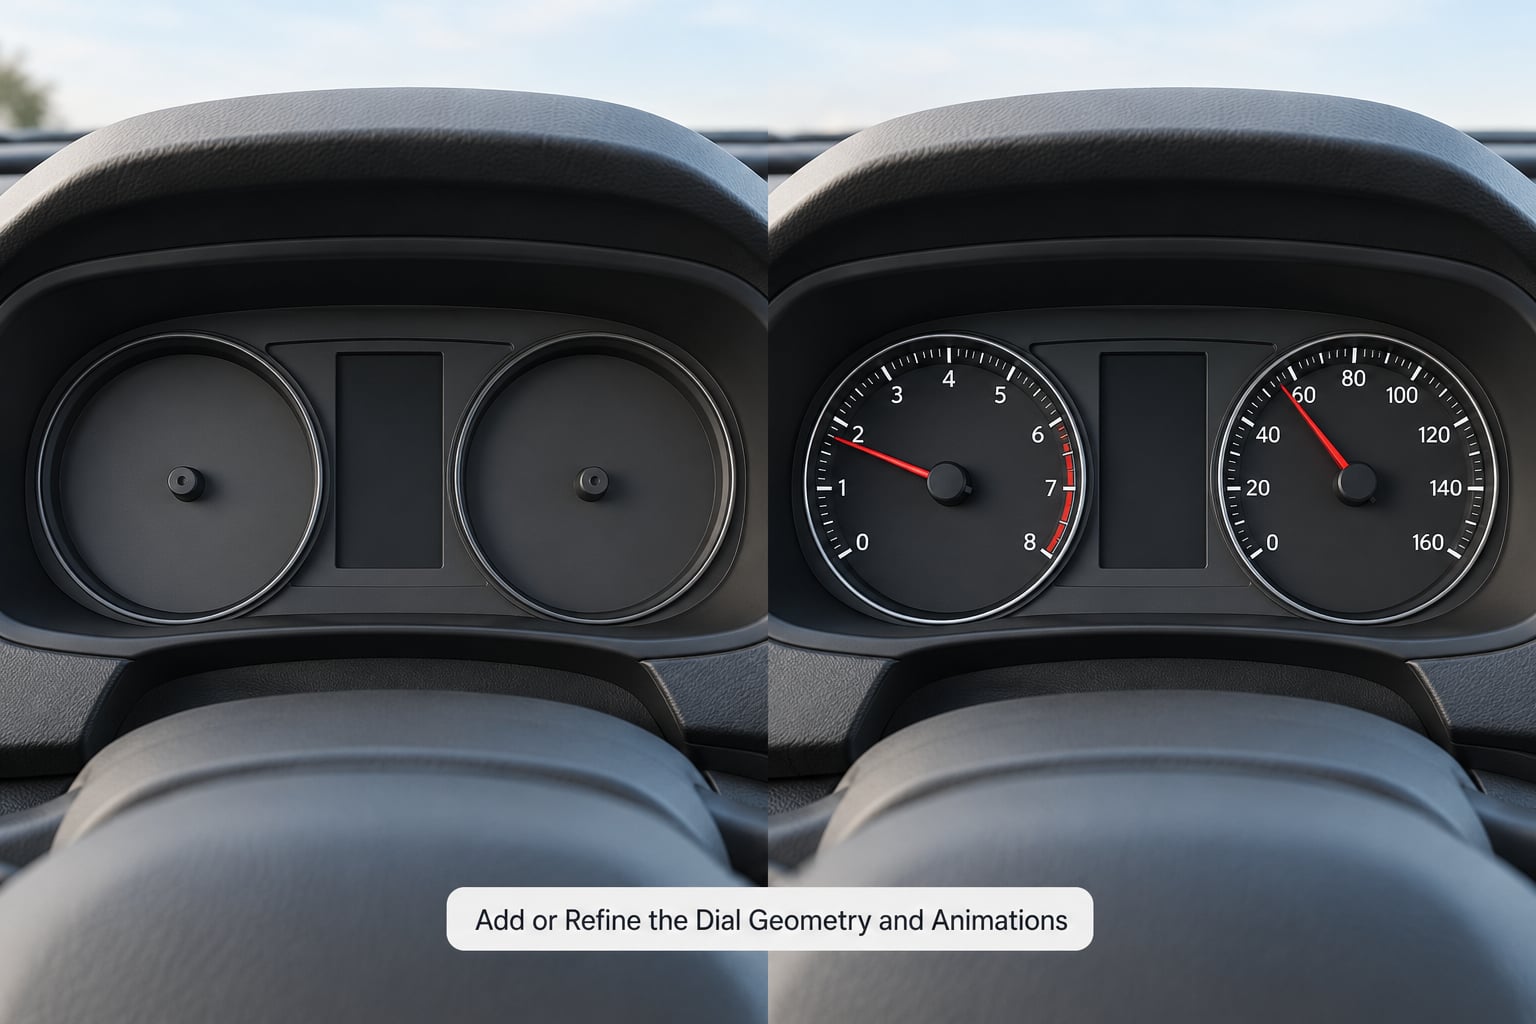
Build each dial as three separate pieces: a face, a needle, and the housing that masks the edge. The face and housing can be flat geometry on the dash. The needle is the part that has to be its own object with its own parent, rotated around one local axis so the pivot sits at the centre of the dial.
For the speedometer, the needle should sweep roughly 0 to 220 degrees. For the tachometer, sweep 0 to 270 or so and match the redline zone to what the engine actually does. Getting these two ranges right early saves a frustrating round of guessing later – a needle that slams to the stop within a second of driving is almost always a range set to a few degrees.
Keep the hierarchy flat. Dashboard, then a dial group, then one bone per needle. Deep chains of parented bones work in theory and are miserable to debug when one of them is off by ninety degrees.
5. Update the Model Files and RSC References
Export the model and keep every name consistent: yft, ytd and the drawable entry all use the same base name. If you renamed the dial drawable while working, update the RSC metadata to match, and remove the old entry rather than leaving it dangling.
A mismatch here is the single most common reason a car vanishes from the game entirely, and it is easy to miss because everything else about your edit was correct. Save the meta files in UTF-8 without a byte order mark, or the game will refuse to read them.
6. Replace the Files Through OpenIV
Copy the finished yft, ytd and meta files into the vehicle’s folder under modsvehicles using OpenIV’s mods tab, keeping the exact sub-folder name the mod already uses. Creating a new folder makes a new add-on vehicle; reusing the existing one replaces the car in place, which is what you want.
Close the game before you copy anything over files it is currently using, and clear the OpenIV cache if the change does not appear on the first launch. Do not upload files into a random path and hope – the game only reads the folder that matches the vehicle name it loads.
7. Test the Dials In-Game
Spawn the car, then sit in the driver’s seat and switch the camera to first person. A needle that stays flat at zero while the car is stationary is correct. Accelerate hard and both needles should move together – speed climbing, revs rising and falling with the gears.
Then check the things that are easy to miss. Lift off and confirm the revs drop back rather than staying pinned. Watch the needle direction: backwards or a full-circle sweep means the rotation axis is inverted. Read the numbers at a glance – if the speedo is unreadable, the texture needs more contrast, not a bigger scale. Finally, drive at night and confirm the cluster is lit as you would expect.
Common Mistakes
Almost every broken cluster is one of six problems, and each has a fix you can check in under a minute.
| Symptom | Likely cause | Fix |
|---|---|---|
| Needles visible but never move | Needle is parented to the dash, or its bone has no rotation channel | Reparent the needle to its own bone and re-export |
| Needle sweeps the wrong way or a full circle | Rotation axis inverted, or the range is set in the wrong direction | Flip the bone axis and re-check the 0-220 degree range |
| Needle slams to the stop immediately | Range collapsed to a few degrees | Reset the rotation limits on the dial bone |
| Dials missing on one model variant only | The variation entry in carvariations.meta points at a different drawable | Point every variation entry at the dial set you edited |
| Black or blank cluster, numbers invisible | ytd name does not match its drawable, or the UVs sit outside the atlas | Rename the ytd to match, then re-check the UV layout |
| Car will not load after the swap | Mismatched drawable and file names, or meta saved with a byte order mark | Reconcile names and save meta as plain UTF-8 |
One more pattern deserves its own note, because it is not your fault: a working gauge setup can stop working after a game update, since the mod and the game disagree about something one of them changed. The recovery is the same every time – reinstall the latest build of the mod, re-copy your edited dial files over the top, and test again.
Preventing most of this takes one habit. Back up the vehicle folder before each edit, and change one thing at a time, so when the dials go static you know exactly which file moved.
Frequently Asked Questions
Can I add working dials to any GTA 5 modded car?
Not automatically. The car needs an accessible dashboard model, a dial drawable that still exists, and needle geometry attached to a bone the game can rotate. Plenty of add-on cars deleted the dial components to make room for their own interior, and those need new geometry and bones built from scratch. Others kept everything and simply never wired the metadata entry, which is a much smaller job.
Do GTA 5 dial animations work with manual transmission mods?
Usually yes. Needle movement reads the vehicle’s speed and engine RPM values, which both drivetrain types update. The exceptions are mods that ship a custom model where the dial bones were renamed or removed, or a scripted transmission that reports engine values differently. Check the bone names against a stock car first; if the bones are intact, the needle will follow your manual car normally.
Will these steps work for GTA 4 or GTA San Andreas vehicles?
The logic is similar but the workflow is not portable. Tooling, resource references and model formats all differ between the three games, and CodeWalker and OpenIV are built around GTA V. San Andreas car packs in particular use a different model and resource layout, so the folder paths and the RSC edits described here will not transfer directly. Treat this as a GTA V PC guide and look for a guide written for the older engine you are modding.
Why are my new dials visible but not moving?
The geometry is there, so the problem is the animation side. Three causes account for almost every case: the needle is parented to the dashboard instead of its own bone, that bone has no rotation channel assigned in the exported model, or the dial drawable the game loads is not the one you edited. Confirm the drawable name in CodeWalker, then re-check the bone hierarchy before touching textures again.
Can I change a modded speedometer from mph to km/h?
Yes, and the setting lives in the script rather than the texture. An ASI gauge overlay usually switches readout with a hotkey or a small config file, so the change takes effect immediately without re-exporting anything. For a modelled cluster, the scale is baked into the dial face texture and the needle range, so you are repainting the numbers and checking the 0-220 degree sweep matches the new scale.
Conclusion
Back up the vehicle, inspect the dashboard in CodeWalker, build or repoint the dial drawable, then swap the files through OpenIV and test in first person. The order matters because the model, the texture and the RSC names have to agree before anything will animate. Start by confirming the dashboard hierarchy and the animation bones – that one check tells you whether you are looking at a small metadata fix or a full geometry rebuild.