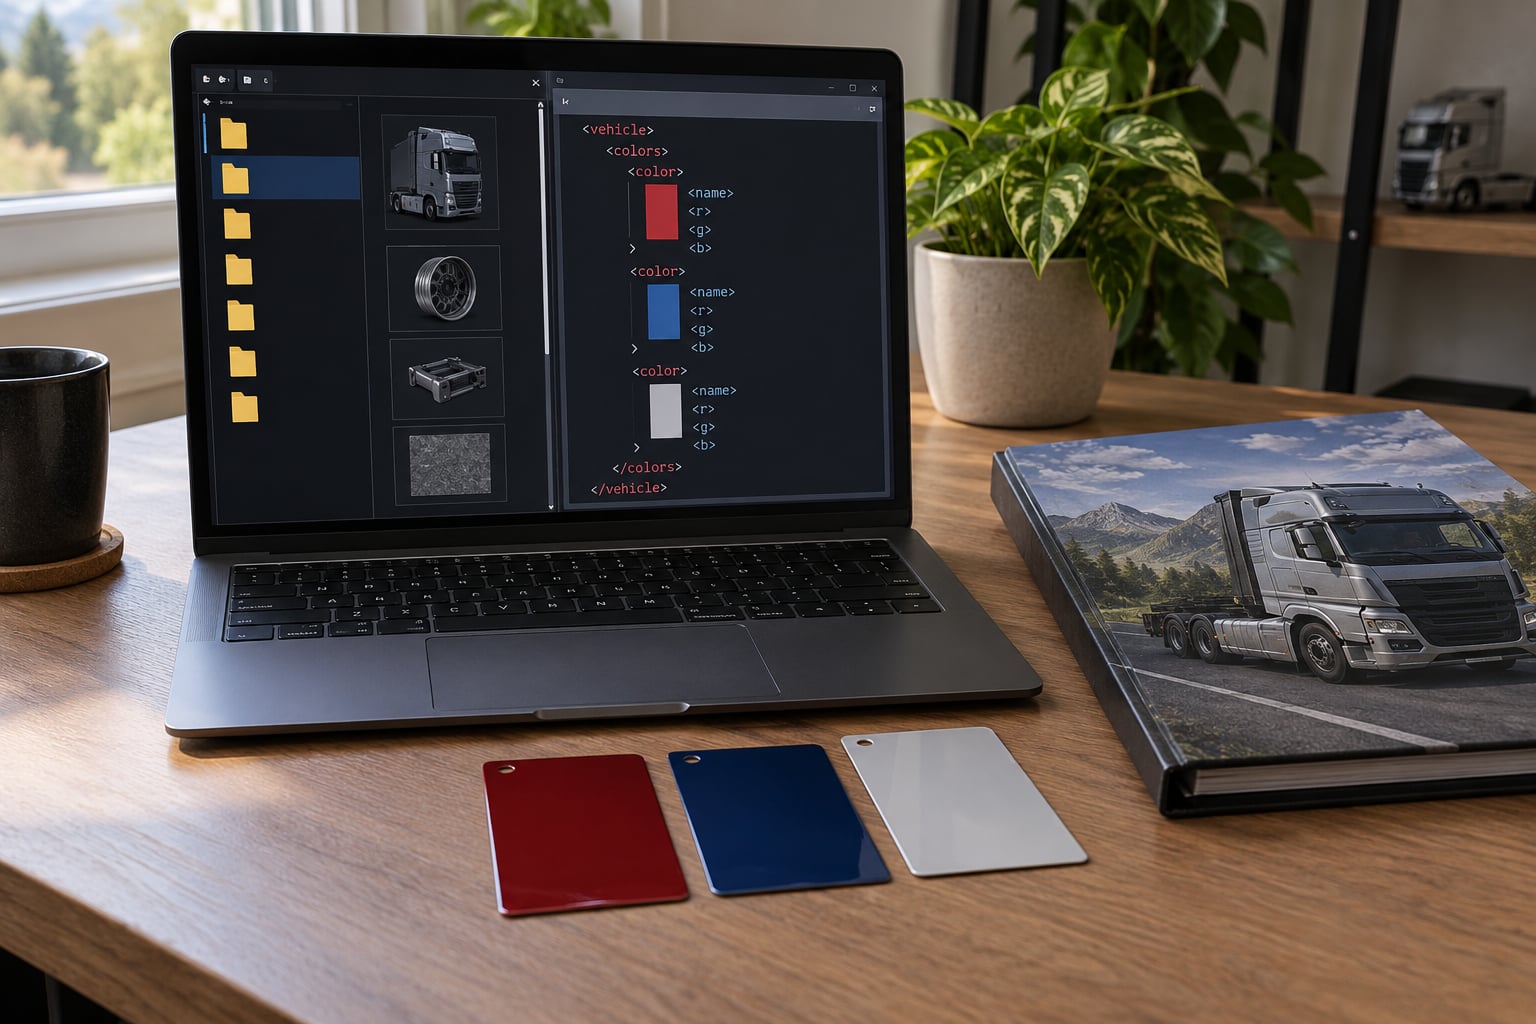
Car color in GTA V and FiveM is not stored in the model file at all. It lives in two XML data files: carvariations.meta holds the body paint list a car offers, and carcols.meta holds light, neon and siren data. Both must name the same mod kit, or the change does nothing. That is the whole idea behind how to change car color in game files, and the rest of this guide is the practical part.
This walkthrough covers GTA V on PC, either single-player with OpenIV or a FiveM server resource. The whole process takes about 20 to 40 minutes the first time, and most of that is waiting for the game to restart.
Table of Contents
- 1What You Need
- 2Which file to edit for which change
- 3Step-by-Step: How to Change Car Color in Game Files
- 41. Back up before you edit anything
- 52. Find the vehicle folder and its spawn name
- 63. Work on copies, not the originals
- 74. Decide between a fixed color and the full palette
- 85. Edit the color list in carvariations.meta
- 96. Match the mod kit name in both files
- 107. Register the files, restart and verify
- 11Common Mistakes: Why the Color Did Not Change
- 12Frequently Asked Questions
- 13Will a car color change from a game-file replacement stay after I restart GTA V?
- 14Can I use modified vehicle files in GTA Online?
- 15Why does the car turn pink, transparent, or invisible after I replace its model?
- 16What is the difference between changing model files and using a vehicle trainer?
- 17Can I use the same OpenIV method to change car colors in GTA IV or San Andreas?
- 18How do I restore the original car if a replacement model breaks or disappears?
- 19Conclusion
What You Need
Before opening anything, gather the tools. You need a Windows PC running the PC version of GTA V, or a server machine with the FiveM server files and a text editor that does not mangle XML.
- OpenIV for single-player, installed with edit mode enabled. CodeWalker is a good free alternative for browsing the same archive structure.
- Notepad++ or VS Code for editing meta files. Notepad is the single most common cause of broken meta files on Windows, because it saves UTF-8 with a BOM by default.
- A backup of the game files or of the resource folder. Not optional.
- The vehicle’s model name, something like
sultanoradderr, so you can find the right entry. - One specific color in mind, or a decision to unlock the full palette. Those are two different jobs and they need different edits.
This is a PC-only procedure. The Rockstar Editor, console versions, Story Mode DLC editors and GTA Online do not expose writable game files, so none of these steps apply there. FiveM server owners apply the same meta edits, but inside a resource folder rather than inside the RPF archives.
Which file to edit for which change
| What you want to change | File to edit | Key tag to look for |
|---|---|---|
| Body paint options, fixed color, custom color code | carvariations.meta | colors, itemID inside the modelName entry |
| Secondary and trim paint, liveries | carvariations.meta | liveries array, color index per livery |
| Headlight and taillight color | carcols.meta | lights, lightID |
| Neon underglow color | carcols.meta | neon, lightID |
| Siren pattern and light behavior | carcols.meta | sirenSettings |
| Mod kit (bolt-on parts, liveries) membership | Both files must agree | modKitName in both |
This is the table most people skip and then lose an hour to. Body paint and light color are different systems, and the lcpdfr forum thread about changing only lightbar colors exists because that confusion is genuinely common.
Step-by-Step: How to Change Car Color in Game Files
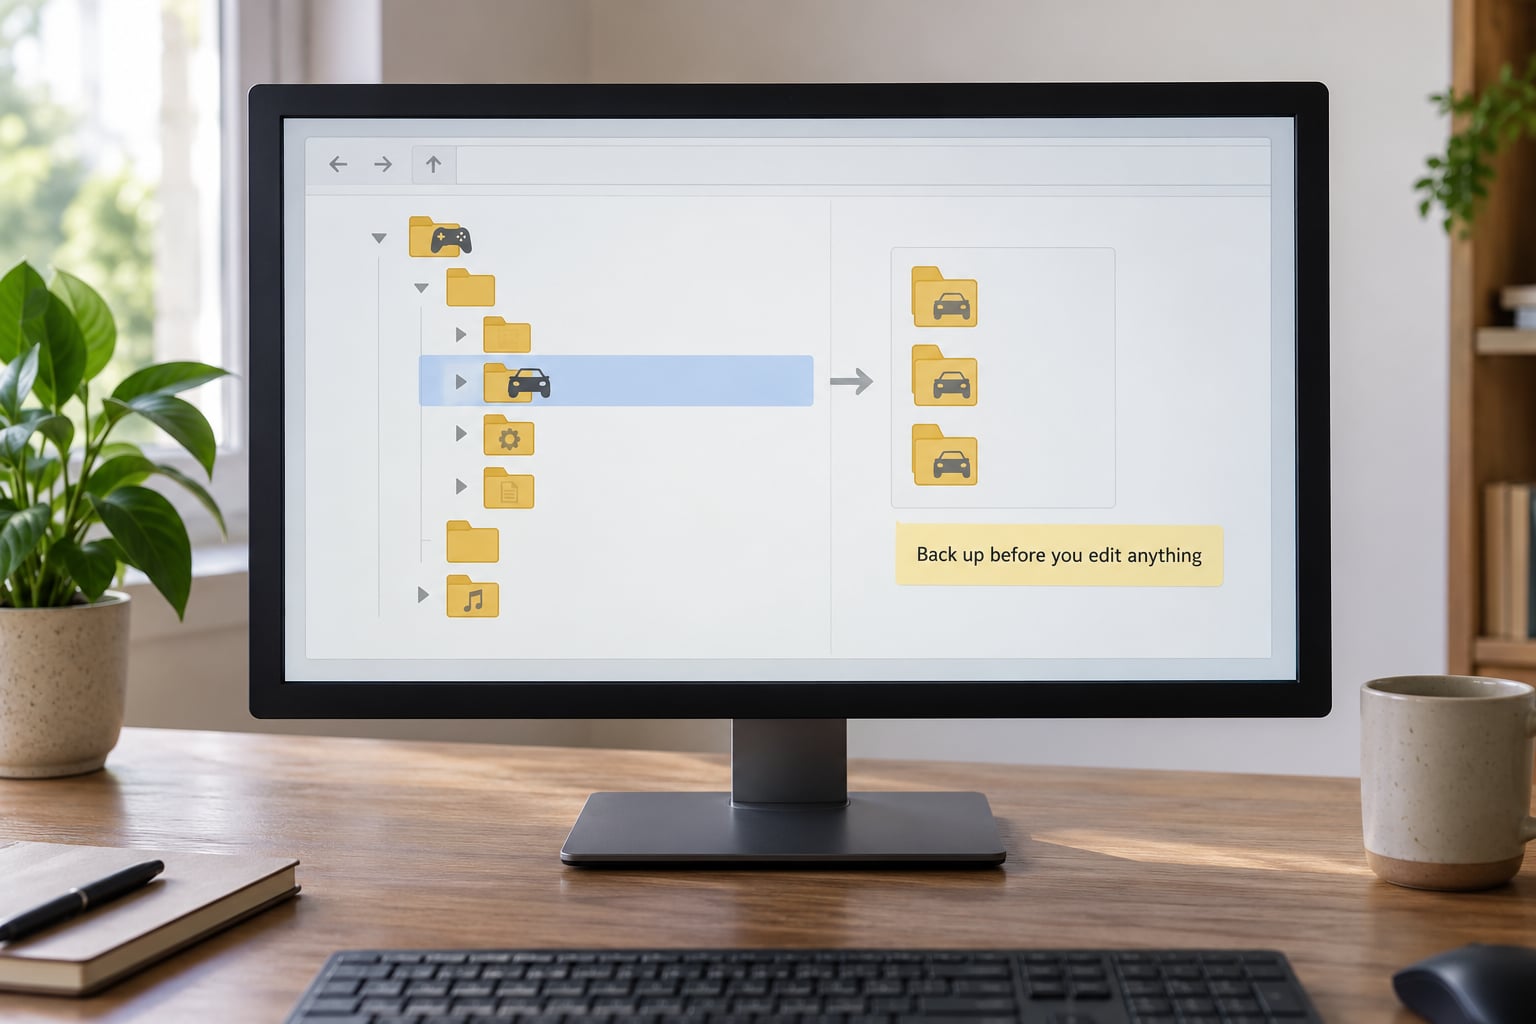
1. Back up before you edit anything
Make a copy of the entire resource folder on a FiveM server, or a full copy of the game’s common.rpf and dlc.rpf on single-player. Rockstar updates overwrite RPF archives, so an untested edit can disappear without warning.
OpenIV has a built-in backup switch. Turn on Edit mode in the settings, accept the prompts, and OpenIV will write a .bak version of any file it replaces. That is your rollback, so do not skip the prompt.
2. Find the vehicle folder and its spawn name
On single-player, open OpenIV and go to Grand Theft Auto V → dlc.rpf → dlc → the DLC that contains your car → vehicles. The vanilla cars live under common.rpf → common → data in some builds, so if one path is missing, check the other instead of guessing.
On a FiveM server, the add-on car resource normally has this shape:
mycar/
  fxmanifest.lua
  stream/
    mycar.yft
    mycar.ytd
  data/
    carvariations.meta
    carcols.meta
    vehicles.meta
    handling.meta
If the expected vehicles folder or the data folder is not there, stop and check that the DLC is actually installed. Guessing at paths is how people end up with edits in the wrong archive.
3. Work on copies, not the originals
Drag carvariations.meta and carcols.meta to your desktop and edit the copies. The modelName value inside each file is the spawn name the game uses to look the car up, and that is the number you need to search both files with.
Searching for one model name should return exactly one entry in carvariations.meta and one in carcols.meta. Zero or two results means your add-on is registered twice or the file is not being read, and both cases are worth fixing before you touch a single color value.
4. Decide between a fixed color and the full palette
This is the step forum answers usually skip. Setting a car to one specific color and unlocking every color are different edits, and only one of them matches what most people actually want.
- One fixed color: set the single existing color entry’s index to the color you want, or leave one entry only. The car always spawns that color and the paint menu offers nothing else.
- The full palette: keep the list of color entries and add or change indices inside it, so players can pick at a Los Santos Customs shop.
- A color nobody else has: add a new entry with an index above the range the game ships with. The se7ensins community has used custom codes past the usual 0 to 160 range for years; the exact usable ceiling is not officially documented, so test incrementally and keep a record of what works.
Find the index that matches your color in game rather than trusting a copied list. Spawn the car, walk into a shop, and read the color’s number in the paint menu. A screenshot of the paint menu is the accepted proof that your edit landed, and it costs you two minutes.
5. Edit the color list in carvariations.meta
Open the copy in VS Code or Notepad++ and find the entry for your model. The body colors sit in a colors block, one line per option, with an itemID and a comment describing the color name.
<Item>
  <itemID>0</itemID>
  <fPaintFinish>0</fPaintFinish>
  <fFinishCustomization>1</fFinishCustomization>
  <carColor>
    <colors>
      <Item>
        <name>Body Color 1</name>
        <itemID>49</itemID>
      </Item>
      <Item>
        <name>Body Color 2</name>
        <itemID>128</itemID>
      </Item>
    </colors>
  </carColor>
</Item>
To lock the car to one color, leave a single Item and set its itemID to your target value, in this example 128. To add a new color, duplicate the block, give it a distinct name and set the new index.
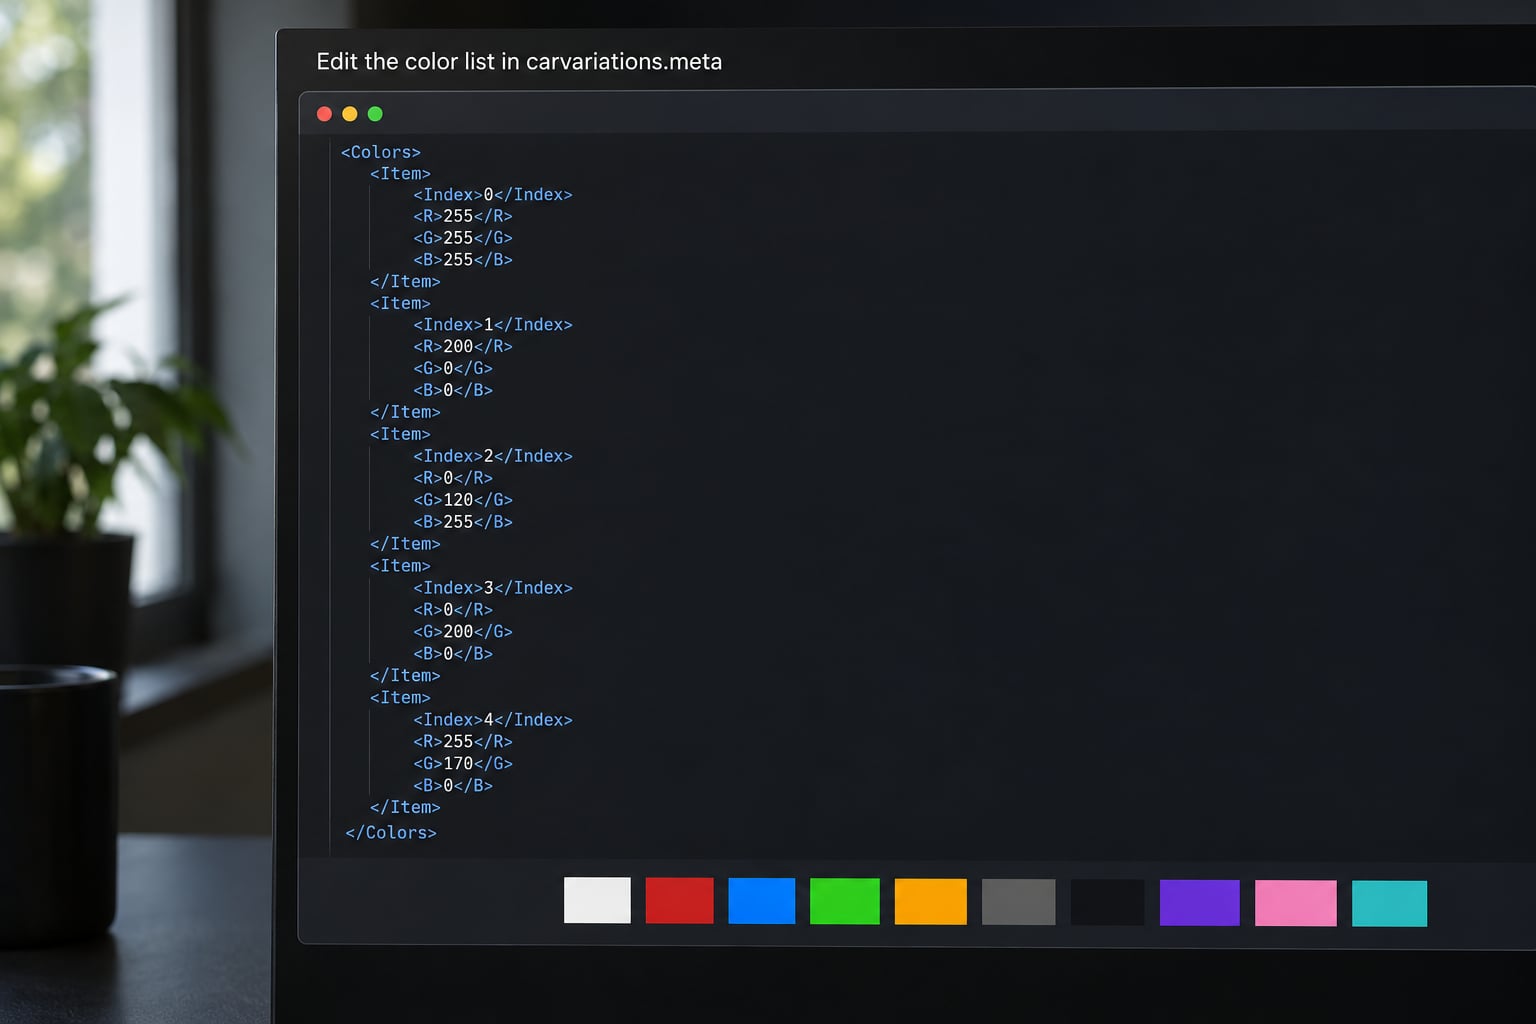
Save as UTF-8 without a BOM. That single setting explains most of the XML parse errors people report after editing on Windows, because a BOM at the top of the file makes the game’s parser choke before it ever reaches your color value.
6. Match the mod kit name in both files
This is the quiet failure that wastes the most time. The modKitName in carvariations.meta and the matching entry in carcols.meta have to be identical strings. If they differ by a single character, the game reads one file, ignores the other, and your color change appears to do nothing at all.
Copy the name, paste it into both files, and save. This is also the moment to set light colors. In carcols.meta, the lights section holds a lightID for headlights and taillights, and the neon section holds another one. Change those values and you have recolored the lights without touching a single body panel.
Save both files as UTF-8 without a BOM again. If you only edited carvariations.meta and left carcols.meta alone, that is fine, but the mod kit names still have to match whatever is already there.
7. Register the files, restart and verify
On single-player, drop the edited files back into the same data folder in OpenIV, confirm the green replacement prompt went through, then leave edit mode and start Story Mode. Visit a Los Santos Customs or a suitable modification location and check the paint menu for your new color.
On a FiveM server, every meta file needs two lines in fxmanifest.lua. A file listed in files{} with no matching data_file line loads without error and quietly does nothing, which is the most common silent failure on server resources.
fx_version 'cerulean'
game 'gta5'

files {
  'data/carvariations.meta',
  'data/carcols.meta'
}

data_file 'VEHICLE_VARIATION_FILE' 'data/carvariations.meta'
data_file 'CARCOLS_FILE' 'data/carcols.meta'
Add the resource to server.cfg with ensure mycar, restart the server, and spawn the car. On a Linux host, the resource name in the ensure line has to match the folder name character for character, including case.
Verification is simple. If the body takes paint at all, the game is reading your files. Then check the specific color you set, the headlights, and the mod kit parts. If the body paints but ignores your index, the entry you edited is not the one the car is using.
Common Mistakes: Why the Color Did Not Change
| Symptom | Cause | Fix |
|---|---|---|
| Nothing changes at all | Meta file in files{} with no data_file line | Add the matching data_file line and restart |
| Body paints, but not your new color | modKitName differs between the two files | Make both names identical strings |
| Car spawns white or plain | No carvariations.meta entry for that model | Add an entry with the spawn name and a color index |
| XML parse error on load | File saved as UTF-8 with BOM | Re-save as UTF-8 without BOM in VS Code |
| Lights unchanged | Edited carvariations.meta, not carcols.meta | Edit the lightID in the lights section of carcols.meta |
| Color reverted after a game update | RPF archive overwritten | Restore your backup or reapply the edit |
| Server will not start the resource | Folder name and ensure line differ in case | Match the case exactly, restart |
| Duplicate cars or a vanilla car spawning | Same modelName in two resources | Remove or rename the duplicate entry |
| Car spawns as a different stock model | spawn name does not match modelName | Copy the exact modelName string into the entry |
A few habits prevent most of the above. Test one change at a time, keep the original files open in a second window for comparison, use short lowercase resource folder names, and never install two add-ons that share a model name.
One more expectation to set: a color that looked a certain shade in a livery editor can look brighter or less saturated in game. That is color management, not a broken slot, and the only real fix is picking the index by eye in game rather than by eye in an editor.
Frequently Asked Questions
Will a car color change from a game-file replacement stay after I restart GTA V?
Yes, as long as the file you edited is loaded from somewhere the game does not overwrite. A FiveM server resource survives every restart and every game update, because the game never touches it. A single-player edit inside dlc.rpf or common.rpf also survives restarts, but a Rockstar game update can overwrite the archive and wipe it. Keep your backup folder outside the game directory so reapplying takes a minute rather than an hour.
Can I use modified vehicle files in GTA Online?
No. GTA Online runs on separate, server-controlled files, and Rockstar blocks modification of game assets there. Editing carvariations.meta or carcols.meta for an online session does nothing, and attempts to alter game files can get an account flagged. If you want custom colors on a car with other players, run your own FiveM server, where the vehicle resources belong to you and are configured entirely through the resource manifest.
Why does the car turn pink, transparent, or invisible after I replace its model?
A pink or missing car almost always means the texture dictionary no longer matches. The .ytd file supplies the textures the .yft model expects, and if the two are renamed differently the game has nothing to draw. Transparent or invisible cars point at the same mismatch, or at a ytd that failed to load because it exceeded a streaming limit. Revert to your backup model, confirm the ytd and yft names agree, then reapply your color edits one at a time.
What is the difference between changing model files and using a vehicle trainer?
A trainer changes color at runtime, in memory, while the game is running. That makes it instant and instantly reversible, but nothing is saved and nothing carries to another session. Editing game files changes the vehicle’s actual data, so the car spawns in your color every time for you and for anyone else on the server. Trainers are fine for testing which index you want; the meta files are what you use when the change has to stick.
Can I use the same OpenIV method to change car colors in GTA IV or San Andreas?
Not the same method. GTA IV has no RPF archive structure and no carvariations.meta, so the OpenIV route does not apply. San Andreas is older again: its colors live in carcols.dat, where the primary paint is color index 59 and the secondary is index 34, as gtaforums users have pointed out for years. You can still do it, but you edit a flat data file with a text editor rather than an RPF archive, and the file paths are entirely different.
How do I restore the original car if a replacement model breaks or disappears?
On single-player, delete your edited file and let OpenIV restore it from the .bak copy, or drop your backup copy back into the same folder and leave edit mode. On a FiveM server, put the original meta file back into the data folder and restart the resource. If the car will not spawn at all, run the ensure line again after a full server restart rather than a resource restart, because vehicle definitions are cached at startup.
Conclusion
Three things decide whether this works. Find the exact vehicle folder and confirm its spawn name, back it up before the first edit, and make sure the modKitName in carvariations.meta matches the one in carcols.meta. Everything else, the color index, the file paths, the manifest lines, is detail you can look up once you have those three right.
That is the whole of how to change car color in game files, and it takes less time than most people expect. Test in Story Mode or on a private FiveM server, save as UTF-8 without a BOM, and restore your backup the moment the car looks wrong. Add one color, verify it, then add the next.