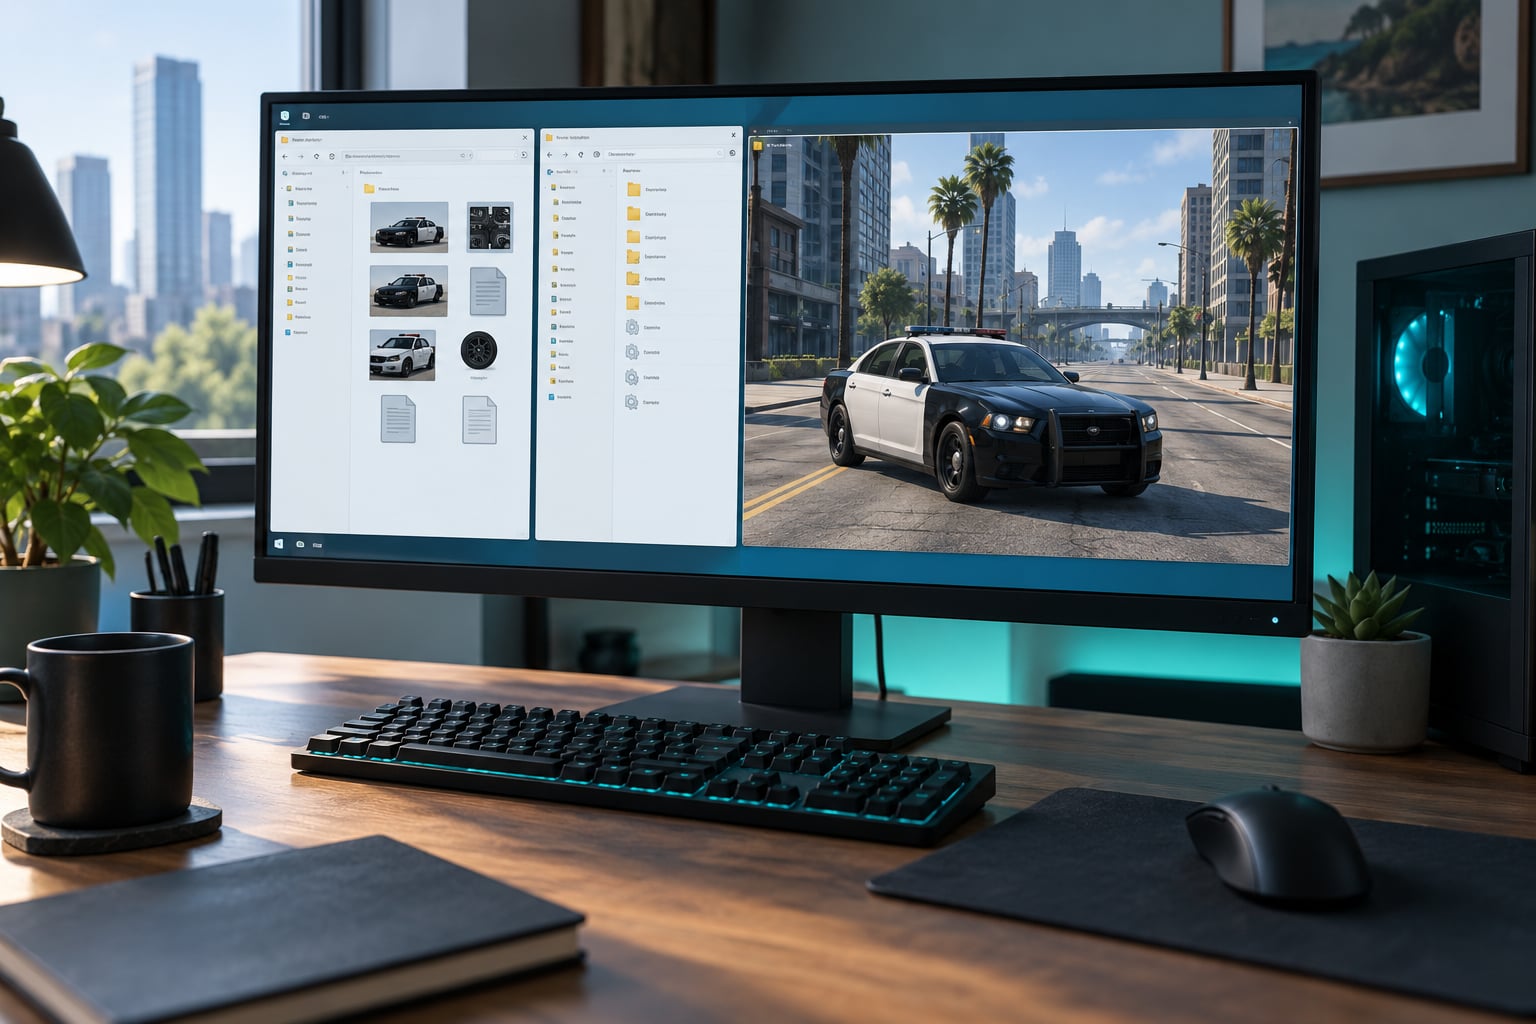
To install police car mods correctly in GTA 5, you back up your files, open OpenIV as administrator, copy the vehicle’s model, texture and meta files into the exact replacement folder, then add the spawn name to the carlist. If the pack ships ELS files, install those too so the light bar works. The whole first install takes about 30 minutes.
Most broken police car mods are not broken at all. They are sitting in the wrong folder, using a spawn name the game does not know, or shipping emergency lighting files that were never wired into the framework. Get the path right and the car usually just appears.
This guide covers GTA V on PC first, because that is where nearly all police car packs are made. Older Rockstar games work differently, and I have covered those separately near the end. FiveM is a different install target again, and mixing the two up is the single most common beginner mistake.
One thing worth knowing before you start: the exact install method has changed since most written guides were published. The activation step older tutorials describe for OpenIV is gone. If a guide tells you to look for a special folder to unlock OpenIV, close it and find a current one.
Table of Contents
- 1What You Need
- 2Step-by-Step: How to Install Police Car Mods Correctly
- 31. Identify Your Game, Platform and Mod Format
- 42. Download the Correct Mod and Read Its Instructions
- 53. Back Up the Original Files and Current Save
- 64. Prepare the Modding Tool and Correct Folders
- 75. Use This Method to Install Police Car Mods Correctly
- 86. Install Supporting Files Without Conflicts
- 97. Launch the Game and Test the Police Car
- 108. Confirm the Install and Remove It Safely
- 11Common Mistakes
- 12Frequently Asked Questions
- 13Can installing police car mods get me banned in GTA Online?
- 14Why is the police car mod not appearing in my game?
- 15How do I find the correct vehicle-spawn name for a police car mod?
- 16Can I use a police car mod made for FiveM in GTA V story mode?
- 17How do I install police car mods in GTA IV, San Andreas, GTA III or Vice City?
- 18How can I safely update my game after installing a replacement vehicle mod?
- 19Conclusion
What You Need
Here is the full list. Nothing on it is optional if you want working lights and a car that spawns where you expect.
- The current game build. Police car packs for GTA V break more often than anything else when a game update changes the file structure. Run the game once after a major update, or let it update before you install.
- The mod files for your exact game. A pack made for GTA V story mode will not work in GTA IV, and a FiveM pack is a different file layout entirely.
- An archive extraction tool. Police car packs usually arrive as RAR or ZIP files. If Windows cannot open the archive natively, install a free extractor such as 7-Zip before you download anything else.
- OpenIV. This is the tool that writes mod files into the game’s folders, which are protected and cannot be edited in File Explorer.
- A text editor. Notepad works. You need it for the carlist file and any XML entries the pack requires.
- Frameworks and loaders, if the pack needs them. For GTA V that usually means ScriptHookV, the ASI loader, OpenIV.asi, and the police framework LSPDFR. Emergency lighting additionally needs the ELS add-on.
- Free storage equal to your game size. Not an exaggeration. A full backup of the files you are about to touch can be several gigabytes, and a complete GTA V install copy is closer to 70 GB.
Check every file before you download. The download page should state the game, the platform, and the minimum game build. If it does not, ask on the mod’s own comments section rather than installing and hoping.
Confirm one more thing: whether the pack is ELS-compatible. A page or download file labelled ELS means the emergency lighting will actually animate. A pack without that label may give you a nice car with no working light bar, and that is the most common disappointment in this whole hobby.
Step-by-Step: How to Install Police Car Mods Correctly
1. Identify Your Game, Platform and Mod Format
Start by pinning down three things: which game, which platform, and which kind of mod you downloaded. Skipping this step is why a car never appears.
For the game, you are most likely working on GTA V for PC. If you play on PlayStation or Xbox, this entire guide does not apply, because console game files cannot be edited this way. Older Rockstar games each have their own file formats, covered in the FAQ.
For the format, police car mods come in three shapes. A replacement pack overwrites the files of a vehicle the game already has, so the vanilla car is gone. An add-on pack adds a brand-new vehicle alongside the originals. A script or framework pack handles behaviour, spawns and emergency lighting rather than a car model itself.
Deciding between a replacement and an add-on is the most important choice you make. Replacement means every police cruiser in the world becomes your car. Add-on means the originals stay and your new car appears only when you call it by name or through a menu.
2. Download the Correct Mod and Read Its Instructions
Read the download page before the files, not after. You are looking for four things.
- Game and platform. GTA V on PC, and story mode, FiveM or RAGE Multiplayer specifically.
- Model format and minimum game build. If the page lists a required build higher than yours, update the game first.
- Dependencies. Most quality packs list required frameworks, or they link to a base pack. Missing dependencies produce crashes, not missing features.
- Supported vehicle spawn names. The pack’s author usually lists the names you type in game to call the vehicle. Copy them exactly, including capitals.
Download the archive and extract it somewhere outside your game folder, such as a folder on your desktop. Look at the extracted contents before touching anything. You should see a clear folder structure, and you should be able to identify the model file, the texture file, and the meta files without guessing.
If the archive extracts to a single empty folder or a handful of unnamed files, stop. The download is incomplete, and installing it will break your game.
3. Back Up the Original Files and Current Save
Never replace a game file without a copy of the original. This step takes five minutes and saves entire evenings.
Back up two things separately. First, the original vehicle files you are about to overwrite. Second, your save games, which usually live in your Documents folder under a Rockstar Games folder and then a GTA V folder, ending in Saved. If your Documents folder is redirected to OneDrive, the whole tree moves with it, so check there too.
Make the save copy a separate folder rather than another file inside the same folder. Then open a few of the backed-up files and confirm they open. A backup full of empty folders or, worse, another archive you never extracted is not a backup.
Write down what you are replacing as you go. A short list of file paths turns rollback into a two-minute job instead of a guessing game.
4. Prepare the Modding Tool and Correct Folders
Open OpenIV and select the GTA V entry. Modern versions present the game under a Game Files view; very old tutorials use a Windows and Mods view that no longer exists, so if your OpenIV looks like that, update OpenIV rather than trying to follow the guide.
OpenIV needs two things before it will write to your game. It must be running as administrator, which you set from the right-click menu on the shortcut or executable, and Edit mode must be switched on inside the OpenIV settings, because the tool ships read-only for a reason.
Finding the right game directory trips people up constantly. The install can sit under a Rockstar Games folder, a Steam library folder, an Epic Games folder, or a OneDrive redirect, and they are all valid. What matters is that the path OpenIV shows is the same path where the game actually runs from. If you have the game on Steam and OpenIV is showing a Rockstar folder, something is wrong.
One rule here is absolute: never move, rename or restructure the game’s original folders. Create new folders, replace files inside existing ones, but leave the directory shape itself alone.
5. Use This Method to Install Police Car Mods Correctly
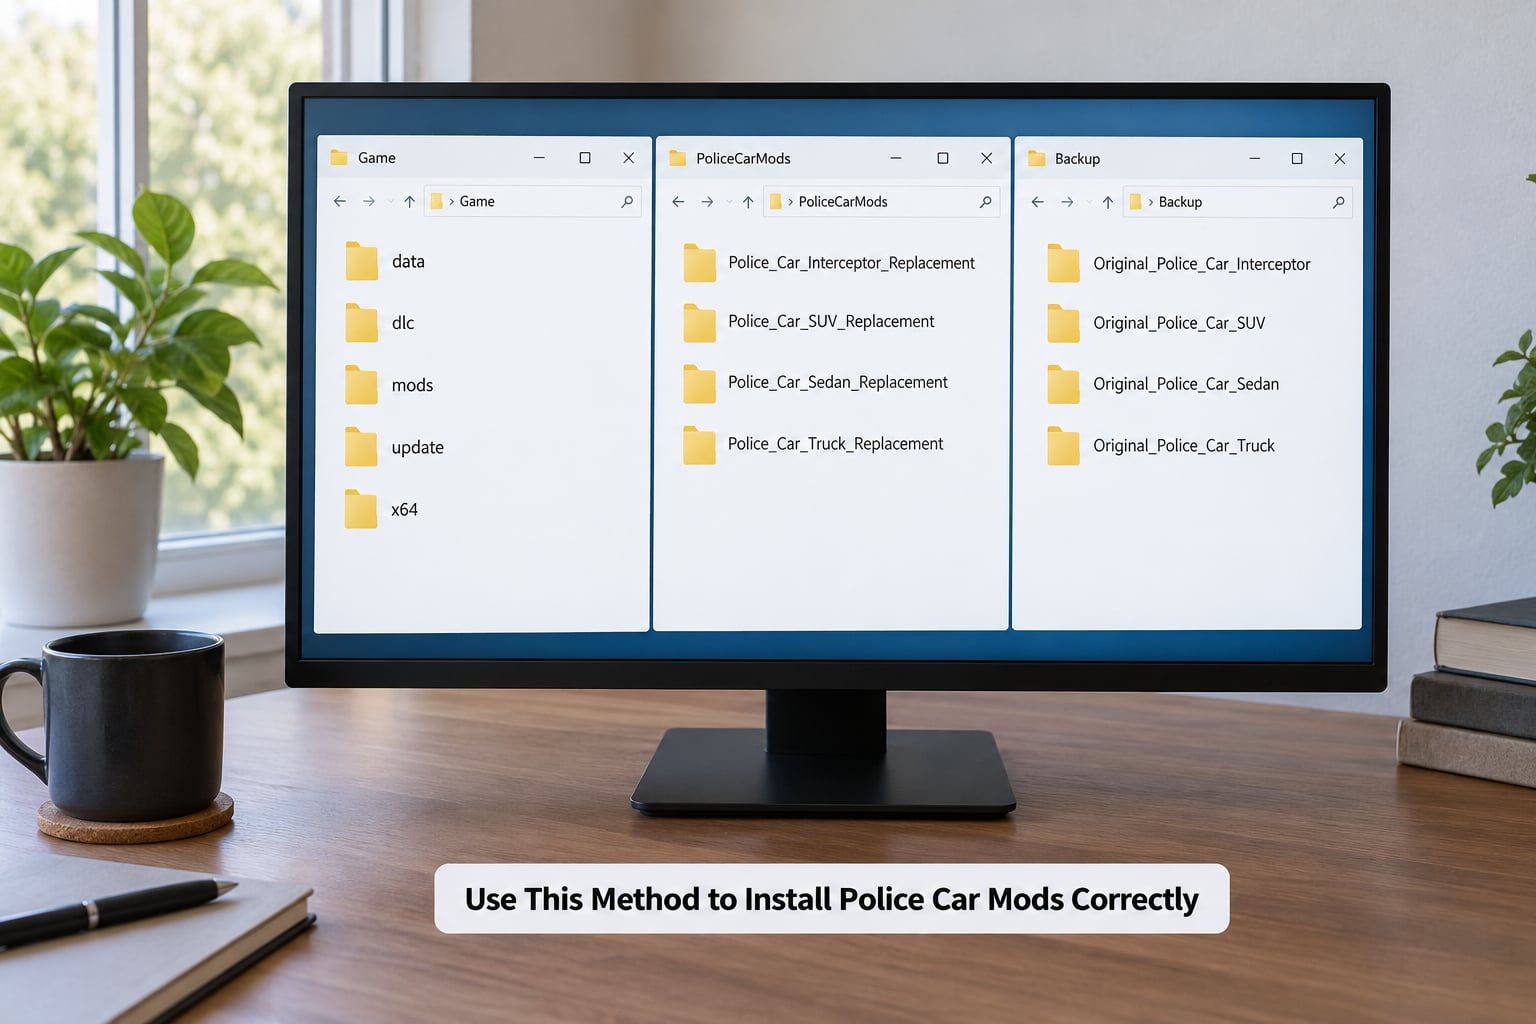
Now the actual file placement. The path you need depends on the format you identified in step 1, and putting files in the wrong one is the number one cause of a car that never shows up.
Replacing a vanilla police car in GTA V. In OpenIV, open the update folder inside the dlcpacks folder, then the update.rpf inside it, then the common folder, then the data folder. The model and texture files of the vehicle you are replacing go into the data folder. Its meta files go into the data folder’s ai subfolder. The typical pair is a vehicle model file and its matching texture file in the first folder, and the vehicle definition meta plus the carcols livery meta in the ai subfolder.
Adding a new police car as an add-on. Create a new folder inside the dlcpacks folder, give it a unique name that no other pack uses, and put a dlc folder inside it. Within that you build the same model, texture and meta layout as above, plus a setup file that registers the add-on so the game will read it. The registration file then needs the folder name added to the dlclist file that lives at the root of the dlcpacks folder.
Those two meta files have a job worth understanding. The vehicle definition meta tells the game what the car is, how it behaves, and what name spawns it. The carcols meta assigns liveries and takes over the existing colour options on the model. Delete either and you get a car that loads with no colours, or not at all.
Older Rockstar games. These do not use dlcpacks. In GTA IV the files sit in the data folder inside the game directory and use a different model format. In San Andreas the files sit directly in the game folder. GTA III and Vice City work the same way. Copy a GTA V pack into any of these and you get a folder full of files the game never reads.
FiveM. A FiveM police car is a server resource, not a story mode file. It lives in a resources folder on the server machine or in your local FiveM cache, and it never touches your Rockstar game files. Do not copy a FiveM resource into your GTA V folder and expect a car.
How do you know the files landed correctly? Open the folder in OpenIV after the copy and look. The file names, sizes and extensions must match what you extracted, and the count must match. A dropped copy, an overwritten backup folder, or a file sitting one level too high are all visible in about ten seconds if you look.
6. Install Supporting Files Without Conflicts
Supporting files are where a working car turns into a broken game. Handle them one at a time.
Spawn lists. Older and newer add-on formats work differently, and many packs ask you to add the vehicle name to a carlist file or a trainer menu. Enter the name exactly as the author wrote it. A single wrong capital or a missing character means the game simply does not recognise the command.
Loaders and configuration. Some packs need a game configuration file added so the game allows more add-on vehicles than the default limit. Others need an ASI loader and a ScriptHookV file in the game root. If the pack lists these, install them and nothing else extra. Adding configuration files from unrelated packs is a common cause of the “one bad pack breaks everything” problem people describe in forums.
Duplicate folders. If two add-on packs use the same internal folder name, one silently overwrites the other on load. Before installing, glance at each pack’s internal folder name. Identical names mean you must rename one of them, and you must also update that pack’s registration entry to match.
Run a quick conflict check before launching: confirm every file you copied is in the intended folder, confirm no two packs share a folder name, and confirm the registration list contains each add-on exactly once. That check takes a minute and prevents most crashes.
7. Launch the Game and Test the Police Car
Load the game and watch the launch closely. Mods load in a specific order, and a problem at the wrong layer shows up as a crash before you ever see a car.
For GTA V, let the game sit on the main menu for a moment after start, because the frameworks and add-ons load in the background. If the game crashes during this period, the failure is in your loaders, not your car. If an execution error naming an ASI file appears, write that file name down; it identifies the failing add-on directly.
Once you are in the world, summon the car using the spawn name the author gave you. Then look at it properly rather than driving off immediately. Check the bodywork for missing panels or floating parts, check the wheels for the wrong size or missing tyres, and check the light bar. A light bar that shows only the tail lights flashing is a partial lighting configuration, and the fix is in the emergency lighting files, not the model.
Watch how the car behaves in traffic. AI errors, cars driving through each other, or police cars spawning as civilian models all point to a specific layer, and the next section maps each symptom to the layer that needs repair.
8. Confirm the Install and Remove It Safely
A correct install is not the one where the car appears once. It is the one where the car still appears after you play for a while, save, and quit. Load the game a second time, drive the car, complete something that uses police AI, and save.
If the game saves without error and the car loads consistently, you are done. Keep your list of changed paths somewhere you will actually find it, because the next thing that will break your install is a game update.
Removing a police car mod safely is the reverse of installing it. Delete the add-on folder you created, remove its entry from the registration list, restore the original files from your backup, and delete the temporary folders you extracted. Do not delete your entire mods folder as a recovery method. It works, and it is why you end up reinstalling everything, but a targeted rollback is faster and safer.
Test one police car at a time. Install one, play with it, confirm it is stable, then add the next. A pack that breaks something is much easier to identify when it is the only thing that changed today.
Common Mistakes
Almost every problem people hit with these mods has already been asked about in forums, and the symptoms repeat. Find your row, fix that layer, and leave the rest alone.
| What you see | What it usually means | Fix |
|---|---|---|
| Car never spawns when you use the name | Spawn name mistyped, or the registration list was never updated | Compare the name character by character with the author’s list, then confirm the add-on folder is named in the registration file |
| Car spawns as an ordinary civilian model | Meta files in the wrong folder | Move the vehicle definition and livery meta files into the ai subfolder of the correct path |
| No light bar at all | Pack is not ELS-compatible, or the emergency lighting files were never installed | Install the emergency lighting add-on and the pack’s lighting files, or use a pack labelled ELS |
| Only tail lights flash | Partial or mismatched lighting configuration inside the pack | Replace the pack’s lighting configuration with the version the author supplied |
| An execution error naming an ASI file on launch | Loader problem, or a duplicate add-on folder | Remove duplicate folder names, then reinstall the ASI loader and ScriptHookV one at a time |
| Game crashes on the main menu after a new install | Missing meta file, wrong folder depth, or two packs sharing a folder name | Undo the most recent install first, since the newest change is the likely cause |
| One pack breaks every other pack | Overlapping configuration files or a shared folder name | Remove the shared configuration entries, then add packs back one at a time |
| Everything worked until a game update | Update overwrote or shifted the files your mod relied on | Reinstall the pack against the new build, and check the author’s page for a compatibility note |
| Save games will not load | Mod touched a mission-critical file | Restore the save copy you made in step 3 and remove the offending pack |
| Car missing in GTA Online | Mods do not apply to the online game | Use the mod in singleplayer or on a FiveM server instead |
| Mod manager reports success but nothing changes | File placed outside the path the game reads, or a stale game version | Verify the path in the tool against the game’s real install folder, then confirm the game is fully updated |
Two safety habits cover most of this list. Back up before every install rather than once at the start, and never run more than one unfamiliar mod per session. Both are cheap, and both turn a lost evening into a two-minute fix.
One more caution about online play: none of these files belong in an online session. Rockstar’s anti-cheat treats modified game files as a problem, and the risk of a ban is real even if you never open an online menu yourself.
Frequently Asked Questions
Can installing police car mods get me banned in GTA Online?
Yes, the risk is real. Rockstar’s anti-cheat checks for modified game files, and vehicle replacement mods change files in your GTA V folder. A ban can also reach an account with no mods installed if it shares a platform with one that has them. Play modded singleplayer or a FiveM server instead, and keep your modded install on a separate Windows account or a separate copy of the game if you play online on the same machine.
Why is the police car mod not appearing in my game?
Four causes account for nearly every case: the spawn name is mistyped, the add-on folder was never added to the registration list, the model and meta files are in the wrong folder, or the game is not fully updated for the pack. Check the name character by character first, since capitals and digits are the usual culprit. Then confirm the file layout matches the pack exactly before assuming the download is faulty.
How do I find the correct vehicle-spawn name for a police car mod?
The spawn name is the internal model name from the vehicle definition meta file, not the display name on the download page. Most authors list the working names in their instructions or comments, and that list is the fastest source. If nothing is listed, open the vehicle meta file in a text editor and read the model name from the first section. Enter it exactly, capitals included.
Can I use a police car mod made for FiveM in GTA V story mode?
No. A FiveM police car is a server resource with its own folder structure and configuration, and it never reads your Rockstar game files. Copying it into your GTA V folder produces files the game ignores. Converting between the two is possible for experienced modders but involves rebuilding the resource, so the practical answer is to pick a pack made for singleplayer if that is where you play.
How do I install police car mods in GTA IV, San Andreas, GTA III or Vice City?
These games do not use the dlcpacks structure at all, and GTA V packs are useless in them. In GTA IV the files go in the data folder inside the game directory. In San Andreas they go directly in the game folder, as they do in GTA III and Vice City. Each uses its own model and meta format, so you need a pack made for that specific game, and a simple file replacement rather than a registration-list install.
How can I safely update my game after installing a replacement vehicle mod?
Game updates are the most common reason a working police car pack suddenly stops working. Before updating, note the exact file paths your mod occupies and confirm your backup folder is intact. After the update, launch the game once, then reinstall the pack against the new build. Replacement packs are usually restored from the original files plus the pack’s files, which is why that backup matters.
Conclusion
If you do one thing before anything else, confirm your game and the mod format. Everything after that is mechanical: back up the originals and your save, open OpenIV as administrator, drop the model, texture and meta files into the correct path, add the spawn name, and install the emergency lighting files if the pack has them.
That is the whole method, and it is the same whether you install one cruiser or twenty. Install one car, play with it, confirm it loads and saves cleanly, and only then add the next. A pack tested on its own is a five-minute job, while three untested packs at once is an evening of guessing.