A good mod description does six things in a fixed order: it says what the mod changes, lists what it adds or replaces, names every requirement, places the mod in the load order, gives install steps a stranger can follow without guessing, and credits the people whose work it depends on. Then it repeats the compatibility caveats once more so skimmers catch them. Most downloads lost on a mod page are lost before the install button, and the fix is almost always information, not marketing. Anyone searching how to write a good mod description keeps hitting the same three gaps: no requirements, no install steps, no credits.
This guide is written for PC and console mod authors publishing on Nexus Mods, the Steam Workshop, ModDB, or an in-game mod menu. It works for a first upload and just as well for a mod you have maintained for three years and never gone back to edit.
Six things belong in every mod description, in this order:
- What the mod changes in plain language, in the first two sentences.
- What it adds or replaces as a grouped bullet list, so the reader can skim.
- Requirements including game edition, platform, build or patch number, and any script extender or framework.
- Load order position and which other mods it must sit above or below.
- Install steps with real file paths, split by edition and DLC where the differences exist.
- Compatibility and credits, covering known conflicts, tested version, and named asset authors.
If a reader quits after reading only the first two lines and the feature bullets, they should still know whether the mod is worth downloading. That is the bar the rest of this guide works toward.
Table of Contents
- 1What You Need Before Writing a Mod Description
- 2Step-by-Step: How to Write a Good Mod Description
- 3Start With a Clear Summary of the Mod
- 4List the Important Features and Improvements
- 5Explain Compatibility and Installation Requirements
- 6Use Screenshots, Credits and Honest Limitations
- 7Common Mistakes and How to Fix Them
- 8Frequently Asked Questions
- 9How long should a mod description be?
- 10Should I put keywords in my mod description?
- 11How should I word compatibility information?
- 12How many screenshots should I attach to a mod page?
- 13Should I rewrite the description after every mod update?
- 14What is the difference between a description and installation instructions?
- 15Conclusion
What You Need Before Writing a Mod Description
Most weak descriptions are weak because the author tried to write from memory and got two-thirds of the way through. Gathering the facts first turns writing into assembly.
Start with the identity of the build: the mod name as it appears on the page, the current version number, and the date. Then pin down what it is running against — Steam or GOG, which edition (standard, GotY, complete), which DLC the player owns, and the game build or patch number you tested on. A mod tested against a launch-day build and a mod tested against last month’s patch are not the same product, and readers need to know which one they are downloading.
Next, collect the dependency list. That means the mod manager you support, any script extender or scripting framework, any library mod, and whether your archive expects to sit at the root of the game folder or inside a loose-files override directory. Write down the exact folder paths, because vague lines like “put the files in your mod folder” generate bug reports that have nothing to do with your work.
Then list what the mod actually changes, grouped by type: visual replacements, gameplay changes, new assets, UI or HUD changes, performance effects, and optional features toggled off by default. Grouping matters. A flat forty-item list is where readers quit; six categories with three bullets each is readable at a glance.
Finally, gather the honest parts. What breaks it? Which other mods have you seen it fight with? Which features are experimental and might behave oddly? Who supplied the original assets, textures, or scripts? What did you test, and on what hardware? Screenshots of the mod running in-game go here too, not renders from an external tool, because a render is not evidence the mod works.
If you maintain a public page already, look at the comments and count the questions you have answered more than once. Those repeat questions are free content for the description.
Step-by-Step: How to Write a Good Mod Description
Start With a Clear Summary of the Mod
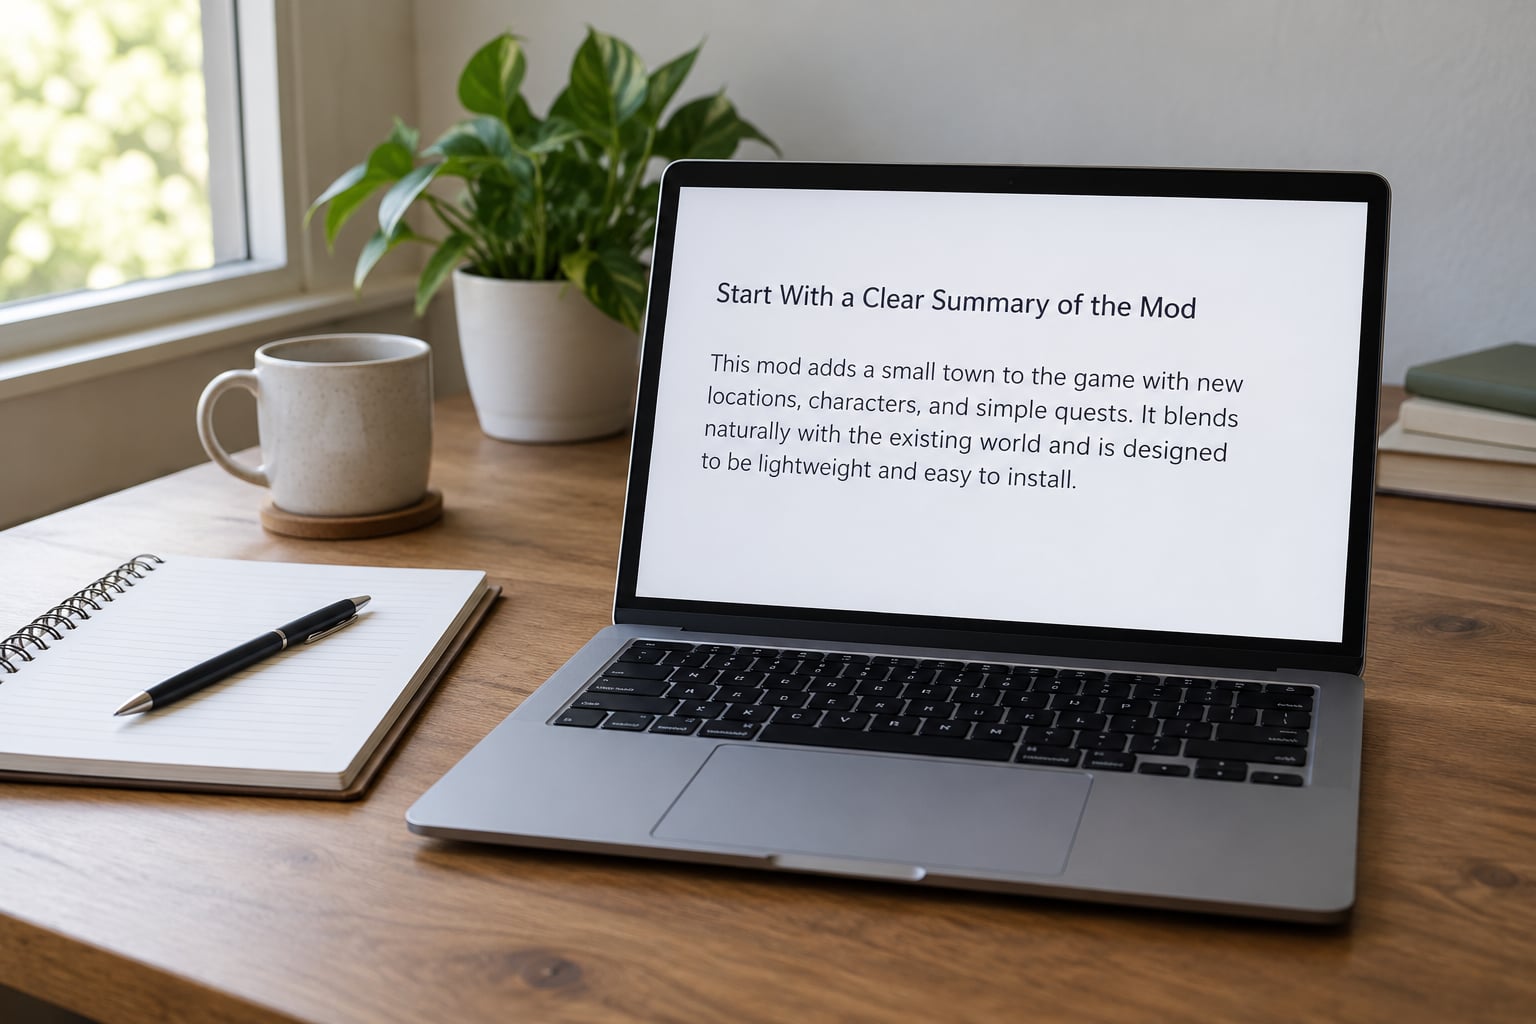
The opening paragraph answers three questions: what changes, who it is for, and which game version it supports. Sixty words is plenty. No throat-clearing, no history of the project, no thank-you to the commenters yet.
Weak openings read like marketing. “This amazing mod totally transforms your experience and is one of the best out there” tells a reader nothing they can act on. Compare it with a concrete version:
Weak: “This is a completely overhauled graphics mod that makes everything look way better than vanilla!”
Strong: “Night Lighting Overhaul replaces the default street lighting in Los Santos with warmer, dimmer fixtures and adds interior lighting to 14 buildings. Built for GTA V story mode on the Steam version, tested on game build 1.67. Not a visual overhaul and not intended for FiveM.”
The second version does more work in one paragraph: it names the exact change, the count, the mode, the build, and what the mod is not. Readers who only need one of those facts can stop there.
List the Important Features and Improvements
Turn the feature dump into five labelled groups at most. Each bullet should describe a change a player can notice, not a file you edited.
- Visual changes — “retextured weapon set, 30 textures at 4K, with matching normal maps.”
- Gameplay changes — “damage values retuned; headshots at 1.5x base damage instead of 2x.”
- New content — “adds 9 vehicles to the traffic pool in story mode.”
- Performance — only if you measured it: “draw calls unchanged; tested at 60fps on a GTX 1660 at 1080p.”
- Optional extras — “a lighter variant is included as an optional file, do not install both.”
Quantify where you can prove it. Numbers of textures, vehicles, buildings, resolution targets, and measured frame rates give a reader something to match against their own setup. Numbers you cannot support, such as “60fps guaranteed,” do more harm than a vaguer sentence, because someone will test it and file the report under your name.
Split the list by edition when it matters. If a portion applies only to the complete edition or to one DLC, put it under its own sub-heading. Players who own the base game should be able to stop reading without wondering whether they grabbed the wrong file.
This is also where most advice on how to write a good mod description goes sideways: feature lists that describe the effort you put in instead of the effect the player gets. “Rewrote the entire material pipeline” means nothing on a page. “Frost now builds on car windows overnight” means everything.
Explain Compatibility and Installation Requirements
This is the section authors skip and readers need most. Compatibility questions — where does this go in the load order, does this work with that — are the most repeated question on any mod page, and the platform community has asked for a dedicated space for them because authors keep leaving the answers buried in a wall of text.
Write requirements as a flat list of checkable facts:
- Game version tested, as a build or patch number.
- Platform and edition, including whether DLC is required.
- Script extender, framework or library mods, named individually.
- Mod manager supported, and whether manual installation also works.
- Load order position: below which mods, above which mods.
- Known conflicts, named by other mod, not by vague gesture.
How you phrase it depends on the game family. For a single-player PC conversion, name the folder inside your archive and say whether loose files should override or sit beside the originals:
“Install to the game’s x64 or 64-bit folder root. Enable loose file override in your mod manager, or delete the original file at the same path if you are installing manually.”
For a classic-era game where mods replace base assets rather than overriding a modern engine, say which archive sits where in the load order instead, and name the tools that unpack it:
“This archive goes last in the load order. It replaces the original .txd files, so unpack it with the game’s archive tool before loading. Tested with the 1.0 US patch.”
For a mobile or handheld conversion, the description has to work harder because the reader is often on a phone and may not have a file browser. Say exactly which folders to copy into, where the game’s own files live on device, and how to tell if the install worked:
“Copy the mod folder into the game’s own directory in your file manager. Launch the game from its icon, not from the loader. If the launcher closes instantly, the files went to the wrong folder — check that you copied into the game folder, not the download folder.”
When a requirement is not met, say so plainly and put the warning where it cannot be skipped. “Requires at least a script extender. The game will not launch without it” does more work than a small italic note at the bottom of the page. If a feature degrades rather than breaks, say that instead: “works without the framework but the door animation is disabled.”
Use Screenshots, Credits and Honest Limitations
Every screenshot should prove one claim from your feature list, and the caption or surrounding sentence should say which one. If a bullet says the lighting is warmer, put the night street screenshot next to it. Unlabelled galleries are decoration; labelled ones are proof.
Shoot them in-game at your actual settings, and include the resolution and graphics preset in the caption. A comparison shot with the vanilla build on one side and the mod on the other, taken at the same camera angle and time of day, settles more disputes than any paragraph of description.
Credit named people and name what they made. “Textures by a specific modder, script by another” tells each person their work is valued and tells readers where to look for the originals. If a permission setting allows conversion or asset use, say so in the same block rather than leaving people to guess whether a port is welcome or an intrusion.
Then write the limitations section most authors skip. Name the mods you have seen conflict with. Mark anything experimental. Note the hardware or game mode you have not tested. Forum threads about new modders repeatedly describe uncertainty about the basic install flow, and every honest limitation you state is one fewer broken install and one fewer message in your inbox.
If the same question keeps appearing in comments, answer it inside the description instead of replying again. Load order position, whether a save is needed, and whether the mod is multiplayer-safe are the three that come up most.
Common Mistakes and How to Fix Them
Here are the failures I see repeatedly on mod pages, each with the correction.
- Vague opening. “The best mod ever” tells a reader nothing. Fix: name the specific change and the specific game version in the first two sentences.
- Version claims nobody verified. “Works on all versions” ages badly, and the day it breaks you get blamed for the crash. Fix: state the build you tested and the date, and update it when a patch lands.
- Marketing instead of information. Superlatives crowd out the facts. Fix: cut every claim you cannot back with a screenshot, a number, or a test.
- No install detail. “Install like any other mod” assumes a reader who already knows. Fix: give the folder path and say whether it overrides or replaces.
- Mixed edition and DLC instructions. Players install the wrong files and blame the mod. Fix: separate main game and DLC into labelled subsections, as high-ranking descriptions on big mod pages do.
- A wall of text with no headings. Readers skim, so skimmable text is effectively better text. Fix: one heading per block, one idea per bullet.
- Copy-pasted text. Reusing another author’s wording or readme reads as spam and can get a page removed. Fix: write your own and credit any borrowed assets explicitly.
- Screenshots that do not match the claims. Wrong build, wrong settings, or a render instead of gameplay. Fix: retake in-game and label the resolution and preset.
- Stale listings. The mod updated in 2026, but the description still describes the build from two years earlier. Fix: treat a version bump as a mandatory description review, not an optional one.
- No ending. The page stops after install steps. Fix: close with known conflicts, credits, and a short note on where to report problems.
Before you hit publish, run this list:
- Does the first sentence name the change and the game version?
- Are features grouped into scannable bullets?
- Is every requirement named explicitly, including the script extender?
- Is the load order position stated?
- Are install steps split by edition and DLC?
- Is the tested build number written down?
- Are known conflicts named by mod?
- Do screenshots show the mod running in-game?
- Does each screenshot match a feature claim?
- Are credits and permission settings filled in?
- Are experimental or untested features labelled?
- Are the three most repeated support questions answered in the text?
- Is the wording original, with assets credited?
- Is the version number in the description the version in the archive?
- Have you read it on a phone?
Frequently Asked Questions
How long should a mod description be?
Long enough to cover requirements, install steps, compatibility and credits, and no longer. Most good ones land between 400 and 700 words, with a short opening paragraph and a bulleted feature list doing most of the reading. Past 1000 words, look for paragraphs that can become bullets. Knowing how to write a good mod description well starts there.
Should I put keywords in my mod description?
Write for people first. Use the words players actually type when they look for a mod like yours, such as the game name, the mode, the specific feature, and the version, because both search indexing and skimming reward plain terminology. Do not repeat a phrase for ranking. The most important placement is the first line, since that is what search results and file listings display.
How should I word compatibility information?
Give hard requirements as a flat list of checkable facts: game build tested, platform, edition, DLC, script extender, mod manager, and load order position. For optional dependencies, say what is lost without them rather than listing them as requirements. Name conflicts by specific mod instead of describing them as occasional glitches, so a reader can match your note against their own load order.
How many screenshots should I attach to a mod page?
Enough to prove each claim in your feature list, usually four to eight. Pair every screenshot with a sentence naming what it shows, and include resolution and graphics preset in the caption. Include at least one side-by-side comparison against the unmodded game at the same camera angle. Avoid renders, since a render is not evidence the mod works in your build.
Should I rewrite the description after every mod update?
Rewrite it whenever the supported game version changes, and review it whenever your mod changes what it does or requires. A version bump that adds a dependency but leaves the old requirements list in place is the single most common source of false bug reports. A short dated note near the top telling readers which build the current version targets solves most of it.
What is the difference between a description and installation instructions?
The description explains what the mod is, what it changes, who it fits, and what it needs. Installation instructions are the part that tells someone exactly where files go and in what order. Keep both on the page, but make the steps readable on their own, so a reader who lands on an install guide link from a comment thread gets a complete answer without scrolling for context.
Conclusion
Write the first version of your mod description for someone deciding whether the mod fits their game and setup, not for someone who has already decided to install it. Name the change in the first two sentences, list the features in skimmable groups, state the build you tested, split install steps by edition and DLC, name your conflicts and credits, and answer the questions your comments keep repeating.
Then verify before you publish: check the compatibility claims against the archive you are actually uploading, and check the screenshots against the build you claim to support as of 2026. Run the same process again whenever the mod or the game version it supports changes, because a stale description costs you downloads and hands you someone else’s crash report.