Yes, you can install mods on a Steam Deck. The whole process comes down to three things: get into Desktop Mode, put the mod files in the folder the game actually reads, and make sure the game launches through Proton if the mod came with a Windows loader. First-time setup usually takes 20 to 40 minutes, most of it spent finding the right folder.
What makes this easier than most people expect is that a Steam Deck runs most of its library through Proton, a compatibility layer Valve maintains for Windows games. If a mod works on a Windows PC, it works on the Deck too, in almost every case. The confusing part is not the mod, it is the file paths.
This guide covers how to install mods on a Steam Deck the repeatable way, so you can undo it, update it, or reinstall it without starting over.
Table of Contents
- 1What You Need
- 2Step-by-Step
- 3Step 1: Prepare the Steam Deck and Check the Game
- 4Step 2: Enter Desktop Mode and Install the Required Tools
- 5Step 3: Back Up Saves and Locate the Mod Folder
- 6Step 4: Install the Mod Files
- 7Step 5: Set Steam Deck Launch Options
- 8Step 6: Launch the Game and Confirm the Mod Loaded
- 9Step 7: Update or Remove the Mod Safely
- 10Common Mistakes
- 11Frequently Asked Questions
- 12Do I need Desktop Mode to install mods on a Steam Deck?
- 13Do Steam Deck mods work in Gaming Mode?
- 14Which games can I actually mod on a Steam Deck?
- 15How do I update mods after a game patch?
- 16Does Steam verification delete my mods?
- 17Conclusion
What You Need
You need very little: the Steam Deck itself, an updated copy of the game, access to Desktop Mode, the mod files you downloaded, and a backup of your save before anything else. A file manager comes with SteamOS already, so nothing extra to install there. A text editor is useful later for configuration files, and SteamOS includes one.
Before you start, know that the install method depends entirely on what the mod author packaged. Four formats cover almost everything:
- Official mod tools — games like Skyrim, Stardew Valley and RimWorld ship a built-in mod system or a supported loader. These are the least fiddly.
- Steam Workshop titles — subscribe inside Steam and there is nothing to copy. Unity engine games use this heavily.
- Loose files — a folder or archive of assets that goes straight into the game’s own directory.
- Total conversions — an entirely different game that replaces the original. These are large and have their own installers.
If a mod needs a separate launcher or .exe to run, that changes the method, because the Deck has to run it through Proton. We will get to that in Step 4.
Step-by-Step
Step 1: Prepare the Steam Deck and Check the Game
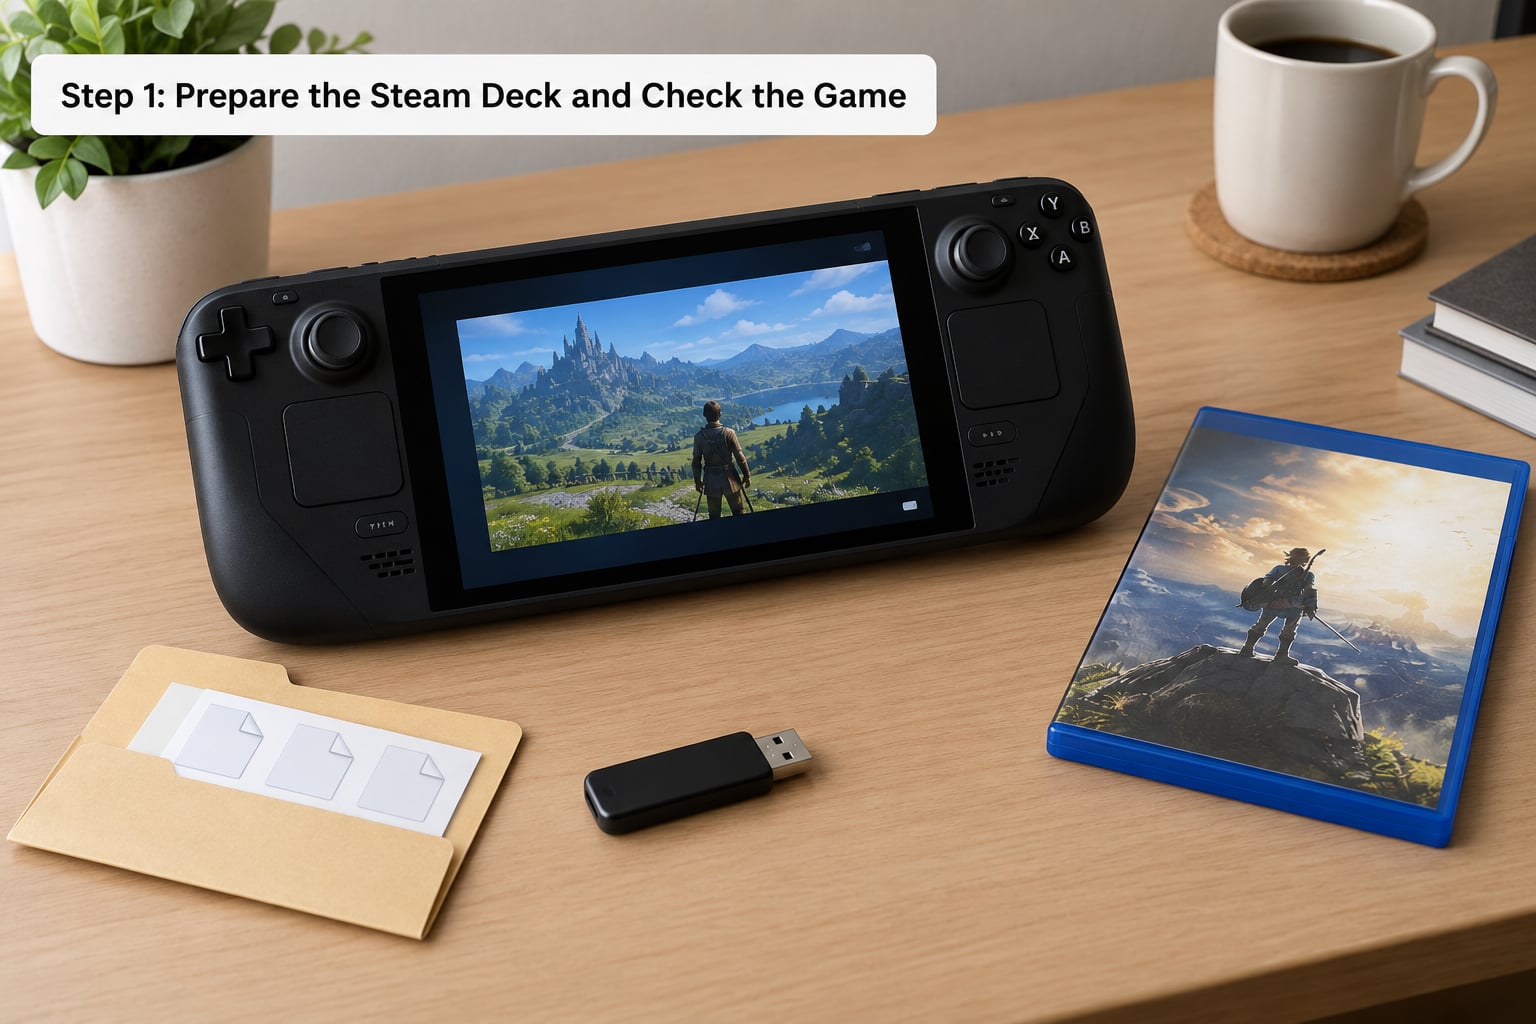
Start by updating everything. Go to Steam, choose Settings, then System, then SteamOS Update, and let it finish. Then open your Library, pick the game, and choose the download icon in the toolbar to check for game updates.
Next, confirm the mod actually supports the game version you have. A mod written for an older build can crash the game or silently do nothing, and checking the mod’s page takes ten seconds. Look for the game version, the required loader version, and the date of the last game update.
You also want to know how the game is being run. Right-click the game in your Library, choose Properties, and look at the Compatibility tab. If a Proton version is selected, the game runs through Proton and Windows mod loaders will work. If it says “No compatibility tool chosen”, the game is running natively on Linux and needs a Linux build of the mod.
One last check before you touch anything: does the mod list a required framework? Terms like BepInEx, SKSE, Script Extender, SMAPI or a game-specific loader all mean you install that first, in its own folder, before the mod files go anywhere.
Step 2: Enter Desktop Mode and Install the Required Tools
To switch, hold the power button until the power menu appears, then choose Switch to Desktop. Alternatively, go to the Steam menu with the button on the left, choose Power, then Switch to Desktop. The screen reloads into a KDE desktop, and your games and saves stay exactly where they were.
From here you can install the tools your mod needs. Flatpak is SteamOS’s software store, found on the desktop taskbar, and it is where you get a general-purpose archive tool, a text editor, or a file manager if you want a different one. Game-specific loaders come from the mod author, usually as a Windows .exe archive.
Here is the distinction that trips people up: Windows-native tools and Proton-compatible tools are not the same. A Windows-only program like Vortex or Mod Organizer 2 will not run by double-clicking it. You either find a native Linux build of it, or you add the .exe to Steam as a non-Steam game and force Proton to run it. More on that in Step 4.
Step 3: Back Up Saves and Locate the Mod Folder
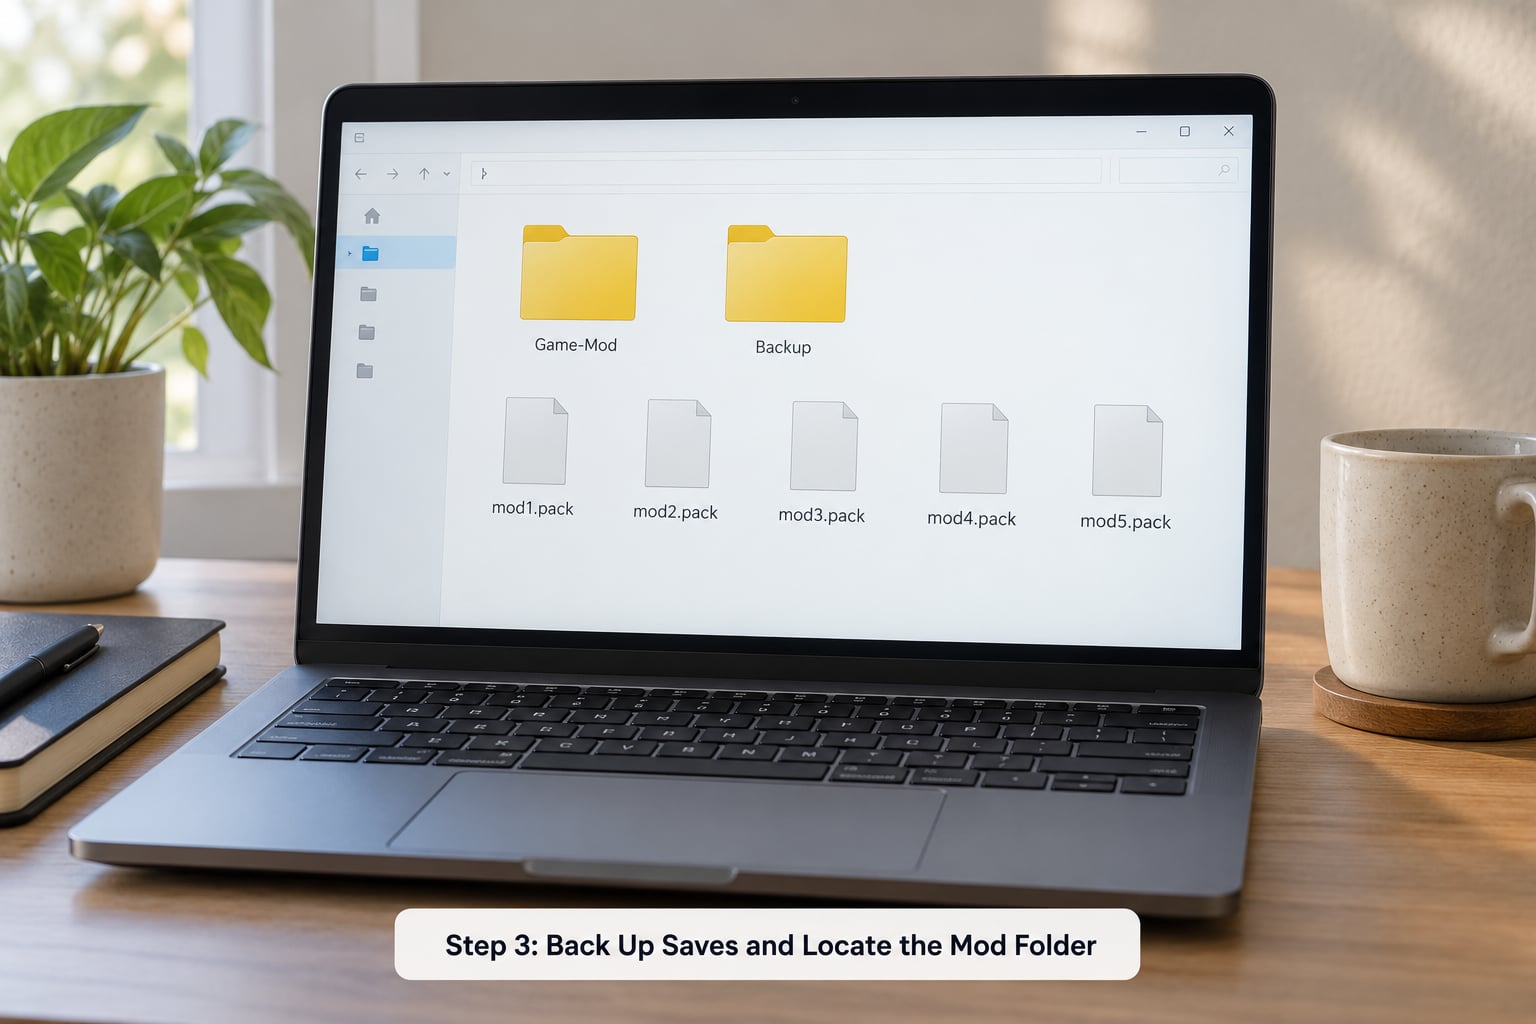
Back up the save first. This is the step people skip and regret. In SteamOS, most saves sit in the compatdata folder for the game, and you find it by opening the file manager and pressing Ctrl and L to type a path. The format is:
~/.steam/steam/steamapps/compatdata/APPID/pfx/drive_c/users/steamuser/
Replace APPID with the game’s number, found on its Steam store page URL. Copy the save folder into a new folder you create there and name it clearly, so you know it is a backup.
The game folder itself is simpler. It almost always lives at:
~/steamapps/common/GAME NAME/
That path works whether the game sits on internal storage or a microSD card. For games installed on the card, the equivalent path starts at /run/media/. If you would rather not type paths, open the file manager, go to Home, and the common folder is there.
Hidden folders are the other reason mods seem to go missing. In the file manager, press Ctrl and H to show files starting with a dot, since many engines keep their mod data in one. And do not assume the mod belongs in the game root folder, because a large share of mods need a subfolder such as Data, Mods, Scripts or Plugins. The mod author’s instructions are the only reliable source for that.
Step 4: Install the Mod Files
Four install methods cover nearly every case, and picking the wrong one is why mods fail to appear.
Workshop subscribe. In your Library, right-click the game and choose Workshop. Subscribe, and Steam handles delivery and updates. Nothing to copy. If the game has no Workshop tab, this method does not apply.
Extract and copy. Open the mod archive in the archive tool, then copy the contents into the target folder you found in Step 3. Read the readme file inside first, because mods with nested folders often need their contents moved up one level. A mod shipped as MyMod/mods/mymod while the game wants MyMod/mymod is a very common cause of silent failure.
Official launcher or mod manager. If the game ships its own launcher, launch that rather than the game itself, and install mods through its mod tab. For Windows mod managers, add the manager’s .exe to Steam: in Steam choose Games, then Add a Non-Steam Game, browse to the .exe, and add it. Then open its Properties, go to Compatibility, and choose a recent Proton version. The Slime Rancher community settled on exactly this pattern, placing the SRML loader next to the game and running it as a non-Steam game with Proton set as the compatibility tool.
Total conversion. Run the installer from Desktop Mode, point it at the game folder, and let it replace files. Keep the backup from Step 3.
Whatever the method, match the mod author’s directory structure exactly, avoid duplicate nested folders, and check permissions if a file refuses to be replaced.
Step 5: Set Steam Deck Launch Options
Launch options go in the same place on the Deck as on a PC. Right-click the game in your Library, choose Properties, and find the launch options field near the top of the General tab. The field is empty by default.
A typical entry loads a mod framework or points the game at a profile file, for example a script extender path or a configuration flag the mod author specifies. Copy only the option your mod’s instructions give you. Stacking several loader commands into one field is a reliable way to break a working setup, and a command copied from a different game’s guide will do nothing here.
On the Deck this is awkward on a touchscreen, so consider pairing a small Bluetooth keyboard for the session. It makes typing a file path a two-minute job instead of a ten-minute one.
Step 6: Launch the Game and Confirm the Mod Loaded
Return to Gaming Mode, start the game from your Library, and watch the first few seconds. A working loader prints a version banner or a mod count in a corner, and that is your confirmation the framework started.
Test in a safe place first. A new game or a low-stakes area tells you whether the mod broke anything without risking hours of progress. Confirm your original save still loads before you invest time in the modded run.
If the loader produced no message, check the log. Framework-based mods write a text log into the game’s folder, and the log usually names the missing piece, most often a version mismatch or a folder the loader cannot see. Games with a built-in mod menu can also list loaded mods directly in their settings.
Step 7: Update or Remove the Mod Safely
To disable a mod, unsubscribe in the Workshop tab or rename its folder by adding .disabled to the end. Renaming is reversible, which makes it the safer option for loose files.
When a game patches, assume your manual files are gone. Verify integrity of game files removes anything that is not part of the original install, including every loose file mod. From the Library, right-click the game, choose Properties, go to Installed Files, then Verify integrity of game files. Note that verifying is not the same as reinstalling, which removes and downloads the game rather than repairing it.
The way forward depends on your tool. Mod managers with an export function can save a mod list and restore it after the patch. Manual installations need a folder you can copy back in. Keep that copy in your backup folder and the whole recovery takes a minute.
Common Mistakes
The game starts and nothing changes. Almost always folder nesting or a version mismatch. Open the mod archive, check the folder structure against the game’s mod folder, and compare the mod’s stated game version with the version in your library.
The loader .exe will not launch. Add it as a non-Steam game and force a recent Proton build. Proton Experimental or a current GE-Proton release fixes most loader launches, since older builds often pick the wrong Windows executable.
The game crashes on launch or returns to the dashboard. Suspect an out-of-memory error with a large mod list, or a missing dependency listed in the mod’s readme. Remove mods in halves until the crash stops, then re-add one at a time.
A menu or keybinding is missing afterwards. Controller layouts reset when a mod changes the interface, and mods that touch input frequently ship their own Deck mapping options. Rebind inside the game’s own settings, which the Deck can navigate with the touchscreen.
Steam verification removed everything. Expected behaviour for loose-file mods, as described in Step 7. Reinstall from your backup copy or re-apply a saved mod list.
The game only launches from Desktop Mode. Some Windows launchers set their own working directory. Launching the game directly from the Library skips the loader step that the mod needs, so launch through the official launcher instead.
You think you need to jailbreak the Deck. You do not. There is no jailbreak step for modding, and anyone asking you to install one is describing something unrelated.
Your achievements stopped unlocking. Mods that change game code disable Steam achievements, and the two cannot both be active. Uninstall the mods, earn the achievements, then reinstall if you want the modded run.
Frequently Asked Questions
Do I need Desktop Mode to install mods on a Steam Deck?
For manual file installs, yes. Desktop Mode is the only way to open a file manager and copy mod files into the game’s folder. Workshop mods are the exception, since you subscribe in Gaming Mode and Steam does the work. You can also install your mod manager and loaders in Desktop Mode and then switch back to Gaming Mode to play.
Do Steam Deck mods work in Gaming Mode?
They do, once they are installed. Gaming Mode is the handheld interface for playing, and mods load exactly the same way there as they do on a desktop PC. You only need Desktop Mode for setup: copying files, editing configuration, and running installers. Once the mod is verified, launch the game from your Library as normal.
Which games can I actually mod on a Steam Deck?
Any game that is moddable on Windows is moddable on the Deck, provided it runs through Proton. Games with a native Linux build need mods built for Linux, which is a smaller pool. Stardew Valley, Skyrim, Fallout 4, RimWorld and Slime Rancher all have established Deck workflows, while heavy Proton-only titles may need extra troubleshooting.
How do I update mods after a game patch?
Check the mod page first, since a patch often invalidates old versions. Workshop mods update themselves. For manual installs, verify integrity of game files to restore the clean install, then copy your mod files and any framework back in from your backup. Mod managers handle this faster, which is why exporting a mod list is worth doing before every major update.
Does Steam verification delete my mods?
Yes, verifying the integrity of game files removes anything not part of the original game, including loose file mods and manually installed loaders. It does not remove Workshop subscriptions, since Steam redownloads those. Before verifying, save a copy of your mod folder or export your mod list so reinstalling takes a minute instead of an hour.
Conclusion
The safest order is short: check the mod supports your game version, back up the save, switch to Desktop Mode, install into the folder the game actually reads, and test it in Gaming Mode before you commit to a long run.
Where this guide and a mod author’s instructions disagree about folders, trust the author. They have seen their own mod inside the game, and conventions shift as games update. Everything above is the reliable scaffolding around that, updated for 2026.