A mod installer is a small program or built-in wizard that asks the user a few questions and then places your files in the right folders for them. Learning how to make an installer for your own mod is mostly about two decisions: which installer technology fits your mod, and how you structure the package so it installs cleanly on someone else’s machine.
Most people do not need a compiled program. For Bethesda-style mods, a FOMOD is a folder of XML that Mod Organizer 2 or Vortex reads and turns into a wizard. If your mod ships to players who have no mod manager at all, you script a standalone executable instead. Either way, the difference between a mod that works and one that gets half-installed into the wrong folder comes down to a handful of small habits, and this guide covers them end to end.
It takes about an hour the first time if your mod is a simple set of files, and a full evening once you add optional components and compatibility patches.
Table of Contents
- 1What You Need
- 2Step-by-Step
- 31. Define What the Mod Changes
- 42. Create a Clean Mod Package
- 53. Choose an Installer Method
- 64. Write the Installation Script
- 75. Add Safety Features and Options
- 86. Test the Installer on a Clean Setup
- 97. Package and Publish the Installer
- 10Common Mistakes
- 11Broken or mismatched paths
- 12Hard-coded usernames and drive letters
- 13Overwriting saves and settings
- 14Wrong game version
- 15Missing dependencies
- 16No uninstall logic
- 17Oversized installers
- 18Testing only on your own machine
- 19Frequently Asked Questions
- 20Do I even need an installer for my own mod?
- 21Can I build a mod installer on macOS or Linux?
- 22Should I use FOMOD or a standalone .exe installer?
- 23How do I test a FOMOD installer before I upload it?
- 24Does my mod installer need administrator permissions?
- 25How do I ship an update without overwriting a user’s files?
- 26Conclusion
What You Need
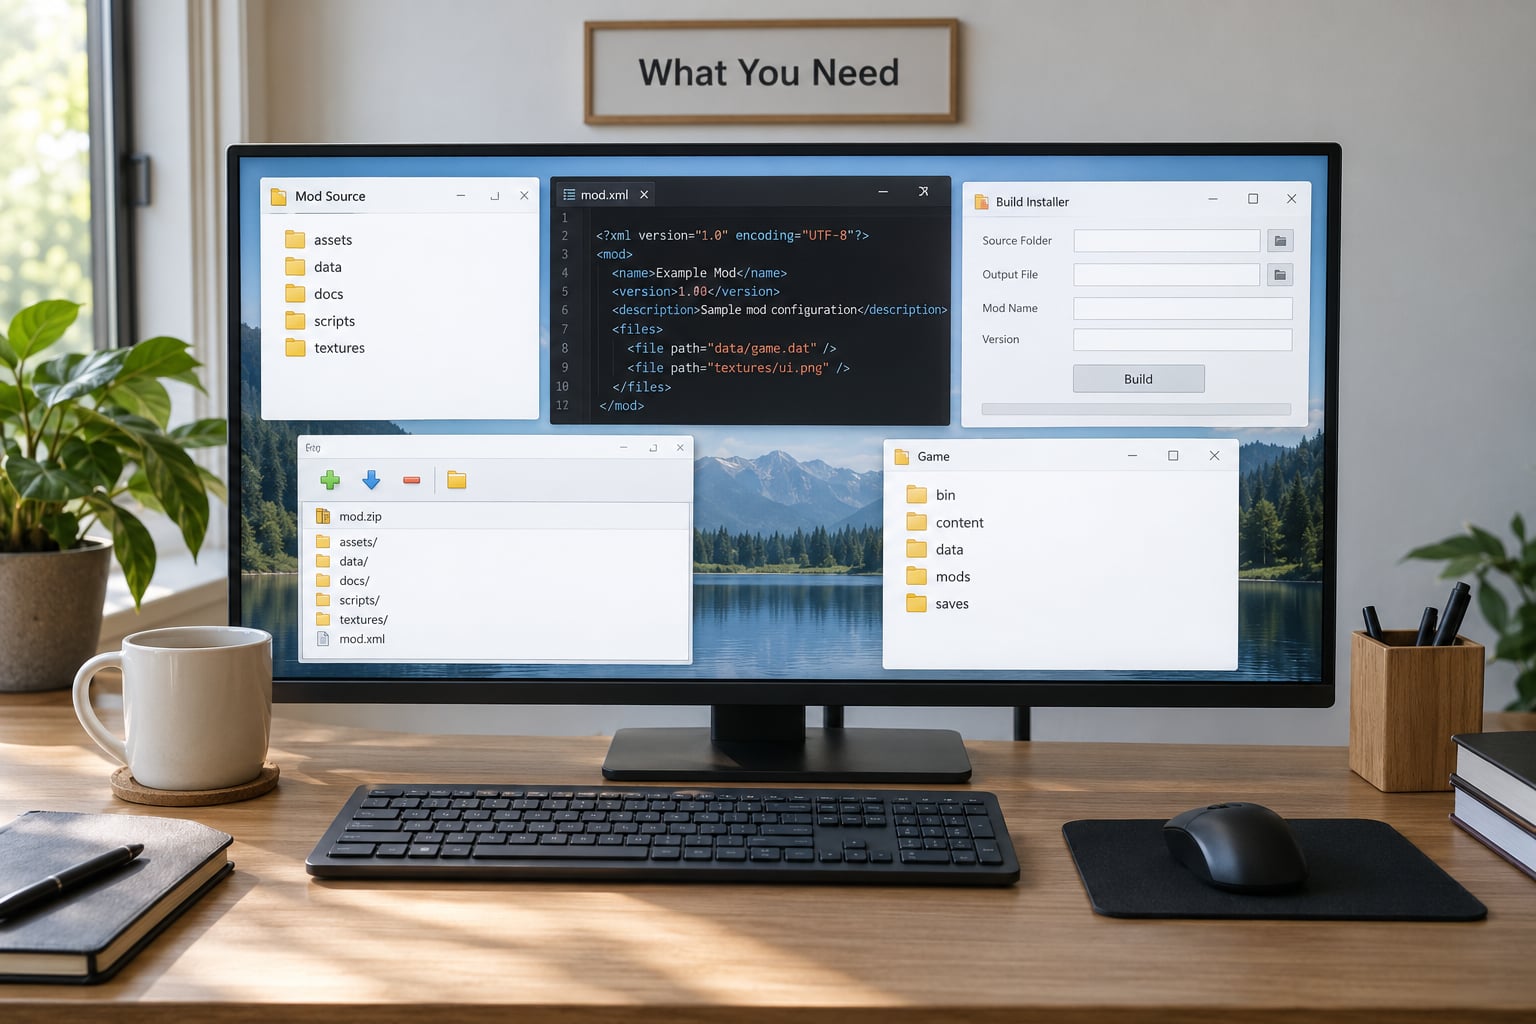
You need very little. A text editor and an archive tool cover the basic route, and everything else depends on the installer technology you pick in the next section.
- The finished mod files, plus a plain-text note of exactly what your mod changes and which game version you built it against.
- A packaging folder where you assemble the release, kept separate from your working development folder.
- A text editor. A plain one works; a code editor with XML support catches unclosed tags as you type.
- An archive tool, such as 7-Zip, for building and inspecting the archive you hand out.
- A mod manager for testing. Mod Organizer 2 and Vortex both read FOMOD packages, and they behave differently enough that testing in both catches real bugs.
- A clean game installation to test on. Your own machine, with your own mods and your own settings, hides most mistakes.
- For Windows standalone executables: NSIS and HM NSIS Editor.
- For Android: Android Studio with the SDK and build tools, plus zipalign and apksigner from build-tools. Add a Java JDK if you ship an APK rather than a plain archive.
If you only have the mod files and a text editor, you can still ship a working installer today. Everything past that is polish.
Step-by-Step
1. Define What the Mod Changes
Start by writing the scope down, because every later decision depends on it. Name the game, the edition, the exact version or patch level, and the platforms it supports. Anything you leave vague becomes a support question later.
Then list the concrete changes: which files you add, which files you replace, and whether any of them land in the game’s user data folder rather than the main data folder. Replacement files carry a risk, because the same path may already exist on the player’s machine from another mod or from their own edits.
Decide whether your installer should offer optional variants. If your mod ships a high and a low texture tier, or a version with and without a scripted sequence, that belongs in the installer. A single fixed set of files does not, and adding a wizard to a mod that needs one option only creates ways to break.
2. Create a Clean Mod Package
Build a release folder whose structure mirrors where files goes on disk, not where you keep them while working. A workable layout looks like this:
MyMod/
  fomod/
    info.xml
    ModuleConfig.xml
  data/
    mymod.esp
    textures/
  optional/
    high/
    low/
  docs/
    README.txt
Keep scripts, assets, configuration files and documentation in separate top-level folders, and keep development leftovers somewhere else entirely. Screen captures, unpacked archives, your scratch notes and source art files should never ship, because every one of them is something a player can find and complain about.
Paths inside the package use forward slashes regardless of the platform you built on. That one convention removes a whole class of failure.
3. Choose an Installer Method
Four approaches cover nearly everything. The right one depends on who installs your mod, not on which technique looks most impressive.
| Approach | What you need | Skill level | Typical build time | Best for | Main drawback |
|---|---|---|---|---|---|
| FOMOD (XML inside the archive) | Text editor, 7-Zip, MO2 or Vortex to test | Beginner to intermediate | 1 to 3 hours | Mods with options, variants or compatibility patches | Only works inside a mod manager, so managers that never open the wizard install nothing |
| Standalone executable (NSIS) | NSIS, HM NSIS Editor, Windows | Intermediate to advanced | 3 to 8 hours | Players with no mod manager, or friends who want one click | Writes straight into the game folder, so conflicts and backups are your problem |
| In-game loader script | The game’s own scripting hooks, a word processor | Beginner | Under an hour | Games with an auto-run script slot, and mods that need no choices | No options at all, and it can clash with another author’s loader |
| Plain archive | 7-Zip | None | Ten minutes | A single fixed file set | No wizard, no choices, no version checks |
If you cannot decide, pick the row that matches your least technical user. A wizard nobody uses is worse than an honest readme telling people which folder to drop the files into.
One more route deserves naming even though it is legacy: the NMM installer script. You will find plenty of tutorials for it, most of them old Nexus forum posts that still rank well. NMM itself is effectively deprecated for modern Bethesda titles, so a new mod built on that format starts life already behind.
4. Write the Installation Script
The script is the part that does the work. Its job is simple to describe and easy to get subtly wrong: find the game, make the folders, put each file in the right place, and tell the player where everything went.
For a FOMOD, that logic lives in two XML files. info.xml is the short metadata file the manager reads first. ModuleConfig.xml holds the install steps, groups, options and the file copy rules.
<?xml version="1.0" encoding="utf-8"?>
<fomod>
  <info>
    <name>My Mod</name>
    <author>Your Name</author>
    <version>1.0.0</version>
    <description>A short sentence about what this changes.</description>
  </info>
  <ModuleConfig>
    <installSteps order="explicit">
      <installStep name="Core files">
        <files>
          <file source="data/*" destination="Data" />
        </files>
      </installStep>
    </installSteps>
  </ModuleConfig>
</fomod>
Element order matters more than it looks. The schema expects the elements in a specific sequence, and a manager that dislikes the order can skip a section of your wizard without showing an error. If options appear but do nothing, suspect ordering before you suspect anything else.
For a standalone executable, the equivalent logic lives in an NSIS script. The key lines are the install directory check and the file copy, and the directory check is what saves your user from a mod that lands in the wrong directory.
Name "My Mod Installer"
OutFile "MyMod-Setup.exe"
InstallDir "$INSTDIR"
Function .onVerifyInstDir
  IfFileExists "$INSTDIRMyGame.exe" 0 not_found
    Abort
  not_found:
    MessageBox MB_OK "Please select the folder where the game is installed."
    Abort
FunctionEnd
Section "Install"
  SetOutPath "$INSTDIRData"
  File /r "data*"
SectionEnd
On Android, the script half changes. You either ship a plain archive that the player unpacks into the game’s data directory, or you build an APK with Android Studio that runs a few copy operations on first launch and then asks the user to delete itself. The APK route needs a signed build, and it needs explicit runtime permissions before it can write outside its own folder.
5. Add Safety Features and Options
A good installer protects the person running it. These are the features worth the extra work.
- Backups. Copy any file you are about to replace into a folder with a timestamp before you overwrite it. Name it clearly so a panicking user can restore from it.
- Overwrite prompts. Never silently replace a file that already exists. Either ask, or skip and report what was skipped.
- Dependency checks. If your mod needs a specific loader or another mod, state that in the wizard and on the description page rather than letting it fail at launch.
- Uninstall behaviour. Keep a manifest of everything you wrote, and use it to remove those exact files. Do not wipe whole directories.
- Permission handling. Ask for administrator rights only when the target folder genuinely needs them, which for most game mods it does not.
- Clear warnings. Say plainly when an install is untested on a game version, and when an option conflicts with something else.
Optional components are where the trouble hides. Each option should point at files that exist in the package, and no option should borrow a file from a sibling option’s folder, because that works on the machine where you built it and fails on a clean one.
6. Test the Installer on a Clean Setup
This is the part authors skip, and it is the part that decides whether your mod gets a good reputation. Run through the same list every time, on a machine or profile that has never run your installer.
- Fresh game install, no other mods. Does the wizard open and complete?
- Second run of the same installer. Does it detect the existing files or overwrite them without complaint?
- Delete a target folder, then install. Does the script create it, or fail?
- Install with every optional component unselected. Does the game still launch?
- Uninstall, or apply a rollback. Do your files disappear and nothing else?
- Try the wrong game version on purpose. Does the version check catch it?
- Test in both Mod Organizer 2 and Vortex if your mod uses FOMOD.
- Launch the game and confirm the mod actually does what the description claims.
- On Android, test on a device with scoped storage restrictions enabled.
Vortex tends to be stricter about malformed XML than MO2, so an installer that behaves in one can still fail in the other. Test both before you upload.
7. Package and Publish the Installer
Build the final archive once testing passes. Keep the archive root clean: a fomod folder at the top level, not buried inside four nested folders, because that is the single most common reason a wizard never appears.
Then version it. Use a plain version number in the file name and inside info.xml, and change it every release. Players who report a problem tell you what version they downloaded, and that number only helps if it matches what you published.
Generate a checksum for the finished file so your download page can show something for safety-conscious users to verify, and put your install instructions on the page itself rather than only inside the archive. State the game version, the loader requirement, what each option does, and what your install touches.
Where you publish depends on your audience. Mod sites such as Nexus Mods want clear descriptions, a version history, and files uploaded in a compressed archive format; a standalone executable is usually accepted alongside it, but the description still has to make clear that the mod is yours and not a repack of someone else’s work. If you write mods in 2026, double-check that the pages you link to still describe the tools above, because this area moves faster than most.
Common Mistakes
Almost every broken installer I have seen comes down to one of a short list of things, and each has a straightforward fix.
Broken or mismatched paths
The source path in your script does not match the file’s real location, usually by a case difference or one missing folder level. Windows hides the problem until the player’s machine, which may be case-sensitive. Test on a clean install and check every path by opening it from the archive rather than from memory.
Hard-coded usernames and drive letters
A path like C:UsersAlexDocumentsMyMod baked into a script means the installer only works for you. Use relative paths inside the package, or variables the installer sets at run time.
Overwriting saves and settings
Writing into the user data folder without a backup is how people lose hours of play. Back up before overwriting, or skip the write and tell the user what to do by hand.
Wrong game version
A mod built for one patch level can crash on another without warning. State the supported version in the description and check it in the installer where your technology allows it.
Missing dependencies
The mod needs a loader or another mod and nothing says so. Declare the dependency on the download page and, if your installer supports it, check for it at install time.
No uninstall logic
A user tries to remove the mod and has no idea which files were theirs. Ship a manifest so uninstall is a delete, not an investigation.
Oversized installers
Duplicating shared assets across every option multiplies your download size. Put shared files in one folder that all options reference, and let the script point several options at the same source.
Testing only on your own machine
Your setup has the folders, the loaders and the settings your script quietly depends on. Every success you get there proves very little. A clean profile or a second machine is the only real test.
Frequently Asked Questions
Do I even need an installer for my own mod?
Only if your mod has choices to make. If it installs one fixed set of files into one folder, a plain archive with a short readme is easier for players and much easier for you to maintain. Add an installer once you ship optional parts, texture tiers, compatibility patches, or you want one-click setup for people who do not use a mod manager.
Can I build a mod installer on macOS or Linux?
Yes, with caveats. FOMOD packages are just XML and files, so you can write and archive them on macOS or Linux, then test them through a mod manager or with Wine. Compiling a standalone NSIS executable is more awkward, though tools like makensis run under Wine on Linux. Building an Android APK requires Android Studio, which runs on all three systems.
Should I use FOMOD or a standalone .exe installer?
Use FOMOD when your players already run Mod Organizer 2 or Vortex, which is most of them for Bethesda-style mods. Use a standalone executable when you need to reach people with no mod manager at all. Standalone installers write straight into the game folder, so they can conflict with other mods and need their own backup logic.
How do I test a FOMOD installer before I upload it?
Test it on a clean profile with a fresh game install, then again with the installer already applied, then with target folders deleted so the script has to recreate them. Run it in both Mod Organizer 2 and Vortex, since Vortex is stricter about XML errors. Finally, launch the game and confirm the mod does what your description promised.
Does my mod installer need administrator permissions?
Usually not. Writing into a game’s own data folder does not require elevation on Windows, and asking for it makes players hesitate. Request administrator rights only when you truly write outside the game folder, such as a shared assets directory, and explain why in the prompt when you do.
How do I ship an update without overwriting a user’s files?
Version the package and make the installer idempotent, so running a new version over an old one is safe. Back up any file you replace, with a timestamp on the folder, and prompt rather than overwrite silently. Removing your mod should delete exactly the files you installed and nothing else.
Conclusion
Write down what your mod changes before you write a line of script, then pick the installer row that matches your least technical player. For most people that means a FOMOD package built in a text editor, which needs no compilation at all.
Test it on a clean game installation, in both mod managers if you use FOMOD, and run it twice. That single habit catches the majority of problems before anyone else ever sees your release.
Once the installer works on a machine that knows nothing about you, keep it versioned and documented. A packaged installer makes your mod safer to use, easier to update and far less likely to end in a support thread that starts with the words “I think I did it wrong.”