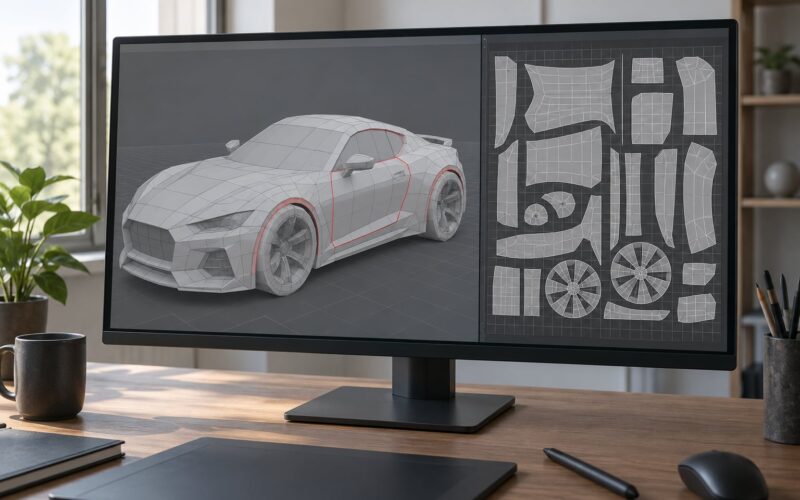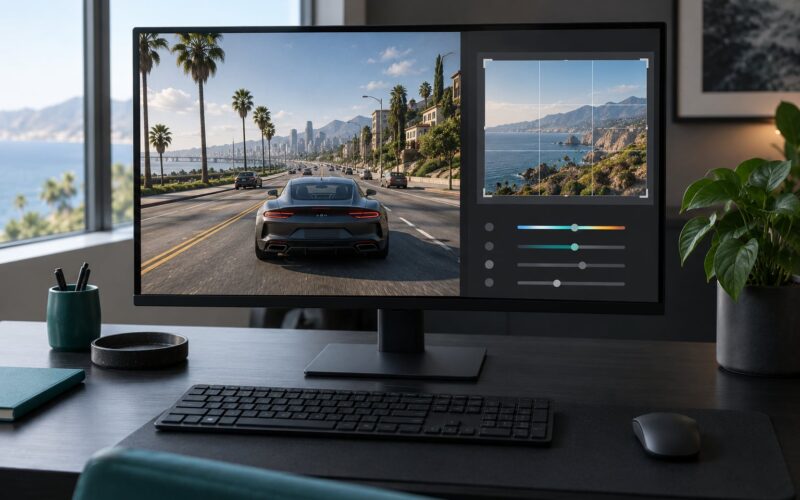
If you are working out how to pick a GPU for heavy texture mods, the first number to look at is VRAM, not frame rate. Heavy texture mods replace a game’s art with high-resolution assets, and those assets have to live in the card’s memory buffer. A faster card with 8GB will still choke on a 4K texture pack that a slower card with 16GB handles without a hiccup. So the order of work is: measure what your mod set actually needs, confirm the rest of your PC will not bottleneck, then match a card tier to that number.
Budget about an hour for the research and another evening for the install and testing. That hour is what stops you buying the wrong card, and it is the difference nobody advertises. Texture mods break the usual logic where a benchmark number tells you everything, because VRAM is a hard ceiling that raw GPU speed cannot work around.
Table of Contents
- 1What You Need
- 2Step-by-Step
- 31. Identify the game and mod setup
- 42. Measure VRAM needs at your target resolution
- 53. Check the rest of the PC for bottlenecks
- 64. Compare GPUs by VRAM, bandwidth, and price
- 75. Decide how much gaming performance is enough
- 86. Verify physical and electrical compatibility
- 97. Test and tune the new GPU
- 10Common Mistakes
- 11Frequently Asked Questions
- 12How much VRAM do I need for heavy texture mods?
- 13Is a more powerful GPU always better for texture mods?
- 14Does my CPU or system RAM affect texture mod performance?
- 15Are 4K texture packs worth the upgrade cost?
- 16How can I tell whether my GPU is the bottleneck?
- 17Conclusion
What You Need
Before you open a shopping tab, get six things written down. Skipping this is how people end up with a beautiful card that cannot run their mod list.
- The exact game and edition. Skyrim Special Edition and Skyrim Anniversary Edition behave differently, as do Fallout 4 and Fallout 4 next-gen. Confirm the version your mods require.
- Your mod loader or manager. Mod Organizer 2, MO2, Vortex, or a standalone ENB install. Some setups whitelist specific folders for SSD caching, which changes load times.
- The texture pack resolution. 2K, 4K, 8K, and 16K packs are not small variations of each other. The pack page usually states which it ships.
- Your current system specs. Processor, system RAM, SSD type, power-supply wattage, and the graphics card you own today.
- Your target resolution and frame-rate goal. 1080p, 1440p, and 4K change both the VRAM target and the card class you should look at.
- Case clearance and a realistic budget. Card length, slot width, and cooler height decide which cards physically fit before price ever enters the picture.
If you only fill in three of those, fill in the texture pack resolution, your target resolution, and your current VRAM amount. Those three answer most of the question.
Step-by-Step
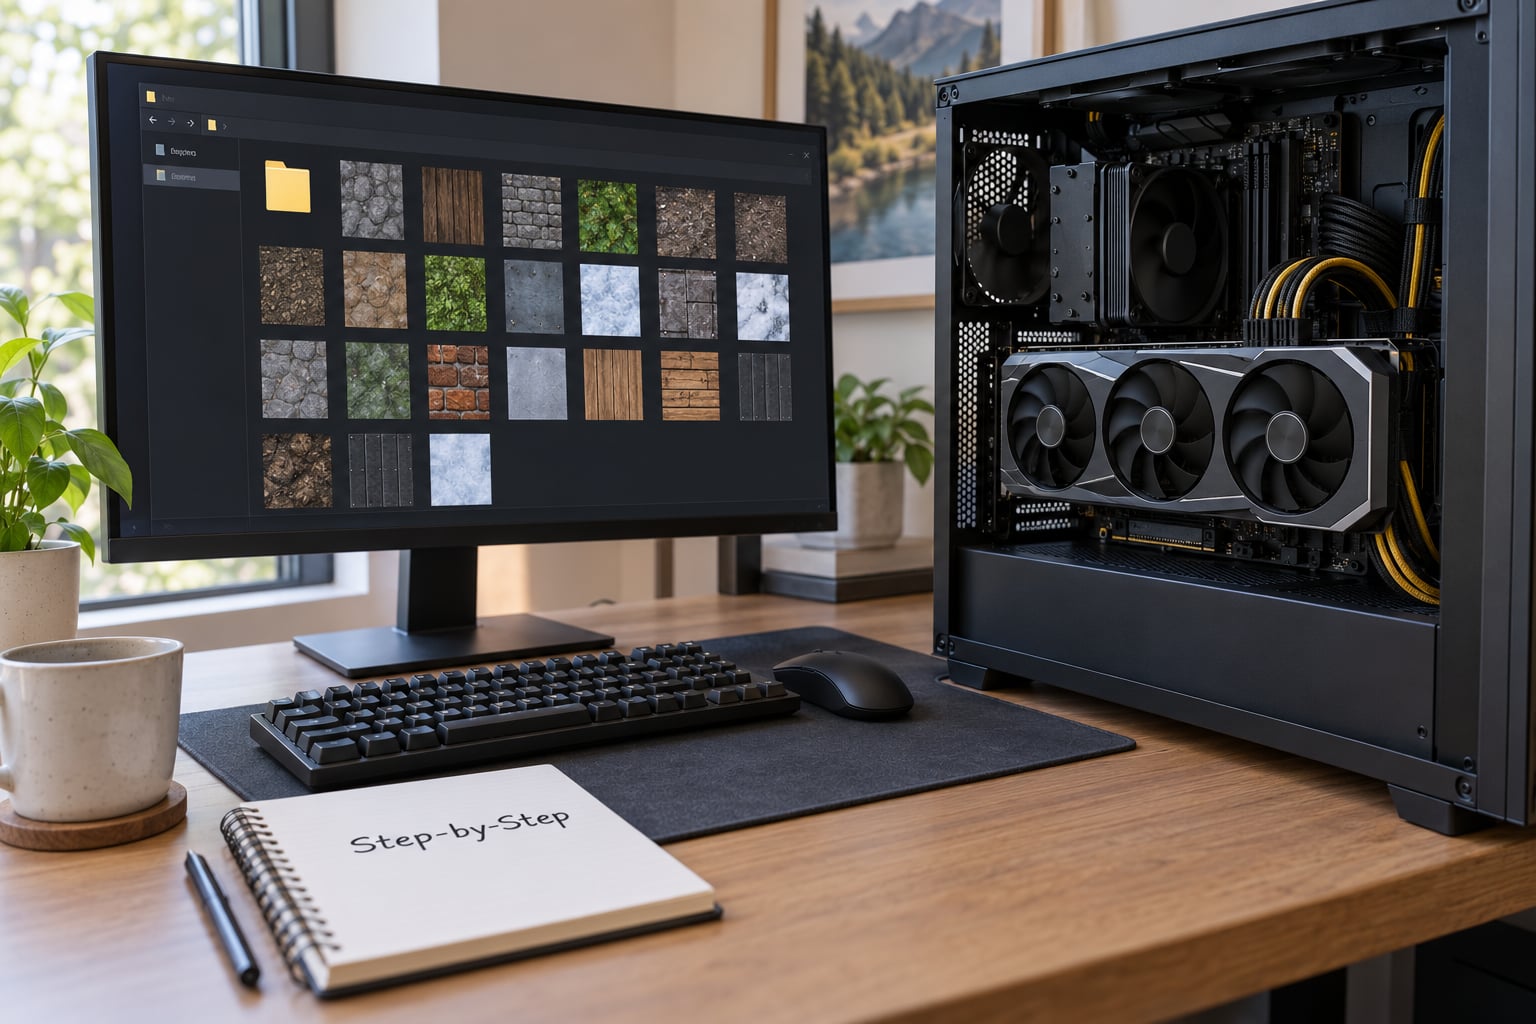
1. Identify the game and mod setup
Start with the game, not the card. Open the mod list you actually intend to run and note the engine behind it, because engine behaviour decides how texture memory is streamed.
Bethesda’s Creation Engine, used by Skyrim and Fallout 4, streams assets aggressively as you move through a cell. REDengine, behind Cyberpunk 2077 and the original Witcher 3, keeps large buffers around the player. RAGE, used by GTA V, has its own budget for streamed textures. Source-based titles such as modded Minecraft behave differently again, and shader-heavy Minecraft packs lean on the GPU for compute rather than raw texture memory.
Check the mod’s own documentation for supported resolutions and known conflicts before comparing cards. Most texture overhauls list their VRAM recommendation, and the load order page on the mod site will tell you whether two packs fight over the same slots.
2. Measure VRAM needs at your target resolution
This is the step every retail GPU list skips, and it is the one that answers your question. You measure your current VRAM use with your mods running, then add headroom for the pack you are about to install.
- Install the latest stable GPU driver, plus MSI Afterburner or your card vendor’s overlay, whichever you prefer.
- Start the game with your full mod list enabled and your target resolution set.
- Open the overlay readout during the heaviest area you visit. Loading into a dense city, flying over a forest, or fast-travelling to a new cell is where usage peaks.
- Note the highest number you see, not the average.
- Add 30 to 50 percent headroom on top of that peak for the new pack and for the extra assets a higher resolution pulls in.
The Windows Task Manager Performance panel also shows dedicated GPU memory, but it samples at intervals and misses short spikes, so treat it as a rough cross-check rather than the measurement.
Texture resolution drives that number hard. Each step up multiplies the pixel count of every surface, so a 4K pack costs roughly four times the texture memory of a 1080p pack for the same set of assets, and an 8K pack costs far more again. Layered replacements that stack a normal map and a material map on top of the base texture cost more than their headline resolution suggests, because each layer is its own texture.
Here is a working example. You play at 1440p with a large ENB preset, dense foliage, and a 4K texture pack, and your overlay peaks near 11GB during a fast travel. That already leaves almost nothing free, so add headroom and you land at 14 to 16GB. That is why the answer to “should I get 12GB or 16GB” is usually 16GB for a 4K pack at 1440p, and 12GB only if you stay with 2K textures and a lighter preset.
| VRAM | Mod-list size it suits | Comfortable at | Current-gen examples |
|---|---|---|---|
| 8GB | Small to medium lists, 2K textures, light ENB | 1080p | Entry-level cards in the RTX 50 and RX 9000 line-ups |
| 12GB | Medium lists, 2K or mixed 4K, Community Shaders | 1080p, some 1440p | Intel Arc B580 12GB, mid-range 12GB variants |
| 16GB | Large lists, full 4K packs, ENB, dense foliage | 1440p and 4K | GeForce RTX 5060 Ti 16GB, RTX 5070 Ti 16GB, Radeon RX 9060 XT 16GB, RX 9070 16GB, RX 9070 XT 16GB |
| 24GB | Very large lists, 8K packs, layered replacements | 1440p and 4K with nothing trimmed | Radeon RX 7900 XTX 24GB on the used market |
| 32GB | Multiple heavy titles or 8K plus ENB plus path tracing | 4K with everything on | GeForce RTX 5090 32GB |
Those figures are a starting map, not a promise. Your engine, your draw distance, and your shadow settings move the number more than the pack resolution alone does.
3. Check the rest of the PC for bottlenecks
A card upgrade only pays off when the rest of the machine can feed it. For a large mod list, that means more than the slot you are replacing.
- Processor: Skyrim and Fallout 4 physics run on the CPU, so a weak processor holds the frame rate down no matter what the card does.
- System RAM: 32GB is the sensible floor for a heavy Bethesda list. Below that you get stutter when the engine streams assets out of the page file.
- SSD: An NVMe drive shortens load times noticeably on a heavy mod list, and a spinning drive turns every cell change into a wait.
- Motherboard and PCIe: Check the slot generation and spacing, especially if you want a triple-slot card.
- Power supply: Match wattage to the card’s total board power with headroom for the rest of the system.
- Operating system: Some visual overhauls assume Windows 10 or 11 and a current driver, so check before you install.
The quickest way to find a mismatch is to watch CPU and GPU usage in your overlay while playing the heaviest scene. If one core sits pinned at 100 percent while the GPU idles, a new card will change nothing.
4. Compare GPUs by VRAM, bandwidth, and price
Compare cards on four things: VRAM capacity, memory type and bandwidth, board power, and what you will actually pay. Skip the frame-rate charts for this workload, because they are measured on unmodded games.
VRAM comes first. Memory type and bus width come second, because bandwidth is what keeps a high-resolution pack from hitching as it streams. GDDR6X and GDDR7 cards carry more bandwidth at the same capacity than older GDDR6 parts, which shows up as smoother streaming during fast travel.
Board power decides your real cost, since a 300W card can force a power-supply upgrade on top of the card itself. Supply and availability move too, because a tier you want can be hard to find for weeks and push you into the next tier up by accident.
On current hardware, a 16GB card is the sweet spot for 4K texture packs at 1440p. The RTX 5060 Ti 16GB and Radeon RX 9060 XT 16GB cover the entry point into that tier, while the RTX 5070 Ti 16GB, RX 9070 16GB, and RX 9070 XT 16GB sit above them. If your measurement put you past 20GB, look at the RX 7900 XTX 24GB on the used market, where it remains the cheapest route to a large buffer. Most search results that try to answer how to pick a GPU for heavy texture mods list the same handful of cards for that reason.
5. Decide how much gaming performance is enough
Decide what you do with the game, then pick a target. Most people mod for exploration, driving, and long ambient sessions rather than competitive play, so frame pacing matters more than a peak number.
For exploration and photo mode, 60fps with no hitching beats 100fps that stutters every time a new cell loads. For driving-heavy GTA V visual mod stacks, higher frame rates do feel better because the camera moves fast. Video playback on a second display and recording add a little more load, and a high-refresh monitor at 1440p benefits from a faster card than a 60Hz screen does.
Texture-heavy performance varies with the engine, the shader preset, shadow quality, draw distance, and CPU load. Two players with identical cards and different ENB settings can see very different results. The right card is the one that meets your resolution and your actual gameplay priorities, not the one at the top of a leaderboard.
Before you buy, consider the cheaper option too. Performance or VRAM-optimised texture packs exist for most overhauls, and they cut texture memory significantly with a visible drop in sharpness. If you only need 2GB less, that is a better trade than a whole card generation.
6. Verify physical and electrical compatibility
Check fit and power before you commit, because returns are a hassle and cards that do not fit cannot be returned at all.
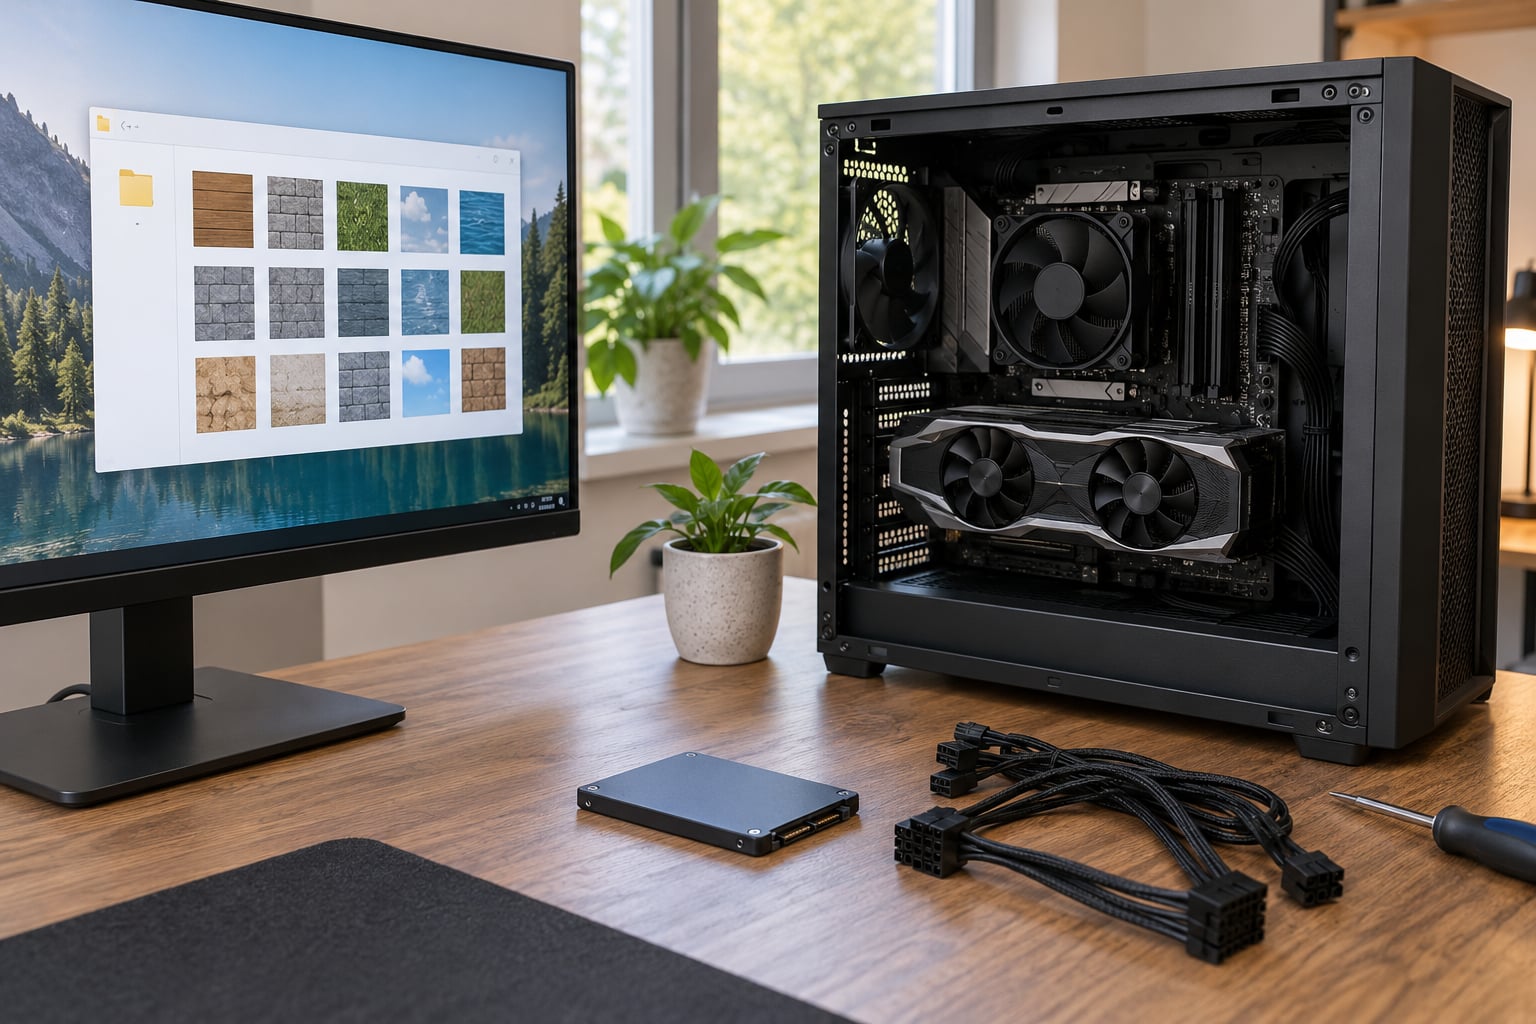
- Card length: Measure from the rear bracket to the end of the card and compare with your case’s maximum GPU clearance, which is usually printed on the side panel or the chassis spec sheet.
- Slot width: Thick coolers take two or three slots and can block neighbouring slots.
- Cooler height: Check against the side panel, and watch for large tower coolers that overhang the card.
- Power connectors: Count the 8-pin or 12V-2×6 connectors the card needs and confirm your supply has that many spare cables on separate rails.
- Recommended PSU wattage: Use the vendor figure as a floor and add headroom for your CPU and drives.
- Display outputs: Count the ports you need, especially if you keep an older monitor alongside a new high-refresh display.
Adapter cables from an old card are not a reliable fix, and mixing modular cables from different supplies is a common way to damage hardware. Use the cables that shipped with your power supply.
7. Test and tune the new GPU
Give the new card a proper shakedown before you decide it was a mistake.
- Install the latest stable driver cleanly, then confirm the card is detected in Windows and in your overlay.
- Run your full mod list in the heaviest area you know, at your target resolution.
- Watch VRAM use, frame rate, GPU temperature, and how often the frame rate dips.
- If usage sits right at the card’s limit, drop texture quality one step or use the performance version of a pack before assuming the card is wrong.
- Note your numbers. Knowing your peak VRAM use makes the next upgrade decision trivial.
The evidence that the card is right looks boring: peak VRAM use comfortably under capacity, no texture pop-in after fast travel, and frame rates that hold steady rather than oscillating.
Common Mistakes
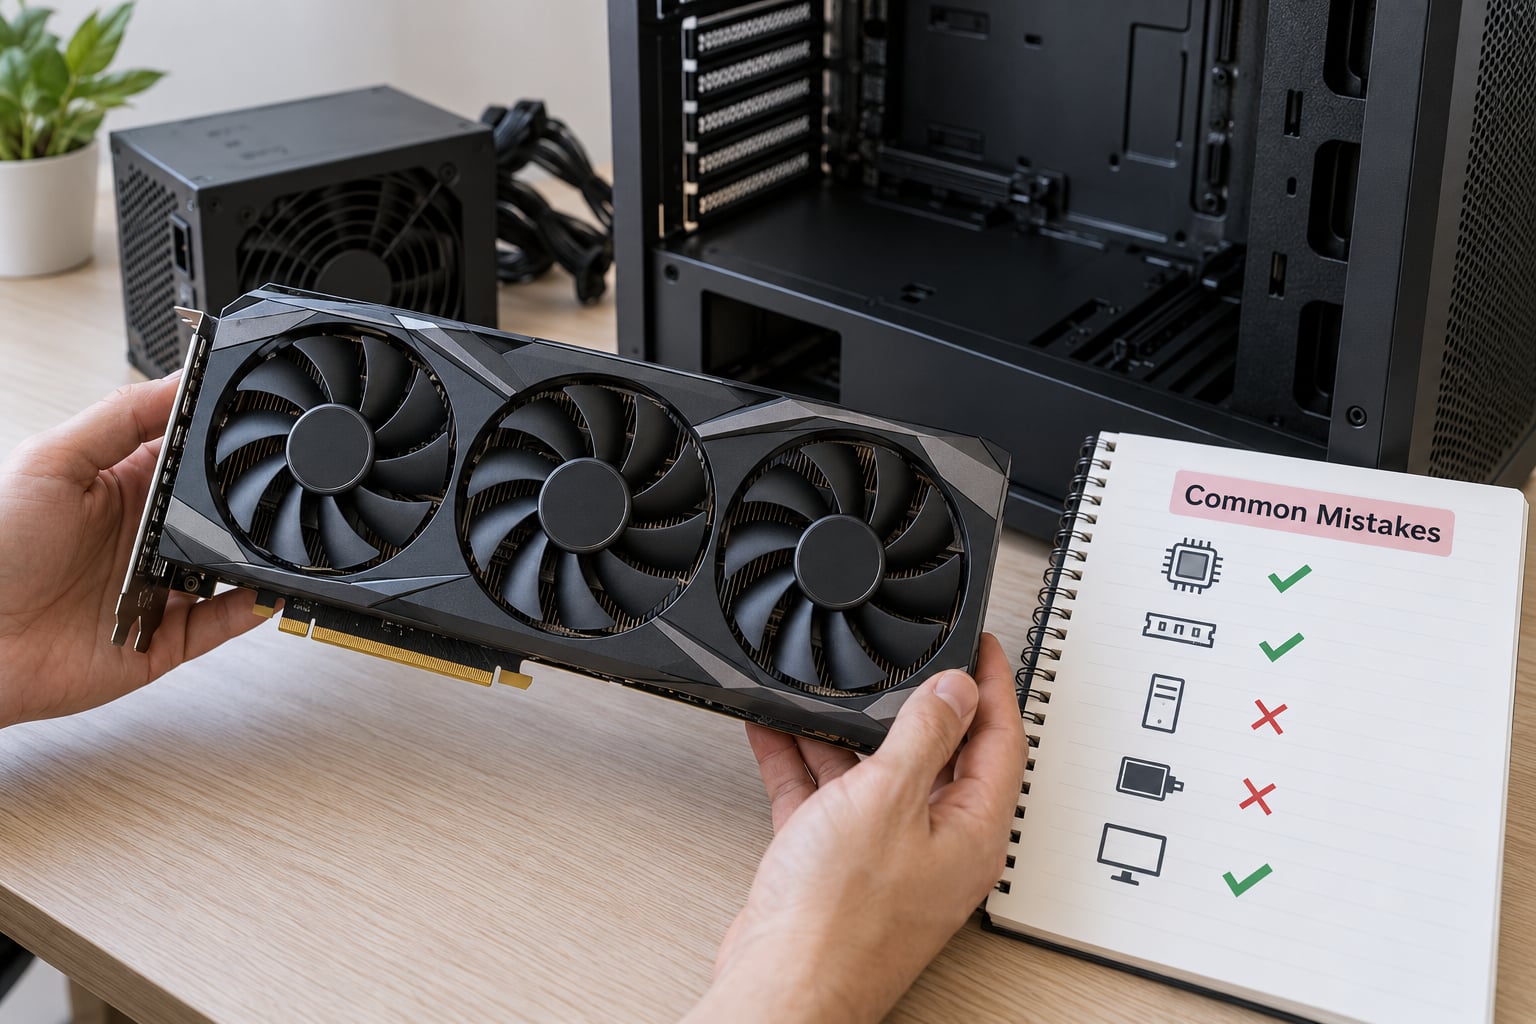
Almost every wasted GPU purchase comes from one of these, and each has a straightforward fix.
- Choosing by benchmark score alone. Benchmark clips use unmodded settings, so they tell you nothing about texture memory. Fix: decide your VRAM number first, then pick the fastest card inside that number.
- Underestimating VRAM. People measure an average instead of a peak. Fix: watch the overlay during the heaviest scene, then add 30 to 50 percent headroom.
- Ignoring CPU and system RAM. A pinned CPU core or 16GB of RAM causes stutter that no card fixes. Fix: check your overlay before buying, and treat 32GB of RAM as the floor.
- Buying more power than the case and supply can take. A 300W card in a cramped case with a 450W supply ends at the desk, not in the PC. Fix: measure clearance and confirm connector count.
- Judging performance from one test at the wrong resolution. A card that struggles at 4K may be ideal at 1440p. Fix: test at the resolution you actually play.
- Installing a texture pack that conflicts with the loader. Black or pink surfaces and missing buildings usually mean a load-order problem, not a GPU problem. Fix: verify the load order on the mod’s page before blaming hardware.
| Symptom | Likely cause | Fix |
|---|---|---|
| Textures blur in or pop in after fast travel | VRAM overflow, assets streaming in late | Move up a VRAM tier, or install the performance texture version |
| Frame rate drops sharply during cell loads | SSD and CPU limits, not VRAM | Move the mod folder to an NVMe drive, check CPU load |
| Periodic hitches with no visual glitch | Shader compilation, common with ENB and Community Shaders | Re-run the shader pre-cache, then leave the card’s idle clocks alone |
| Stutter that never resolves | System RAM paging out to disk | Move to 32GB of system RAM |
| Black or pink surfaces | Load-order conflict | Check the mod’s required load order and required mods |
One community disagreement deserves a straight answer, because it comes up on every forum: does exceeding VRAM cause stutter? Sometimes it does, sometimes it does not, and the reason is that engines stream assets with their own priority rules. When the overflow is a rarely visited surface, the engine can skip it and you see nothing. When it is a road surface or a character’s face at close range, it cannot skip it, and you get the hitch. That is why some players report running 300-plus mod lists on an older card with acceptable results.
For what it is worth, users on the Tom’s Hardware VRAM threads tend to agree that texture mods are the one case where extra VRAM matters at 1080p, where unmodded play rarely does. The same threads point to performance texture versions as the cheaper answer, which is good advice to hear before you upgrade.
Frequently Asked Questions
How much VRAM do I need for heavy texture mods?
Measure your peak usage with an overlay like MSI Afterburner while your full mod list runs in the heaviest area, then add 30 to 50 percent headroom. As a rough map, 8GB suits small lists with 2K textures, 12GB handles medium lists, 16GB covers full 4K packs at 1440p, and 24GB or more is for 8K packs and layered replacements.
Is a more powerful GPU always better for texture mods?
No, not when the extra power comes with the same VRAM. Texture memory is a hard ceiling, so a faster card with 8GB will still stream late on a 4K pack that a slower 16GB card handles cleanly. Extra speed helps frame rate, shadows, and draw distance, but extra VRAM is what fixes pop-in and hitching.
Does my CPU or system RAM affect texture mod performance?
Both do. The processor runs physics and scripting, so a pinned core caps your frame rate no matter which card you buy. System RAM holds assets before they reach VRAM, and a heavy Bethesda list on less than 32GB stutters when the engine pages out to disk. Check CPU and RAM before spending on a GPU.
Are 4K texture packs worth the upgrade cost?
They are worth it on a 4K display, where the extra sharpness is visible at normal viewing distance, and questionable on a 1080p screen, where the extra detail is wasted. If you want the assets without a new card, install the performance or VRAM-optimised version of the same pack. It cuts texture memory noticeably for a small loss of sharpness.
How can I tell whether my GPU is the bottleneck?
Run the game with your mod list loaded and watch CPU and GPU usage in your overlay. If the GPU sits near 100 percent while CPU cores stay low, the card is your limit. If one or more CPU cores are pinned at 100 percent while the GPU idles, a new card will change very little. Check both, and check VRAM use, before you buy anything.
Conclusion
Do one thing first: install your current mod list, open an overlay, and write down your peak VRAM number in the heaviest scene you visit. Add 50 percent, and you have your shopping target. Most people land on 16GB for a 4K pack at 1440p. Only then look at frame rates, and only then check that your case, power supply, and system RAM can support the card you picked.