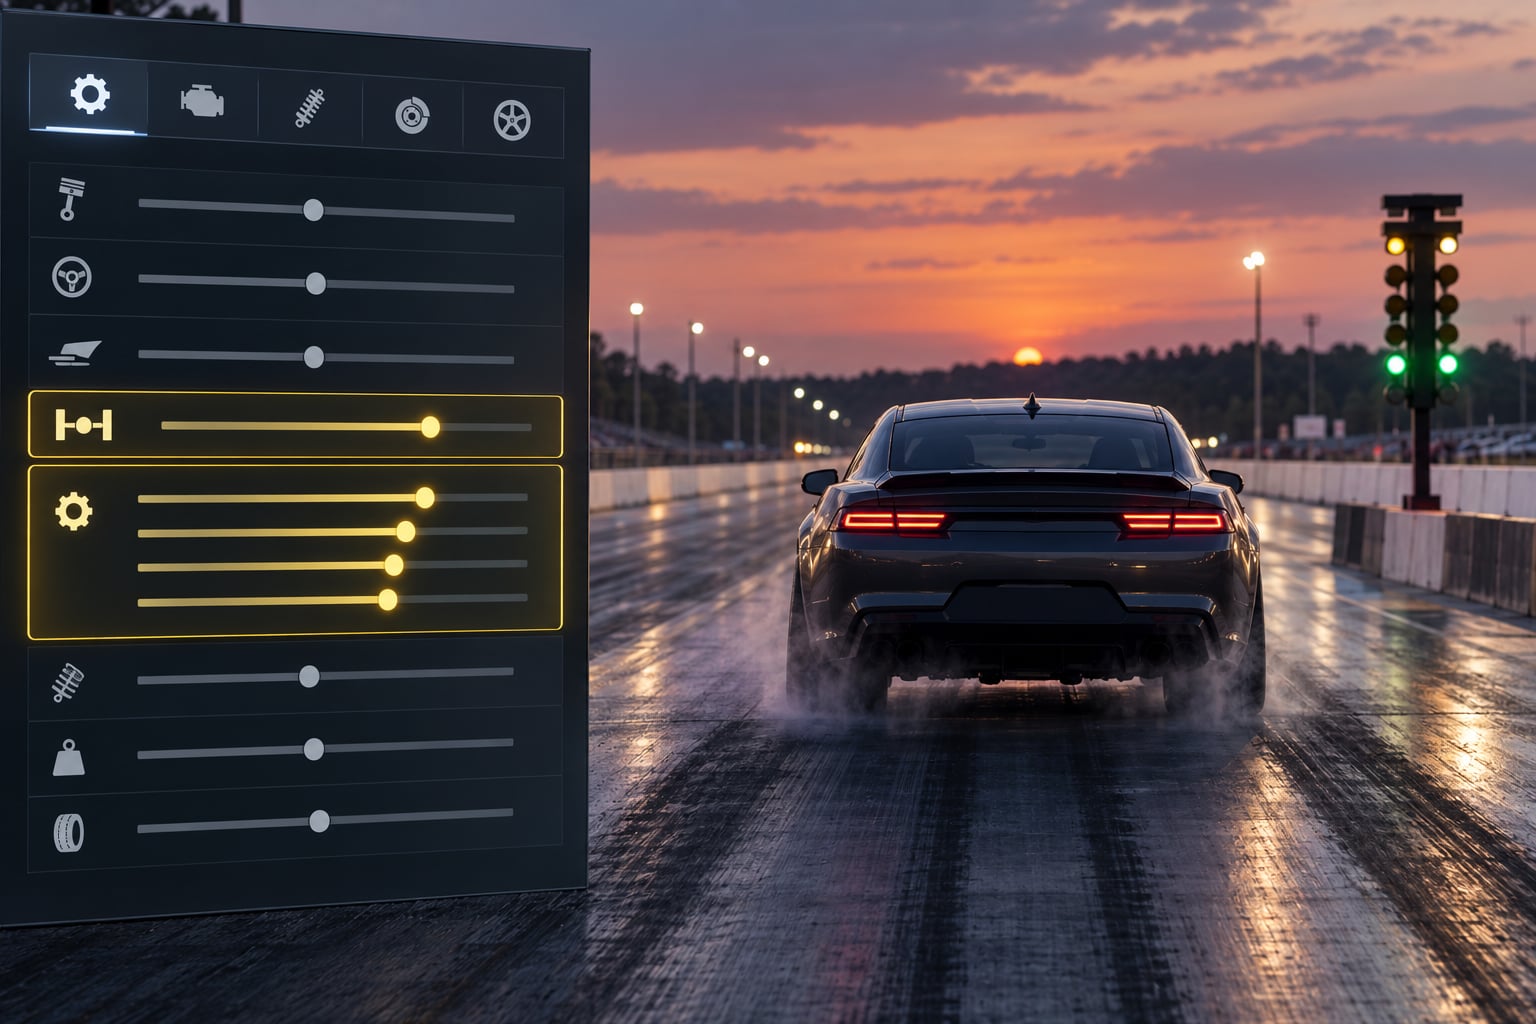
To make a drag build in a game tuning menu, work through six stages in order: baseline, tires and weight, gearing, differential, launch settings, then repeated test runs where you change only one value at a time. A first pass takes about 30 to 60 minutes, and every later improvement comes from what the test screen tells you rather than from guessing.
Drag tuning is not road tuning with the wings removed. Corner setup wants a soft, forgiving car that rotates; a drag setup wants everything stiff and predictable, weight dumped on the rear tires in the first half second, and an engine that never drops out of its powerband. Get that distinction right and the tuning menu stops being a maze.
The steps below work in Forza Motorsport and Forza Horizon. Labels shift a little between titles, between Xbox and PC, and between career and Quick Play, so treat the field names as descriptions of what you are looking for rather than exact buttons.
Table of Contents
- 1What You Need
- 2Step-by-Step: How to Make a Drag Build in a Game Tuning Menu
- 31. Record a Baseline and Set the Build Goal
- 42. Prioritize Tires, Weight Reduction and Fuel
- 53. Set a Straight-Line Drivetrain
- 64. Tune Launch and Drivetrain Controls
- 75. Set Gearing for the Test Distance in the Tuning Menu
- 86. Test, Diagnose and Save the Build
- 9Common Mistakes
- 10Frequently Asked Questions
- 11Which Forza game should I use to make a drag build?
- 12Can I use a drag tune for normal road and racing events?
- 13How do I stop my car from spinning the tires during launch?
- 14Why do I need different gearing for different cars?
- 15Should I add downforce to a short drag build?
- 16Will upgraded parts automatically make my car illegal in online races?
- 17Conclusion
What You Need
You need five things, and only one of them is the car. Grab the current version of your Forza title, a car you already own and are allowed to tune, a long flat straight for testing, and something to write numbers down in.
The tuning menu is reached from the vehicle upgrade screen. In most versions you select the car, open the upgrade or front-drive menu, and pick the tuning option. Tune permission itself depends on your upgrades, so if the tuning button is greyed out, the fix is almost always to install the parts that unlock it: a race transmission for drivetrain tab access, upgraded suspension and a swap-capable drivetrain for the wider tuning options, and the relevant brake and differential parts for the balance and differential tabs.
Two things about the testing area matter more than people expect. You want a measured distance, because a short festival strip and a long empty highway ask different things from your gearing. And you want a surface that is consistent, since traction and surface temperature move your times more than most suspension settings do.
Step-by-Step: How to Make a Drag Build in a Game Tuning Menu
1. Record a Baseline and Set the Build Goal
Start by writing down the car exactly as it is, before you touch anything: final drive, each individual gear ratio, tire compound, tire pressures, differential setup, and the full upgrade list. Two untouched passes on the same strip give you the number everything else gets compared against.
Then decide what the build is for. A 200 metre sprint and a quarter mile reward different things, and chasing a single universal target time is how beginners end up with a car that is quick everywhere and great nowhere. Aim at a repeatable distance first. Consistency is worth more early than raw speed, because a tune that reliably runs the same time will tell you what a change actually did.
Success check: two baseline runs land within a fraction of a second of each other. If they do not, fix repeatability before tuning anything.
2. Prioritize Tires, Weight Reduction and Fuel
Traction first, weight second, power last. Drag tires give you the contact patch and compound you need to put power down; without them every later change fights the same problem. Inside the tuning menu, set tire pressures for the straight, warm the tires with one or two burnouts, and check them again after the run.
Then strip what the car does not need. Remove nonessential mass, lightened wheels where the rules allow them, and keep unsprung weight low. Modest work on fuel delivery and cooling is useful, but it is not the priority. A car with drag tires and less weight will beat a heavier car with more engine every single time at this level.
That is also the test for whether a power change helped. If the elapsed time barely moves but you saw wheelspin in the footage, the extra power went into the smoke and not into the distance.
Success check: the car stops lighting up the tires for most of the run. If it is worse than baseline, undo the last change and retest before adding anything else.
3. Set a Straight-Line Drivetrain
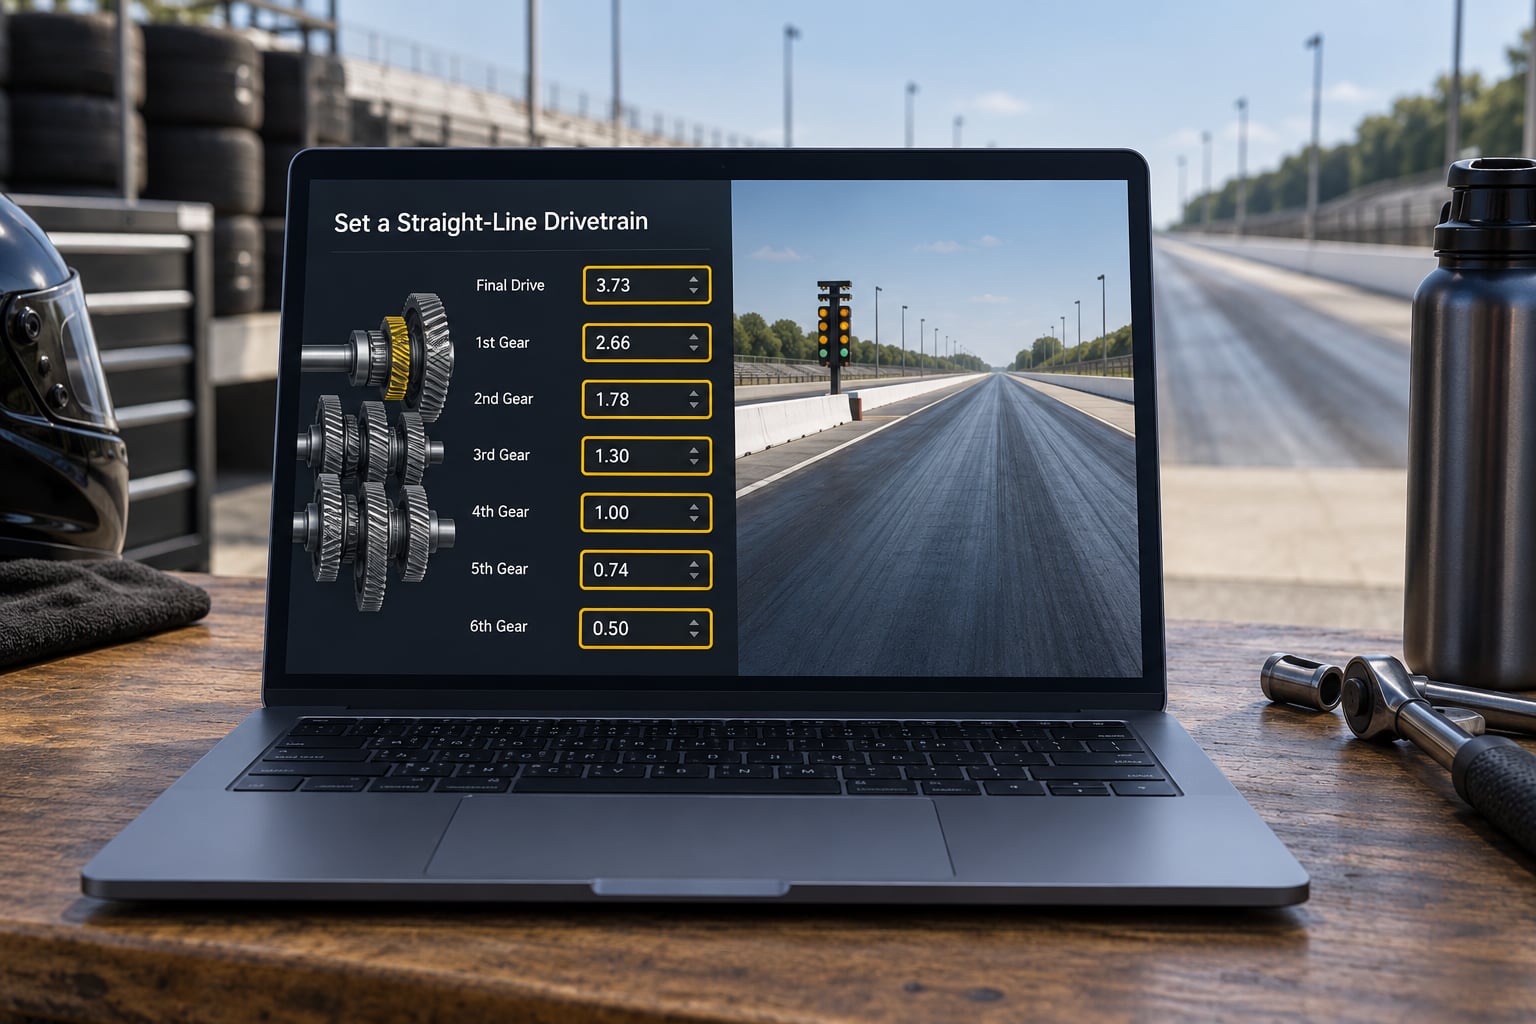
Final drive first, then the lower gears, then the differential. The final drive ratio sets how far each gear stretches; individual ratios decide where the shifts land. Most tuning screens show both, and some show a graph of the whole ratio spread, which makes spacing obvious at a glance.
For drag, shorten the lower ratios so the engine sits high in its rev range through first and second, and close the spacing between them so the shift never drops you out of the powerband. Exact values depend on your title, your car class and the ratio limits the game enforces, so read the on-screen limit rather than copying a number from a forum post for a different car.
The differential is the piece people leave alone. An open or lightly locked differential on a rear-drive car gives predictable, straight-line acceleration. Too much lock and it fights the tire slip you need off the line. All-wheel-drive cars usually want the opposite treatment in the center section, more lock to keep both rear tires driving instead of spinning up.
Success check: the car pulls straight and keeps climbing through the rev range in each gear you use.
4. Tune Launch and Drivetrain Controls
Handle the launch controls last among the static settings, because they only mean something once the gearing is right. The relevant controls are usually launch control or clutch settings, the throttle map, traction control, differential and shift behaviour.
Raise values gradually and watch what the car does. A launch RPM figure that sits too high asks the rear tires to absorb everything at once and produces a slow, spinning run. One that sits too low bogs the engine off the line and bogs the whole quarter mile with it. Traction control set too aggressively cuts power the moment any slip appears, which on a good launch means throwing away the fastest part of the run.
Validate each change with something visible: tire smoke, a stalled shift, or the car hopping on the suspension. One of those three tells you more in a single pass than twenty minutes of reading settings.
Success check: the car leaves with little visible slip, hits every shift, and does not bounce off its springs.
5. Set Gearing for the Test Distance in the Tuning Menu
Gearing is a decision about where the run ends. Measure your test distance, count the gears you expect to use, and work out roughly where each shift should fall. Two failures bracket the correct answer.
Too short and the car is still shifting at the line, wasting acceleration it never got to use. Too long and the run pulls an upshift you did not want, dropping torque for no reason. Most of the tuning work in this step happens in the individual gear rows, with the final drive doing the coarse adjustment.
A practical example: on a quarter mile you typically want the car shifting up two or three times, landing in top gear near or just past the finish. On a short 200 metre strip you want one clean shift at most. If your track is long enough for a fifth gear, pull that ratio closer to fourth so the gap at the top end stays inside the powerband.
Success check: the car crosses the line in the gear you intended, with revs still climbing.
6. Test, Diagnose and Save the Build
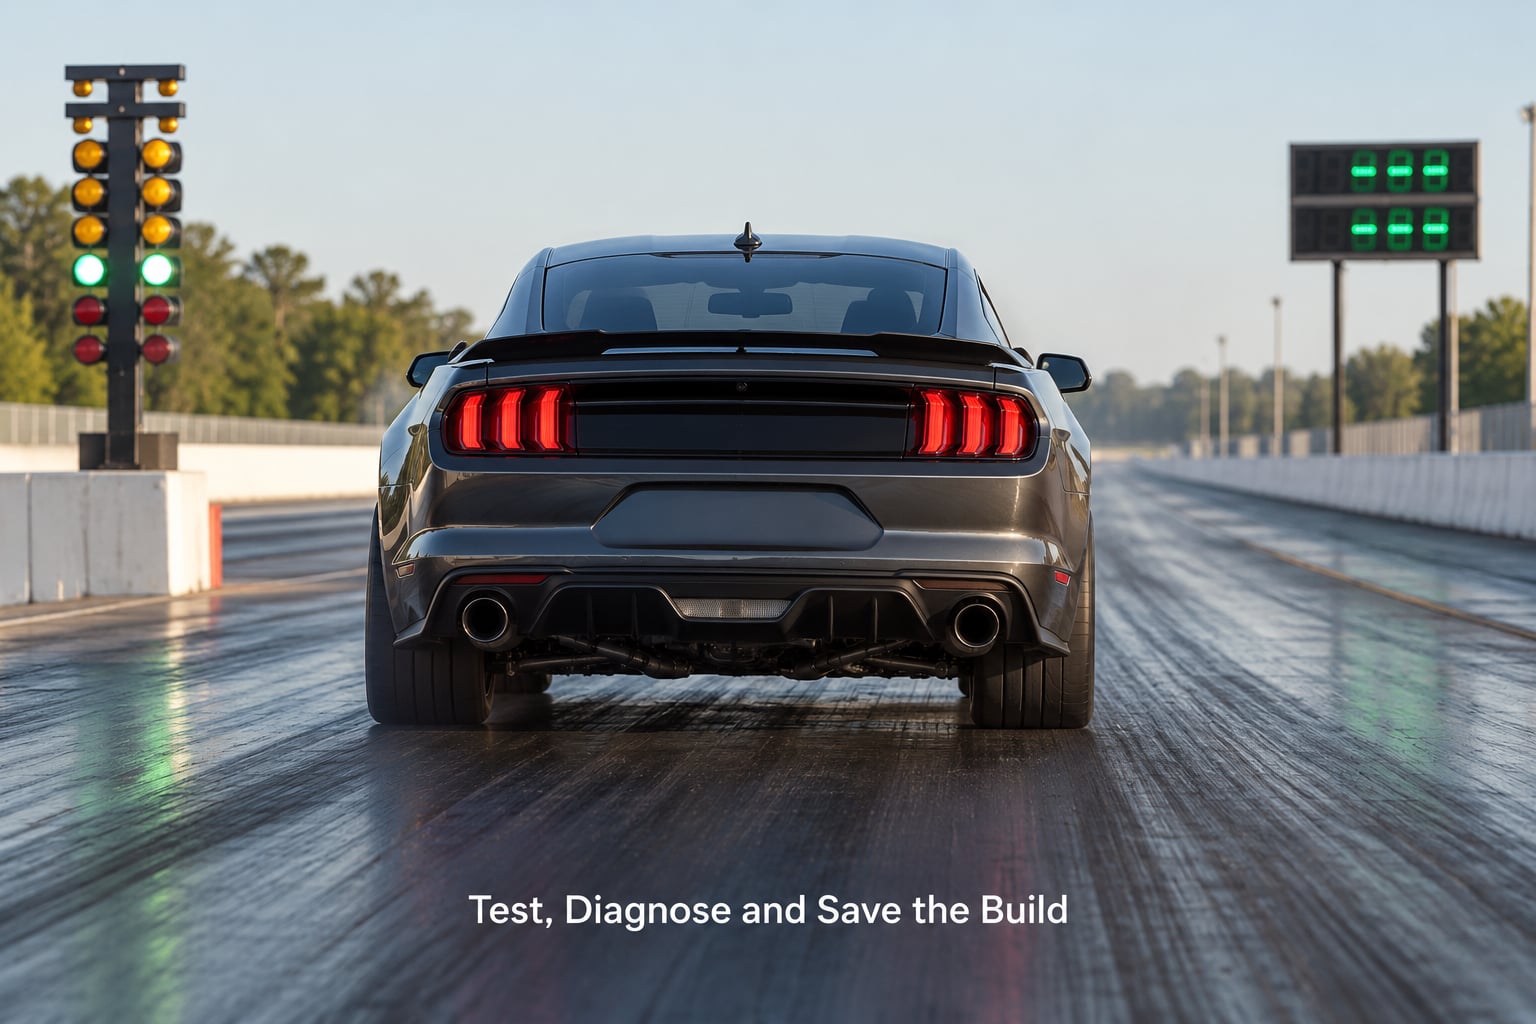
Finish the drag build by running two comparable passes, recording launch behaviour, shift consistency and the finish outcome each time. Same surface, same distance, same warm-up routine. Then change one variable, retest, and keep the change only if the numbers agree.
Diagnose by symptom rather than by intuition. Tire slip that never goes away means the launch or traction settings are asking too much, or the gearing is too short for the distance. Extra upshifts you did not plan mean a ratio is too tall for the strip. A car that bounces or hops means the suspension is too stiff for the weight transfer. Late or missed shifts usually come down to a shift setting that is fighting the rest of the drivetrain.
Save a setup once two runs in a row agree and you have stopped finding gains. A stable tune you can return to is worth more than another two-tenths experiment that leaves the car behaving oddly.
Success check: repeat runs within a fraction of a second, and you know which single setting produced each improvement.
Common Mistakes
Tuning from no baseline. Fix: run the untouched car twice before the first change. Without that number you cannot tell improvement from noise.
Maximizing power first. Fix: tires and weight come before engine output. Power you cannot put down shows up as wheelspin and a slower run.
Gearing for a track you do not have. Fix: tune for the distance you will actually test on. Ratios that suit a long strip waste time on a short one and vice versa.
Changing several settings between runs. Fix: one variable per pass. Two changes at once and you learn nothing when the number moves.
Mixing rolling starts with standing launches. Fix: pick one and hold it constant across every test. Rolling and standing starts reward completely different setups, and blending them produces results you cannot repeat.
Fitting parts that break class rules. Fix: check the class restriction for every upgrade before installing it. Some parts are only legal in specific classes or restricted races, and a build that is illegal online is just an expensive test drive.
Sharing a tune you never tested in class. Fix: verify the tune in the intended class with the exact parts it was built around. A tune that works at a lower class limit will behave differently once the rules tighten.
Frequently Asked Questions
Which Forza game should I use to make a drag build?
Any Forza title with a full tuning menu works, and the method is identical across them. Forza Motorsport gives you the deepest per-part tuning, while Forza Horizon is better for quick online and festival drag events. The order of work never changes: baseline, tires and weight, gearing, differential, launch settings, then repeated one-change tests.
Can I use a drag tune for normal road and racing events?
Not well. A drag setup runs stiff springs, stiff dampers, a locked differential and often aggressive alignment, which makes a car that tracks badly and rides harshly on a circuit. Keep two tunes: one drag setup for the strip, one road setup for everything else. Many players keep the drag tune in a separate tune slot so they can swap in seconds.
How do I stop my car from spinning the tires during launch?
Reduce the demand in small steps. Drop launch RPM a little, soften the throttle map, or raise tire pressure slightly so more load reaches the tread. If the car is rear drive and still lights up, lengthen the lower gear ratios so less torque hits the tires at zero speed. Change one thing per run, because wheelspin and bogging usually have opposite causes.
Why do I need different gearing for different cars?
Gearing exists to keep each engine inside its own powerband, and every engine delivers torque at different speeds. A turbocharged car has a narrow usable range and wants short ratios to stay on boost. A naturally aspirated engine has a broader range and tolerates taller ratios. Weight and tire grip also shift how much distance each gear can cover before the next shift.
Should I add downforce to a short drag build?
Rarely. Downforce costs drag, and drag works against you the entire length of a quarter mile. Set aero to near stock or remove the parts for the straight. Downforce starts to make sense for top-speed events or very long tracks, where the speed you gain at the far end outweighs the time you lose to the extra drag on the way there.
Will upgraded parts automatically make my car illegal in online races?
Not automatically. Each race has its own class restriction, and a part can be legal in one class and restricted in another. Always check the upgrade’s class rating before installing it, and confirm the whole build is legal in the class you intend to race. A car that fails the restriction check simply will not join the event, which is a fast way to lose an evening.
Conclusion
Save the factory setup first, because you will want to get back to it. Then record a baseline run, fit drag tires and take weight out, set gearing that suits your test distance, work through the differential and launch settings one at a time, and change exactly one variable per run. Start there and the rest of the tuning menu explains itself.