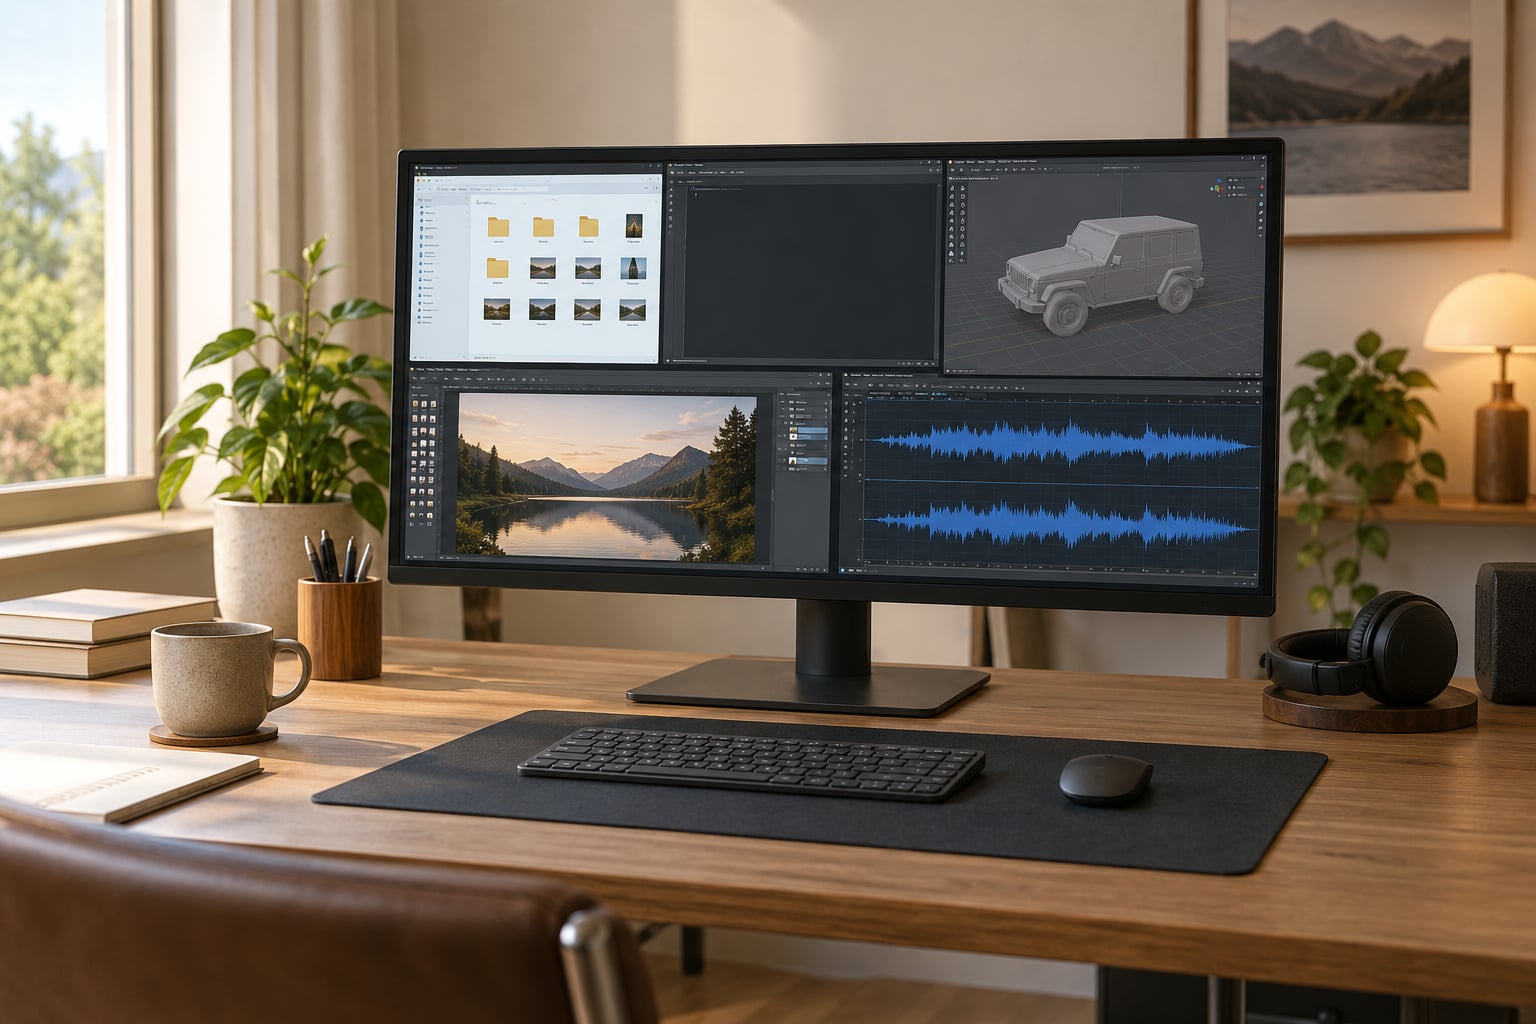
Modding a PC game does not require a single paid program. A mod manager, a text editor, an image editor, a 3D program, an archive utility and a profiler will cover the overwhelming majority of what a beginner ever does, and every one of them is free for personal use. These are the free tools every beginner modder should learn, in the order that keeps your install safe.
The catch is that most tutorials assume you already own the expensive pipeline. 3ds Max, Maya and Photoshop get named like house appliances, which quietly locks out anyone starting from a laptop. Here is the free equivalent, what each program is actually for, and the beginner task that teaches it fastest.
Two rules before anything else. Back up the original game files or work through a mod manager with profiles, and check the version notes on every download before you install it. Version mismatch, not ability, is what derails beginners.
Table of Contents
- 112 Free Tools Every Beginner Modder Should Learn for PC Gaming at a Glance
- 21. OpenIV for Browsing and Replacing Game Files
- 32. Blender for Creating and Editing 3D Models
- 43. GIMP for Editing Mod Textures
- 54. Audacity for Cleaning and Editing Mod Audio
- 65. Notepad++ for Inspecting and Editing Text Configs
- 76. Microsoft Visual Studio Code for Managing Mod Projects
- 87. 7-Zip for Opening and Creating Archives
- 98. FileZilla for Transferring Files Safely
- 109. Nexus Mods for Finding Compatible Resources
- 1110. RenderDoc for Checking Mod Rendering Issues
- 1211. MSI Afterburner and RivaTuner for Testing Performance
- 1312. Git or GitHub Desktop for Backing Up Mod Projects
- 14Frequently Asked Questions
- 15What tools do I actually need to start modding as a beginner?
- 16Is game modding legal?
- 17Which game is the easiest to start modding for?
- 18What are dirty edits and how do I fix them?
- 19Are free tools as good as 3ds Max, Maya or Photoshop?
- 20How do I undo a mod that broke my game?
- 21Conclusion: Start With File Safety, Then Build Your Toolkit
12 Free Tools Every Beginner Modder Should Learn for PC Gaming at a Glance
| Tool | Main purpose | Best beginner task | Works with | Difficulty |
|---|---|---|---|---|
| OpenIV | Browse and replace game files | Make your first safe file swap | Games with loose files | Easy |
| Blender | 3D modeling and rigging | Open a model and move one part | Most engines via plugins | Steep |
| GIMP | Texture and image editing | Retouch a texture before export | PNG, JPG, DDS, TGA | Easy |
| Audacity | Audio editing | Trim and normalize a sound clip | WAV, OGG, MP3 | Easy |
| Notepad++ | Text and config editing | Change a value in a config file | INI, JSON, XML, TXT | Easy |
| Visual Studio Code | Project and script editing | Search a folder of 500 files | Any text or script format | Easy |
| 7-Zip | Archive extraction and packing | Open a downloaded mod archive | ZIP, RAR, 7z | Easy |
| FileZilla | FTP and SFTP transfers | Move files to a local server | Any remote host | Medium |
| Nexus Mods | Mod discovery and versioning | Read the requirements list | Thousands of games | Easy |
| RenderDoc | Frame-level graphics debugging | Find a broken texture in a frame | DirectX 11 and 12 games | Medium |
| MSI Afterburner with RivaTuner | Performance monitoring | Read frametime while playing | Most Windows games | Easy |
| Git or GitHub Desktop | Version control and backups | Roll back a broken change | Any project folder | Medium |
Two things jump out of that table. Difficulty depends far more on the file format than on the program, and every tool here runs on Windows, with Blender, GIMP, Audacity, VS Code, 7-Zip, FileZilla, RenderDoc and Git also available on macOS or Linux in some form.
1. OpenIV for Browsing and Replacing Game Files
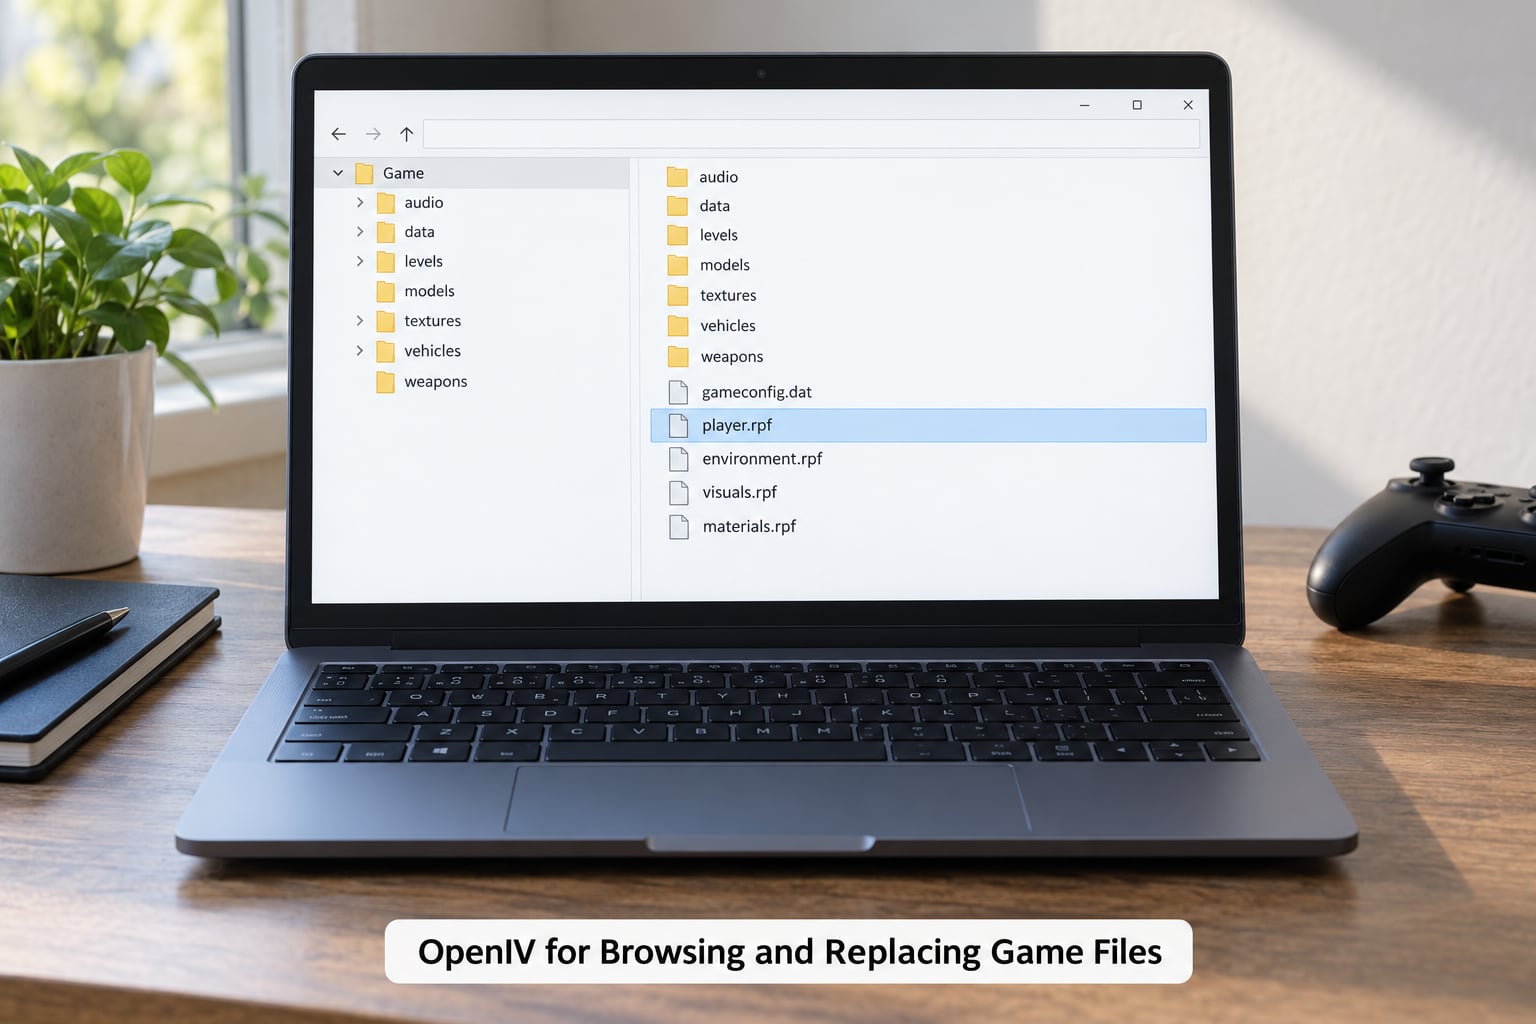
OpenIV lets you look inside a game’s installation folder instead of guessing at paths from a forum post. It is the tool that answers the question every beginner asks first, which is where does this file actually live.
- Browse mode shows the installation tree with game folders grouped by type, so you can see the difference between data, textures and archives at a glance.
- Edit mode lets you extract a file, replace it, and put it back without leaving the tool.
- Backup first is not optional. Copy the file you are about to touch into a folder outside the game directory before you overwrite anything.
My rule for beginners is that OpenIV is for the first month only. Use it to learn where files live, then move to a mod manager that can roll changes back for you. Getting comfortable with raw file paths early makes every later tool easier to understand, because you stop thinking of the game folder as a black box.
2. Blender for Creating and Editing 3D Models
Blender is free, open source, and the program almost every serious mod tutorial assumes you already know. The honest part: it is the steepest item on this list, and beginners should treat it as a long-term project rather than a first-week tool.
Start with an unglamorous exercise. Open an existing game model, select one object in the outliner, move it, save a copy, and stop there. That single loop teaches you objects, transforms and file handling, which is most of what a first model needs.
- Learn the Outliner, the Properties panel and the viewport before you learn shortcuts.
- Keep scale applied in mind. Many game plugins reject or distort models that are not at a sane scale.
- Export in the format your game expects, not the format you happen to like.
Version mismatch is the single most common complaint in the modelling corners of modding forums. On r/SourceEngine, users point out that specific Blender releases pair correctly with Source SMD drivers, and on r/FalloutMods the same problem shows up as NifSkope script compatibility headaches. Check that your Blender version matches your game before you download anything else.
3. GIMP for Editing Mod Textures
If Blender is the expensive part of modding, GIMP is the part that gets you results on the first evening. Forum consensus across modding communities is blunt about the pairing: GIMP for anything 2D, Blender for anything 3D.
A useful first project is taking a decal, sign or vehicle skin, opening it, cleaning up a rough edge, and exporting it back at exactly the original dimensions and format. Dimension mistakes are the number one reason a texture shows up pink and black in game.
- Open the texture, then check Image then Canvas Size before you resize anything.
- Export as the file type the game expects, usually PNG for lossless work or DDS for compressed ones.
- Keep a folder structure that mirrors the game’s, so you can find your own work later.
Krita and Paint.NET are also free and worth knowing if you prefer a simpler canvas or a Windows-only, installer-light setup. GIMP has the deepest habit base in modding forums, which means more tutorials and more answers when you get stuck.
4. Audacity for Cleaning and Editing Mod Audio
Voice replacements, weapon sounds, footsteps, ambient loops. None of the three competitors I studied even mentions an audio tool, and yet Audacity is free, small and about as hard as trimming a clip in a music app.
Normalize a file so quiet dialogue stops disappearing in combat, trim silence from the front of a recording, and run the noise reduction pass on a noisy source. Export as WAV or OGG depending on what the game loads. Ten minutes of practice covers almost everything a mod needs.
Pair it with OpenIV or your mod manager and you can replace a sound file directly. Search for the original clip name, drop your version in its place, then listen in game. That is a complete first audio mod in one sitting.
5. Notepad++ for Inspecting and Editing Text Configs
Config files, INI settings, JSON data, XML tables, readme instructions. Notepad++ has been the modder’s default text editor for years because it stays out of the way and shows the file structure properly.
- Line numbers and syntax highlighting make a malformed JSON file obvious instead of mysterious.
- Encoding matters. A config saved as UTF-8 with a byte order mark can make a game fail to read it, so set the encoding explicitly on save.
- Use Plugins and Compare to diff two versions of a file and see exactly what a mod changed.
Whenever a mod page says it edits a configuration file, this is the tool that does the job. Edit the copy, not the original, until you have tested it.
6. Microsoft Visual Studio Code for Managing Mod Projects
VS Code is what you graduate to when a mod stops being one file. Free, fast, and it handles a folder of hundreds of files without breaking a sweat.
Its real value for a beginner is search. When a tutorial says a value lives in a specific script, VS Code searches the whole project in a second instead of you opening file after file. Add a JSON or shader extension and you also get error highlighting before the game ever sees the file.
Pair it with Git and you have a complete authoring setup that costs nothing. Modders on forums describe this combination as the professional pipeline, and they are not exaggerating.
7. 7-Zip for Opening and Creating Archives
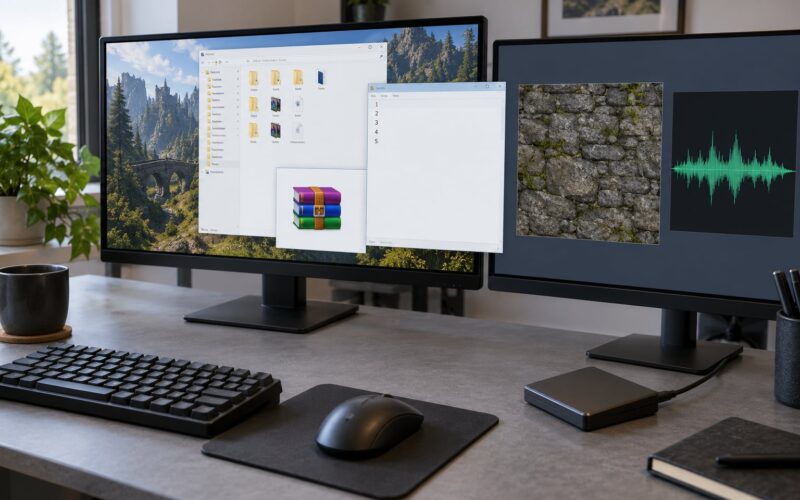
Many games ship their assets inside compressed archives, and many mods arrive as archives. 7-Zip opens the common formats, and it is the tool that answers the question, what is actually inside this download.
- Right-click, open the archive, and read the folder structure before extracting anything.
- Extract to a separate working folder, never straight into the game directory.
- Use it to repack a folder you edited if a mod asks for an archive rather than loose files.
Controlling the internal folder structure of an archive is a small skill that saves hours of confusion. A file one folder too deep produces a mod that installs cleanly and does nothing.
8. FileZilla for Transferring Files Safely
FileZilla is an FTP and SFTP client, and it earns its place when your modding runs through a server. Private game servers, your own hosted world files, and a lot of community map hosting all work this way.
The beginner mistakes are all the same three things: uploading to the wrong remote path, dropping the file into the server’s parent folder instead of its mod folder, and leaving a half-finished upload running while you close the program. Use the transfer queue, watch it finish, and keep a local copy of anything you upload.
Because the remote side is someone else’s machine, treat it like a live installation. Confirm the path before every transfer, and never assume an overwrite is reversible.
9. Nexus Mods for Finding Compatible Resources
Nexus Mods is where a large share of PC mods are published, and the page itself is the most useful free tool on this list if you read it properly.
- Check the required dependencies and install them before the mod itself.
- Read the load order notes and any conflict guidance in the description.
- Look at the file date and game version, and at user comments for reports of problems.
- Use the version history to see when a mod was last updated and whether it was abandoned.
A mod page is documentation. Beginners who spend two minutes on the requirements and compatibility section install far cleaner setups than those who drag and drop first and troubleshoot later.
10. RenderDoc for Checking Mod Rendering Issues
When a mod breaks visually, the fastest way to find out what happened is to capture the frame and look at it. RenderDoc is free and does exactly that for DirectX 11 and 12 games.
You can step through a frame input by input, switch a texture off and see the object change, inspect draw calls, and check whether a shader compiled the way you expected. For a missing texture, that means watching the draw call fall back to a default material instead of guessing from a screenshot.
It is a medium-difficulty tool. Most beginners will not touch it in month one, but knowing it exists saves hours of blind texture troubleshooting later.
11. MSI Afterburner and RivaTuner for Testing Performance
Mods change frame rate, and a scene that stutters feels broken even when it is not. MSI Afterburner with RivaTuner Statistics Server shows frame rate, frametime, GPU and CPU usage, temperatures and VRAM while you play.
Use it the same way every time: record a repeatable route or scene with your baseline setup, then repeat it after installing a mod. Only the numbers change, so the comparison is honest. Frametime matters more than the average frame rate, because spikes are what players notice as stutter.
This is also how you catch the classic mistake of installing several mods and blaming the last one. Change one thing, test, record, move on.
12. Git or GitHub Desktop for Backing Up Mod Projects
Git is version control, and GitHub Desktop gives you a button-based version of it without the command line. For a mod project it means every change you make is a snapshot you can return to.
The workflow is simple. Commit before each risky edit, commit again when something works, and write a short note describing what changed. When a texture goes wrong or a model stops loading, you go back one commit instead of hunting for the file you broke.
It also solves the messy folder problem. A personal repository keeps your source files, exports and documentation together, with a history that shows how the project grew. Publishing to GitHub later becomes a byproduct of work you already did.
Frequently Asked Questions
What tools do I actually need to start modding as a beginner?
You need three things to begin: a mod manager for installing and disabling mods safely, a text editor for configuration and script files, and one creation tool matched to the file you want to change. A texture job needs an image editor, a model job needs 3D software, and a quest or dialogue job needs the game’s own official editor. Everything on this list is free for personal use.
Is game modding legal?
For single-player games on PC, modding is usually permitted, but the answer depends on the publisher’s terms of service, so read the ones for your game. Mods that alter an online game can breach those terms and risk your account. Redistributing a game’s original assets inside your own mod is a separate and much riskier question than changing files on your own computer.
Which game is the easiest to start modding for?
Minecraft is the usual answer for beginners, because the data files are plain text, mods install by dropping files into a folder, and there is no official engine to fight with. Terraria is close behind, with a sprite-level path that Piskel and a texture editor cover. Games with an official modding tool and a large community, such as the Creation Kit titles, rank next.
What are dirty edits and how do I fix them?
A dirty edit is when two mods change the same property of the same object, and the winner depends on load order rather than on any sense of intent. That is why uninstalling and reinstalling sometimes changes your result. A conflict-cleaning tool such as xEdit shows both changes on one record so you can merge them into a patch or decide which one wins.
Are free tools as good as 3ds Max, Maya or Photoshop?
For most beginner work, yes. Blender covers modelling and rigging, GIMP covers texture editing, and both are free forever rather than on a subscription, which matters when you are starting from nothing. The paid tools have better pipelines, team collaboration and industry-standard file handling. Most published mods were built with free software, so nothing stops you from publishing.
How do I undo a mod that broke my game?
Turn the mod off in your mod manager first, which is usually enough if it was installed through one. If you edited files directly, restore the backup copy you made before you touched anything, which is why that copy matters. If you never made one, verify the game files through your launcher or store, then reinstall only what you need. A version-controlled project folder can be rolled back to an earlier commit.
Conclusion: Start With File Safety, Then Build Your Toolkit
Learn these free tools every beginner modder should learn in the order the risk goes down, not up. First a mod manager and a backup habit, then OpenIV and Notepad++ so you can see what a mod actually changes, then one creation tool that matches the file you want to edit.
Add the rest as your projects demand them. Blender and GIMP come early because they cover most published mods, Git comes before you finish your first serious project, and RenderDoc comes when something visual breaks and you need real answers.
Everything above costs nothing, runs on the machine you already own, and has an active community answering questions. That is the whole barrier.