To learn how to test mod conflicts before release, load your mod into a clean profile with nothing else enabled, run a conflict scan across every enabled mod and the base game files, then bisect the loadout until you find the exact mod that breaks things. Repeat that with your dependencies, then with a large existing mod list, and write down every requirement and known break on your mod page. The whole routine takes about two hours for a small file swap and most of a weekend for a full script or map mod.
A mod conflict is simply two files trying to occupy the same path. When your .rpf, .esp, .script or loose asset sits at a location another mod already claimed, only one of them survives deployment and the other is silently overwritten. Nothing errors. The game just behaves oddly, and the person who reports it has no idea which of their 90 mods caused it.
That is the part that matters for a release: the conflict is rarely visible in your own install. You built the mod, you know the paths, so you never overwrite yourself. The damage only shows up on a stranger’s setup, and by then it costs you comments, downloads and version updates you have to answer for months.
Table of Contents
- 1What You Need
- 2Step-by-Step: How to Test Mod Conflicts Before Release
- 3Step 1: Document the Mod’s Files and Requirements
- 4Step 2: Establish a Clean Baseline
- 5Step 3: Install the Mod in Isolation
- 6Step 4: Test Dependencies and Load Order
- 7Step 5: How to Test Mod Conflicts Before Release Using Logs and Error Messages
- 8Step 6: Test Common Compatibility Scenarios
- 9Step 7: Validate, Package, and Publish the Release
- 10Common Mistakes
- 11Frequently Asked Questions
- 12How do I know whether a GTA mod conflict is caused by a file, a script, or load order?
- 13Can a mod pass testing on my computer but conflict on another PC?
- 14Is testing the game without other mods enough before releasing a mod?
- 15Should I fix a mod conflict by changing load order or by editing the file?
- 16How many test saves or setups do I need before publishing a GTA mod?
- 17What files should I include with a mod release to make conflict testing easier?
- 18Conclusion
What You Need
Everything below is cheap to set up and most of it already exists on a modding machine. The point is to separate your work area from the machine you play on.
- A clean game installation. A second copy of GTA V, or a hard drive partition you never touch between tests. Verify file integrity first so a pre-existing mod is not mistaken for your own damage.
- A backup save. Any test you run on a live playthrough can corrupt it. Copy the save folder somewhere outside the game directory before you start.
- Your mod files and every dependency. Including the Script Hook V, an ASI loader, OpenIV, CodeWalker, a map editor or a script compiler. A missing dependency looks exactly like a broken mod.
- A separate mod tool or profile. OpenIV in mods folder mode for files, or a manager profile if you use one. Never test on the profile you actually play on.
- A text or config editor. Notepad handles
.ini,.cfgand.xmlfine. You need it to read logs and to check a config the mod ships with. - Access to launcher and game logs. The Rockstar launcher’s
launcher.log, the Social Club log folder, and your mod tool’s own output.
Which tools apply depends entirely on the version you are releasing. GTA V on PC, the older trilogy titles, and the Android and console builds all handle files differently.
| Platform | File format | Testing tool | What it checks |
|---|---|---|---|
| GTA V PC | .rpf archives, loose files, .asi loaders | OpenIV, CodeWalker, Script Hook V | Archive contents and loose paths inside the mods folder |
| GTA IV | .packed files, .rsa packages | OpenIV | Packed file contents, normally by unpacking to a copy |
| San Andreas, Vice City | .txd, .dff, streamed archives | OpenIV | Loose replacement files in the game’s data path |
| GTA V Android | Split APK/OBB data folders | OBB editor, APK explorer | Loose file paths in the external data directory |
| Any version, load order | Script and ASI load order | ASI Loader log, your own loader config | Whether your script loads at all, and in what sequence |
One note on console and mobile ports. If your mod ships as a repacked installer, the conflict test changes completely: you are no longer testing a file set, you are testing a build. That means installing over a clean copy of the original app data, and comparing the extracted file trees against the stock version.
Step-by-Step: How to Test Mod Conflicts Before Release
Step 1: Document the Mod’s Files and Requirements
Before you install anything, write down what your mod actually touches. A single text file listing every added and replaced path takes fifteen minutes and saves you hours later.
For each file, note the exact path, what you added or changed inside it, and whether the file is new or a replacement. Then list dependencies in a fixed order: prerequisites, ASI loaders, libraries, other mods that must be present. Finish with the supported game version and build, and the config options you ship.
Write it as a manifest another person could follow without asking you a question. When your mod fails on someone else’s machine six months from now, this file is the only thing telling you which version of what they were running.
Step 2: Establish a Clean Baseline
The baseline is what the game does with nothing of yours in it. Without it you have nothing to compare against, and every later test becomes guesswork.
Launch the game on the clean install, load a save, drive a few blocks, trigger whatever the mod affects. Record how long startup takes, whether the game closed to the title screen cleanly, and what the log files contain. Save that log copy somewhere outside the install directory.
Check the baseline log for warnings. A fresh Rockstar install can still log shader complaints or social club sync messages that have nothing to do with you. If you read those as mod errors you will chase a ghost for an afternoon.
This step worked when a repeat launch on the clean install produces the same result, and the log holds no errors beyond what you recorded. If the clean install already crashes, fix that first and never ship against a broken baseline.
Step 3: Install the Mod in Isolation
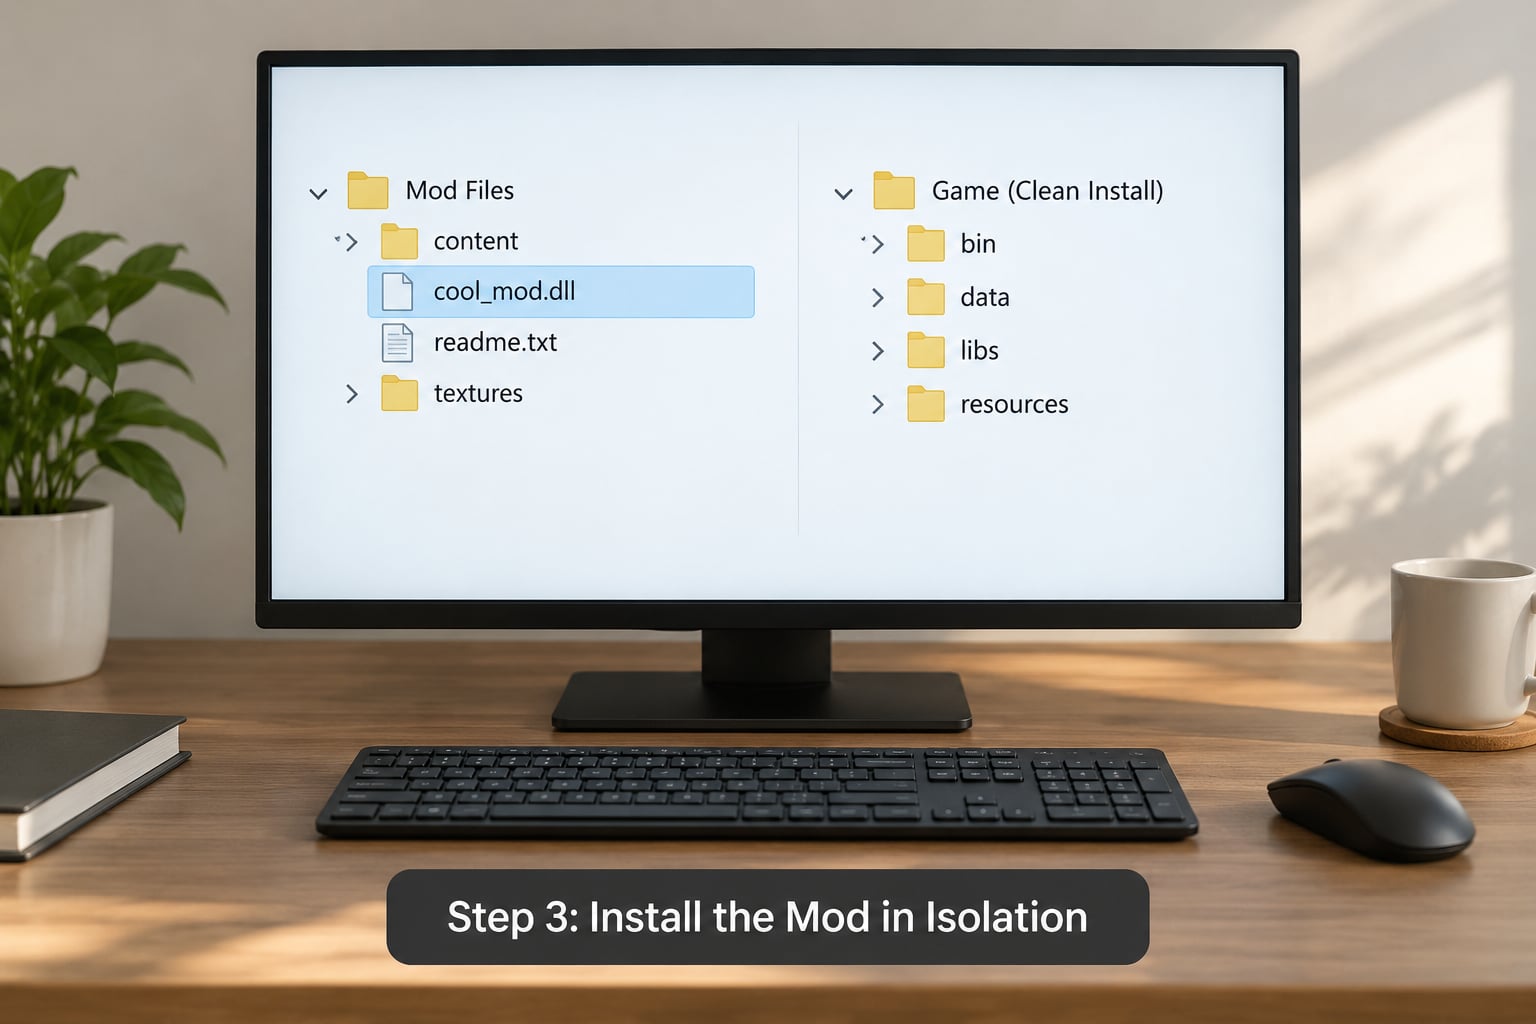
Install into the clean environment only, and only your mod. Nothing else. Not the tuning pack you use, not the trainer, not the framework your friend recommended.
For OpenIV, open Tools then Open Folder and point at the game’s install directory, switch the mode selector to mods, and place files there. The mods folder is a sibling of x64, not a replacement for the original data folders.
For a script mod, put the .asi or .script file where your loader scans and start the game. Watch the first launch closely: a script that fails to find a resource usually announces itself in the loader log rather than failing quietly.
This step worked when the game starts, your change is visible, and the log shows no missing-file or invalid-config lines. If the mod does nothing at all, check the log before you change anything else.
Step 4: Test Dependencies and Load Order
Now add dependencies one at a time, in the order your manifest lists them. Each addition is its own launch. Watching several new files land together tells you nothing about which one caused a problem.
Load order matters most for scripts and ASI files, and least for loose replacements in an unused folder. A texture mod usually cares about nothing but itself. A script that hooks the same game events as another script cares about the sequence entirely.
Test the order you recommend first. Then deliberately test the wrong order on purpose, and confirm that it fails the way you said it would. If your mod works in any order, say so on the page. If it only works after a specific mod, that belongs in a requirements list, not buried in a comment thread.
Symptoms to watch for, in the order they usually appear: a missing resource or model error in the log, then a silent no-op where the script runs but nothing happens, then a crash on load or on entering the area the mod touches. A file-not-found error almost always means a missing dependency or a wrong install path. A config parse error means the shipped .ini is malformed for that game build.
Half the mod pages I would check would fail this step, because the author tested one order and assumed it was the only one.
Step 5: How to Test Mod Conflicts Before Release Using Logs and Error Messages
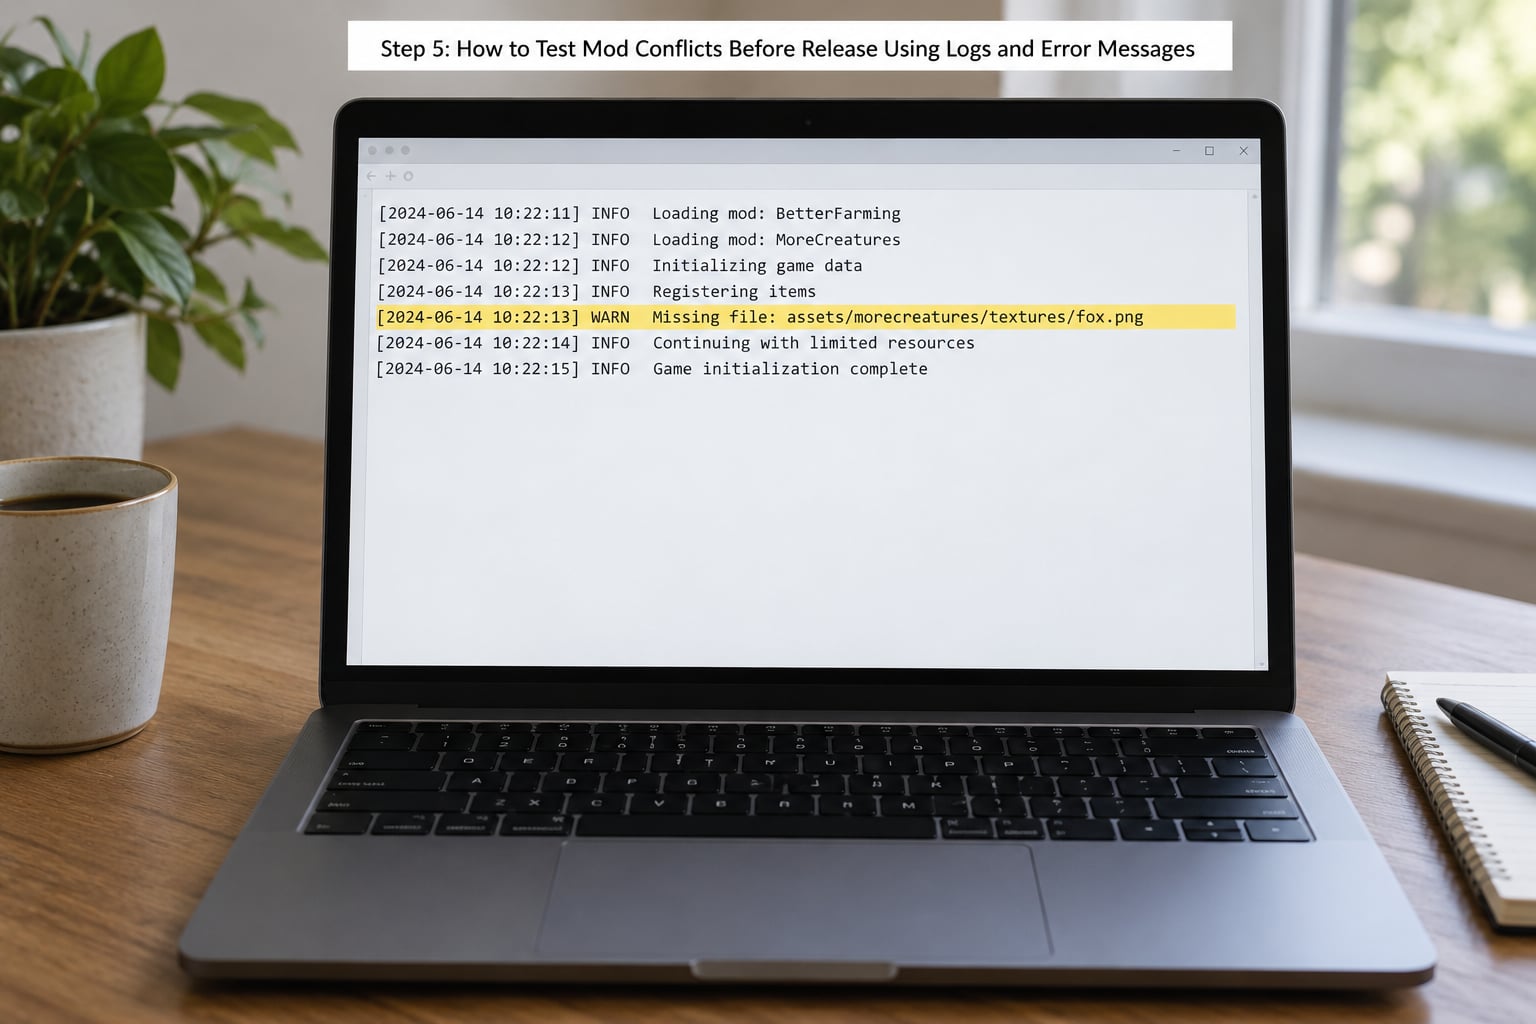
The log is the objective evidence. Screenshots of the game are ambiguous; a log line naming a file path is not.
For GTA V on PC, the launcher log sits in the Rockstar Games launcher folder under logs, and the Social Club folder holds a second copy of launcher output. ASI loaders write their own log on first run. OpenIV reports archive problems in its own window rather than a file, so screenshot those separately.
Match the timestamp of the error to the action that caused it. Load the save, trigger the mod, watch when the error appears. An error logged at launch points at load order or a startup script. One logged after you enter a specific area points at that area’s assets.
Read the error type before the message. Four types cover most of what you will see:
- File not found — a path is wrong, a dependency is missing, or your install folder is incorrect.
- Duplicate or overwrite — another mod claimed the same path. This is the conflict you came here to find.
- Invalid config — a malformed or unsupported option in a shipped
.ini,.cfgor.xml. - Asset load failure — a stream or archive index problem, often from a partially replaced file.
Save one clean log with no mods and one with your mod installed, and keep both. Publishing them on your mod page answers half the support questions you would otherwise answer repeatedly.
Step 6: Test Common Compatibility Scenarios
Your clean install proves nothing about the user’s machine. The useful test is a matrix, and it can be small enough to run in an afternoon.
| Scenario | What you are testing | Pass condition |
|---|---|---|
| Clean game, no mods | Baseline still intact | Launch and save load exactly as in step 2 |
| Your mod alone | Core functionality | Every feature in the manifest works |
| Your mod plus each dependency | Dependency wiring | No missing-resource errors in the log |
| Your mod plus a graphics or vehicle preset | Overwrite collisions with common packs | Both work, or the conflict is documented |
| Your mod plus one likely overlapping mod | The worst realistic case | Failure mode is understood and written down |
| New save versus an old save | Save-game coupling | Old saves load, or you state that they do not |
| Menus and pause screen | Overlay and HUD collisions | No stretched textures or duplicated text |
| Uninstall | Clean removal | Game returns to baseline after removal |
The graphics and vehicle preset row is the one people skip, and it is where most real reports come from. Those packs replace huge numbers of loose files by design, so your mod will meet one eventually.
If a combination fails, isolate it rather than guessing. Disable half the loadout and launch. If the failure disappears, the culprit is in the half you disabled; if it stays, the culprit is in the half still active. Repeat until you are down to one mod, or one mod pair. Five or six launches is usually enough to go from a hundred mods to the exact pair, and it beats reinstalling everything one at a time.
A Reddit regular’s most-cited trick, installing a new mod on a different profile from your main one, is the cheap version of the same idea. Halving is the method that scales to a hundred-mod loadout.
Test a fresh save and an old one. Fresh saves prove the mod installs and starts from nothing. Old saves surface scripts that assume objects already exist, which is a large share of crash reports on map and story mods.
Finish the row nobody does: uninstall your mod and confirm the game returns to the clean baseline. If residue is left behind, say so, and say how to remove it manually.
Step 7: Validate, Package, and Publish the Release
Take the test files out, then verify the archive you are about to upload against your manifest. Unzip the packaged download on a second clean environment and install it exactly as a stranger would, following only your own instructions.
That last step catches more packaging mistakes than anything else. A folder that only exists in your working copy, an instruction that says “move to the mods folder” when the path differs by three levels, a config file you forgot to include.
Ship clear installation and removal instructions, state the supported game build, and publish your requirements list, load-after list and known conflicts. Say what your mod was tested against rather than implying you tested everything.
If a conflict is unfixable on your end, ship a patch mod or document the exact combination that breaks. Either is better than silence, because silence generates the bug report you already predicted.
Common Mistakes
Testing over your modded installation. Your existing 90 mods hide the conflict you are looking for and add 30 others. Use the clean environment every time.
Changing several variables in one launch. If you swap three files and it crashes, you have learned nothing. One change, one launch, one note.
Assuming the newest file should load last. Load order follows dependency and override rules, not upload dates. Test the sequence you recommend and confirm it.
Ignoring game build differences. A mod verified on one build can break on another with no file change at all. Record the build you tested against in every version’s notes.
Failing to remove the previous version. Stale files from v1 in a v2 install cause errors that point at your new code. Clean install every time you test.
Testing only one save. An old save from before your script existed is a different game state. Test both.
Treating a successful launch as proof. Launching only proves no crash at startup. Walk through every feature in your manifest, then reload the save and test again.
Trusting a clean conflict scan. These tools match file paths, and a renamed or relocated asset matches nothing. Several checkers skip loose files entirely and report a clean bill of health on a mod full of loose replacements. Tool results are a starting point, not a verdict.
On release day, publish the mod page notes the moment you finish testing, not the day after someone asks. A requirements list and a known-conflicts line cost you ten minutes and cut the most common comment thread to almost nothing.
Frequently Asked Questions
How do I know whether a GTA mod conflict is caused by a file, a script, or load order?
Start with the log, not the game. A missing-resource line naming a path points to a file or an install path problem. An invalid-config or parse error means the shipped settings file is wrong. If the game loads clean and your feature simply never fires, suspect load order, especially with ASI loaders and scripts. Run the mod alone on a clean install first; if it works there and fails in a full loadout, it is an interaction rather than a broken file.
Can a mod pass testing on my computer but conflict on another PC?
Yes, and it is the normal case rather than the exception. Users have different mod managers, different game builds, different quality settings, and their own mod lists. A texture pack that leaves a file alone on your install may overwrite it on theirs. This is exactly why testing against a large realistic loadout matters, and why your mod page should say what you tested with instead of implying universal compatibility.
Is testing the game without other mods enough before releasing a mod?
No. A clean single-mod test proves your files install correctly and nothing more. Most reports you will receive come from someone running your mod next to a preset pack, a trainer, or another script. How to test mod conflicts before release means the single-mod pass first, then a series of scenarios with common packs and one likely overlapping mod, each as its own launch with its own saved log.
Should I fix a mod conflict by changing load order or by editing the file?
Change load order when two scripts hook the same system and one only needs to run after the other. Edit the file only when your mod genuinely should not contain that path at all, for example when you packaged an extra config by mistake. Replacing another mod’s file to force compatibility is the option that breaks next, because the other mod keeps updating and yours does not.
How many test saves or setups do I need before publishing a GTA mod?
Two saves: one new and one from before your mod existed, since scripts often assume objects already exist. Two setups as well: a clean install for isolation testing and one realistic loadout with common packs. Add a third machine or VM only if you ship to multiple platforms. Testing the packaged download on a second clean environment catches archive mistakes that no amount of local testing will.
What files should I include with a mod release to make conflict testing easier?
Ship the mod files, a manifest listing every added or replaced path, a requirements list in install order, a load-after list for scripts, and a known-conflicts section naming what you actually tested against. Add a config file with every option documented and safe defaults. If you can share logs, include one clean baseline log and one with your mod installed; testers trust that more than a promise of compatibility.
Conclusion
Start tomorrow with the least glamorous step: write the manifest of every path your mod touches. Everything after it — the clean baseline, the isolated install, the halved loadout, the log comparisons — gets faster and more accurate, because you always know what you changed. Then publish what you found on the mod page in the same sitting, while the log names are still in front of you.