You can learn modding with no coding experience at all. Start with projects that are pure file work — swapping a texture, changing a number in a config file, replacing a model — and you will be editing real game files inside a week, without writing a line of code. Most people spend their first month on this kind of thing before they touch anything that looks like programming.
The trap is scope, not skill. Picking a huge overhaul mod as your first attempt is how beginners quit in a weekend. Pick one small, well-documented change instead, learn how the game’s folders fit together, and let that one success carry you forward.
Table of Contents
- 1What You Need Before You Touch Anything
- 2Step-by-Step: From Zero to Your First Working Change
- 3How to Learn Modding with No Coding Experience
- 4Choose a Mod Project That Needs No Scripts
- 5Learn the Folder and File Structure
- 6Make a Backup Before Installing
- 7Install the First Mod Correctly
- 8Test the Mod and Check the Result
- 9Troubleshoot One Problem at a Time
- 10Build Skills Gradually
- 11Common Beginner Mistakes and the Fix
- 12Frequently Asked Questions
- 13Do I need to know how to code to start modding?
- 14What is the easiest type of mod for a complete beginner?
- 15Which modding tools are safe for beginners to use?
- 16How can I tell whether a mod is compatible with my game version?
- 17Why is my mod not showing up in the game?
- 18Should I make a mod for PC, console, or Android first?
- 19Conclusion
What You Need Before You Touch Anything
Six things. Most beginners already own five of them.
- A game with real mod support. Not every game lets you. The title you pick determines everything downstream, so this comes first.
- The exact game version you will mod. Mods are written against a specific version. A texture pack built for one version usually breaks on another.
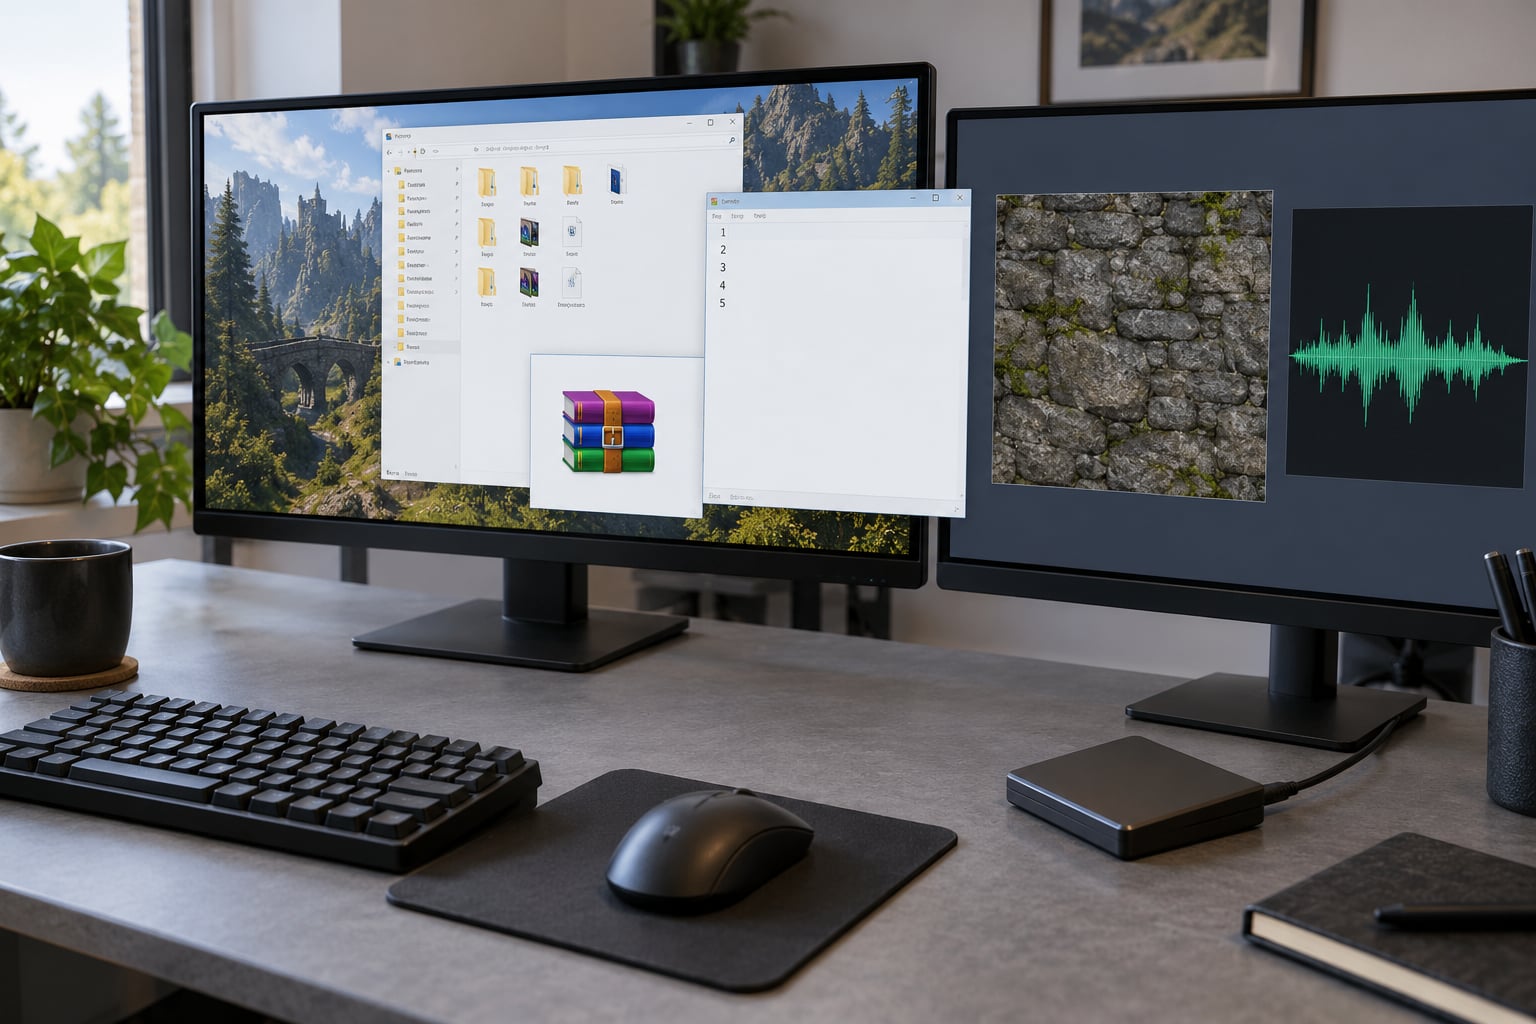
- A mod manager or an archive tool. A manager handles downloading and version matching for you. An archive tool (something that opens .zip files) does the same job manually. Beginners on PC usually want both: the manager for other people’s mods, the archive tool for your own edits.
- The original game files, untouched. You need a clean copy to compare against and to restore when something breaks.
- A plain text editor. Not a word processor. Notepad on Windows or TextEdit on Mac is enough for configuration work, and a code editor like Visual Studio Code is better once you start looking inside .json files.
- A backup plan. A second copy of your game folder or your saves on another drive. This is the single most useful thing on this list.
Add a place to ask questions. Discord servers for your game’s modding community answer in minutes; Reddit threads take a day and usually contain someone guessing. If you only do one setup thing today, join the Discord for the game you picked.
Step-by-Step: From Zero to Your First Working Change
How to Learn Modding with No Coding Experience
Learning modding with no coding experience works in layers, and the layers are arranged in a very specific order. Start at the top: change values, replace files, and edit configuration. Only when that feels comfortable do you move into structured data files, then tool-assisted logic, then code.
People who try to jump straight to scripting tend to stall. The game throws an error log at you, the error log uses terms you have never seen, and there is no obvious next step. The same person who changes a config value and watches the number move in-game builds real confidence in an afternoon.
A realistic timeline: first working file edit within a week, comfortable with folder structure inside a month, first tool-assisted project in two or three months. Tutorials that promise a shipped mod in seven days are selling a course, not describing what happens.
Choose a Mod Project That Needs No Scripts
Pick a project whose entire content is files. The four that work best for a first attempt:
- A texture replacement. You copy the game’s original image, paint over it, and drop the copy back in with the exact same filename. If the ingame object changes colour or detail, it worked.
- A sound replacement. Identical idea with an audio file. Same path, same name, same format.
- A configuration value edit. Many games ship .ini, .cfg, .json or .xml files with readable settings. Change a number, launch, and see what shifted.
- A model or sound pack swap. Entire packs of replacements that a creator already published. Installing one teaches you folder placement and file naming without any authoring.
How do you confirm a project is supported? Look for three specific things on the page or in the download itself: the exact game version listed, the list of files included, and a written installation path. If the version is missing or the instructions say only “drop it in,” skip it. Creators who write install paths are the creators whose files actually work.
On Minecraft specifically, resource packs and behavior packs are the beginner zone. A resource pack holds textures, models and sounds. A behavior pack holds the data that changes what happens in the world. Both are folders of files you can open and read, which is exactly what you want at this stage.
Learn the Folder and File Structure
Mods live in a specific folder, and putting files one level too high or too deep is the number one reason nothing happens. Find the game’s install directory first, then look for a folder named mods, addons, plugins or data.
Three rules save beginners an enormous amount of time:
- Never rename a file. The game looks up assets by exact name. A texture called stone.png does not become cobblestone.png because you liked the name better.
- Watch the extension. If Windows hides file extensions in your folder view, turn that setting on before you start, or you will save your edit as picture.png.txt and wonder why nothing changed.
- Stay inside the supported folder. Files you drop into the game’s core directory can trigger a repair prompt or a crash on the next launch.
Keep a plain list of what you changed and where. A text file called changes.txt with three lines — date, file path, what you edited — has saved me more time than any tool.
Make a Backup Before Installing
Copy the original game files and your current save to another drive before the first install, not before the fifth. It takes a few minutes once and it turns every future panic into a five-minute restore.
Then open one of the copies and launch the game. A backup you have never loaded is a hope, not a backup. This check takes two minutes and it is the step everyone skips.
For save files specifically, copy them out while the game is fully closed. Writing a partial save is how a clean backup turns into a corrupt one.
Install the First Mod Correctly
Six steps, in order, every time.
- Check the version match. The mod’s target version must equal your game version. Not close. Equal.
- Read the author’s install instructions completely before opening any file. Most failures come from doing step four before step one.
- Close the game. Every time. A file locked by a running game silently fails to copy.
- Place files into the exact path listed, including any nested folders the instructions create.
- Handle overwrite prompts deliberately. If you are asked to replace an original file, understand why. Sometimes it is required. Often it means the mod was built for a different version.
- Launch once, then check before adding anything else.
If a mod author provides an installer or launcher entry, use it. It exists because they hit the same fiddly problem you are about to hit.
Test the Mod and Check the Result
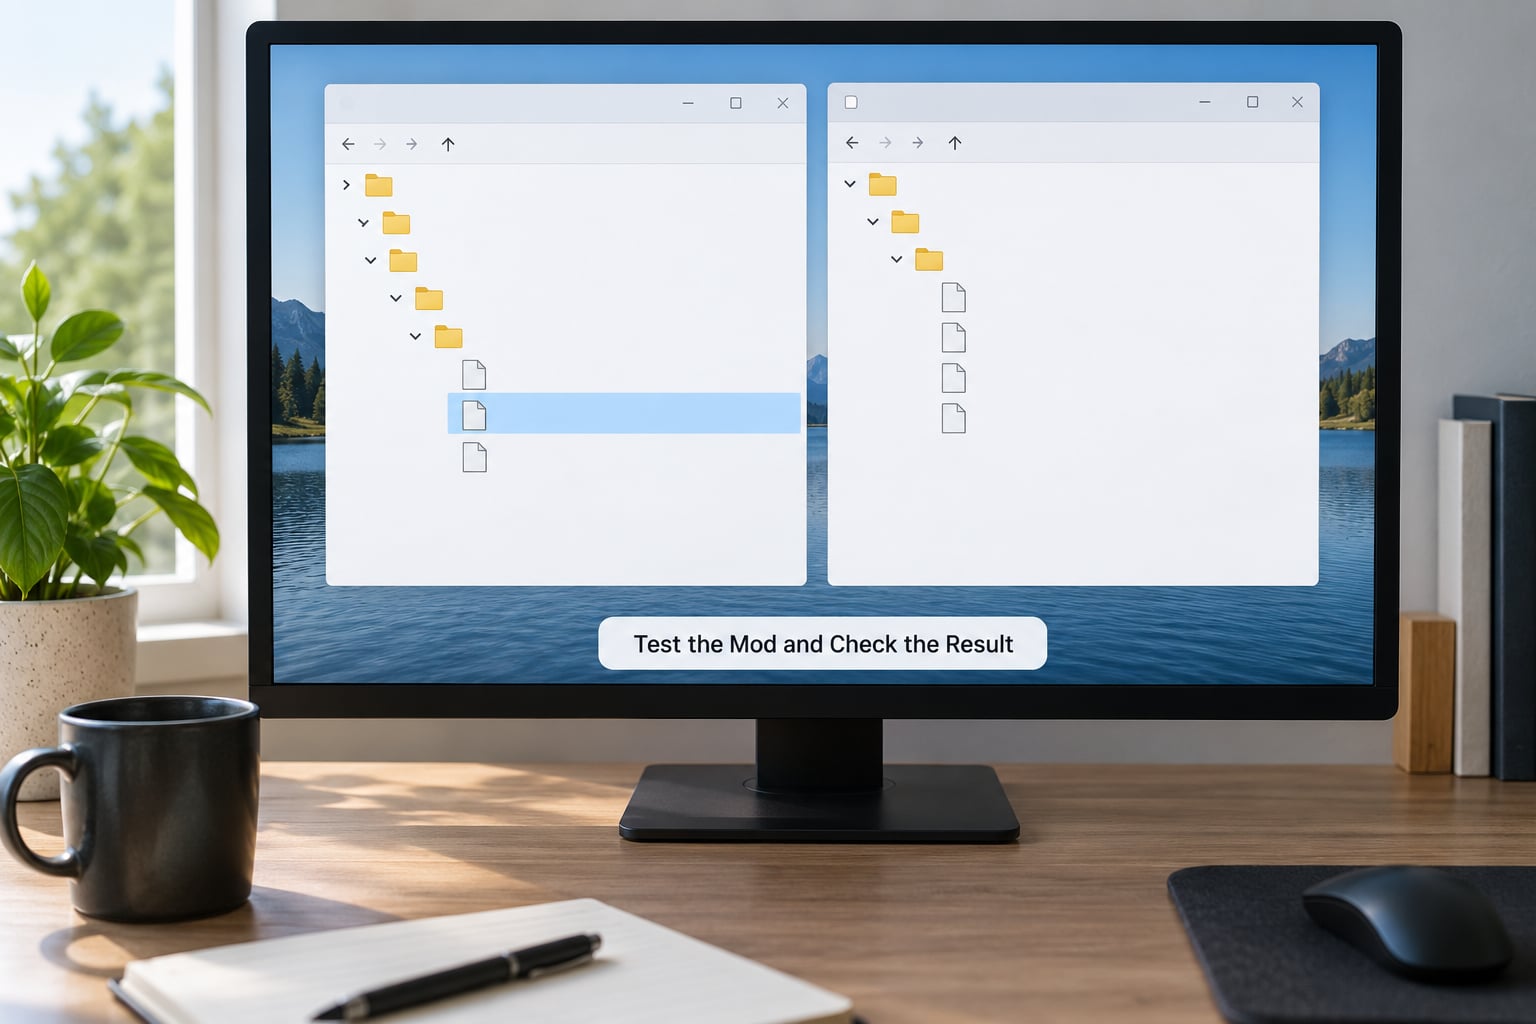
Test in a place where damage is cheap. A new flat world, a test save, or a private server you alone can join. Never test a replacement on the world you have played for a year.
Then look for the specific thing you changed, not for a general feeling that something is different. You edited a damage value, so fight something low-risk and compare numbers. You swapped a texture, so stand still and look at the object in daylight, not in a dark cave at night.
Write down what you observed in one sentence. “Tool broke blocks at half speed, no errors in the log” is a real test result. “Seems different” is not.
Troubleshoot One Problem at a Time
When something breaks, work down this list in order. Fixing one problem often reveals that there was never a second.
- Nothing changed at all. Wrong path, wrong filename, or the game loaded a cached version. Check the folder first — it accounts for most cases.
- The game ignored the file. Often an enabled or disabled flag in a config file, or a pack that is present but not switched on.
- Version mismatch. The mod targets a different build. This is the most common dead end and there is no fix except finding a matching version.
- The game crashed on launch. Restore your backup, get a clean launch, then add one change at a time. Guessing with a broken install never converges.
- Two mods fight. Disable one, test, disable the other, test. Mods that touch the same systems rarely combine.
- Partly works. Some files copied and some did not. Re-copy from the archive over a fresh restore.
Learn where your game’s log file lives before your first install. Every serious modding tool writes one, and reading the last twenty lines tells you exactly what the game objected to.
For Minecraft Java, the log and the crash report sit in the logs and crash-reports folders inside the game directory. For most other games, the equivalent is a log or console window you can open with a launcher option. Find yours now.
Build Skills Gradually
Once a replacement file works, the next step is not scripting. It is structure.
- Stage 1: replacements and values. Textures, sounds, config numbers. Done when a change is visible on the first try.
- Stage 2: structured data files. Bedrock behavior packs and Minecraft data packs are JSON files that describe items, recipes and blocks. They look intimidating and are mostly lists with names in them.
- Stage 3: tool-assisted logic. A visual editor where you drag a trigger and an action onto a canvas. On Minecraft this is the route MCreator takes, and it produces real, publishable output even though the community is split on it.
- Stage 4: code. Only here. And by now you already know what a mod folder looks like, how the game reports errors, and how to get back to a working state.
Give each stage one finished project before starting the next. A half-finished texture pack teaches less than one completed behavior pack with three custom items.
If you use an AI assistant along the way, treat it as a fast second pair of eyes on syntax and file structure, not an oracle. It writes boilerplate well and invents file names and function names that do not exist. Everything it gives you gets checked against the game’s own files and documentation before you trust it.
Common Beginner Mistakes and the Fix
Downloading files from unknown mirrors. The community hosts mods on established platforms, and a mod is executable code running inside your game. Use the official mod pages for your game and nothing else.
Ignoring the version requirement. A mod built for one version will not run on another, and no amount of reinstalling fixes it. Check the version before anything else.
Overwriting original game files with no backup. Then the next update wipes your work or your game refuses to launch. Copy first, always, and verify the backup opens.
Changing five values at once. When one of them misbehaves you have four suspects. Change one thing, test, write down the result, repeat.
Testing on your main save. A bad install can corrupt a world. Use a throwaway world or a copied save until the mod is proven stable.
Following tutorials for an old version. Version-specific tutorials are the leading cause of frustration. Check the upload date and the version in the title before you start, and prefer a creator who updates their playlist.
Leaving the game running during install. Locked files do not always copy, and you get a half-installed mod with no error message. Close the game. Every time.
Reading the error but not the log. The crash report on screen is a summary. The log file underneath it has the exact file name and line that failed.
Scaling up too early. The first successful mod is almost always a single item, block or texture. Scope is what kills projects, not difficulty.
Treating community gatekeeping as the rules. Plenty of experienced modders use visual tools. Ask about the outcome you want rather than asking whether your method is legitimate.
Frequently Asked Questions
Do I need to know how to code to start modding?
No. Your first several mods can be pure file work: replacing a texture or sound, changing a number in a config file, or installing an existing pack. Coding only becomes necessary when you want custom behavior like a new block with its own logic. Plenty of published mods are entirely resource and data files, which is why you can do useful work on day one.
What is the easiest type of mod for a complete beginner?
A texture replacement is the easiest because success is instantly visible and hard to break. You copy the original image out of the game folder, edit it, and save it back under the exact same name and format. Second easiest is a configuration value edit, where you change one number and relaunch. Both teach the folder structure that every later project depends on.
Which modding tools are safe for beginners to use?
Use the official mod manager or launcher published by the game’s developer or its established community mod host, plus a standard archive utility for opening and repackaging .zip files. A plain text editor handles configuration edits. Avoid third-party download sites that bundle executables with mods, since a mod already runs as code inside your game and you do not want extra code you did not ask for.
How can I tell whether a mod is compatible with my game version?
Check the mod’s own page for a version number or build reference, then compare it with the version your game shows on its main menu or launcher. It must match exactly. Also read the install instructions: a page that lists exact folder paths and included files was written by someone who tested the mod, while a page saying only drop it in has probably not been checked since the game updated.
Why is my mod not showing up in the game?
In order of likelihood: the file went into the wrong folder, the filename or extension changed during editing, the pack is installed but not switched on in the game’s content settings, or the game loaded a cached copy instead of your new files. Work down that list rather than reinstalling blindly. A fresh clean launch with your backup restored often resolves it in one step.
Should I make a mod for PC, console, or Android first?
Start on PC. Console platforms are locked down, usually require a paid membership, and typically restrict what you can publish. Android has good community-made tools but they are phone-sized and awkward for file exploration. The only reason to choose a console is if that is where you play, in which case accept that you may be limited to installing existing mods rather than authoring your own.
Conclusion
Pick one small, script-free change today: a texture swap or a single config value, on a game version with matching mods. Copy your game files somewhere else first, install the change into the exact path the author lists, and test it alone in a throwaway world.
That is the whole first session. Everything after it — data files, visual logic, code — builds on knowing which folder holds what and how to get back to a working game when something goes sideways.