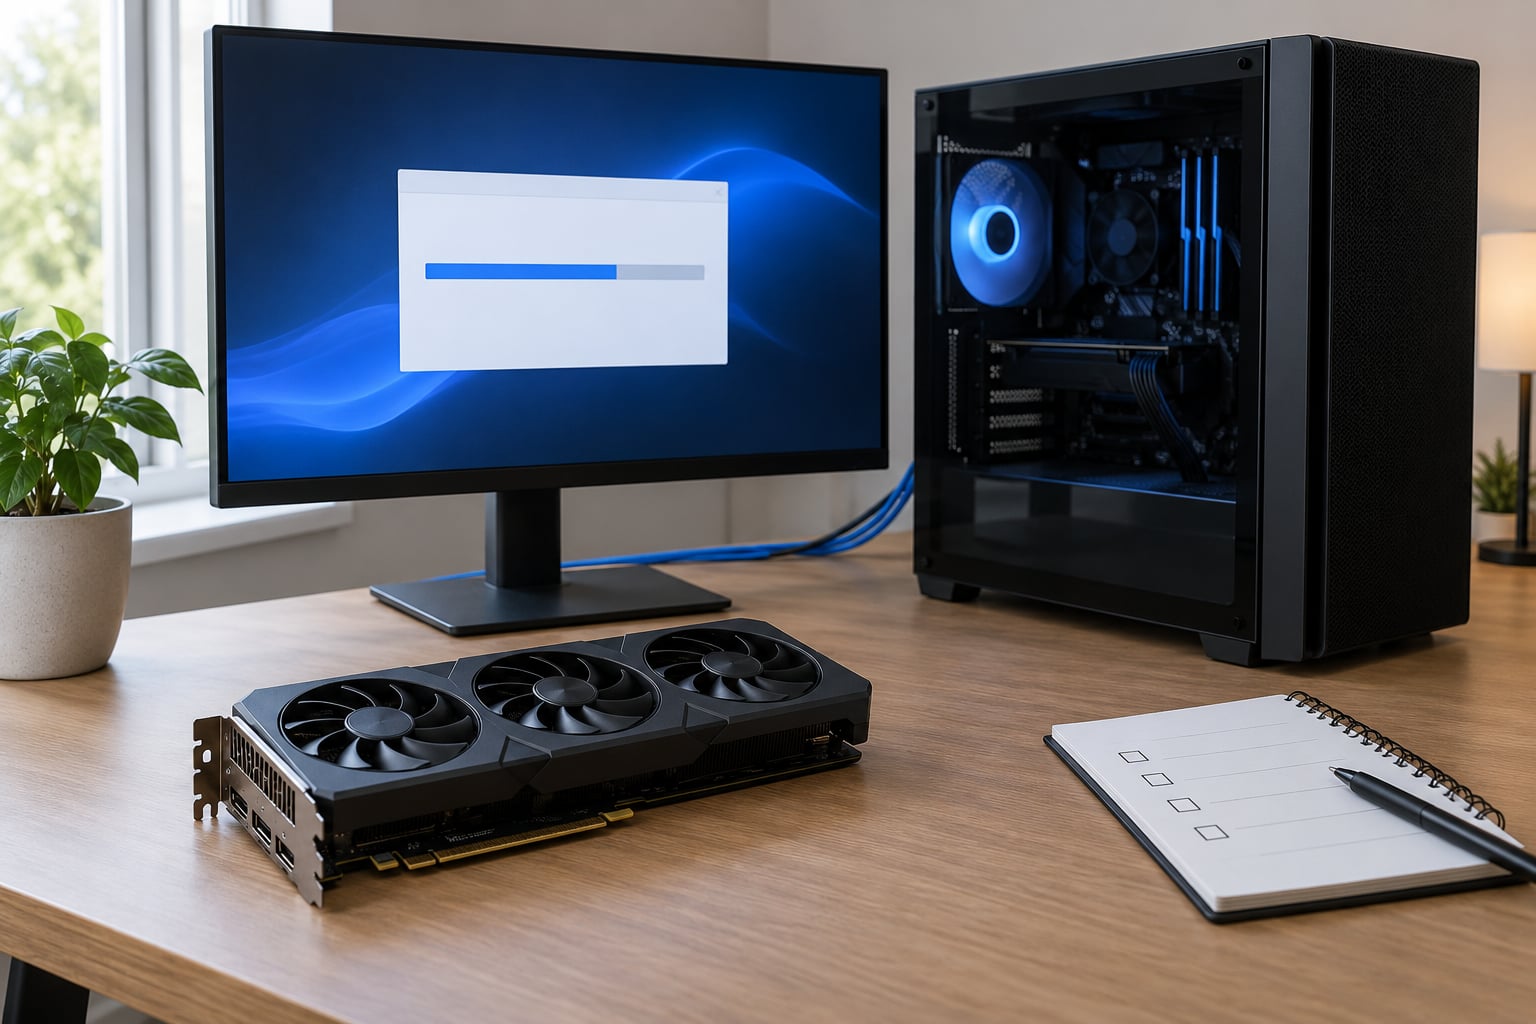
A clean install means removing every trace of your current GPU driver, then installing a fresh one with nothing left over to argue with it. Do that before modding and your graphics preset has a known-good baseline to sit on, so any stutter or black screen afterwards points at the mod instead of at stale driver files.
Most guides stop at “relaunch the game.” This one carries on through verification and then into the mod install itself, because that is where the damage usually happens.
The whole process takes about 30 to 45 minutes on a normal Windows 10 or Windows 11 machine, and the only part that carries real risk is running the removal tool.
Table of Contents
- 1What You Need
- 2Step-by-Step: How to Clean Install Graphics Drivers Before Modding
- 31. Back Up Your Current Graphics Settings
- 42. Check Which Graphics Card You Use
- 53. Close Games and Graphics Control Software
- 64. Use DDU Safely When a Full Driver Cleanup Is Needed
- 75. Prevent Windows From Reinstalling the Old Driver
- 86. Download the Driver for Your GPU
- 97. Install the New Graphics Driver
- 108. Restore Settings and Test the Game Before Modding
- 11If the reinstall fails or the screen stays black
- 12Common Mistakes
- 13Frequently Asked Questions
- 14Do I need to clean install graphics drivers before every mod?
- 15Is DDU safe for my graphics card?
- 16Should I always install the newest GPU driver before modding?
- 17Can clean installing drivers remove my mod settings?
- 18How do I know if a graphics driver problem is causing my game to stutter?
- 19What should I do if Windows keeps reinstalling the old graphics driver?
- 20Conclusion
What You Need
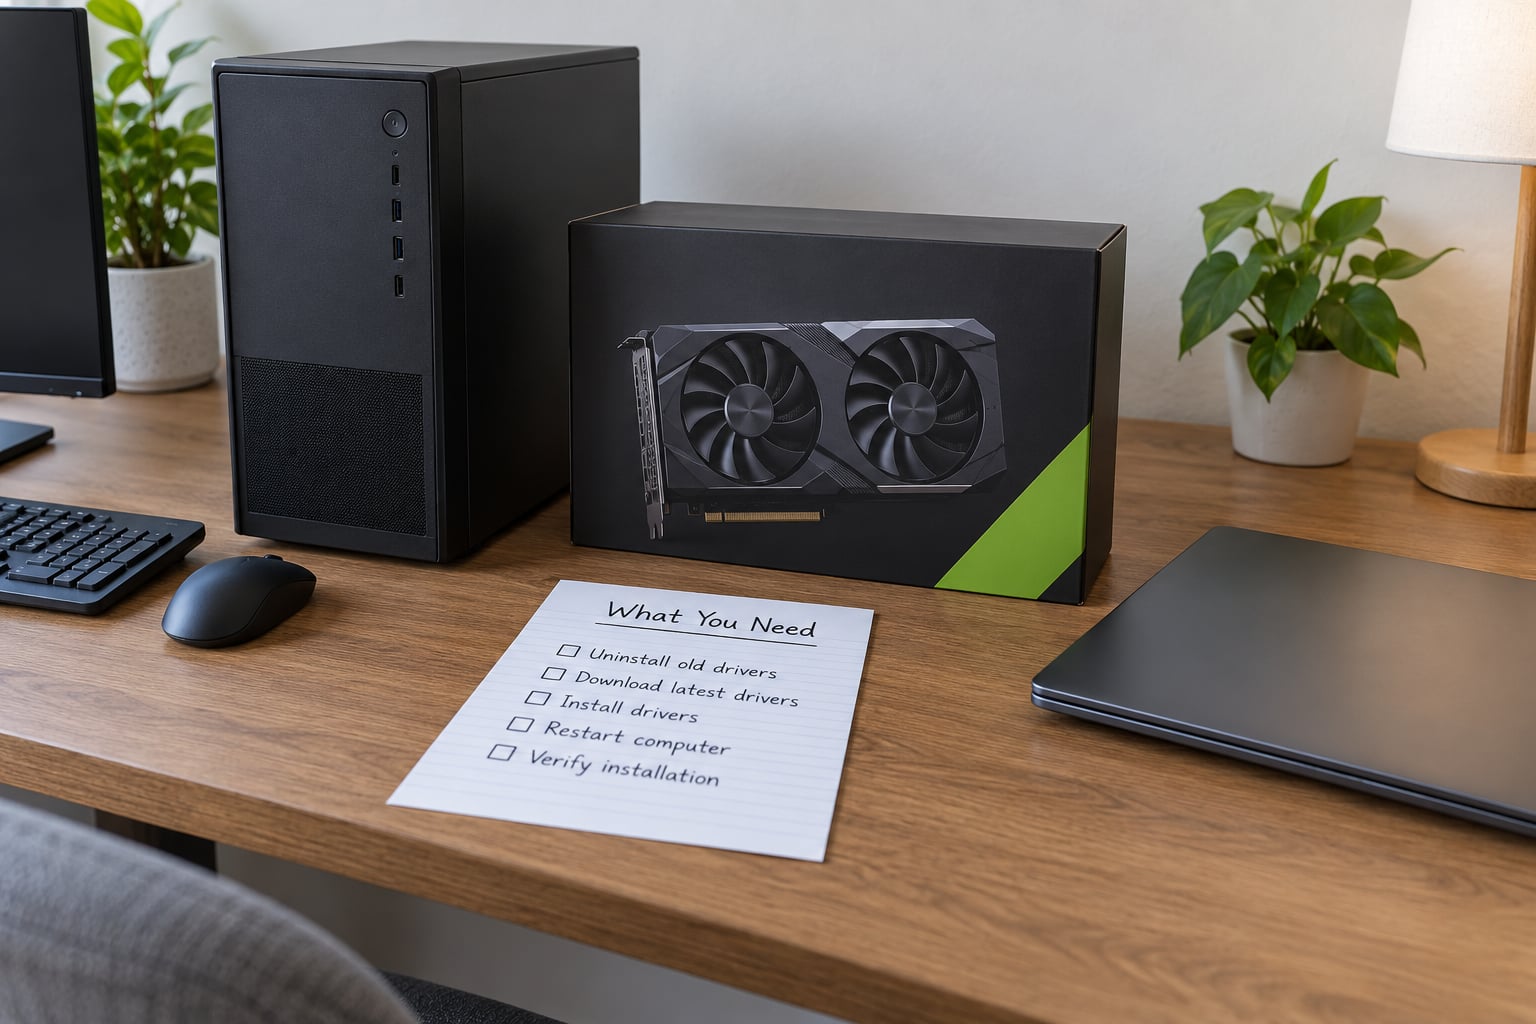
Gather everything first. Doing the wipe with no replacement driver already downloaded is the single most common way people end up staring at a black screen with no way back.
- A Windows 10 or Windows 11 PC with a discrete NVIDIA or AMD graphics card (the steps also work on Intel-only laptops, but most modders will not need them).
- The replacement driver already downloaded from the vendor and sitting on your Desktop, extracted if the vendor lets you extract it.
- A way to confirm your exact GPU model, so you download the right driver rather than a generic one.
- Display Driver Uninstaller (DDU) from the official wagnardsoft.com site, for a full cleanup.
- A backup of your mod configuration, shader cache and saved graphics profiles.
- A record of your current resolution, refresh rate and colour profile, since a clean install wipes those.
- A recovery path: know how to boot into Safe Mode and how to reach another computer if the reinstall fails.
One honest note about risk: DDU is safe when you follow its prompts, and it only removes display drivers. But forum threads on r/PcBuild and r/pcmasterrace carry the same anxiety every time, and they are right that “safely” deserves an answer. This procedure keeps a recovery path open the whole way through.
Step-by-Step: How to Clean Install Graphics Drivers Before Modding
1. Back Up Your Current Graphics Settings
A clean install returns the driver profile to factory defaults. Everything you tuned in NVIDIA Control Panel or AMD Software disappears, and getting it back from memory is miserable.
Open your control panel and write down, or screenshot, the following: current resolution and desktop mode, refresh rate, output connection and which monitor is primary, colour profile, and any custom settings per game profile. If you use Afterburner, export its profile from the save slot menu instead of relying on notes.
Then copy your mod setup. ENB-style presets and graphics mods live in the game’s folder or in a separate mod manager profile, so copy those to another drive or an archive rather than assuming they are safe. Users on r/XtremeG treat the clean baseline as a prerequisite step, and backing up the preset before the wipe is the part people skip.
2. Check Which Graphics Card You Use
On Windows 11, press Start, type Device Manager and open it. Expand Display adapters. The entry with your card’s name on it is the one you need.
On Windows 10, the path is the same, or press Win plus X and pick Device Manager from the menu. Double-click the display adapter to open Properties and read the driver version and date under the Driver tab, so you know what is currently installed.
Second method for both: press Win plus R, type dxdiag and press Enter. The Display tab names the card, the driver version and the driver date. Note the version number before you change anything, because that is how you confirm later that the new driver actually took.
Laptops often show two adapters, an Intel integrated chip plus the discrete card. Write down both. You will need the integrated driver too if you ever swap cards.
3. Close Games and Graphics Control Software
Close everything that touches the graphics driver before you touch the driver. Programs holding files open can block the cleanup halfway and leave you in a worse state than before.
- Every game, including ones running in the background
- Rockstar Games Launcher, Steam, Epic Games Launcher and any mod manager
- NVIDIA Control Panel and the NVIDIA App or GeForce Experience
- AMD Software: Adrenalin Edition
- MSI Afterburner and RivaTuner Statistics Server
- Overlays and capture tools, including Discord, OBS and Xbox Game Bar
You can check for stragglers in Task Manager under Processes. Anything still running that touches graphics is worth closing properly, not just minimising.
4. Use DDU Safely When a Full Driver Cleanup Is Needed
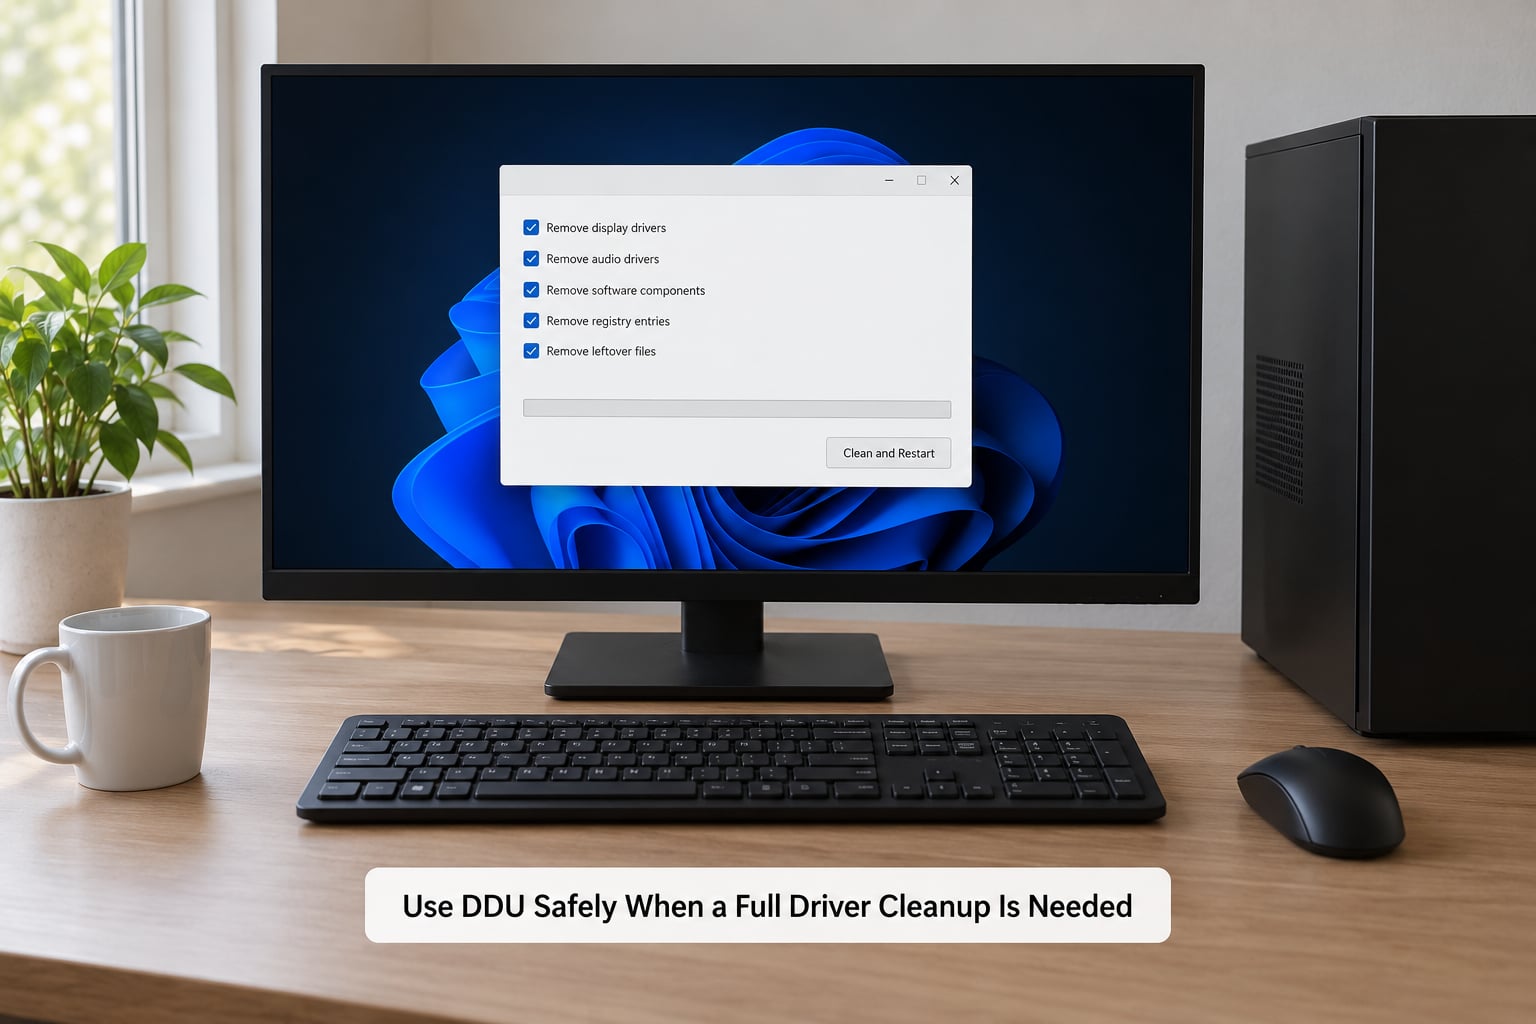
Skip this step for most people. If the driver uninstalled cleanly a month ago and nothing has changed, a standard install with the clean installation checkbox is enough, and there is no reason to take on a Safe Mode session.
Use DDU when the driver is corrupted, when you are switching graphics card brands, when you are recovering from a screen that flickers or goes dark, or when the previous install failed or is refusing to update. That is the list the modding community actually hits, and it is what separates “I uninstalled the driver” from an actual clean install.
To do it: download DDU from the official wagnardsoft.com site, extract the archive to a folder on your Desktop, and set Windows to show file extensions so the executable is not renamed. Then boot into Safe Mode. Press Win plus R, type msconfig, go to the Boot tab, tick Safe boot under Boot options, and restart.
Once Safe Mode loads, run the DDU executable. Choose the device type as GPU, select your vendor from the list, and pick the clean and restart option. Your display will go dark and flicker for several seconds, and secondary monitors can stay dark longer than the primary one. That is normal and it is the part that makes people panic and force a hard power-off, so do not.
What DDU does not do: it does not touch chipset drivers, network drivers, audio drivers or anything in your mod folders. If it asks to remove something that is not a display adapter, say no. Afterwards you will land back in normal Windows with a basic display driver and a blank screen resolution.
5. Prevent Windows From Reinstalling the Old Driver
This is the step that quietly undoes everything you just did. Windows Update can push the old driver back within minutes of the wipe, and then you have no idea why the problem persists.
Press Win plus R, type sysdm.cpl and press Enter. Open the Hardware tab and choose Device Installation Settings at the bottom. Select the option that stops Windows from downloading driver software automatically, and confirm. On Windows 10 you will also find the same toggle under Windows Update, in the Optional updates section.
This is a temporary change. Once your new driver is installed and verified, come back to the same window and restore the default setting, otherwise you will miss legitimate driver updates later.
6. Download the Driver for Your GPU
Go straight to the vendor. For NVIDIA that is the GeForce driver download page; for AMD it is the Adrenalin Edition page on amd.com. Avoid third-party download sites entirely, since repackaged installers are a well-known source of modified packages.
On the download page, pick your operating system, then your GPU family and exact model, then the driver branch. NVIDIA offers Game Ready and Studio Driver branches; most modders want Game Ready unless they are also editing video. AMD offers a similar split between its gaming and pro variants.
Save the file, and while you are there note the version number. You will compare it against dxdiag after installation.
7. Install the New Graphics Driver
Run the installer. On NVIDIA you get two paths: Express Installation, which sets everything to defaults, and Custom (Advanced) Installation, where you control the components and can tick Perform a clean installation. For modding, use Custom and tick the clean installation box even if you just ran DDU, since it costs nothing.
On AMD, choose the driver type that matches your previous setup rather than forcing a factory reset, and tick the option that resets settings only if you did not back them up.
On a laptop with Intel plus a discrete card, install the Intel driver first, then the AMD or NVIDIA one. That order matters, and getting it backwards is a common source of a laptop that boots to a black screen.
Let the installer finish on screen before you touch anything. Do not close the laptop or force a restart mid-install, and unplug a second monitor if you can, since some multi-monitor setups black out during the device swap.
8. Restore Settings and Test the Game Before Modding
How to clean install graphics drivers before modding is only half done until you verify it. Check dxdiag first: the driver version and date should now match what you downloaded. If they do not, the new driver did not install and your next test will be meaningless.
Open Device Manager and confirm the display adapter shows no yellow warning triangle. Error code 43 means Windows blocked the driver, which usually points at a third-party or modded package on top of a stock install.
Now reapply your recorded resolution, refresh rate and colour profile, then launch the game with no mods installed at all. Play for fifteen minutes in a busy area. If the frame rate holds steady and nothing flickers, your baseline is good and you can move on.
Only then reinstall your graphics mod or ENB preset. Add one mod at a time and test between each, because five changes at once tells you nothing about which one caused a problem. Keep your backup folder until the whole set is stable.
If the reinstall fails or the screen stays black
Boot into Safe Mode, since the basic Windows display driver loads there. From Safe Mode you can uninstall the failed driver cleanly and run your installer again, this time with the clean installation box ticked.
If Safe Mode will not load either, boot into Windows Recovery Environment, choose Startup Repair, and let it roll the driver back. Failing that, install from another computer over a USB stick made with the Media Creation Tool.
Restore the Device Installation Settings toggle once you are back on a working driver, then check for pending Windows updates before you start modding again.
Common Mistakes
Downloading the wrong GPU driver. Desktop and laptop variants of the same GPU name differ, and Intel-plus-NVIDIA machines pull down the wrong package constantly. Confirm the model in Device Manager first, every time.
Letting Windows Update reinstall the driver mid-wipe. This is the reason clean installs “didn’t work” in a large share of forum threads. Block automatic driver downloads before you touch DDU, not after.
Deleting the wrong entries in Device Manager. Uninstalling anything that is not a display adapter, such as a chipset or network device, causes problems that have nothing to do with your graphics card. Remove the display adapter and nothing else.
Forgetting to restore your settings. A clean install wipes your profile and colour settings, and that always feels like a new problem. Record them in step one and this never happens.
Assuming every mod needs the newest driver. Most do not. The newest branch can be the thing breaking your preset, and rolling back to the previous stable version is a legitimate fix, not a defeat.
Testing five variables at once. Driver, new mod, ENB preset and a config edit together means a crash tells you nothing. One change, one test.
A few habits prevent most of this: download the driver before removing anything, work on a wired connection or have a second machine available, never interrupt the installer, and keep your mod backup until the setup has survived a few sessions.
Frequently Asked Questions
Do I need to clean install graphics drivers before every mod?
No. Most mods work fine on whatever driver you already have running. A clean install is worth the effort when you are switching graphics cards or brands, recovering from a screen that flickers or blacks out, coming off a driver update that broke something, or starting a large visual overhaul where you want a clean baseline so any later fault belongs to the mod. For a single small tweak, install it and test first.
Is DDU safe for my graphics card?
Yes, provided you use it correctly. DDU only removes display drivers, not chipset, network or audio drivers, and it will not touch your game files or mod folders. The risk comes from force powering off mid-run, since the screen goes dark and flickers for several seconds during removal. Secondary monitors can stay dark longer than the primary one, which is also normal. Keep a replacement driver downloaded and a recovery path ready.
Should I always install the newest GPU driver before modding?
Usually, but not always. The current driver gives you the best chance that a recent mod or ENB preset is supported and tuned for it. If your preset predates the newest branch and you get stutter or crashes, roll back to the previous stable version instead, which is a normal and supported move. Record which version you settle on so you can return to it.
Can clean installing drivers remove my mod settings?
A clean install wipes your driver profile, which means NVIDIA Control Panel or AMD Software settings, colour profile and any per-game tweaks. It does not delete your mod files, ENB presets or configuration folders, since those live in the game directory or your mod manager profile. Still, copy your preset folder and config to another drive before you start, so you can restore everything in minutes.
How do I know if a graphics driver problem is causing my game to stutter?
Check three things. Confirm the driver version in dxdiag matches what you meant to install, confirm Device Manager shows no warning triangle or error code 43, and test the game with every mod disabled for fifteen minutes in a busy area. If the stutter disappears with mods off, the driver is probably fine and the mod is the cause. If it persists on a vanilla setup, keep going and reinstall the driver cleanly.
What should I do if Windows keeps reinstalling the old graphics driver?
Block automatic driver downloads before you wipe. Press Win plus R, type sysdm.cpl, open the Hardware tab and choose Device Installation Settings, then select the option that stops Windows downloading driver software automatically. Once your new driver is installed and verified, return to that same window and restore the default setting. If a driver still reappears, check Windows Update for a pending optional driver update and hide it.
Conclusion
Start with the GPU model, not the driver. Confirm what card you have in Device Manager or dxdiag, back up your settings and mod folders, then block Windows from reinstalling anything before you start the wipe.
After the wipe, install the correct driver with the clean installation option, verify the version in dxdiag and confirm Device Manager shows no error, then test the game with no mods before adding them back one at a time. If anything breaks along the way, Safe Mode is your way back, and your backup folder means no preset gets lost.