Learning how to install community patches for old games comes down to five things: confirm your game version matches what the patch was built for, back up your saves and game files, follow the author’s install order exactly, apply the files while the game is closed, and test before you add anything else. Most broken installs I have seen trace back to one skipped step, almost always the version check.
Community patches are the reason a fifteen-year-old game still boots on Windows 11. They fix crashes, add widescreen support, restore content that shipped broken, and smooth over bugs the developer stopped caring about years ago. They also overwrite your files, which is why the whole thing only works if you treat it as reversible from the first click.
Most installs take about fifteen minutes. The slow part is usually reading the readme, and that is the part you should never skip.
Table of Contents
- 1What You Need
- 2Step-by-Step: How to Install Community Patches for Old Games
- 3How to Check That Your Game Version Matches the Patch
- 4How to Back Up Saves Before Applying a Patch
- 5How to Apply Patch Files Safely
- 6How to Test the Patch and Verify the Result
- 7Common Mistakes
- 8Frequently Asked Questions
- 9Can I install a community patch on an older version of the game?
- 10Should I back up my game before installing a community patch?
- 11Do community patches overwrite my original game files?
- 12Why does the game not launch after I install a patch?
- 13Can I use community patches on consoles or Android?
- 14How do I install a patch when the author provides a mod manager instead of files?
- 15Conclusion
What You Need
You need five things before you touch a single file. Missing one of them is how people end up reinstalling the game at midnight.
- The exact game version you own. Not the name of the game, the version number. Check the executable properties or the launcher’s About screen.
- Every official patch, applied. Community patches usually sit on top of official updates, not instead of them.
- A patch source you trust. The author’s own page, a long-running repository, or an archived community page, rather than a random file mirror.
- A backup of your game folder and saves. A second drive if you have one, or a compressed archive with a date in the name.
- A clean extraction folder. Somewhere outside the game directory where the downloaded archive can unpack without dragging a folder name along.
Two optional items earn their place for most people. A mod manager such as Vortex or Mod Organizer 2 helps once you are layering several mods, and it actively gets in the way for a simple file-copy patch. A plain archive tool like 7-Zip handles the multi-part downloads that large texture packs often ship as, since Windows still refuses to open .001 archives natively on many systems.
On PC, you also want administrator rights. Patching into Program Files or a Steam library without elevation usually ends with a permissions error halfway through and a half-patched install.
Step-by-Step: How to Install Community Patches for Old Games
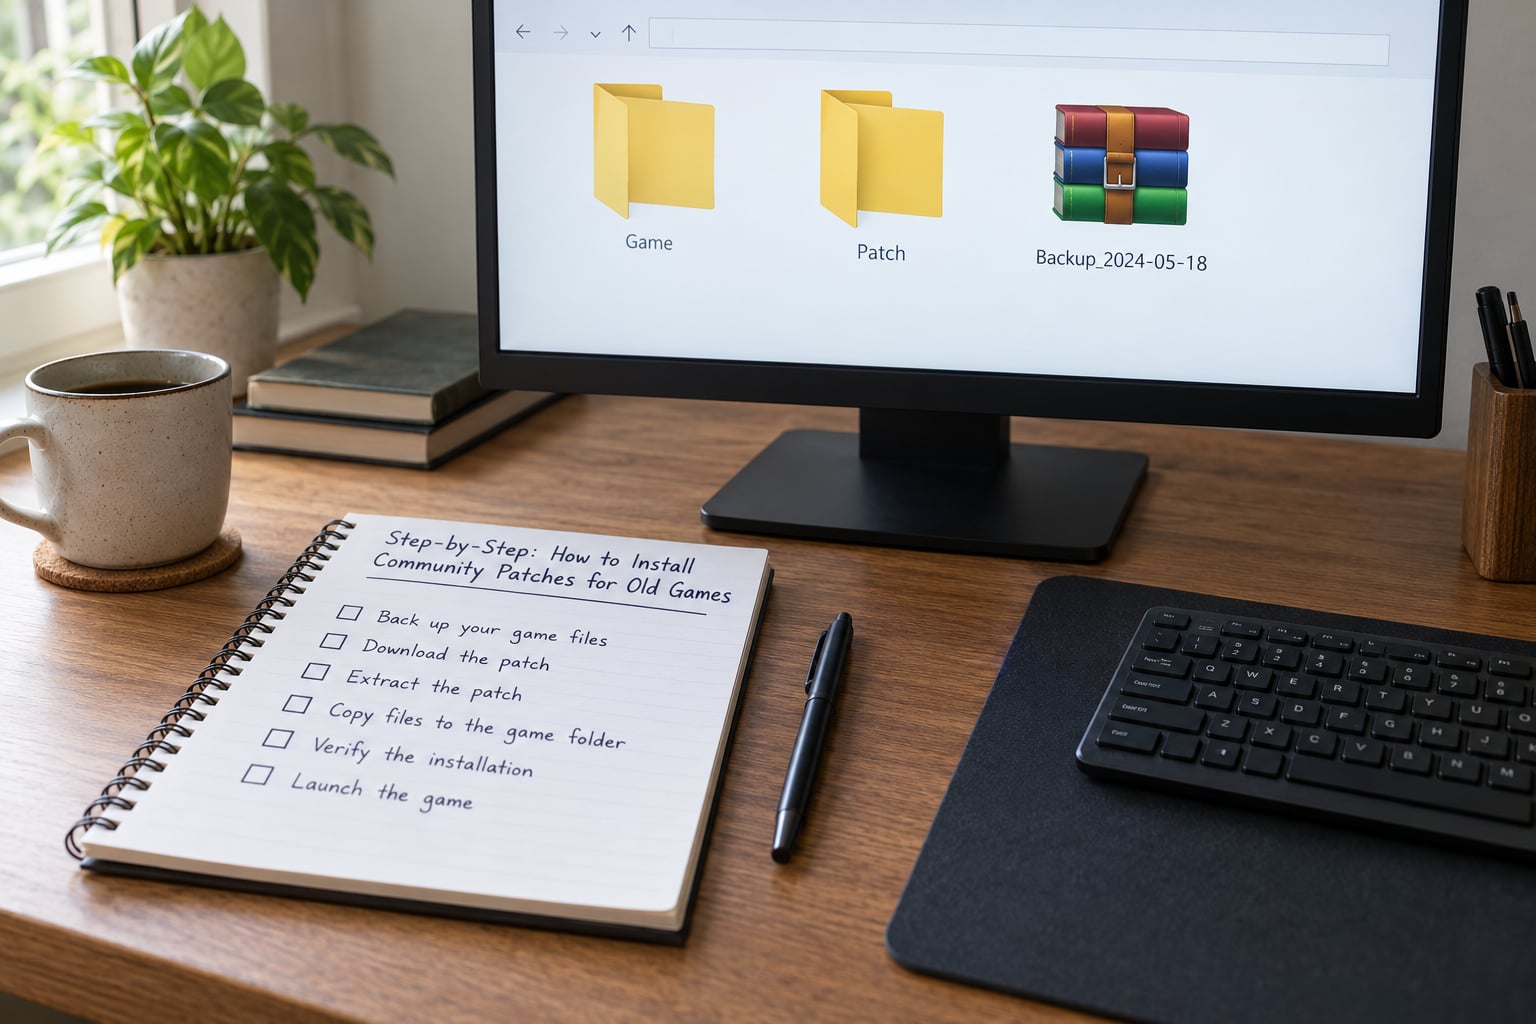
This is the core method. It works for a patcher executable, a manual file copy, and an ISO-patching package, with small differences noted at each step.
- Identify your base version. Right-click the game’s main executable and open Properties, then check the file version under the Details tab. Some games show it on the main menu instead. Write the number down; you will compare it to the patch author’s requirements.
- Apply any outstanding official updates. Let Steam, GOG, or the disc updater finish. A community patch built on top of official version 1.32 will misbehave on an unpatched 1.20 install.
- Back up the game folder and your saves. Copy the whole game directory to another drive and archive it with today’s date. Copy your save files separately, because a restore that overwrites a year of progress is the worst possible outcome.
- Download the patch and read the whole readme. Check the requirements, the install order, and the list of files it touches. If it names a specific edition, note it. If it lists several satellite patches, find out which are required and which are optional.
- Close the game and anything that touches it. Check the tray, close any launcher or background updater, and make sure no mod manager has the game mounted. Files locked by a running process produce half-written directories that are miserable to clean up.
- Apply the patch. Run the patcher’s installer and accept the overwrite prompts, or copy the included folders into the game directory per the readme. Say yes to replacing files. On disc-based installs, create a patched disc image instead and mount that.
- Launch and test immediately. Start the game, load an early save, and check the items the changelog promised. Testing right away while the backup is still fresh keeps the recovery path cheap.
If the game does not start at step seven, stop adding anything. Go to the troubleshooting section rather than piling on a second patch.
How to Check That Your Game Version Matches the Patch
Compare four things before you download anything: the version number, the region, the executable itself, and how many official updates you have applied.
Version number is the easy one. The readme almost always states something like “requires version 1.32” or “tested on the GOTY edition”, and that sentence is the whole compatibility contract. If your number is lower, update first. If it is higher, check the author’s notes for whether newer versions are supported, because a patch written for 1.20 often breaks silently on 1.32.
Region and executable matter more than people expect. A European release and a North American release frequently ship different executables and different data folders, so a patch built for one can overwrite files the other depends on. Read the readme’s file list and open the folders it names before you copy anything. If the names match your install exactly, you are in good shape; if they do not, stop and look for a patch built for your edition.
This edition matrix covers most of what you will meet on PC:
| Edition you own | What the patch usually expects | Watch out for |
|---|---|---|
| Steam | A Steam-specific build, often the newest official version | Steam can verify and overwrite your files, wiping the patch |
| GOG | A GOG-specific build; installers here can ship older bundled versions | Check the bundled version before assuming it matches Steam |
| Retail disc or ISO | An ISO-patching package that outputs a patched image | Do not delete the original image; the patched one is generated from it |
| Enhanced or GOTY edition | A separate patch build for that edition | Installing the standard edition patch onto a GOTY install can break scripts |
One more check catches a lot of trouble: if you use Steam, right-click the game and set it to offline mode before patching. Otherwise Steam may quietly re-verify the install and restore every file you just replaced, which is why forum threads about “the patch vanished” almost always end with that advice.
How to Back Up Saves Before Applying a Patch
Game files are easy to restore from a disc or a re-download. Saves are not, so treat them as the thing you are protecting.
On PC, saves usually live in a separate folder from the game files, commonly under a My Games or Documents directory, with a .sav extension. Some games bury them inside the game folder itself, and a few keep them in AppData. Check the readme, then copy the whole save folder rather than hunting for individual files.
On console, saves are tied to the account or the console’s storage, and patching a console game usually means using a sanctioned update path rather than dropping files in. Copy your save data to an external drive or a USB backup through the console’s own backup utility before you do anything else.
On Android, saves are usually stored in the app’s private data directory, which the operating system will not let you browse without root. On a rooted device, copy the game’s data folder with a file manager. On an unrooted device, use the game’s own cloud save or export feature, and accept that you may not get a full copy.
Confirm a backup works by opening one file inside it and double-checking that it is not empty. A zero-byte archive looks exactly like a good one until you need it.
For the file backup, compress the game directory rather than copying it raw. It takes less space and it stays in one piece, so a half-finished copy is easy to spot and redo.
How to Apply Patch Files Safely
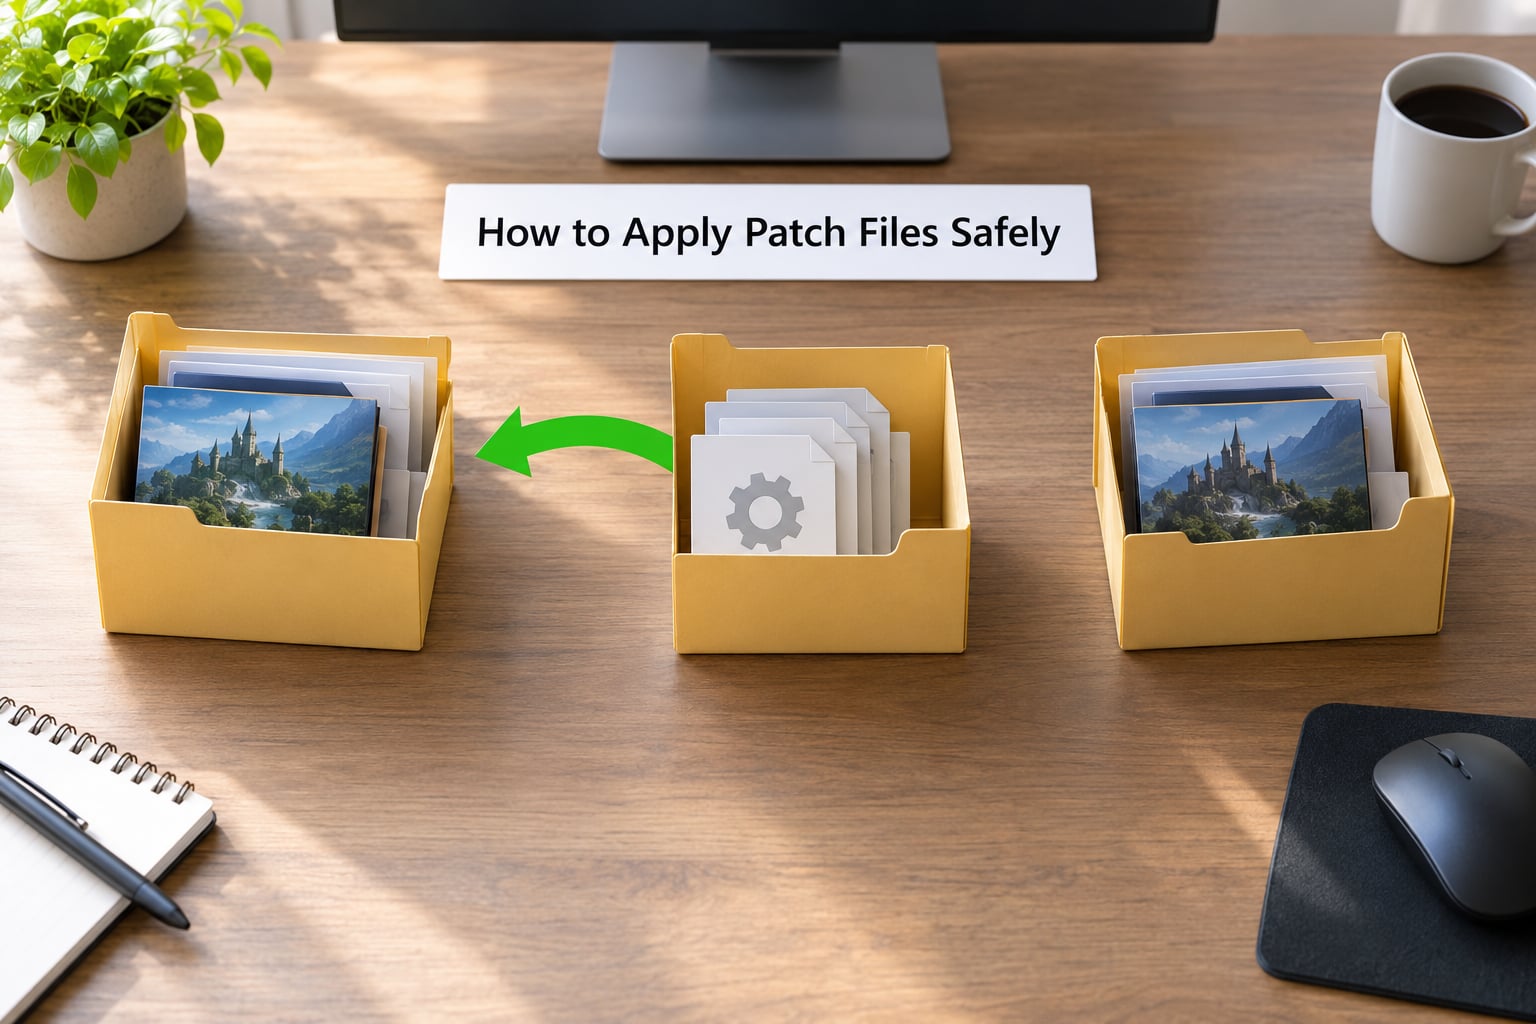
Two rules cover most of it. Choose replace when Windows asks, and never choose keep both files.
Keeping both creates a second copy of a file with a numbered suffix. The game reads the original, the patch never takes effect, and you end up debugging a patch that is sitting right there doing nothing. Players who delete the original folder before patching hit the mirror-image problem, and there is no undo button for that one.
Extract your download into the clean folder first, not directly into the game directory. Archives often contain a top-level folder, and dragging that folder into the game directory buries the files one level too deep where nothing will find them. Read the structure after extraction, then copy the contents.
Multi-part archives need to be joined before they open. Right-click the first file, choose extract here, and let the tool handle the rest. If nothing happens, the parts are in the wrong folder or the set is incomplete.
For disc-based installs, the community patch usually comes as a tool that builds a patched disc image from your original ISO. That route is better than it sounds: your original image stays untouched, the patched image becomes a second mountable drive, and the game’s own launcher keeps working instead of being replaced by something unfamiliar. Run the tool, point it at your original image, let it finish, then mount the output.
For patches that ship as a mod-manager package, follow the author’s instruction on load order. The base patch goes first, then the mods that depend on it. For a plain file-copy patch, do not use a mod manager at all; some managers install only a recompile trigger script and skip the actual files, which is a well-known complaint from people patching older Bethesda and RPG titles.
Write down which folders you copy. When something breaks later, knowing that you replaced the content and Mods folders is the difference between a two-minute fix and an afternoon.
How to Test the Patch and Verify the Result
Launch the game, load a save from before the patch, and walk through one full gameplay loop. Skipping straight to your latest save hides problems because newer saves can carry state the old engine chokes on.
Work through the author’s changelog item by item. If the patch claims widescreen support, check whether the window actually widened. If it claims crash fixes, visit the area that used to crash. Each confirmed item tells you the patch landed; the ones that do not confirm tell you something failed to copy.
Open the game folder and check the file dates on the folders the readme listed. Files dated today are the replaced ones, which makes verification quick and gives you a clean record of what changed.
Test stages, not the finished product. Install the community patch, confirm it works, then add one mod and test again, then the next. When something breaks you will know exactly which step caused it, and your fix is a restore of one stage instead of the whole install.
Save files from before and after a patch are not always interchangeable. If you rolled back to an older patch version to restore older recordings or replays, check that the reverse also works before you commit to the new setup.
Common Mistakes
Almost every broken install matches one of these. Find your symptom, read the cause, apply the fix.
| Symptom | Likely cause | Fix |
|---|---|---|
| Game does not launch after patching | Files copied one folder too deep, or a running launcher locked them | Compare the folder structure against the readme, close launchers and mod managers, copy again |
| Patch changes nothing at all | You chose keep both files on the overwrite prompt | Restore from backup, reapply, and choose replace every time |
| Patch vanished after a few days | Steam or GOG re-verified the install and restored original files | Set the game to offline mode before patching, and disable automatic verification |
| Crashes, black screen, or tiny window | Patch built for a different edition or region | Check the executable name and data folders, find the patch matching your edition |
| Mods stopped working after the patch | The patch replaced the data folder the mods were built against | Reinstall mods in the patch author’s stated order, or wait for a patch-compatible version |
| Permission errors during install | No administrator rights, or files owned by another account | Run the patcher as administrator and keep the game inside a writable folder |
| Archive will not open | Multi-part set extracted incompletely, or the set is missing a part | Download every part, keep the numbered filenames together, extract the .001 file |
| Installer stalls halfway | The game or a mod manager still had files open | Close everything, restore from backup, retry with nothing else running |
| Old recorded games or replays stop working | An official or community update changed the format | Install the older patch version the recordings need, and keep the newer files backed up separately |
Before you patch again, take stock of what not to do. Do not delete the original data or scripts folder, because that is the copy your backup restores from. Do not keep both files on any overwrite prompt. Do not run a file-copy patch through a mod manager. Do not install a patch built for a different edition. And do not treat an unsigned patcher executable as automatically safe or automatically dangerous; check whether your antivirus flags it, read the author’s notes about known false positives, and remember that small fan tools rarely carry a code signing certificate.
Two habits prevent most future pain. Keep one untouched copy of the original game files forever, on separate storage, and never patch in place. Keep the patch archive and its readme in the same folder as that backup so you can reinstall a year from now without hunting for the download.
Storefronts that patch behind your back deserve a mention. Steam can apply an update the moment you go online, and GOG installers sometimes ship with older bundled versions than the store page implies. Checking your version after every major launcher update is cheaper than discovering a conflict three installs later.
Frequently Asked Questions
Can I install a community patch on an older version of the game?
Usually not. Most patches are built against one specific base version, often the latest official update, and applying one to an older install produces crashes, missing content, or files that silently fail to overwrite. The safe order is: update to the version the patch requires, back up, then patch. If the patch author’s notes say it supports a range of versions, follow those notes rather than guessing, because a patch that is tolerant of one version difference is often broken by two.
Should I back up my game before installing a community patch?
Always. Patching overwrites existing game files and occasionally touches save data, and a full reinstall costs hours while a restore takes minutes. Copy your entire game folder to another drive and compress it, then copy your saves separately so you can recover them without restoring everything. Name the archive with today’s date and keep it on separate storage. Verify one file inside it is not empty before you start, because an empty archive looks identical to a good one until you need it.
Do community patches overwrite my original game files?
Yes, and that is exactly how they work. A patch replaces or supplements files in your game directory, which is why you choose replace when Windows prompts you. Choosing keep both files leaves the original in place and the patch does nothing. Your safety comes from the backup, not from declining the overwrite. Never delete the original data or scripts folder before patching, since that backup is the only clean copy of those files you will have.
Why does the game not launch after I install a patch?
The usual cause is a folder structure mistake: the files were copied one level too deep, or into the wrong directory, so the game never sees them. The second cause is a running launcher or mod manager holding files open during the copy, which leaves half-written files behind. Restore from your backup, close every launcher and mod manager, compare the extracted folder structure against the readme, and copy again. If it still fails, the patch is probably built for a different edition.
Can I use community patches on consoles or Android?
Consoles are mostly out of scope. Patching a console title requires homebrew or modding tools that violate the console’s terms of service, so the supported route is any official update the developer or community published. Android is possible on rooted devices, where you can replace files inside the app’s data folder, but it is fragile and updates wipe the changes. On an unrooted device you are limited to the game’s own cloud save features and cannot drop patch files in yourself.
How do I install a patch when the author provides a mod manager instead of files?
Follow the author’s load order exactly, starting with the base patch, then the mods that depend on it, then optional extras. Install them through the manager rather than copying files by hand, because the manager tracks the order and flags missing dependencies. Launch through the manager too, or it will not be active. Restart the manager after each install and read any conflict warning it reports rather than dismissing it, since conflicts are the usual cause of mods that appear installed but do nothing.
Conclusion
Start here: identify your exact base version, back up the game folder and your saves, and read the author’s readme all the way through before downloading anything. Then apply the patch with the game closed, accept the overwrite prompts, and launch immediately to confirm it landed.
From there, work in stages. Confirm the patch runs clean, add one mod, test, then add the next. That way every failure has one suspect and one fix, and a restore from your backup always brings you back to a known good state instead of an unknown one.
Community patches are ordinary file operations once you know the order. The people who have a bad time are the ones who skip the version check, skip the backup, or say keep both files, and all three are free to avoid.