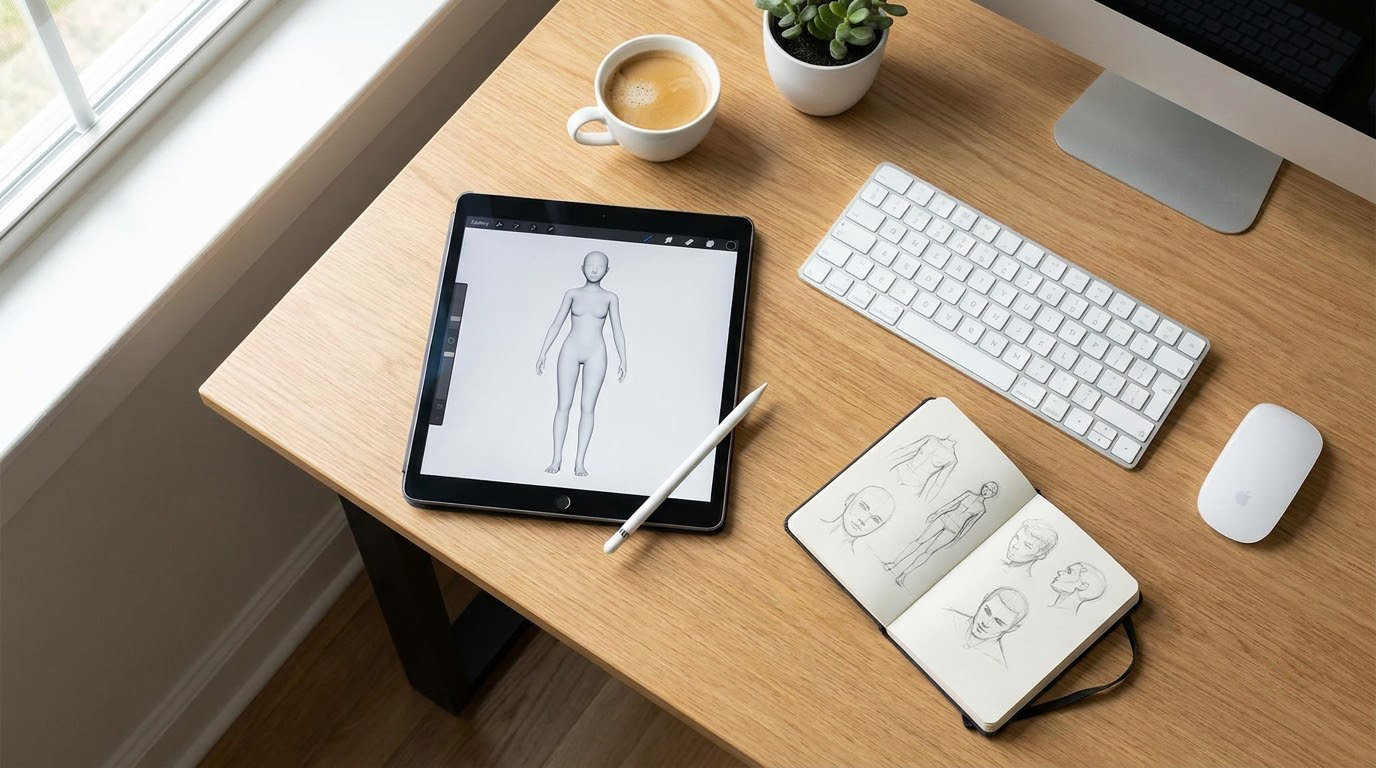
A custom character skin in a GTA game is a texture file you edit yourself and drop into the game’s folders so a character wears your design instead of the original one. The whole process is a five-step loop: find the right asset, back it up, edit the texture, install it, then look at it in-game and fix what looks wrong.
A first recolour takes about half an hour if you already know which character you want. The part that trips up beginners is not the painting. It’s knowing which file belongs to which game, because the formats and folder paths changed a lot between GTA III, Vice City, San Andreas, GTA IV and GTA V.
This guide walks through the whole beginner workflow for how to make custom character skins for beginners, plus the mistakes that make an edit silently fail.
Table of Contents
- 1What You Need
- 2How to Make Custom Character Skins for Beginners: Step-by-Step
- 3Set Up a Safe Modding Workspace
- 4Choose the Character and Confirm the File Format
- 5Export and Prepare the Character Texture
- 6Edit and Save the Custom Skin
- 7Install and Test the Skin
- 8Common Mistakes
- 9The file went into the wrong game or platform folder
- 10The filename’s capitalisation does not match
- 11The texture format is unsupported
- 12The UV layout got distorted
- 13Transparency was saved incorrectly
- 14A mod loader or archive mount is missing
- 15Old cache or save data is interfering
- 16The edit is there but too subtle to see
- 17The asset needs a different tool entirely
- 18Habits That Prevent Most of This
- 19Frequently Asked Questions
- 20Do I need Photoshop to make custom character skins in GTA?
- 21Can I change a GTA character’s body shape or clothing model?
- 22Why is my custom character skin not showing in the game?
- 23Can I make and install character skins on an Android GTA game?
- 24How do I remove a custom skin and restore the original character?
- 25Conclusion
What You Need
You need four things and a backup. Without any one of them, the rest is guesswork.
- A legally obtained copy of the game. Modding a pirated copy is not something to plan around, and storefront versions also keep their file structure intact.
- A mod manager. OpenIV is the standard on PC for browsing and editing game files, installing mods, and keeping a clean copy of the original archives.
- An image editor. GIMP is free and handles layers and transparency properly. Photoshop works too if you already own it. MS Paint is not an option because it has no transparency support.
- The right texture tool for your game. Texture Toolkit and CodeWalker handle GTA IV and GTA V assets. Older titles use their own formats and usually need a separate program.
- An image viewer. A quick look at the exported PNG catches wrong dimensions before you waste a reinstall.
Before you touch anything, make a full copy of the game folder or let OpenIV create an archive backup. That single step is what turns a broken install into a five-minute undo.
How to Make Custom Character Skins for Beginners: Step-by-Step
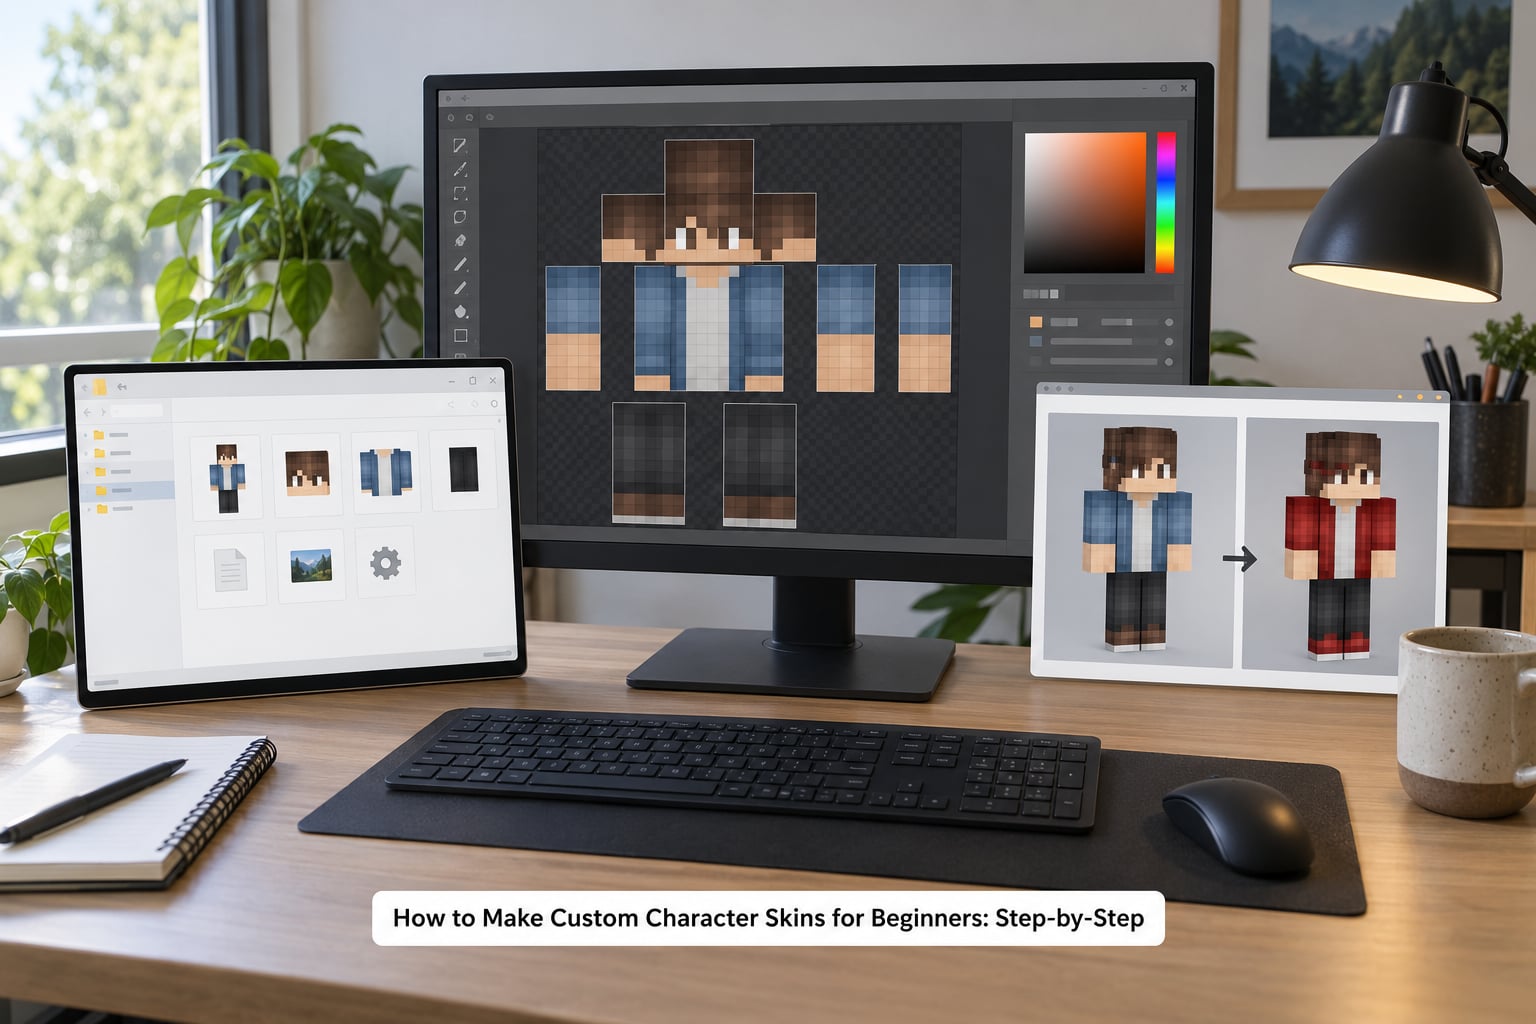
The method below works the same way across every GTA title. Only the file format and the folder path change between games, so the differences sit in one step instead of the entire workflow.
Set Up a Safe Modding Workspace
Start by copying the original asset out of the game and into its own working folder. Never edit a file in place, because the moment the game writes over it you have no original left to compare against.
Keep the filename exactly as it was, including capitalisation and the file extension. Write down the game version somewhere you will actually see it later, because a patch that changes character models will make yesterday’s texture land on the wrong body.
Your working folder should hold three things: the untouched original, a copy you edit, and the exported result. That way you can always compare and start over without reinstalling anything.
Choose the Character and Confirm the File Format
Pick a character the game already supports before you design anything. Swapping the texture on an existing model is a beginner project. Changing a character’s shape is not.
The file you need depends on the era of the game:
- GTA III, Vice City and San Andreas (Android and ports) use per-character skin files bundled in the game’s data files. You extract the skin, edit the image inside it and rebuild the archive.
- GTA IV uses texture and drawable files inside the game’s RAGE archives. These need CodeWalker to export and re-import.
- GTA V uses .ytd and .ymt files. CodeWalker handles the texture dictionary, but clothing and ped models also need a model editor to change the outline of a shirt or a body shape.
Confirm which format your target game uses before you download any tool. Following the wrong game’s documentation is the most common reason a first attempt fails.
Export and Prepare the Character Texture
Load the original texture into Texture Toolkit or CodeWalker and export a flat image. Save an untouched copy of that export as your reference layer, because you will want to line your edits up against it.
Keep every layer, channel and alpha mask intact while you work. Many GTA textures use an alpha channel to cut out hair, straps or jacket edges, and flattening the image at this stage erases those shapes permanently.
Do not resize, rotate or scale the canvas. The texture has to stay at the exact pixel dimensions the game expects, and the UV layout is baked into those dimensions.
Edit and Save the Custom Skin
Open the exported texture in GIMP or Photoshop, duplicate it onto a new layer, and start with something small. A colour change on the shirt, a different logo, a new stripe — one change you can undo is a better first project than a full redesign.
Follow these rules while painting:
- Do not move the UV layout. Every region has to stay where the game expects it.
- Keep transparency transparent. Filling the background with black or white instead of leaving it empty is the usual cause of a character with a solid block around the head.
- Save as the same format and extension as the original file.
- Match the filename’s capitalisation character for character. Some systems treat a lower-case extension as a different file entirely.
- Export at the original width and height, in the same colour mode the game expects.
Save your working file with a clear version name such as a date or a number. When you get your tenth revision, “skin_final_v2” tells you nothing.
Install and Test the Skin
Import the edited file back with the same tool you exported it from, then copy it into the correct mod folder inside your game directory. Replace only the asset you meant to change.
Launch the game in the mode the mod is built for. A file placed in the wrong folder or the wrong game version usually loads with no error at all — the character just looks untouched.
Now look at the result properly. Check the character in bright daylight, in shadow, and under indoor lighting, because a texture that reads well in one setting can disappear in another. Walk close to a wall and a railing to check for clipping, then zoom in to confirm small details survived the export.
If nothing changed, the fix is almost always in the next section.
Common Mistakes
Most beginner failures come down to one of nine things. Each has a direct fix.
The file went into the wrong game or platform folder
Symptom: the character looks exactly the same as before. Fix: confirm the exact game version and platform you are running, then check the mod path against that version’s documentation. A file made for the San Andreas Android build will not appear in the PC release.
The filename’s capitalisation does not match
Symptom: the game loads but shows no change, with no warning. Fix: rename the file to match the original exactly, including capital letters. Windows hides this mistake easily.
The texture format is unsupported
Symptom: the game crashes, the character renders as a solid colour, or the file is simply ignored. Fix: export the texture from the tool rather than renaming a PNG. Games expect their own formats, not images with the wrong extension.
The UV layout got distorted
Symptom: parts of the design appear in the wrong place on the body. Fix: restore the original export and redo the edit without moving, scaling or rotating the canvas.
Transparency was saved incorrectly
Symptom: hair, jacket edges or sunglasses appear as a solid block, or pieces vanish. Fix: make sure the background is genuinely transparent rather than filled with white or black, and keep the alpha channel when exporting.
A mod loader or archive mount is missing
Symptom: the game starts normally and the file never loads. Fix: some setups need a mod loader running, or the game’s archive folder mounted as read-write before changes take effect. Check what your chosen tool requires.
Old cache or save data is interfering
Symptom: the skin shows in one session and reverts in the next. Fix: start a new game or clear the session’s cache, and reload before assuming the texture is wrong.
The edit is there but too subtle to see
Symptom: you changed the colour but the character looks identical. Fix: test with a deliberately obvious change first, such as a bright test colour. If that shows up, the problem is contrast, not the install.
The asset needs a different tool entirely
Symptom: you edited the texture correctly but a shirt, body shape or clothing outline stayed the same. Fix: clothing geometry and character models are not texture edits. They need a model or mesh editor, which is a genuinely harder project than a recolour.
Habits That Prevent Most of This
Change one thing at a time and save a fresh version after each working change. You will know exactly which edit caused a problem, and rolling back takes seconds instead of an hour.
Keep a short text note beside your files: game version, character, mod folder, last working file name. Six months later, that note is the difference between a two-minute fix and starting from zero.
Test in a clean session. A fresh save or cleared cache removes a whole category of “my change didn’t work” problems that have nothing to do with your texture.
Start small and build up. The most useful advice in skin communities is to copy an existing design, change one thing, then change the next. Trying to build a full character in one sitting is where beginners stall and quit.
Frequently Asked Questions
Do I need Photoshop to make custom character skins in GTA?
No. GIMP is free, handles layers and transparency properly, and handles every edit this workflow needs. Photoshop works if you already own it, but nothing in the process depends on it. The one tool to avoid is MS Paint, because it cannot save a transparent background, and transparency is exactly what keeps hair and clothing edges clean.
Can I change a GTA character’s body shape or clothing model?
Not with a texture editor. Repainting a shirt changes its colours and logos, but the outline, length and fit come from the model file. Changing a body shape or adding a new piece of clothing means editing a model or mesh in a separate program, which is a much bigger project than a recolour and usually needs the right tool for your specific game version.
Why is my custom character skin not showing in the game?
The file is almost always in the wrong place or the wrong format. Check that you used the mod folder for your exact game version and platform, that the filename matches the original including capital letters, and that the file was exported from your texture tool rather than a plain image with its extension changed. Then test in a new session to rule out cached data.
Can I make and install character skins on an Android GTA game?
Yes, but the workflow is narrower than on PC. Android builds of San Andreas and Vice City store their character skins in archive files that you have to extract, edit the image inside, and repack with a tool that handles those archives. There is no mod manager overlay and no console command to fall back on, so back up the original archive before you touch it.
How do I remove a custom skin and restore the original character?
Restore the backup you made before editing, or delete the mod folder you created. On PC you can also verify the game’s original files through your mod manager, which repairs anything a mod overwrote. If you skipped the backup step, reinstalling or verifying the game files is the reliable route back to the default skin.
Conclusion
Start by identifying the exact GTA game, version and platform you play, then locate the one character texture file you want to change. Copy it to a working folder, back up the original, and complete a single obvious recolour before you attempt anything more ambitious.
From there, change one thing at a time and test in a clean session after each working edit. Formats and installation paths differ a lot across GTA III, Vice City, San Andreas, GTA IV and GTA V, so follow documentation written for your specific version rather than a general tutorial.
This guide was checked against current modding tooling in 2026, and beginners who finish that first recolour usually find the next three go quickly.