Learning how to set up a cinematic camera for game videos comes down to three layers: the in-game camera, the capture settings, and the grade you apply afterwards. Most raw gameplay footage looks flat because the camera sits at head height behind a running character and the frame rate wobbles. Fix those two things and half the work is done before you open your editor.
The whole process takes about an hour the first time, then twenty minutes per clip once you have a preset saved. No special hardware is required, though a capture card or a quiet room makes life easier on console.
Table of Contents
- 1What You Need
- 2Step-by-Step: How to Set Up a Cinematic Camera for Game Videos
- 31. Choose the Right Camera Mode
- 42. Set the Resolution, Frame Rate, and Field of View
- 53. Position the Camera and Plan the Shot
- 64. Add Lighting, Weather, and Visual Effects
- 75. Configure Recording and Audio
- 86. Test, Record, and Edit the Final Clip
- 9Common Mistakes
- 10Frequently Asked Questions
- 11Is cinematic camera setup different on console than on PC?
- 12What are the best camera settings for cinematic game videos?
- 13What can I use instead of a director mode?
- 14Does motion blur affect frame rate?
- 15How do I stop the camera from shaking when it follows the character?
- 16Can I make a cinematic camera setup on mobile?
- 17Conclusion
What You Need
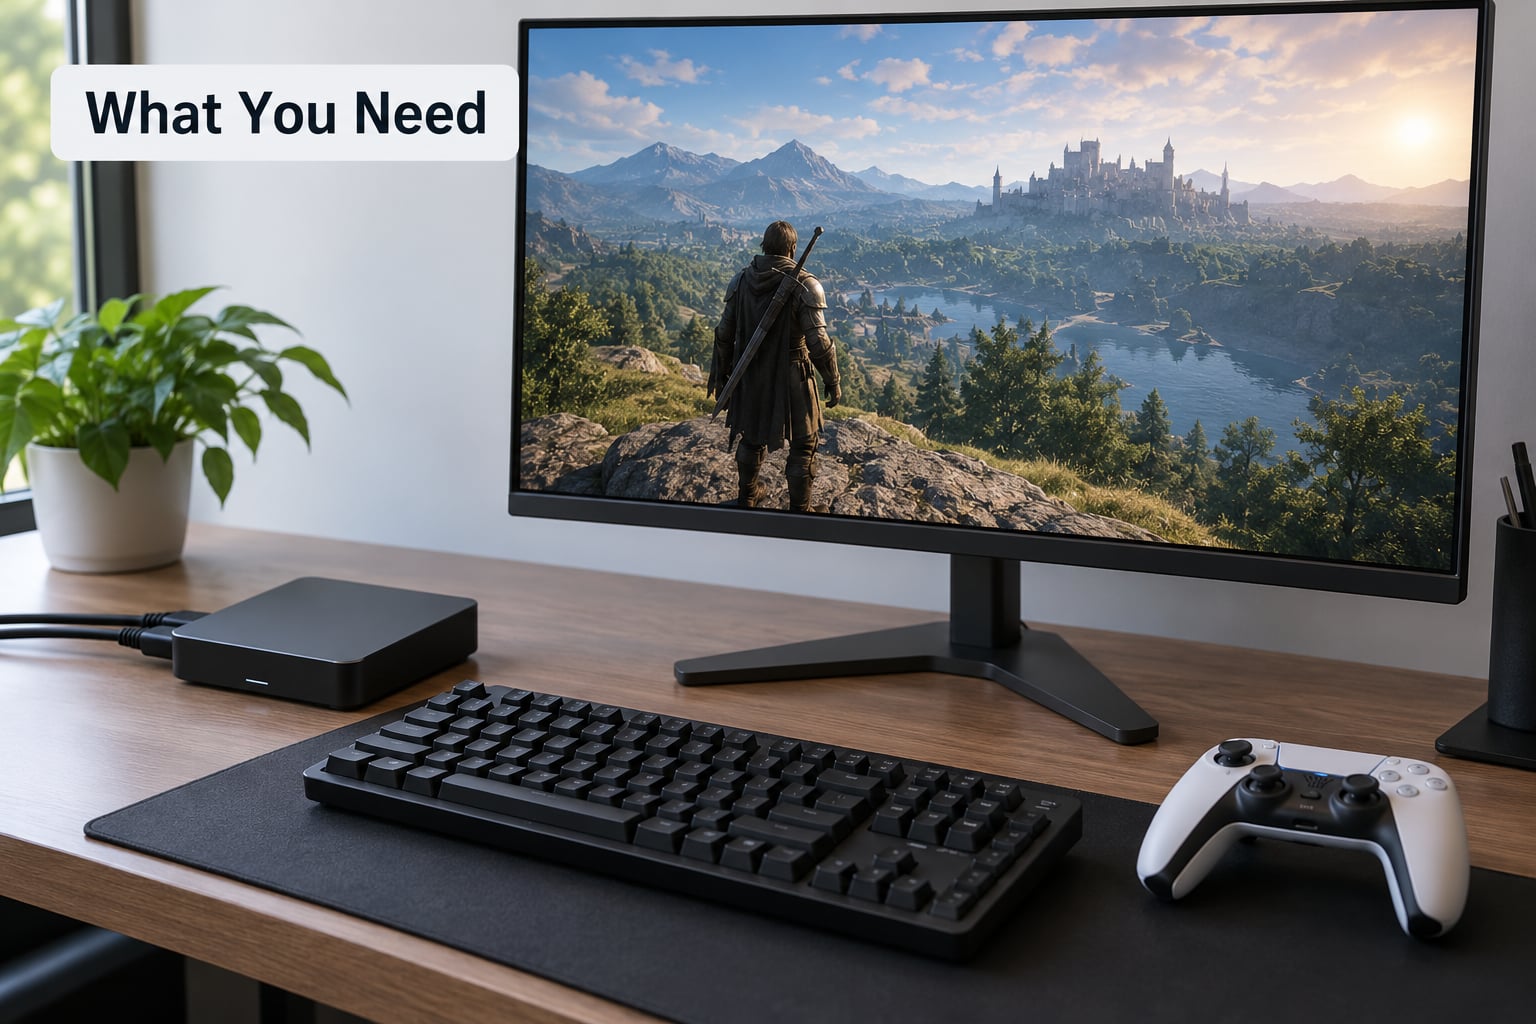
Two things are genuinely essential: the game itself, and a way to capture it cleanly. Everything else makes the result better rather than possible.
- The game and your platform. A PC, a console, or a phone. PC gives you the most control over camera settings.
- A capture method. On PC that is OBS Studio, GeForce ShadowPlay, or the Steam overlay. On console it is the built-in capture button or an external capture card that pulls the HDMI signal.
- An editor. DaVinci Resolve, Shotcut, and Kdenlive are all free. You only need trim, speed, colour, and masking.
Optional but useful: a photo mode or free camera mod if the game has one, a second monitor so alt-tabbing does not stall the recording, and a cheap lavalier mic over a headset because commentary is half of a gameplay video.
A quiet test space matters more than people expect. Keyboard clatter and desk rumble get baked into the audio track and no editor fixes that cleanly.
Step-by-Step: How to Set Up a Cinematic Camera for Game Videos
1. Choose the Right Camera Mode
Start with whatever free camera the game already ships with. Most modern titles include a photo mode, and many older ones have a director or cinematic camera that becomes available after a story beat. Free camera mods exist for most engines and let you detach the view from the character entirely.
Open photo mode and look for three controls: field of view, camera distance, and camera height or pitch. If a free camera mod is installed, its own menu usually replaces the in-game one. What you can change depends entirely on the game, the platform, and which mods you have loaded, so expect some titles to offer only a FOV slider and nothing else.
You know the mode is right when you can point the camera at a wall without the character turning with you.
2. Set the Resolution, Frame Rate, and Field of View
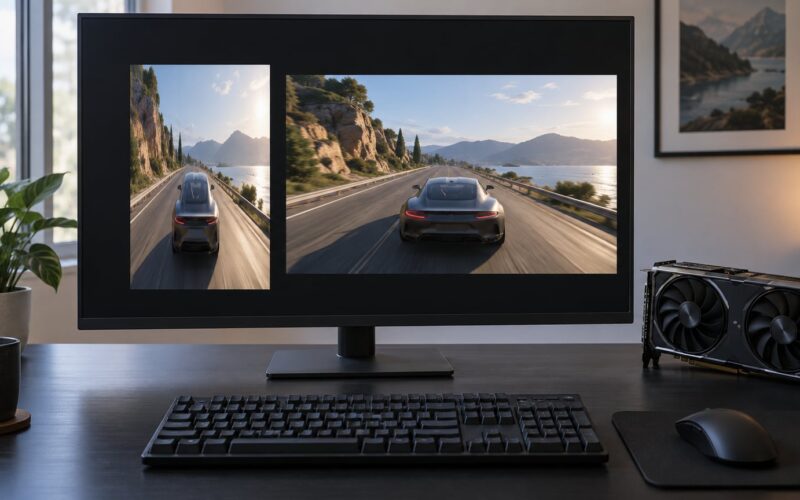
Record at 1080p or 1440p, and pick your frame rate based on the movement in the shot. Field of view is the single framing lever most beginners ignore: a wider FOV shows more of the world and exaggerates speed, a narrower FOV compresses the background and flattens perspective in a filmic way. Start around 70 to 90 for walking shots and drop toward 50 for dialogue or vehicle interiors.
Four presets cover almost every shot you will film:
- Cinematic trailer. 24 fps, FOV 50 to 70, motion blur on at medium, 1440p, capture bitrate 40000 to 60000 kbps.
- Cinematic gameplay. 30 fps, FOV 70 to 90, motion blur on at low, 1080p or 1440p, capture bitrate 30000 to 45000 kbps.
- Action and combat. 60 fps, FOV 85 to 100, motion blur off, 1080p, capture bitrate 45000 to 60000 kbps.
- Low-spec machine. 30 fps, FOV 70, motion blur off, 1080p, capture bitrate 20000 to 25000 kbps.
On PC, make sure your recording framerate matches the frame rate you are capturing so OBS does not resample. On console, the capture card has to be set to the same resolution and rate your console outputs, otherwise you get a stuttery feed no editor can fully repair.
If motion blur is adjustable, a small amount sells movement and a large amount smears detail. Turn it off for fast combat where you need to read the screen.
3. Position the Camera and Plan the Shot
Establishing shots show the location and usually sit wide and still. Tracking shots follow the subject from the side or behind at a constant distance. Orbit shots circle the subject slowly and work well for vehicles and character showcases. Close-ups need you nearer than the game normally allows, which is where a free camera earns its keep.
To learn how to set up a cinematic camera for game videos properly, treat every clip as one shot type rather than a recording of whatever you happened to do. Write down the shot before you press record.
Keep the subject off dead centre. Putting them on a vertical third leaves room to move the camera, and it stops the footage looking like a screenshot.
4. Add Lighting, Weather, and Visual Effects
The in-game time of day does more for mood than any filter. Low sun gives long shadows and warm rim light on characters; overcast midday gives flat, even lighting that hides ugly geometry; night scenes hide performance problems but lose detail.
Rain and fog add depth by separating foreground from background, which is the cheapest way to fake the layering real lenses give you. Reflections in wet asphalt are close to free depth of field, because what is behind the reflection falls out of focus anyway.
Depth of field is worth enabling if your game has it, with a wide aperture and focus pulled to your subject. If the engine has no depth of field at all, fake it in the editor with a mask and a blur layer, keeping the mask edge on a high-contrast part of the frame so the falloff hides itself.
Save the look as you go. Colour grading belongs at the end, not in the game, so the game stays neutral and you have room to adjust later.
5. Configure Recording and Audio
Set your encoder to hardware-accelerated H.264 or H.265 if your machine supports it, match the output frame rate to the game, and leave keyframe interval on default unless you are scene-switching constantly. Frame pacing matters more than raw bitrate: a steady 30 fps at a moderate bitrate looks far better than a fluctuating 60 fps at a high one.
Check for dropped frames before you record anything real. Five seconds of running through a busy scene is enough to expose a bottleneck.
For audio, separate your tracks: game audio on one channel, microphone on another. That way you can duck the game audio under commentary in the edit instead of shouting over it. Listen back on headphones once, because echo and rumble are obvious there and invisible on laptop speakers.
6. Test, Record, and Edit the Final Clip
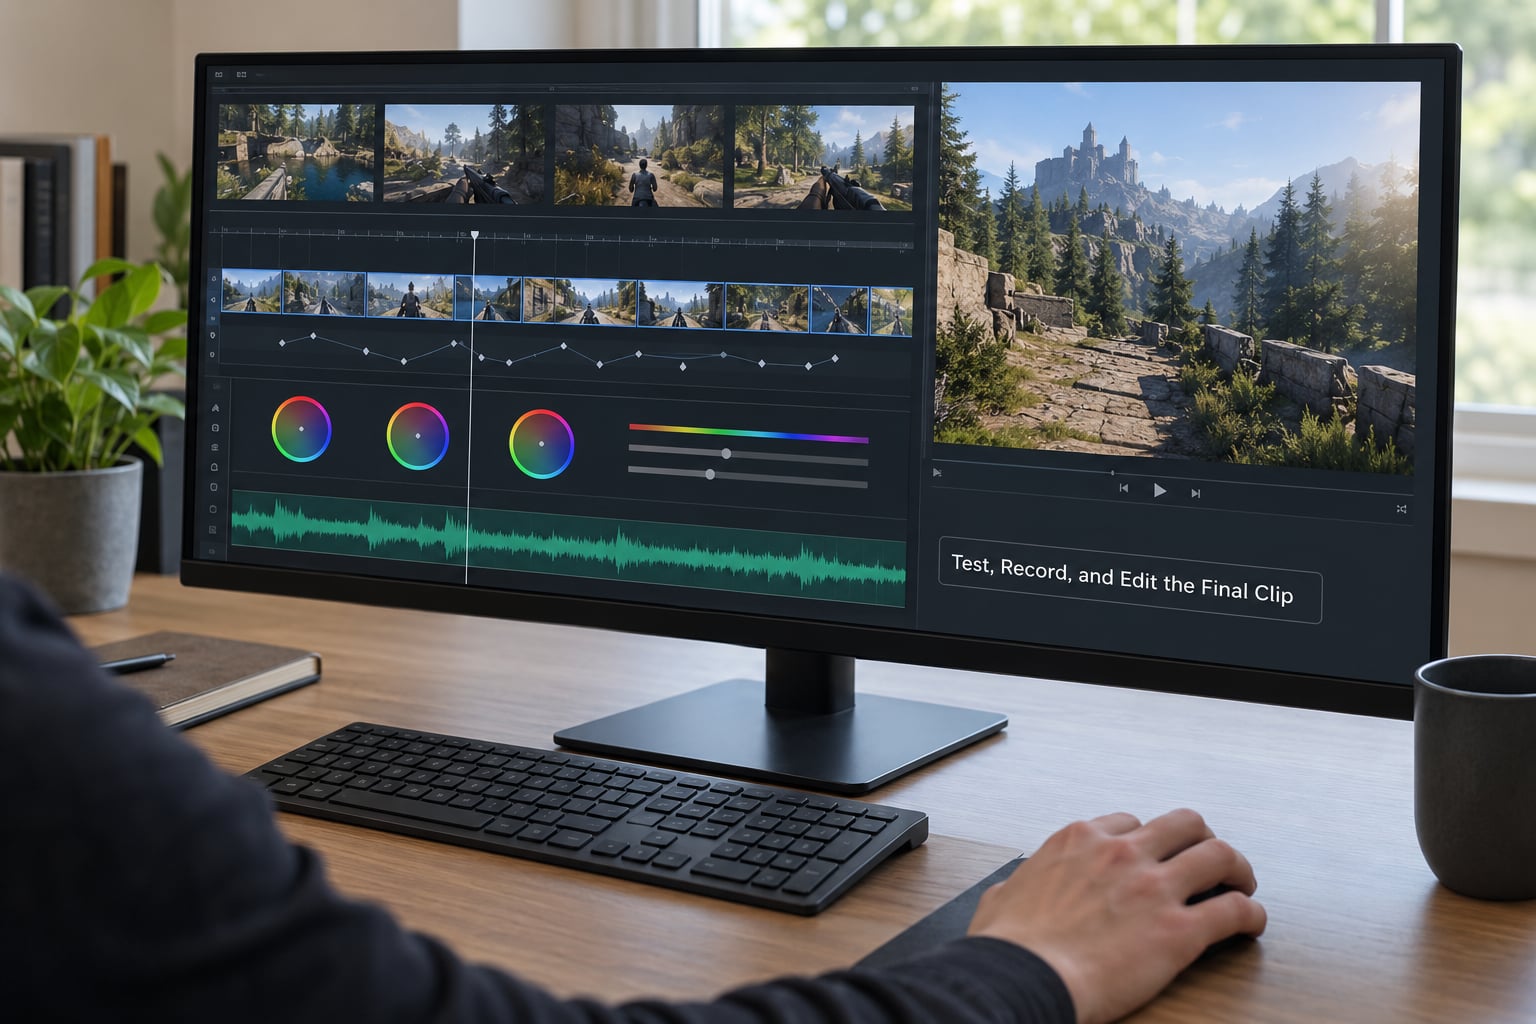
Record a ten-second test before every real take. Watch it back and check three things: does the camera move smoothly or jitter, does the exposure jump when you turn toward a bright window, and is the subject still readable at full screen.
Once a take looks right, record two or three variations of the same move. Having options is what stops a clip from feeling thin in the edit.
In your editor, stabilise the shaky sections, trim the dead air at each end, apply one consistent grade across the whole sequence rather than per clip, and add the letterbox bars. A 2.35:1 or 2.40:1 crop is the fastest single cue that says film rather than screen recording, but keep the bars and grade restrained. Add film grain and a vignette at low strength; at full strength they read as a filter, not a look.
Export a clean master with no bars, then a finished copy. You will thank yourself later when a client asks for a version without them.
Common Mistakes
Shaky or jittery camera. The game camera lerps toward the character and overshoots. Raise the camera smoothing or lerp setting, use a slower movement speed, or record at a higher frame rate and slow the clip in post.
The camera clips through walls or vehicles. A free camera has no collision by default. Keep it on the open side of the subject, or place an invisible surface behind the shot using the mod’s collision option.
Unreadable framing. Too much empty space, a horizon through the subject’s head, or action drifting out of frame. Move in closer and re-check the shot on the edit timeline, not on the game screen.
Exposure jumping mid-shot. Auto-exposure is chasing a bright sky. Lock manual exposure if the game allows it, or avoid pointing the camera directly at the sun.
Performance drops while recording. The capture encoder is competing with the game for GPU. Drop shadows first, then volumetrics, then resolution scale. Never sacrifice frame rate, because inconsistent frame pacing ruins the clip no matter how clean the image is.
Audio problems. Commentary that disappears under gameplay, or mic handling noise from tapping the desk. Record the mic a hand’s width from your mouth and mix the two tracks separately.
Overused effects. Heavy grain, strong vignette and constant zoom-ins stacked together look like a filter pack. Pick one treatment and commit to it.
Frequently Asked Questions
Is cinematic camera setup different on console than on PC?
Yes. PC gives you a free camera mod, a FOV slider and manual exposure in most games, so you can detach and reposition the camera freely. Console capture is limited to what the game exposes plus whatever the photo mode offers, and your only real lever is the capture card. Plan more shots around what the built-in camera can do rather than fighting it.
What are the best camera settings for cinematic game videos?
Record at 1080p or 1440p, 24 fps for slow deliberate shots, 30 fps for general cinematic gameplay, and 60 fps for fast action. Keep FOV between 70 and 90 for movement and pull it to 50 or 60 for close and dialogue shots. Enable mild motion blur for slow camera moves and turn it off for combat. Capture at 30000 to 45000 kbps.
What can I use instead of a director mode?
A free camera or noclip camera mod is the usual substitute. It detaches the view from your character so you can fly, orbit and hold a fixed angle while the action moves around you. Source Filmmaker-style tools do the same thing with more control and a learning curve. Failing that, photo mode plus pausing works for stills and short staged clips.
Does motion blur affect frame rate?
Motion blur costs some performance to render, usually a small amount compared with shadows or volumetrics. Players often turn it off because it smears small targets during competitive play, which is a different reason from performance. For cinematic recording, enable it at a low or medium strength so camera moves read as motion rather than snapping.
How do I stop the camera from shaking when it follows the character?
Look for a camera smoothing, damping or lerp setting in the game options and raise it, then reduce your movement speed so the camera has less to correct. If your game has no smoothing control, record at 60 fps and slow the clip to 50 percent in the editor, which hides most of the jitter from character movement.
Can I make a cinematic camera setup on mobile?
Yes, with limits. Phones record at 24, 30 or 60 fps and most have no free camera, so work with the third-person view and a narrow FOV. Shoot in the highest resolution the game offers, hold the phone still with a small tripod or clamp, and expect the grade to carry most of the cinematic feel rather than the camera work.
Conclusion
Pick your camera mode first: the game’s own photo or director mode, or a free camera mod if one exists for your title. Set a frame rate and field of view that suit the shot, confirm your capture settings, then record one ten-second test clip before anything else. Judge that clip on camera movement, exposure and readability. Once it passes, the rest of your setup is just repeating the same three moves and grading the result.