Updated for October 2026.
To research game files to confirm cut content, you work through four things: pin down the exact build you own, open the right container with a tool that matches the engine, trace the suspected asset back to the code that would have loaded it, and then grade what you found before you say a word about it. A file that exists proves something was built. It does not prove a finished feature was cut, and that gap is where most bad datamines come from.
Datamining a game simply means examining the files a developer shipped to find content that never made it into the final product. One branch of it reads the files on your own copy. The other branch reads data from servers and public APIs, which is a different job with a different toolset.
Beginners usually get stuck on orientation rather than skill. They do not know which folder to open, which tool matches which engine, or what a finding is actually worth once they have it. This guide answers all three, and it works the same on a game you own today as it would have ten years ago.
Table of Contents
- 1How to Research Game Files to Confirm Cut Content
- 2The four categories of leftover content
- 3What You Need
- 4Step-by-Step
- 5Step 1: Identify the Exact Game Version and Region
- 6Step 2: Create a Separate Working Copy
- 7Step 3: Locate the Suspected Asset or Reference
- 8Step 4: Inspect the File Type and Contents
- 9Step 5: Trace the Asset in Scripts and Other Files
- 10Step 6: Compare Release, Patch, and Pre-Release Evidence
- 11Step 7: Classify and Document the Finding
- 12Common Mistakes
- 13Frequently Asked Questions
- 14How do I research game files to confirm cut content in a game I own?
- 15How do I extract UE PAK files?
- 16How can I open a PAK file?
- 17Can you open pak files in Unreal Engine?
- 18Do leftover files in a game mean DLC is coming?
- 19Is it legal to extract game assets and share them?
- 20Conclusion
How to Research Game Files to Confirm Cut Content
Cut content is a precise term and it is not the same as unreleased DLC. Cut content was built, then deliberately removed before or during production. Unreleased DLC was planned and never removed at all. A third category gets mixed in constantly: content that was finished but repurposed, moved, or reassigned somewhere you did not think to look.
Not every leftover in a build is cut content either. Studios ship builds with inert middleware files, SDK stubs, platform-holder templates and debug leftovers that never had anything to do with the game. If your process starts at “a file I do not recognise,” you will drown.
The four categories of leftover content
Sorting leftovers into categories early saves hours. Here is how each one looks when you open the files.
- Cut before shipping. A mission script, a weapon or a whole region that was built, tested, then pulled from the release build. Usually leaves a named script, an orphaned level, and a config object that nothing reads.
- Built but never finished. Prototype models and grey-box levels, often holding placeholder art or a default material. The tell is a half-wired config object with empty properties.
- Repurposed, not cut. Assets that shipped in a different form, under a different name, or as part of another feature. Reuse is common and it is not a loss.
- Shipped but hidden. Debug menus, developer comments, bonus costumes and collectibles that are genuinely in your copy right now. Not cut at all, which is the point people miss most often.
Why does any of this survive to release? Mostly because removal is expensive. Deleting an asset that a dependent system still loads can crash the game, and shipping with dead code is cheaper than the risk. Teams also near the end of a production freeze to a “gold master” build where nothing gets touched, so anything cut a week earlier stays in the package that ships.
Localisation is its own category of bloat. A studio signs off on translations for a feature that gets cancelled, and the strings remain because the localisation pipeline is separate from the content pipeline.
What You Need
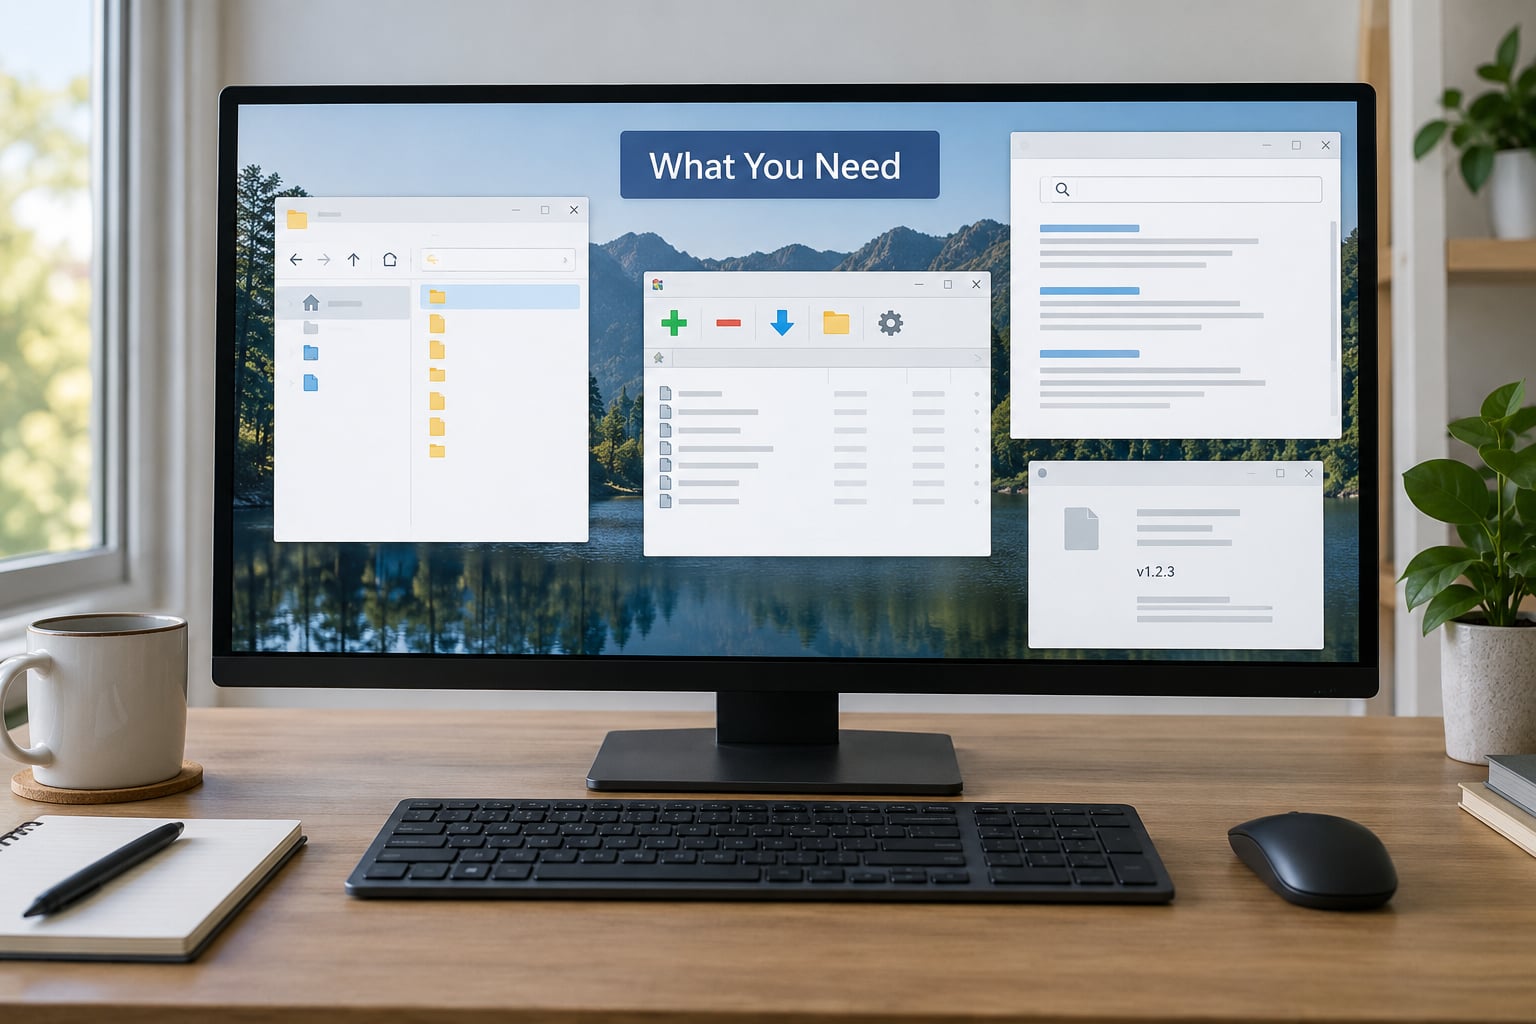
You need six things, and only the first two are non-negotiable. Everything else is a tool you can substitute.
- A clean, untouched copy of the game. Not your only install. See step 2.
- The exact build version. Recorded, not assumed.
- A file browser with metadata and archive support. Whatever your operating system ships with is genuinely enough for most of this.
- An engine-matched extractor. Unreal games need FModel, UAssetGUI, QuickBMS or Umodel. Unity games need AssetStudio or a bundle extractor. Proprietary and RPG Maker data need their own tools.
- A text and script search tool. For finding strings, filenames and references across thousands of files fast.
- A checksum tool. So you can prove your working copy still matches the original and so a reader can reproduce your trace.
On platforms other than PC, add one more constraint. Console builds are encrypted by default, their file systems are signed, and extraction is a different discipline entirely. Console research is worth doing, but it is a separate project from the PC workflow below.
Step-by-Step
This is the order that works. Each step depends on the one before it, and skipping ahead is how people end up with a screenshot that proves nothing.
Step 1: Identify the Exact Game Version and Region
Record the platform, the build number, the region and the patch level before you open anything. Filenames, script names and available assets differ between regional and patched builds, and the same file can carry a different internal name in two versions.
How you tell depends on the store. PC launchers usually show the build number in the install properties or in the app manifest, and the executable carries a version string you can read from its file properties. Console games show a version on the disc label or in system storage settings.
Check the patch notes while you are here. If the claim you are chasing was debunked in a patch, the notes will usually say so, and that saves you an afternoon.
Step 2: Create a Separate Working Copy
To research game files without risking the game, copy the whole install folder to a separate directory and point your extractor at the copy. Never extract into the live install, and never repack over it.
Once copied, record a checksum of the archive files so you can prove nothing changed during your work. This is the boring step that quietly separates a reproducible finding from a rumour, and it takes about five minutes.
If you ever need to restore the original, every PC launcher has a built-in file verification option that re-downloads anything missing or altered. That safety net is why working on a copy is a habit worth keeping even when you think you are being careful.
Step 3: Locate the Suspected Asset or Reference
To find the file, search the working copy by three things in order: the name of the feature as players know it, the internal class or asset name if you have one, and related keywords like character, weapon or mission names.
Search filenames first, then file contents, then the string and localisation tables. Players usually say “the hoverbike race” while the files say something like a mode class with a vehicle prefix, so plain-language searching alone often returns nothing.
Keep documentation and external claims in a separate tab. A wiki page or a forum post tells you what to look for; it is not evidence about what the files contain. Keep those two streams apart from the moment you start.
Step 4: Inspect the File Type and Contents
Know what each container is before you judge it. A .pak file is an archive, and a generic unzip tool will not read it. A .utoc and .ucas pair is the newer container layout used by recent Unreal Engine titles, where metadata and bulk data are split apart. A .uasset is a single cooked asset, a .umap is a level, and a .usmap is a mapping file some builds need in order to resolve references.
Open the container, export what looks relevant, and preview it. Textures, meshes, audio and models can usually be viewed directly in an extractor or in a generic model viewer. Plain text, configuration, script and localisation files open in any text editor.
Binary files are where beginners overreach. Hex dumps show you bytes, not meaning, and a readable string in a binary does not tell you the asset is connected to anything. If a file is binary and you cannot interpret it, note it and move on rather than guessing.
Watch for the empty-configuration tell. An exported asset with an untextured placeholder mesh, or a curve object with no keys and a bare key-handle map, is a strong sign the work stopped mid-build. That pattern means unfinished, not removed.
Step 5: Trace the Asset in Scripts and Other Files
This is the step that separates a real finding from a name in a list, and it is where most guides stop too early. Follow the asset back into the scripts, mission definitions, world files, tables and localisation entries that would have loaded it.
Count the references. A prototype class referenced exactly once across hundreds of exported classes behaves very differently from one that a dozen systems depend on. Then check what it inherits from and whether the shipped version of a similar feature uses a completely different parent, which usually means this one was a branch that never landed.
Read the script itself for signs of wiring. A feature with a connected model, a working spawn call and an untuned tuning value was built and then paused. A feature with no script reference at all was an idea, a placeholder, or a leftover from a tool the team evaluated.
Step 6: Compare Release, Patch, and Pre-Release Evidence
Compare builds side by side. A file present in a demo or preview build and absent from the launch build is strong evidence of a deliberate cut. A file present in the launch build and removed in a later patch tells you the studio decided mid-cycle that it should not be there.
Pre-release builds are the richest source and the noisiest. Early code for a mode can appear in a build months before the game that contains it launches, which is a documented pattern rather than a conspiracy. Just expect far more abandoned prototypes and middleware clutter in those files.
Note the exact difference for each item: added, removed, renamed, disabled, or orphaned. “It disappeared after patch 2.4” and “its script was emptied out but the asset stayed” are different findings with different meanings.
Step 7: Classify and Document the Finding
To research game files properly, every finding ends with a label and a source trail, not a screenshot. Record the file path, the asset or class name, what references it, the build version, the date, and what you could not determine.
This rubric is the part worth reusing on your own write-ups.
| Evidence | What it proves | What it does not prove | Tier |
|---|---|---|---|
| Developer statement, patch note, or internal note describing an intent to ship | The team planned it | That it survived to release, or when | A |
| Orphaned reference from shipped logic to an asset | Code once intended to load it | That the asset was finished | B |
| Prototype asset with unconfigured or placeholder properties | Work was started | That it was ever playable | B |
| A bare name in a table, string list or character roster | Someone typed the name | Anything about intent, scope or state | C |
| Community leak or unsourced screenshot | That someone claims it | Anything, until reproduced | D |
Then log your own result honestly. If you could not open the container because it is encrypted, that is an inconclusive result, not a negative one. Real archives treat “we tried this and it failed, here is why” as a contribution in its own right.
Common Mistakes
Trying WinRAR or 7-Zip on a pak file. This is the single most common first attempt and it does not work, because a pak is a proprietary archive, not a zip. Use an engine-aware extractor. If an extraction returns nothing at all with no error, the container is probably encrypted, which is a different problem with no clean answer.
Editing the live installation. You will eventually break the game, and the launcher repair feature will save you, but you will also lose the evidence trail. Work on a copy, every time.
Calling every unused file cut content. Most inert files in a launch build are middleware, SDK stubs and platform templates. A file nobody references is a lead, not a conclusion.
Mixing builds mid-investigation. Half your evidence from one patch and half from another produces findings that cannot be reproduced by anyone, including you next week. Fix the version first.
Ignoring scripts. Finding an asset without tracing its references gives you a name. Finding its reference count, its parent class and its configuration state gives you a finding.
Trusting unsourced video or screenshots. Fabricated and generated “leak” imagery is a real and recurring problem in this space, and reputable archives have had to publicly debunk it. Reproduce it yourself or label it unverified.
Failing to preserve evidence before a patch removes it. Finds evaporate in updates. Export the file, record the path and checksum, and write down the build number that contained it while you still have it.
Extracting Unity bundles with the wrong project path. Unity tooling that writes back to disk has no undo. Verify the project path, extract to a scratch folder, and keep your install read-only.
Two smaller traps worth naming. A missing mapping file breaks reference resolution and produces exports that appear successful but are empty or wrong, so treat unexplained empty results as a tool problem before a game problem. And a huge export folder of thousands of files is not progress unless you know what you are looking for, so start with one specific claim.
Frequently Asked Questions
How do I research game files to confirm cut content in a game I own?
Start by recording the exact build, then copy the install folder somewhere safe. Identify the engine from the file extensions, open the matching container with the right extractor, and search for the feature by internal class name rather than the name players use. Trace any asset you find back through the scripts that reference it, then grade what you found before publishing. Presence in a file proves something was built, not that a finished feature was cut.
How do I extract UE PAK files?
Install an extractor built for Unreal containers, such as FModel, UAssetGUI, QuickBMS or Umodel. Point it at the game directory rather than at a single pak, let it build the file listing, then export only the assets you need. Recent titles use a .utoc and .ucas pair instead of a single pak. If the listing is empty, the container is usually encrypted, which is a separate problem.
How can I open a PAK file?
Do not use WinRAR or 7-Zip. A pak is a proprietary archive format and generic unzip tools cannot read it, which is why those attempts fail silently. Use an Unreal-aware tool instead. FModel is the community standard for browsing, QuickBMS and Umodel work for bulk extraction, and UAssetGUI turns individual .uasset files back into something an image or model viewer can open.
Can you open pak files in Unreal Engine?
Not directly. The Unreal Editor cannot read a pak container, and pointing it at one does nothing useful. To inspect assets in the editor viewport, extract the pak to a folder first and mount that folder as additional content in a project. FModel and Umodel can also preview many assets without the editor at all, which is faster when you are only confirming whether something exists.
Do leftover files in a game mean DLC is coming?
No, not on their own. A name in a character table or localisation file is tier C evidence: it proves someone typed the name, nothing more. Unreleased DLC and cut content are also different categories, since the first was never removed and the second was. Stronger signals include a developer note describing an intent to ship, and a feature that is fully wired in a recent build rather than present in an old one.
Is it legal to extract game assets and share them?
Researching files from a copy you own is generally treated as fair dealing for personal study, and documenting what you find is widely accepted community practice. Repackaging modified assets into a distributable mod is a different question governed by the publisher’s licence terms, and reposting raw extracted assets is riskier than describing them. Read the licence, and never redistribute files you did not create.
Conclusion
The method that survives scrutiny is simple: fix the build, copy the folder, open the container with an engine-matched tool, and trace every finding back to the code that would have used it. Anything that stops at “a name exists in a file” is a lead. Anything that reaches a reference count, a configuration state and a corroborating source is a finding.
Start small today. Record your build number, make a working copy, pick one specific claim you want to test, and trace that single file all the way through. Doing it once properly teaches you more than browsing a hundred strings, and it gives you a documented, reproducible result you can share with the community archives that document this kind of work properly.