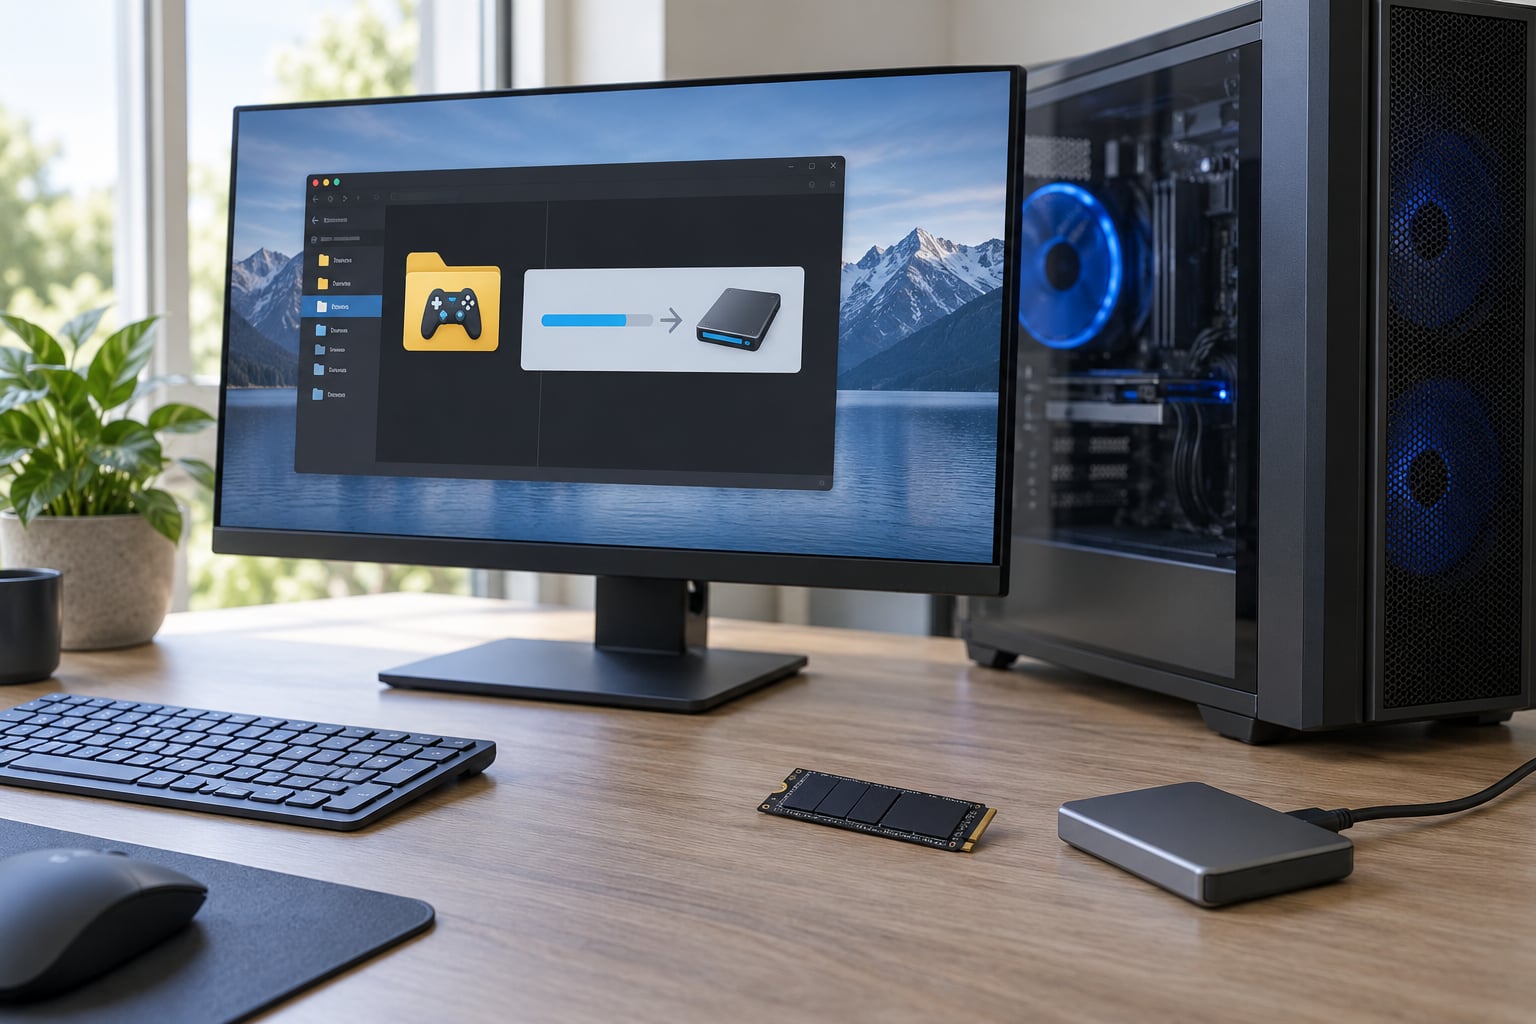
Moving a modded game to another drive is mostly a launcher job, then a mod-manager job. In Steam: open Steam > Settings > Storage, add the new drive as a library folder, right-click the game, choose Manage > Move Install Folder, and pick the destination. After that, repoint Vortex or Mod Organizer 2 at the new path and redeploy. Expect 30 to 90 minutes, and a couple of hours for a 200 GB install.
The reason this gets people into trouble is that the game and the mods live in two different places. The game sits in a Steam library folder. The mod manager keeps its own copy of every mod file in a staging folder, and often links those files into the game folder with hardlinks. Move one and leave the other pointing at a dead path, and you get a game that launches fine with every mod silently missing.
Saves are a separate question again. They usually live in your Documents folder, not the install folder, which means they usually survive a move untouched. That is also why backing them up first is worth the two minutes.
Table of Contents
- 1What You Need
- 2Step-by-Step: How to Move a Modded Game to Another Drive
- 31. Back Up Saves, Mods, and Configuration Files
- 42. Close the Game and Related Tools
- 53. Move or Reinstall the Game on the Destination Drive
- 6Route A: Steam’s Move Install Folder
- 7Route B: Manual copy with a junction point
- 8Route C: Reinstall to the new drive
- 94. Move the Mods and Restore Their Required Paths
- 105. Update the Launcher or Mod Manager Location
- 116. Reconnect Saves and Test the Mods
- 12Common Mistakes
- 13Frequently Asked Questions
- 14Can I move a modded game by dragging its folder to another drive?
- 15Why are my mods missing after I move the game to another drive?
- 16Do I need to reinstall the game when moving it to another drive?
- 17Will moving a modded game to an SSD improve performance?
- 18How do I move GTA V mods to another drive without losing saves?
What You Need
Before you move a single file, get these lined up. It turns a two-hour job into a twenty-minute one when something goes sideways.
- The game install and enough free space on the destination drive to hold it plus your mods. A heavily modded install can be several times the vanilla size.
- Your save files. Copy them to a separate drive or cloud folder, not just to the destination.
- The mod folder or mod manager, and its current path. In Vortex that is the Mods and Profiles folder shown under Tools > Settings > Paths. In Mod Organizer 2 it is the Mods folder shown under Settings.
- Your launcher account access: Steam, Epic Games Launcher, GOG Galaxy, the Microsoft Xbox app, or Rockstar Games Launcher.
- A destination drive formatted as NTFS. Hardlinks need NTFS. exFAT and FAT32 external drives will trigger Vortex errors rather than deploying your mods.
- Backup storage big enough to hold a copy of the mod folder, which is usually the largest part of the whole setup.
- A mod manager profile export if you use one, plus a load order export from tools like Mod Configuration Menu or xEdit-era utilities. Some managers write a plain text file you can copy.
One note on drive letters. If you can choose the letter of the new drive, set it to the same letter the game used to sit on. Every absolute path baked into a mod manager, a script, or an ini file stays valid, and you skip half the problems described below.
Step-by-Step: How to Move a Modded Game to Another Drive
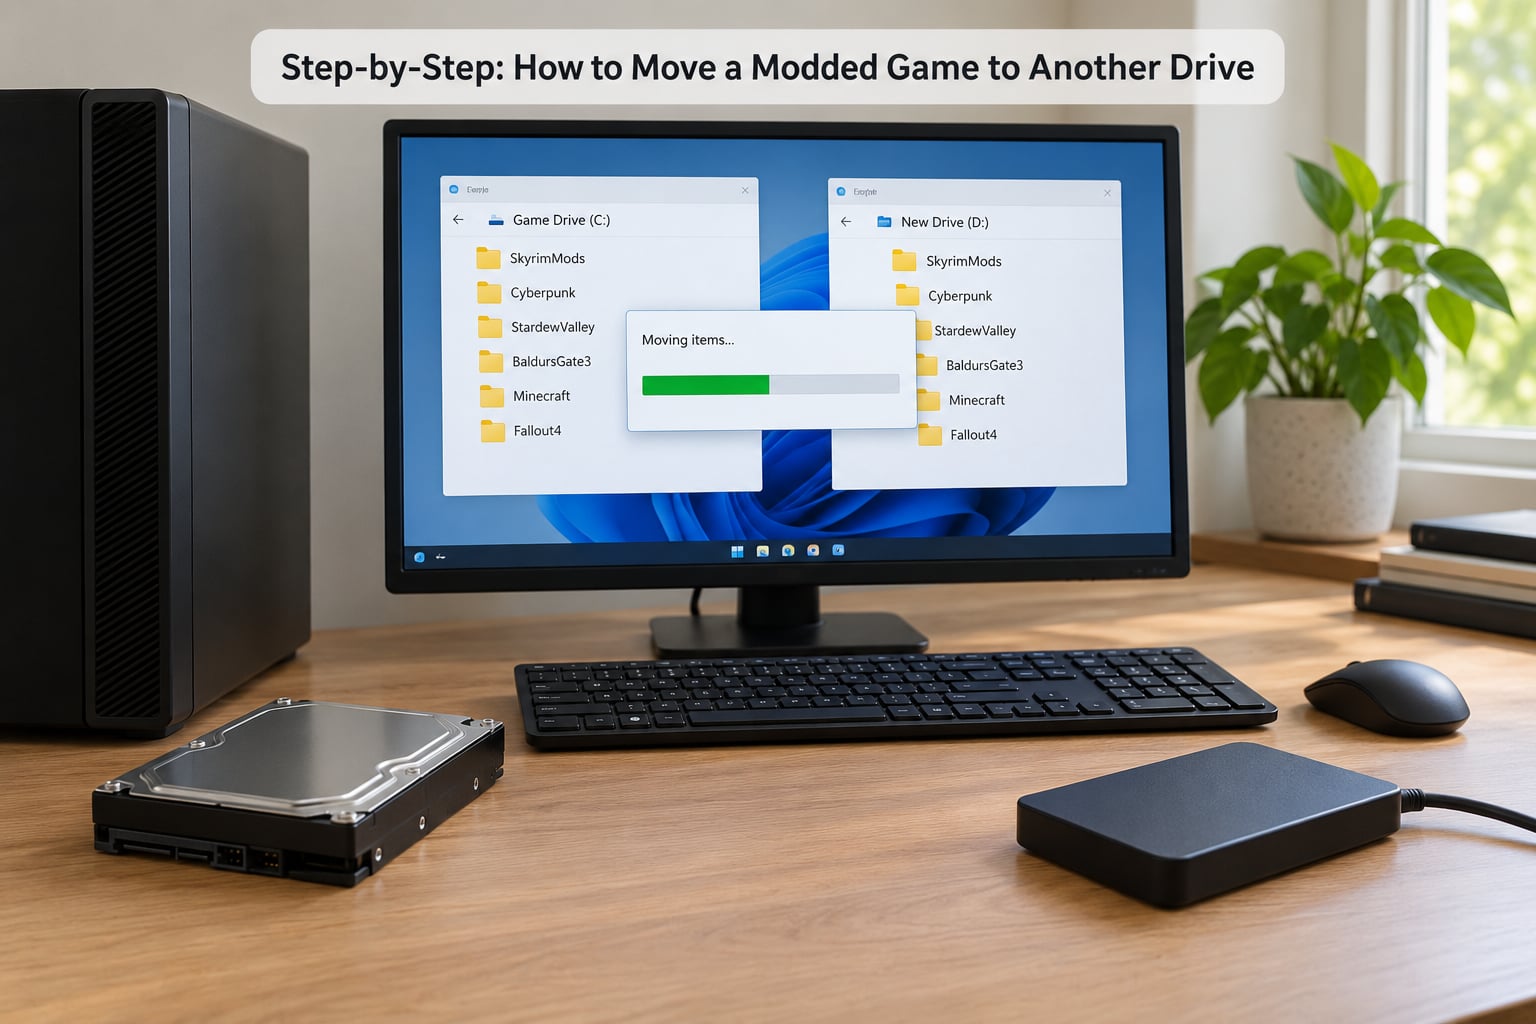
1. Back Up Saves, Mods, and Configuration Files
Copy first, move second. Save files for most games sit under Documents, in a folder named after the game. Copy that whole folder and paste it somewhere unrelated to both drives.
Then copy the mod manager data. In Vortex, the Mods and Profiles folder holds every downloaded archive, the staging folder, and your profile with the exact list of enabled mods. That profile is the real value here, since it can rebuild a mod list in minutes while the archives would otherwise take hours to re-download. Export the profile from the Mods list screen so you have a file that survives even a mangled folder.
Grab these too if your game has them:
- The mod list or load order file your manager exports
- Configuration folders, such as an AppData folder for the game or the mod manager
- Keybind and controller preset files
- A screenshot folder or any game-side user data outside the install directory
For Bethesda titles, the configuration files in your Documents folder hold ini tweaks, keybinds, and MCM settings. Moving those back afterward is what stops your mod menu from resetting to defaults.
2. Close the Game and Related Tools
Exit the game, the launcher, and the mod manager. Not just the window, the actual process from the system tray. Vortex keeps a background process running, and that alone is enough to produce a file in use error halfway through a move.
Check the taskbar tray for the launcher icon, right-click it, and choose Exit. Do the same for your mod manager. Do the same for any third-party launcher such as the Rockstar Games Launcher or the Epic Games Launcher that might be running in the background even though you closed its window.
Do not start a file transfer utility yet either. Explorer holds locks on folders it is watching, which is why copying a game folder straight from Explorer fails halfway through more often than people expect.
3. Move or Reinstall the Game on the Destination Drive
There are three routes, and the right one depends on how stubborn your current install is. This table compares them.
| Method | Re-download | Mods survive | Best for |
|---|---|---|---|
| Launcher move tool | No | Yes, after you repoint the manager | Healthy installs, most cases |
| Manual copy plus junction | No | Yes, if paths are set by hand | Launchers with no move option, external drives |
| Reinstall to the new drive | Yes, unless you copy the files over first | Only after redeploying | Broken installs, games Steam wants to update anyway |
Route A: Steam’s Move Install Folder
- Open Steam and choose Steam > Settings > Storage.
- In the list of drives, click the dropdown for your destination drive and choose Add a Folder. Point it at the root of the drive, for example
D:SteamLibrary, and let Steam create the folder. - Return to your library. Right-click the game and choose Manage > Move Install Folder.
- Select the destination library folder from the list and confirm.
- Wait. Steam relocates the files rather than re-downloading them, so the time depends on your drives and the install size. A SATA SSD to NVMe move is quicker than you expect; an HDD to external drive can take hours.
- Start the game once before you touch any mods. If it opens to the main menu, the install survived the move.
Two refusals show up here constantly. The first is a game that needs updating before it will move, which is annoying but harmless: accept the update on the old drive, then move it, since an update overwrites modded files and you want that to happen before you redeploy rather than after. The second is Steam reporting the destination folder already exists, which means a leftover folder is in the way. Close Steam, delete the empty destination folder, and try again.
Route B: Manual copy with a junction point
A junction point is a shortcut that lives in the file system itself. Windows follows it transparently, so the game and every tool that reads the old path still work even though the bytes live on the new drive. This is the cleanest fix for launchers that refuse to move a modded install.
- Close Steam completely, including the tray icon.
- Copy the entire game folder, including hidden files, to the destination. Hidden files matter: mod managers store deployment state inside the game folder.
- Rename the original folder to something like
GameName-oldrather than deleting it. Keep it until everything works. - Open Command Prompt as administrator and create the junction:
mklink /J "C:GamesGameName" "D:GamesGameName"
- The PowerShell equivalent is
New-Item -ItemType Junction -Path "C:GamesGameName" -Target "D:GamesGameName". - Start Steam and verify the game. Then right-click the game in your library, choose Properties, and confirm the install path still resolves.
Junctions cannot cross drive formats the way a copy can, and they do not survive if you later format the destination drive. Both are reasons to keep the old folder around for a week.
Route C: Reinstall to the new drive
Use this when the install is already damaged, when you have never deployed mods there before, or when the launcher insists on a fresh copy.
- Uninstall the game from the launcher but keep the destination library folder registered.
- Install it fresh to the new drive. Start it once so it builds its own folders and settings.
- Exit the game, then copy the backup of your mod profile and configuration files back into place.
- Redeploy your mods through the mod manager rather than copying loose mod files into the new install. Redeploy is faster than you think when the archives are already downloaded.
For Epic Games Launcher and GOG Galaxy, open the game, choose the three-dot menu beside it, and look for Move to Drive or Install on. Epic also exposes the install location under Settings > Manage Installations. If no move option appears, the game is installed on the drive where the launcher itself lives, and moving it means moving the launcher first.
The Microsoft Xbox app on Windows 11 handles game installs through its own library storage. Drive settings live in the Xbox app settings, and games move through the same drive options panel. Modded titles on Game Pass are rare, but the principle is identical: move the install, then repoint your mod manager.
For Rockstar Games Launcher titles, there is no move tool at all. Pick either Route B with a junction, or move the whole Rockstar install folder and relaunch the launcher.
4. Move the Mods and Restore Their Required Paths
This is the step that gets skipped and regretted. The game folder is only half of a modded install.
For Vortex, open Tools > Settings > Paths. You will see the Mods base directory and the Game directory. If you moved your mod folder too, update the Mods base directory there. Then deploy.
For Mod Organizer 2, open Settings. The Mods directory and the Data directory are listed there. MO2 points at the game through a per-instance setting inside Mod Organizer itself, under the Executables tab of the instance, where the binary path needs to point to the new drive.
For manual and Workshop mods, no manager is involved, so you place folders by hand. Common ones: a Mods folder inside the game directory, a Scripts or download folder for installers, and an addons folder for Steam Workshop content. Left 4 Dead 2 is the classic trap here, where the addons must live inside the steamapps game folder to be seen at all. Cities: Skylines and The Sims 4 behave similarly with their Workshop content folders.
The Sims 4 case is worth spelling out because people ask for it constantly. You cannot simply relocate the Mods folder and expect the game to notice. Create a junction instead. In File Explorer, go to the folder the game reads, press Shift and right-click the Mods folder, choose Delete, then hold Ctrl and Shift and right-click the same location. Choose Create a junction. Give it the name Mods and move your real folder to the drive you want. Same approach works for any game that reads a fixed folder path.
5. Update the Launcher or Mod Manager Location
Each tool has its own place where the old path is stored. Update them in this order so the game folder is correct before anything tries to deploy into it.
- Steam: the move tool registers the new library folder automatically. If you did Route B, check Settings > Storage to confirm the drive shows the right path.
- Vortex: Tools > Settings > Paths, then set the Game directory to the new game folder and the Mods base directory to wherever you keep mod archives.
- Mod Organizer 2: Settings for the mod folders, then the instance Executables tab for the game binary.
- Epic Games Launcher, GOG Galaxy, Xbox app: the install is tracked inside each launcher, so refresh the library and confirm the game shows the new drive.
After changing paths in Vortex, expect an External changes detected prompt the first time you deploy. This is the single most dangerous dialog in modding. Click Revert All Changes. Do not click Save Changes, because that tells Vortex to keep whatever is currently in the game folder as the new baseline, which can purge hundreds of thousands of files and redeploy only a fraction of them. People have reported a purge of 425,000 files followed by a redeploy of 92,000 from clicking the wrong button.
If you moved the mod folder and get Filesystem doesn’t support hard links, the destination drive is the problem. It is either exFAT or FAT32 rather than NTFS, or it is a network drive or a USB drive the mod manager cannot link on. Format it as NTFS or put mods back on the internal drive.
6. Reconnect Saves and Test the Mods
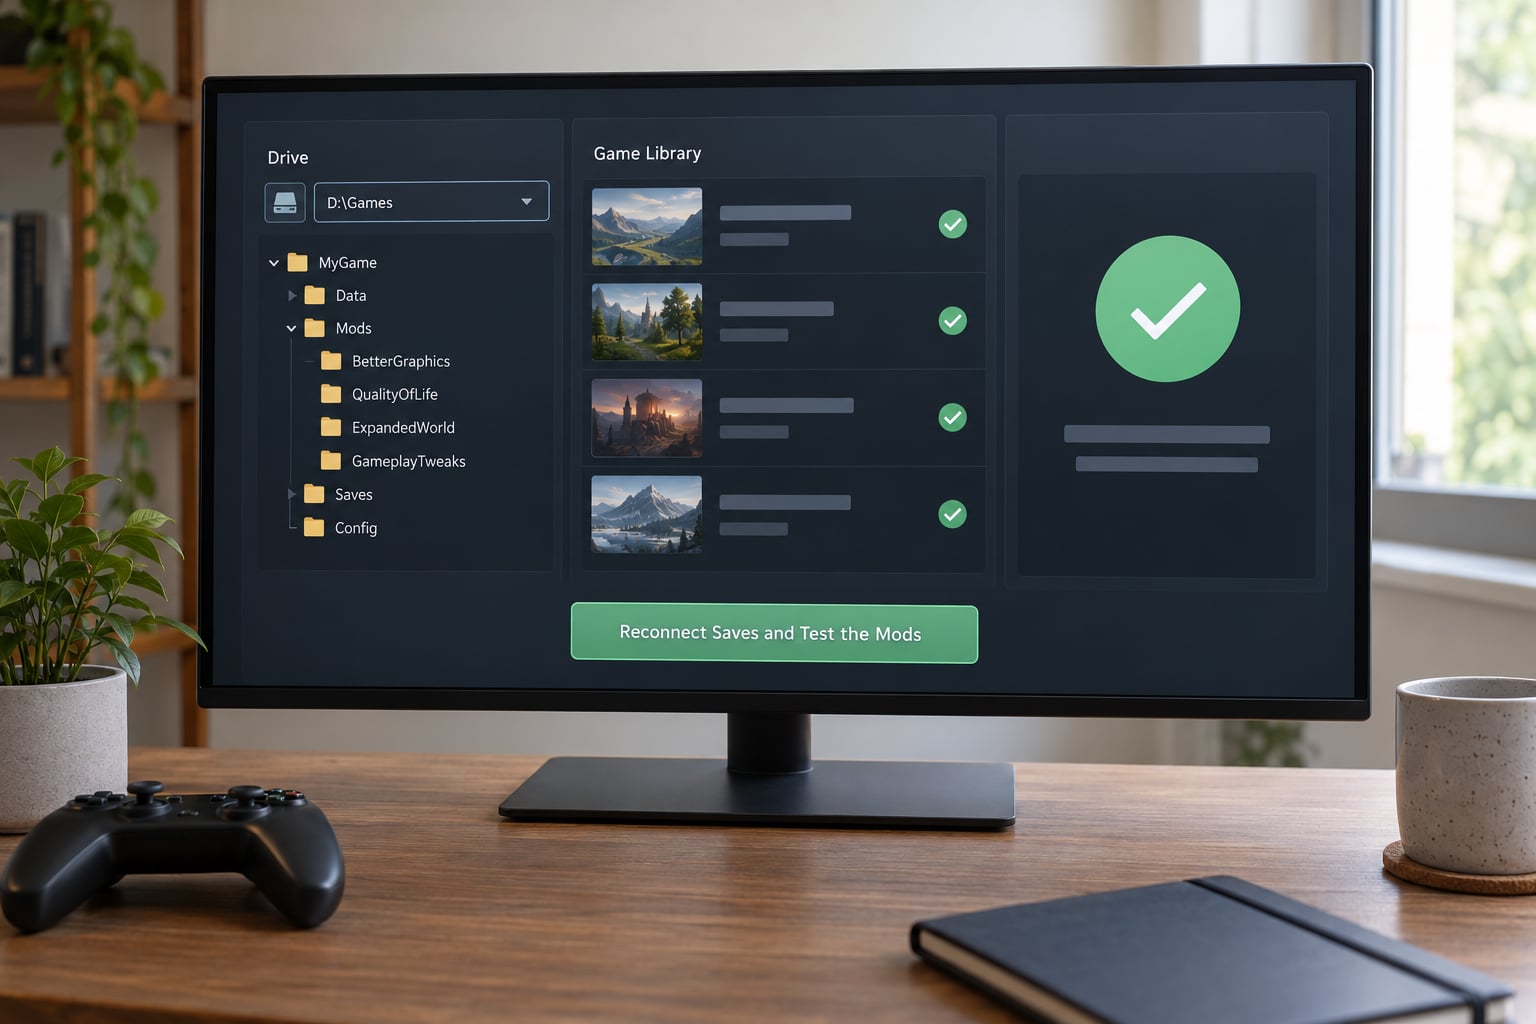
Run through this in order rather than jumping straight into a 40-hour save. Each step takes under a minute and tells you exactly where a problem sits.
- Launch the game from its new location and confirm it reaches the main menu.
- Load an old save. If the save list is empty, your saves never left the other drive, or you restored the backup into the wrong folder.
- Open the mod menu inside the game. A populated list means your configuration files came across correctly.
- Check the mod manager list shows every mod as deployed, not just enabled. Enabled with nothing deployed is the classic post-move failure.
- Load the in-game mod list or trainer and toggle one mod on and off to confirm it takes effect.
- Test what the mods actually change: spawn a vehicle, fly to a modded map, run a script, check a graphics preset.
- Verify integrity from the launcher. Right-click the game, choose Properties, then Installed Files > Verify integrity of game files. This repairs vanilla files and leaves mods alone as long as they came from a mod manager.
One last check on disk space. Hardlinked deployments should use very little extra space because a mod file and its link are one set of data pointed at twice. If your destination drive now shows far more used space than expected, the links were materialized as real files during the copy, which is the documented failure mode reported on r/skyrimmods as roughly 300 GB of phantom bloat. The fix is a purge followed by a revert and redeploy.
Common Mistakes
| What you see | Why it happens | Fix |
|---|---|---|
| Mods missing, vanilla game | Mod manager still points at the old path, or mods are enabled but not deployed | Fix the game path in the manager, then deploy |
| No saves in the list | Saves live in Documents and were never moved or were restored to the wrong folder | Copy the Documents save folder back and confirm the file names match |
| Folder already exists | Leftover folder at the destination is in the way | Close the launcher, delete the empty destination folder, move again |
| File or folder is in use | The launcher or mod manager is still running in the tray | Exit every tray process, then retry |
| Filesystem doesn’t support hard links | Destination drive is exFAT or FAT32, or a network drive | Format as NTFS or keep mods on an internal NTFS drive |
| Steam refuses to move until update | The launcher requires the app to be current before relocating | Let it update on the old drive, then move it |
| Mods work on the old drive, not the new one | Loaders and scripts store absolute paths internally | Repoint the manager, purge, revert and redeploy |
| Crash on launch after the move | Verify integrity overwrote deployed mod files, or a script points at a missing drive | Redeploy mods, then re-check script paths |
| Games slower after the move | The destination is an HDD or an external drive rather than an SSD | Put the game on an SSD; mods can live on the slower drive |
| Deleted the wrong folder | Old folder was emptied before verification | Restore from the backup copy of saves and mods, then reinstall the vanilla game |
A few habits prevent most of this. Never delete the old install until you have launched, loaded a save, and confirmed mods work on the new drive. Keep a separate backup of your mod profile that does not live on either drive. And when you want game files on a fast SSD while mods sit on a larger, cheaper HDD, that combination works fine, as long as the game path and the mod path are set separately in your manager.
If you are moving to a completely new PC rather than a new drive, add two things to the list. Export your load order as a text file so you can rebuild the exact order on the new machine, and expect to reinstall the mod manager itself. The mod archives move with your mod folder, so the download step is the part you skip.
Frequently Asked Questions
Can I move a modded game by dragging its folder to another drive?
You can copy it, but do not drag and drop as the only step. Copying leaves the launcher and your mod manager pointing at the old path, so the game shows up as missing or launches without its mods. Copy the folder, then register the destination as a library folder and repoint your mod manager before you launch. Delete the old folder only after mods load correctly.
Why are my mods missing after I move the game to another drive?
Because your mod manager stored an absolute path to the old game folder, or because the mods are enabled but were never deployed to the new location. Fix the game path in your manager settings, then redeploy. If the manager reports that the filesystem does not support hard links, the destination is not formatted as NTFS, which stops deployment entirely.
Do I need to reinstall the game when moving it to another drive?
Usually not. Steam, Epic Games Launcher, GOG Galaxy and the Xbox app all relocate an existing install rather than re-downloading it, as long as you register the destination as a library folder first. Reinstall only makes sense when the install is already broken or the launcher wants to update the game anyway, which would overwrite modded files regardless.
Will moving a modded game to an SSD improve performance?
Yes, and load times benefit most. A modded install is often several times the size of the vanilla game, so the amount of data being read during loading is much higher than people expect. Moving to an SSD cuts load times noticeably. Keep the game on the SSD for that benefit, and let the mod folder live on a larger drive, since it is only read during deployment.
How do I move GTA V mods to another drive without losing saves?
Saves are stored separately from the install folder, usually under Documents, so copy that folder to a backup location before you start. Then move the game through the Rockstar Games Launcher folder or the Steam move tool, since the Rockstar launcher has no built-in move option and a junction point is the usual workaround. Keep mods on an NTFS drive so hardlinks work.
Back up your saves and export your mod profile first. That pair takes two minutes and is the only thing standing between you and rebuilding a load order you spent months assembling. After that, use the launcher’s own move tool, repoint your mod manager at the new path, redeploy, and keep the old folder around until a save loads with every mod working.