To test one mod at a time properly in GTA V, you start from a game that runs clean with no mods, add exactly one mod, and confirm it loads before you touch a second file. That single rule kills most of the guessing that makes mod troubleshooting drag on for days.
The method takes about ten minutes per mod once the setup is done properly. The hard part is not the install; it is resisting the urge to add the next mod while the first one is still untested.
Table of Contents
- 1What You Need
- 2Step-by-Step: How to Test One Mod at a Time Properly
- 31. Establish a Clean Baseline
- 42. Disable or Move Other Mods
- 53. Back Up the Files You Will Change
- 64. Install Only the Mod You Are Testing
- 75. Verify the Files and Load Order
- 86. Launch and Watch the First Minute
- 97. Run the Same Short Test Route
- 108. Save, Reload, and Test Reentry
- 119. Record the Result and Make a Decision
- 12Common Mistakes
- 13Frequently Asked Questions
- 14How can I tell if my mods are working in GTA 5?
- 15Why are my mods not working in GTA 5?
- 16What folder do I put GTA 5 mods in?
- 17How do I isolate which mod is causing a crash?
- 18Why does OpenIV say this folder does not contain gta5.exe?
- 19Should I add a confirmed mod back into my full setup?
- 20Conclusion
What You Need
Gather these before you install anything. If you cannot get a clean baseline without them, the test will not tell you anything useful.
- A clean save or a backup of your current save. A few named copies in a folder outside the game directory costs you nothing and saves a corrupted campaign later.
- A verified game installation. Run the integrity check in the Rockstar Game Launcher before you add a single file. A corrupt vanilla install produces crashes that look exactly like a bad mod.
- The mod files and the mod page you got them from. Keep the page open; it tells you which GTA game version the mod was built for and what it replaces.
- Version information for both. Legacy and Enhanced builds of GTA V are not interchangeable, and most broken mods are simply the wrong edition.
- A text file for your test log. Date, mod name, file list, result. One line per test beats a memory full of half-fixes.
- Optional diagnostics. A crash log viewer, a folder that shows file extensions, and a disk space check on the drive holding the game.
Everything above applies to PC. Consoles run a closed, signed system, so the file-level steps simply do not exist there, and mobile builds handle mods through their own packages. This workflow is a PC workflow.
Step-by-Step: How to Test One Mod at a Time Properly
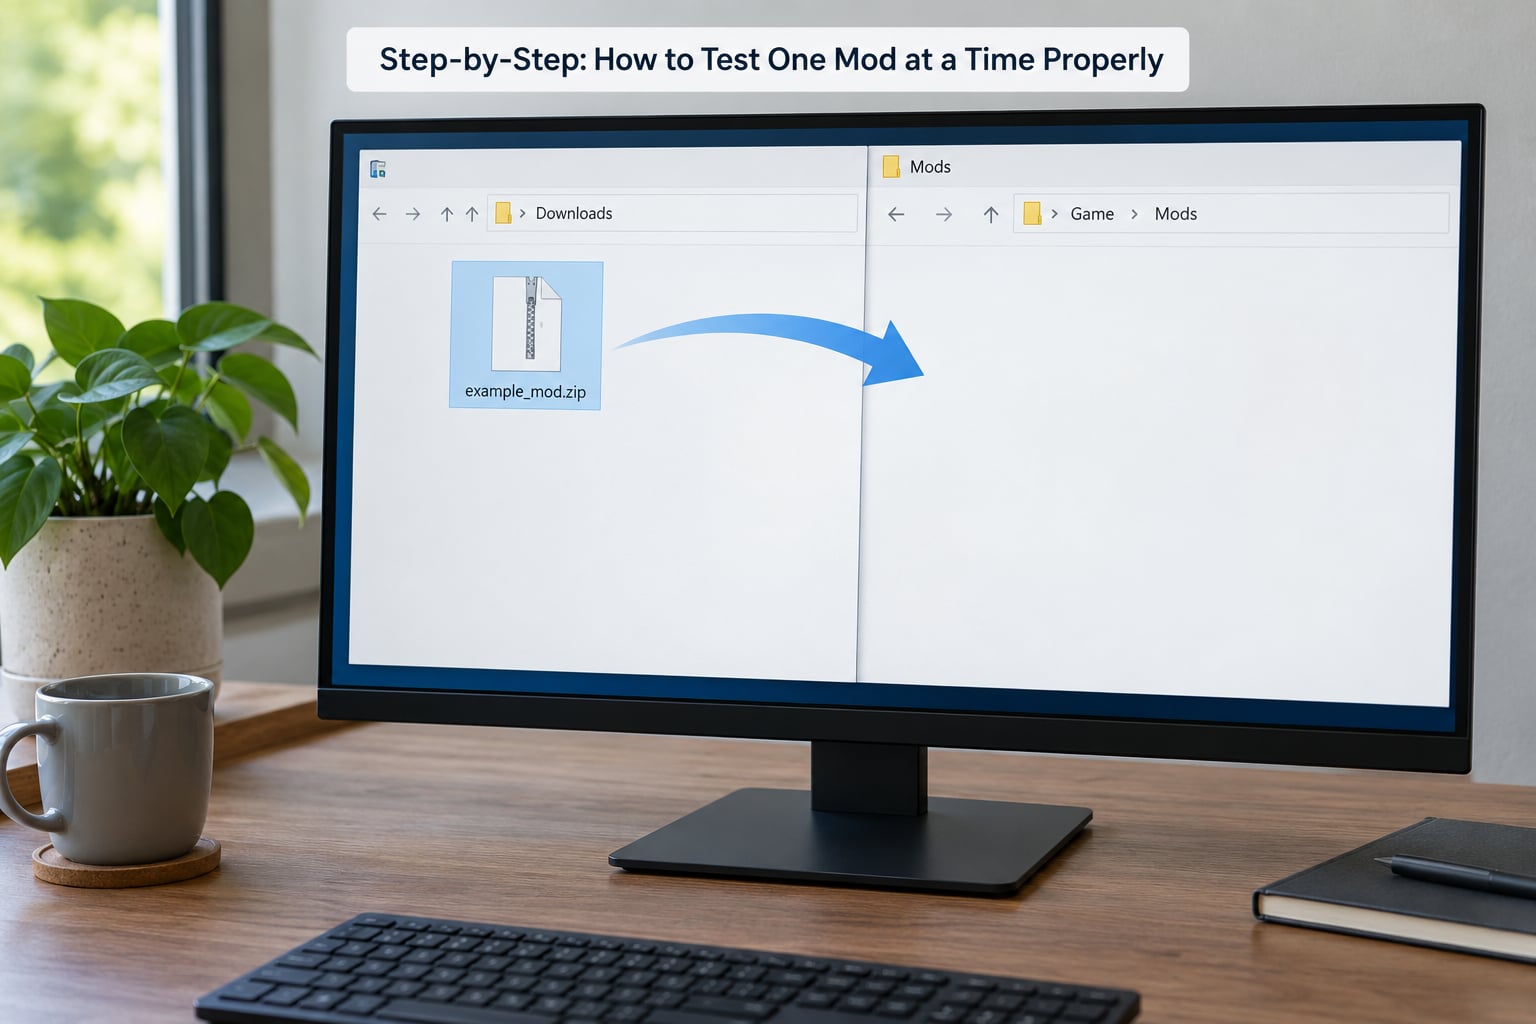
1. Establish a Clean Baseline
Launch the game with no mods and play for ten minutes. Load a save, drive a vehicle, walk into an interior, save and reload. If any of that stutters or crashes on vanilla, fix that first — every later test inherits the problem.
Write your baseline down: game edition, game version number, your GPU driver, and the date. When something breaks later, this line tells you whether the starting point moved.
2. Disable or Move Other Mods
Empty the mods folder. If you use a mod manager, deactivate every entry rather than deleting anything, so you can rebuild the set later in a known order.
Keep prerequisites installed. ScriptHookV, the ASI loader, and any gameconfig or heap adjuster are not variables in your test; they are the ground your mod stands on. The advice that circulates on r/Gta5Modding is exactly this: remove the mod but keep the prerequisites, test, and you learn whether the mod itself is at fault.
Give each mod its own folder on the drive, named with a number and a date. Turning a test on and off becomes a file move instead of a reinstall.
3. Back Up the Files You Will Change
Copy the original files your mod overwrites before you overwrite them. Any replaced file, any edited config, and the current save all get a copy with the date and mod name in the filename.
Back up the game executable too. Several ASI loaders replace it, and a clean copy is the fastest way back from a launch that never reaches the main menu.
4. Install Only the Mod You Are Testing
Read the mod page before the first file lands. Confirm it targets your exact GTA game, check the date of the last update, and note anything it says it replaces.
Install precisely the files listed. Extra files inside a download are the reason a single mod behaves like three — bundled config, an alternate model, a second script that was never meant to be installed together.
If you are still working out how to test one mod at a time properly, the habit of checking the download contents before installing saves you more time than any later fix.
5. Verify the Files and Load Order
Confirm file extensions are visible in your file manager, or you cannot tell a script from a folder. Check that each file sits in the exact directory the author named — a script in the game root instead of the scripts folder is the most common silent failure.
Look for duplicate copies. An old version of the same script still sitting in another folder will load too, and you will debug a mod that is not the one misbehaving. Dependencies listed on the page must be present and active.
Scripts load in a defined order, so a script that starts first is a script that loads first. If a trainer or menu depends on a library, the library comes earlier.
6. Launch and Watch the First Minute
The first minute tells you more than ten minutes of play. Watch for crashes on startup, warning messages, missing textures or models, an altered pause menu, controls that stop responding, and a frame rate that visibly drops.
Check that the mod appears where it should: a trainer menu on its hotkey, the vehicle in the correct category, the ped in the wardrobe. If it installed but nothing happens, the usual causes are administrator rights on the launcher, an antivirus that removed a script file, or anti-cheat blocking the load.
7. Run the Same Short Test Route
Write one route and use it for every mod. Same start point, same vehicle, same camera angle, same actions, same duration. Without a fixed route your comparison is worthless.
Cover what the mod touches: movement and collision for movement mods, handling and damage for vehicles, lighting and weather for visual mods, interiors and streaming for maps. Then repeat the route on the clean baseline and compare, because a setting you changed last week can feel like a new mod’s fault.
8. Save, Reload, and Test Reentry
Many failures only appear on the second visit. Save, quit to the desktop fully, relaunch, and load that save. Walk or drive back into the exact spot where the mod lives. Streaming content loads on approach, so a prop that worked the first time can fail on reentry once the save has been rewritten.
Try an older save as well. If the crash only happens on new saves, the save data is doing something the files are not.
9. Record the Result and Make a Decision
Write the line in your log immediately. Something like: date, mod name and version, files installed, route run, result, notes.
Then pick one of three outcomes. Keep it and mark it confirmed. Keep it with a written limitation, such as a known crash after twenty minutes in one district. Or remove it and move on to the next candidate.
Whatever the outcome, return to the clean baseline before installing anything else. That return is what makes the next test meaningful, and it is the step most people skip.
Common Mistakes
Here are the eight failures that waste the most time, and what each one actually needs.
- Testing with other mods still active. You cannot attribute the crash. Disable everything except prerequisites, then retest.
- Installing a mod for the wrong game edition. Legacy mods on an Enhanced install, or the reverse, usually crash on use rather than on launch. Check the mod page before installing, not after.
- Overwriting files without a backup. One replacement is all it takes, and restoring it cleanly is faster than reinstalling the game.
- Confusing duplicate copies. A second copy of the same script in another folder means your fix targets the wrong file. Search the whole game directory before editing.
- Ignoring dependencies. A library that is missing, disabled, or loaded after the mod that needs it produces errors that point at the mod, not the library.
- Judging performance from a single frame. Measure over the same stretch of the same route, with the same settings, and only then compare against the baseline.
- Never testing saves and reloads. Crashes that appear twenty minutes into a session, or at a fixed point, rarely show up during the first launch.
- Installing repeatedly without writing anything down. After the fifth attempt nobody remembers which file was added when, and the isolation logic collapses.
A crash roughly an hour into play is usually a gameconfig or memory limit, not a direct conflict between two mods. The same is true of crashes that hit after a heavy mod set has been running a while; added peds and streamed props exhaust their pools before anything visibly breaks.
A few things that look like mod problems are not mod problems at all. An antivirus that quietly removes script files leaves the game launching fine with features missing. The launcher refusing to start the game often needs administrator rights. A recent game update can break a loader that worked yesterday. And a driver change or a Windows update can tank performance with an identical mod set.
One more habit pays off immediately: verify game files integrity from the launcher after you finish testing, not before. It catches the edits you forgot about.
Frequently Asked Questions
How can I tell if my mods are working in GTA 5?
A working mod shows its effect in a place you can check quickly: a trainer menu opens on its hotkey, a new vehicle appears in its category, or a ped model loads in the wardrobe. If nothing appears anywhere, check in this order: run the launcher as administrator, confirm antivirus has not removed any script file, confirm the script sits in the exact folder the author named, and confirm the mod targets your game edition. Then relaunch and try the hotkey again before changing anything else.
Why are my mods not working in GTA 5?
Most failures fall into four groups. Installation problems mean a file sits in the wrong folder or has the wrong extension. Loading problems mean a dependency is missing, disabled, or ordered after the mod that needs it. Environment problems mean antivirus removed a file, anti-cheat blocked the load, or the launcher lacks administrator rights. And version problems mean the mod was built for the other GTA game edition. Each group has a different fix, so identify the group first instead of reinstalling at random.
What folder do I put GTA 5 mods in?
Script files go in the mods folder inside the game directory, which you create yourself and which OpenIV sets up for you. Configuration files usually go in the main game folder. Assets inside RPF containers go through OpenIV rather than the Windows file manager, following the paths the mod page lists. Turn on file extensions in your file manager first, so you can confirm each item is the file type you think it is.
How do I isolate which mod is causing a crash?
Start from a vanilla game that runs clean, keep your prerequisites installed, then add one mod and run the same short test route. If it crashes, remove that mod and retest to confirm the baseline holds. If the baseline crashes too, the cause is elsewhere: an update, a driver, or a gameconfig limit. When you reach a mod set of ten or more, testing every entry is faster than bisecting from the top.
Why does OpenIV say this folder does not contain gta5.exe?
OpenIV looks for the executable inside the game directory to confirm it has found the right install. Pointing it at a parent folder, a Steam library root, or the Rockstar installer’s own folder produces that message. Open the launcher, confirm the installed location, and navigate to the exact folder holding gta5.exe. On Enhanced editions the executable and folder layout differ, so check that your copy of OpenIV supports the edition you own.
Should I add a confirmed mod back into my full setup?
Yes, and re-run your test route once it is back in the full set. A mod that passes alone can still fail alongside others, since two mods can each work on their own and conflict together. Add it to your log as confirmed in isolation and unconfirmed in the full set until that second route passes. If it fails there, you now know the pair involved rather than searching blindly.
Conclusion
Testing one mod at a time properly comes down to four habits: confirm the vanilla game runs clean, add exactly one mod, run the same short route including a save and reload, then write the result in your log before you install anything else.
Start now by launching the game with an empty mods folder and playing for ten minutes. That ten minutes is the baseline every later test depends on.