A free camera mod detaches the in-game camera from your character so you can fly it, rotate it, and capture a clean frame with the interface hidden. Learning how to use a free camera mod for screenshots in GTA 5 takes about fifteen minutes on PC: check the mod matches your game version, drop its files into the GTA V folder, start the game, toggle the free camera on, hide the HUD, then take the shot with the capture key you already use.
The fiddly part is rarely the camera itself. It is knowing which key detaches it, which key clears the HUD, and where the finished image lands on your PC. Everything below is PC-only, and it works for the script-based camera mods that most people download for GTA 5 in 2026.
Table of Contents
- 1What You Need
- 2Step-by-Step
- 3Check the Mod Before Installing It
- 4Back Up GTA 5 and Install the Mod
- 5Start GTA 5 and Open the Camera Mod
- 6Control the Camera and Compose the Shot
- 7Take and Save a High-Quality Screenshot
- 8Common Mistakes
- 9Frequently Asked Questions
- 10Is a free GTA 5 camera mod safe to download?
- 11Can I use a free camera mod on PS4, PS5, Xbox One, or Xbox Series X|S?
- 12Why does my camera mod not appear in the GTA 5 mod menu?
- 13Can I use a free camera mod in FiveM?
- 14Where are screenshots saved after using a GTA 5 camera mod?
- 15Can I use an older camera mod after a recent GTA 5 update?
- 16Conclusion
What You Need
You need four things before you start: a PC copy of GTA 5, a camera mod built for your game version, a clean folder to install into, and one screenshot method that you already know works. Console copies do not accept these mods, and Android ports of the game cannot load them at all.
- GTA V on PC in story mode, installed through Steam, Epic Games, the Rockstar Games Launcher, or Xbox PC Game Pass.
- The camera mod itself, plus every dependency listed on its download page. Many GTA 5 mods need a script or ASI loader running alongside the game.
- A backup of your game folder, or at minimum your saved games, before you move a single file.
- A capture method — Windows screen capture, the Steam overlay, your GPU driver overlay, or Xbox Game Bar. You do not need to buy anything extra.
- Optional: an image editor for cropping and colour work once the raw file is saved.
Different games hand you a free camera in different ways. Knowing which type you are dealing with saves an hour of troubleshooting.
| Method | What you install | Best when |
|---|---|---|
| Built-in photo mode | Nothing | The game already ships one, as many modern titles do |
| Script or ASI camera mod | A .asi or plugin file and a loader | GTA 5 on PC, when you want full control of the shot |
| Trainer or external tool | A separate program that attaches to the game | You only need a quick new angle once |
| Console command | Nothing | Single-player games that ship a developer console |
If the game has a photo mode already, test that first. GTA 5 does not ship with a full photo mode on PC, so most players here do need the mod.
Step-by-Step
Here is the whole process as a quick list before the detail:
- Confirm the mod supports GTA 5 on PC and your current game version.
- Back up the GTA V folder and your save games.
- Extract the mod into the game folder, not over it.
- Start the game and its loader, then open Story mode.
- Press the free camera key to detach the camera.
- Hide the HUD, frame the shot, and pause if you want a still subject.
- Capture with your screenshot key and find the file.
Check the Mod Before Installing It
Read the requirements before you download anything. GTA 5 camera mods are small, but they are written against a specific game build, a specific loader, and sometimes a specific GTA V folder layout. A mod that expects an older structure will still install cleanly and then do nothing.
Check your game version first. On Steam, right-click Grand Theft Auto V in your library, choose Properties, open Installed Files, and look at the build ID. The Epic Games Launcher and the Rockstar Games Launcher both show a version number in their install properties panel.
Then read the download page for three things: the last update date, the list of required dependencies, and whether anyone in the comments is reporting the same problem you are about to hit. Nexus Mods pages and a mod author’s own GitHub release both show real dates and real comment histories. Mirror sites with a countdown timer and a “download now” button are not that, and neither is anything asking for a keygen or an account login.
Two more checks. Download the archive, right-click it, and scan it with whatever antivirus you run before you extract it. And read the multiplayer line — if the author says the mod breaks FiveM or conflicts with the anti-cheat in GTA Online, believe them and use story mode only.
If the newest mod only supports an older game version, look for a maintained alternative before you force it. A slightly older camera mod usually keeps working because story mode rarely changes, but a mod built for a different game, or one needing an old loader build, will fail silently. When shots come out wrong on the Nexus Mods forums, version mismatch and two mods writing the same file are the two causes that come up again and again.
Back Up GTA 5 and Install the Mod
Copy your whole GTA V folder before installing. On Steam it lives at steamapps/common/Grand Theft Auto V. On Epic, open the Epic Games Launcher, find GTA V in your library, choose Manage, then Browse files. Copying the folder takes a few minutes and saves you from a reinstall you do not want.
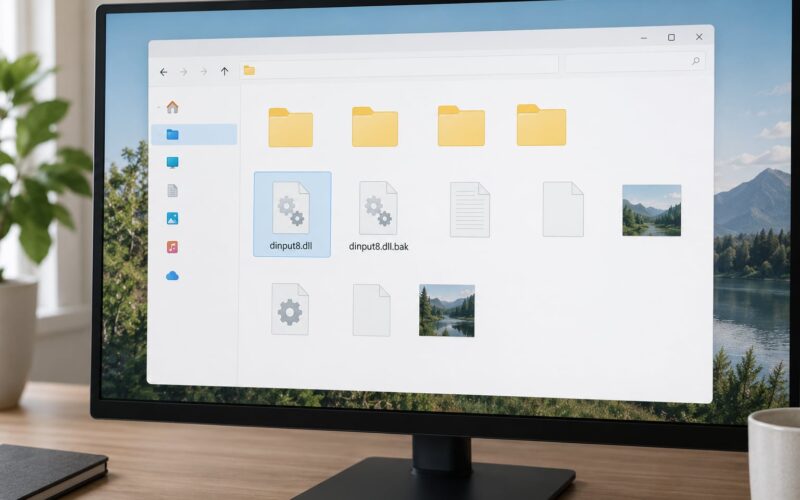
Extract the mod next. Unpack the archive into a normal folder such as Desktop so you can see what came out — usually a readme and one or two files. Then copy only those files into the GTA V folder, or into the subfolder the readme names, which is often a plugins or scripts folder.
One warning that gets repeated constantly: never unpack the archive directly over the game folder. Tools like 7-Zip will overwrite matching files across the whole installation, and recovering from that means a full verify or reinstall. Copy the two or three files by hand and you stay in control.
Confirm the install worked by opening the GTA V folder and looking for the new file with the same name as the one in the archive. If your mod has an installer, run it once as administrator and note every path it reports, because those are the files you will delete later to uninstall.
Start GTA 5 and Open the Camera Mod
Launch the game the way the mod requires. Script-based GTA 5 mods usually need their loader started first — the loader stays open in its own small window while the game runs. Then load into Story mode and wait for the world to finish streaming in.
Press the free camera key. Across most camera mods it is Insert, a function key, or a key you can rebind from the mod’s own menu. When it works, the view detaches from your character and you can move on your own.
Check that it toggles both ways. Press the key a second time and the camera should snap back behind your character. A one-way toggle usually means the key is remapped or a second mod has grabbed that input.
Menu labels vary by mod, so do not expect a button called exactly “free camera”. Look for a window with camera options such as movement speed, field of view, HUD visibility, or a hide interface toggle. Pause the game while you set the shot if the mod supports it — a paused world with a free camera is the cleanest version of this workflow, because nothing walks into frame while you compose.
Control the Camera and Compose the Shot
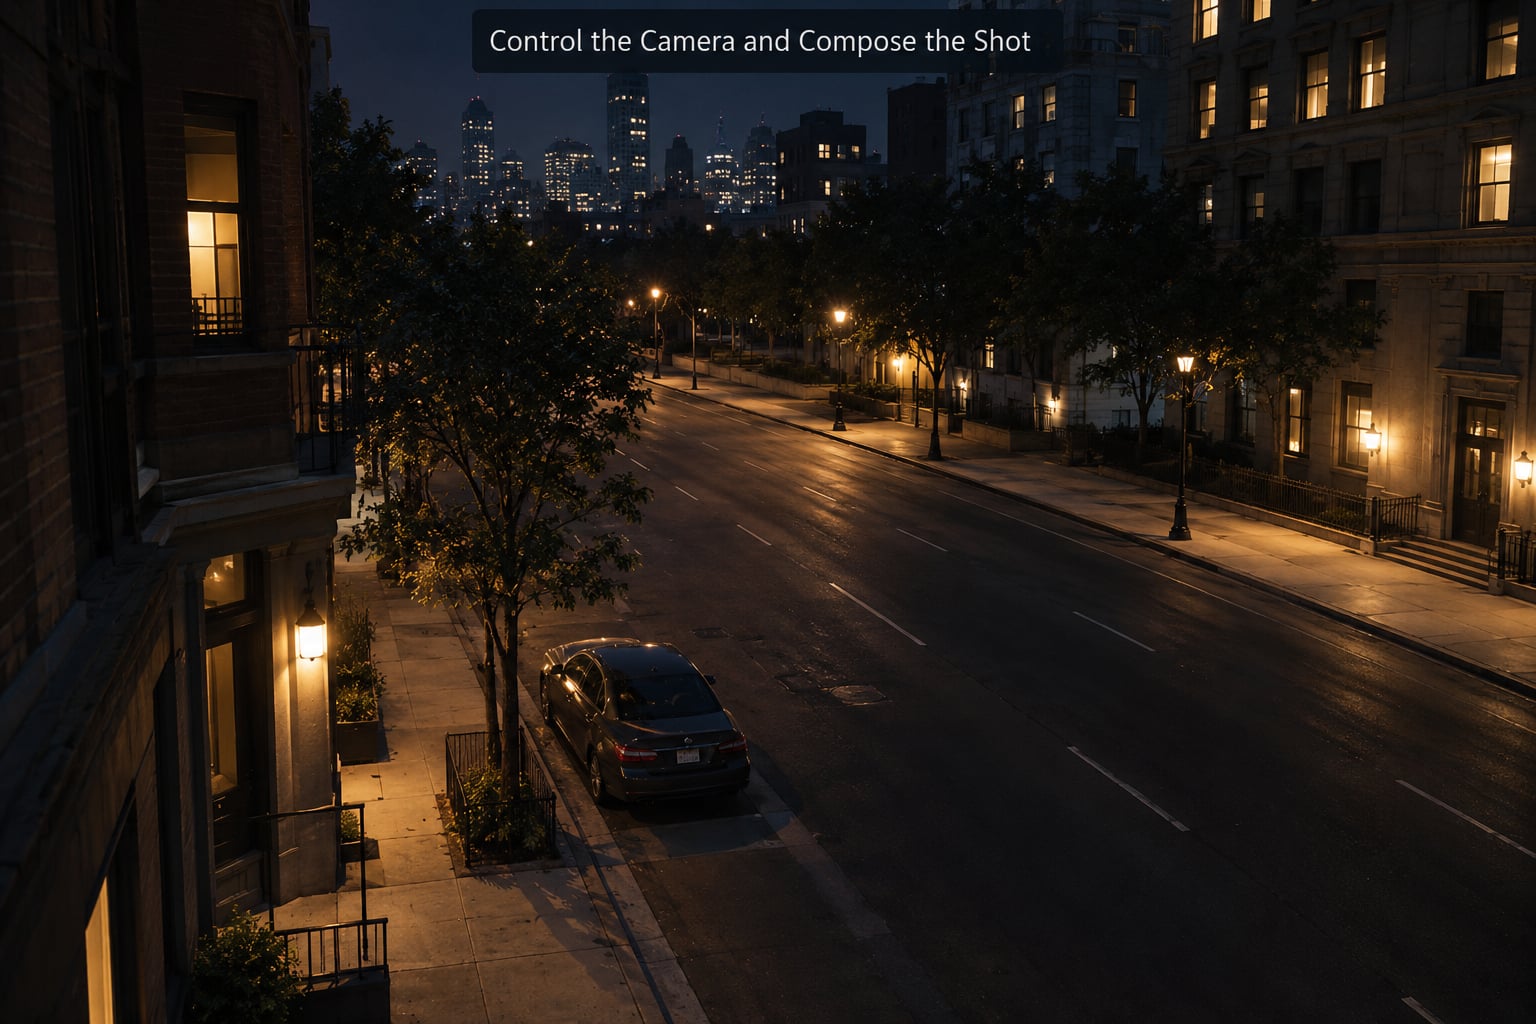
Controls follow a familiar pattern, though the exact bindings come from your mod’s documentation. Movement keys such as WASD push the camera forward, back, and sideways; the mouse aims it; a hold key or number pad raises speed; a scroll wheel or modifier key changes field of view; a separate key hides the HUD.
Field of view is the control most people underuse. Widen it and near objects stretch away from you, which exaggerates speed and depth. Narrow it and the shot flattens into something closer to a portrait lens, which suits a character against a city skyline.
This solves the problem that pushes people to camera mods in the first place. The default third-person camera sits behind your character at a fixed angle, so a portrait shot becomes a picture of the back of a head. Plenty of other games ship a console command that detaches the camera the same way, but GTA 5 on PC has no built-in equivalent, so a mod is the usual route in.
A repeatable composition routine beats fiddling:
- Decide the subject first — a character, a car, a building, a view down the street.
- Pull back until something sits in the foreground closer than the subject, to give depth.
- Pick a background with distance rather than a wall directly behind the subject.
- Drop the camera to roughly eye or chest height for people, and above for cars and buildings.
- Nudge the field of view one step at a time instead of spinning it.
- Hide the HUD last, right before you capture.
Take and Save a High-Quality Screenshot
Most mod menus let you set a capture resolution higher than your monitor and have the shot downscaled, which is how you get a clean 4K frame from a 1080p display. Fake fullscreen or borderless windowed mode avoids the black bars that a stretched window leaves in the corners. Set both before you start composing, not after.
| Capture method | What you capture | Where it saves |
|---|---|---|
| PrtSc | Whole screen | Clipboard or your Pictures folder |
| Alt + PrtSc | Active window only | Clipboard or your Pictures folder |
| Steam overlay key (F12) | Game only, no desktop | Steam screenshots folder |
| Alt + F1 (NVIDIA overlay) | Game only | Pictures, Screenshots folder |
| Win + G, then Win + Alt + PrtSc | Game capture via Xbox Game Bar | Videos and Screenshots folder |
| The mod’s own capture key | Game only, sometimes at a custom resolution | The mod’s own output folder |
Use a game-only capture whenever you can. A full desktop grab picks up your taskbar, your second monitor, and whatever you have open behind the window, and cropping all of that out afterwards is more work than pressing a different key.
If your mod includes its own capture feature, use it. It is usually the only method that honours the resolution you set in the menu, and it drops the file into a predictable folder instead of scattering it across your system.
Then shoot the same scene two or three more times with small framing changes — a few pixels of camera shift changes the shot more than any filter will. Keep the originals, not just the best one, so you can pick later.
Common Mistakes
Nearly every problem with a free camera mod comes down to a version mismatch, a missing dependency, or a wrong folder. Work down this table and the fix is usually in the third column.
| Symptom | Likely cause | Fix |
|---|---|---|
| The free camera key does nothing | The loader is not running, or the file is in the wrong folder | Start the loader first, confirm the .asi or plugin file sits in the GTA V folder, then recheck the key binding in the mod menu |
| The mod never appears in a menu | It expects a different game build or a dependency you skipped | Re-read the requirements, install the listed loader version, update the mod |
| The game crashes on launch | Two mods wrote the same file, or a dependency is outdated | Remove the new file, restore your backup, update the loader, then add the mod back |
| The HUD is still in the picture | The hide toggle was missed, or a menu is open | Press the hide key again and close any menu, then wait one frame before capturing |
| The camera moves but will not rotate | Mouse look is locked while paused, or the overlay has focus | Move the pointer over the game window, unpause, toggle free camera off and on |
| Screenshots are black or show only the desktop | A full-screen capture grabbed the wrong layer, or fake fullscreen is misbehaving | Switch to a game-only capture key and toggle fake fullscreen off |
| The image is not in the expected folder | Different tools write to different folders by default | Check Pictures, the Steam overlay screenshots list, and the mod’s own output folder |
| Problems start in FiveM or GTA Online | The mod conflicts with the anti-cheat or server rules | Uninstall it before playing online and use story mode for screenshots |
Two habits prevent most repeat visits. Keep every file you added in one folder, with a short list of what came from where, so removal takes seconds. And never test a camera mod on your only save — a mod that hangs the game can leave a corrupt save behind, which is why the backup at the start is not optional.
On multiplayer, treat camera mods as offline-only tools. Injecting anything into a running session is exactly the behaviour anti-cheat looks for, and a ban costs far more than the screenshot was worth. Story mode has none of that risk, and it is where all the good framing options live anyway.
Frequently Asked Questions
Is a free GTA 5 camera mod safe to download?
Camera mods are normally small script or plugin files that never touch your system outside the GTA V folder, so they are generally safe. Download them from pages with visible update dates and comment history, such as Nexus Mods or the author’s own GitHub release, and scan the archive before extracting. Avoid mirrors with countdown timers, anything asking for a keygen, and any file that wants you to disable your antivirus.
Can I use a free camera mod on PS4, PS5, Xbox One, or Xbox Series X|S?
No. These mods are script or plugin files that you place in a game folder you control, and consoles do not allow that. On console you are limited to what the game ships, so use the built-in photo mode or in-game camera settings if the title has one. PC mods are also usually built against a specific game build, so a console version of the same game will not match.
Why does my camera mod not appear in the GTA 5 mod menu?
Three causes cover nearly every case. The mod’s file is in the wrong folder, its loader or script dependency is missing, or it was built for a different game version than the one you have installed. Start with the install instructions, confirm the file sits in the GTA V folder, and check the mod’s stated version against your current build ID. A mod that matches nothing is usually a silent no-op.
Can I use a free camera mod in FiveM?
Treat it as no. FiveM servers run their own anti-cheat, and injecting extra code into the client is the behaviour it is designed to detect, so a single session can end in a ban. Take your screenshots in story mode instead, where the same camera mods give you the same control with none of the risk.
Where are screenshots saved after using a GTA 5 camera mod?
It depends on the capture method. Windows screen capture and the Xbox Game Bar save into your Pictures or Videos folders, the Steam overlay keeps its own screenshots list inside Steam, and a mod with a built-in capture feature writes into that mod’s output folder. If a file seems missing, check the mod’s settings for a custom save path before you take more shots.
Can I use an older camera mod after a recent GTA 5 update?
Often yes, because story mode changes rarely and most camera mods touch nothing but the camera. The ones that break are those depending on a loader or hook that the update changed. Install it, test in story mode, and if the camera key does nothing or the game crashes, check the mod’s page for a newer version before trying anything else.
Conclusion
Start with the version check, not the download. Confirm the mod supports GTA 5 on PC and your current build, back up the game folder, then install by copying two or three files instead of unpacking over the whole game.
Once it loads, press the free camera key, hide the HUD, and pause the world while you frame the shot. Take three or four variants rather than one, and use a game-only capture key so nothing from your desktop ends up in the file. Get comfortable with moving and field of view first — the framing skill matters far more than any extra preset or visual mod you might chase afterwards.