To restore beta features with mods in GTA V, you back up your game files, confirm which edition and game build you have, then install the mod author’s files into the right folders so the game loads them over the vanilla versions. Most failures come from a file that lands in the wrong place, not from the mod itself.
Cut content is not the same thing as a leaked beta build. The beta content you can restore already sits unused inside your retail game archives, which means a well-made restoration mod is repackaging files you already own. Get that distinction straight first and the rest of this guide gets much simpler.
This walkthrough covers PC, where all the modding tools live. Console installs are a separate story entirely, covered at the end. Everything below applies to 2026 versions of the game as well as older builds, with one important edition caveat that catches out most first-timers.
Single-player only. Every step in this guide assumes you launch Story Mode and never connect to GTA Online. Modding your game files is against the online terms, and Rockstar does issue bans. If you want to play online with your current save, keep a separate clean install or a separate Rockstar account.
Table of Contents
- 1What You Need
- 2Step-by-Step: How to Restore Beta Features with Mods
- 3Step 1: Identify the Beta Feature and Missing Files
- 4Step 2: Back Up the Current GTA V Installation
- 5Step 3: Check the Mod’s Compatibility Requirements
- 6Step 4: Install the Beta-Feature Files in the Correct Order
- 7Step 5: Resolve Conflicts, Dependencies, and Load Order
- 8Step 6: Launch the Game and Verify the Feature
- 9Step 7: Troubleshoot or Restore the Backup
- 10Common Mistakes
- 11Frequently Asked Questions
- 12Are GTA V mods legal?
- 13Will mods get me banned in GTA Online?
- 14Can I restore cut content in GTA V?
- 15Why did my mods stop working after a game update?
- 16How do I install mods on GTA V step by step?
- 17Where is the mods folder on GTA V?
- 18Conclusion: Start With a Clean Backup
What You Need
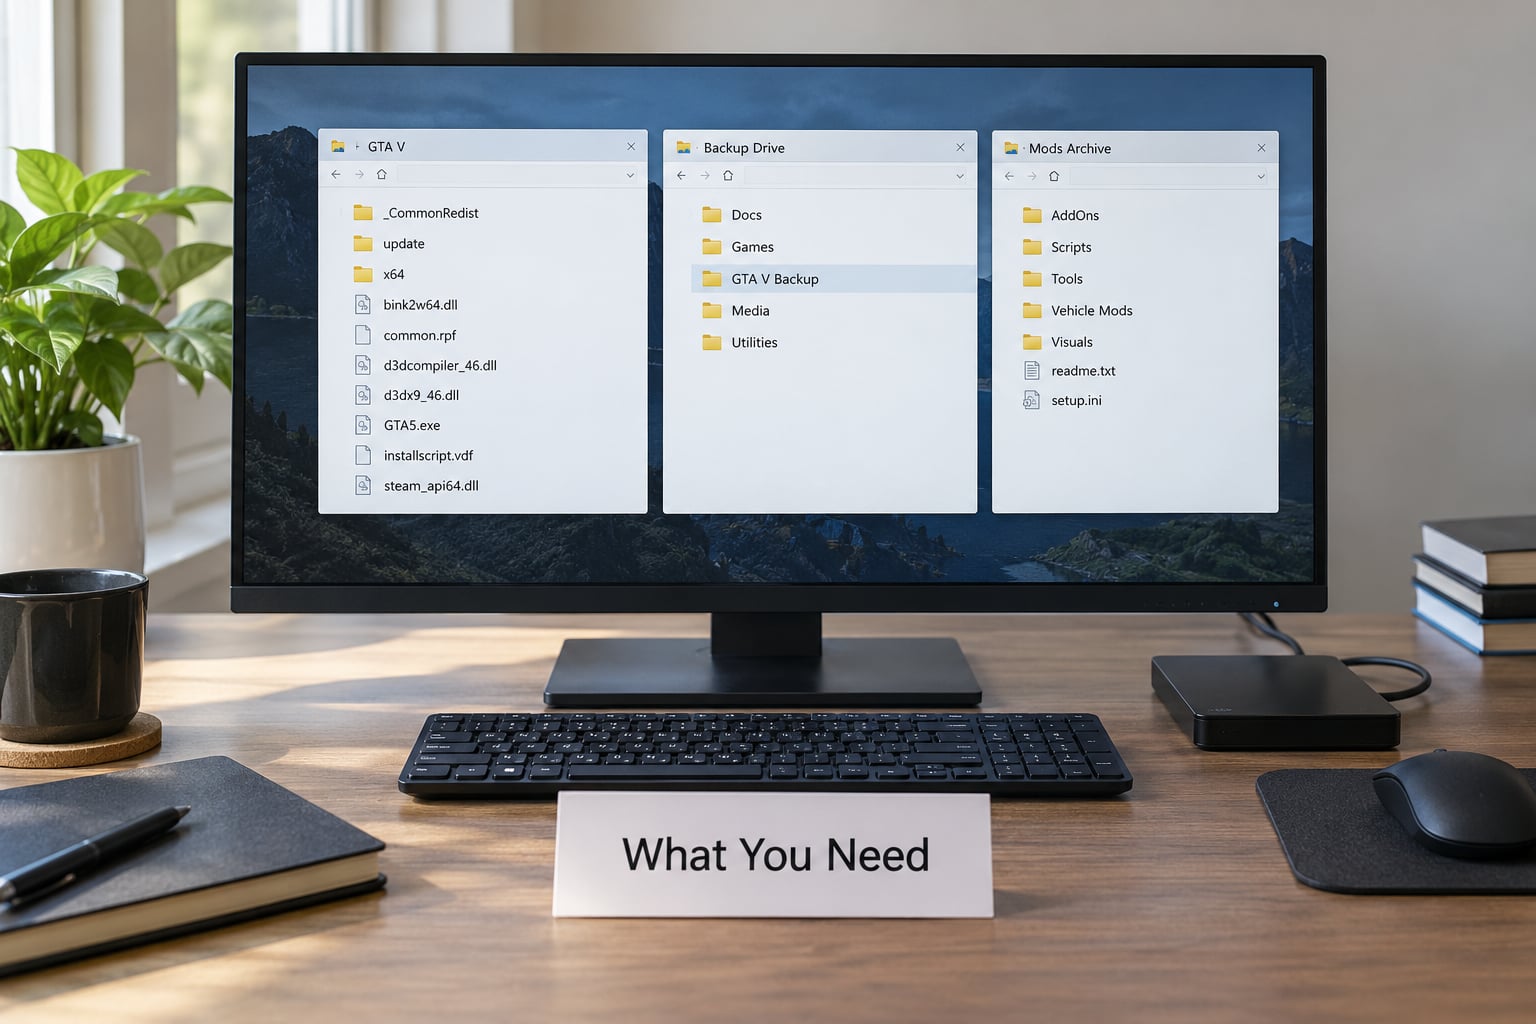
You need five things, and only one of them costs anything: your time. Getting the prerequisites right is what separates a ten-minute install from the twelve-hour failures described in mod comment threads.
- A verified backup of your game files. Not a shortcut to the install folder, an actual copy. This is the single thing that turns a bad install into a five-minute fix.
- OpenIV (or the GTA V Modding Launcher, which wraps it). OpenIV is the archive editor that lets you view and write to the game’s RPF containers.
- A mods folder with editing enabled. Inside OpenIV this is
x64→data→dlcpacks, plus anupdatefolder for loose files. Some editions expose different paths, covered below. - The mod files themselves, plus every dependency the author lists. Dependencies are where most installs quietly fail.
- Your edition and build number. Check this before anything else. Legacy and Enhanced editions do not share a folder layout, and the path a mod page tells you to use may simply not exist on yours.
Optional but genuinely useful: Script Hook V and an ASI loader for script-based mods, CodeWalker for inspecting unused assets yourself, and a hex or text editor for dlclist.xml. If the feature you want is audio, add a sounds.dat fallback method from the author, because audio restores are the least forgiving install type there is.
Worth saying plainly: if the asset you are chasing was deleted from the retail build rather than left unused, no mod can bring it back. Authors of restoration mods usually state this. Check before you spend an evening on an install that was never going to work.
Step-by-Step: How to Restore Beta Features with Mods
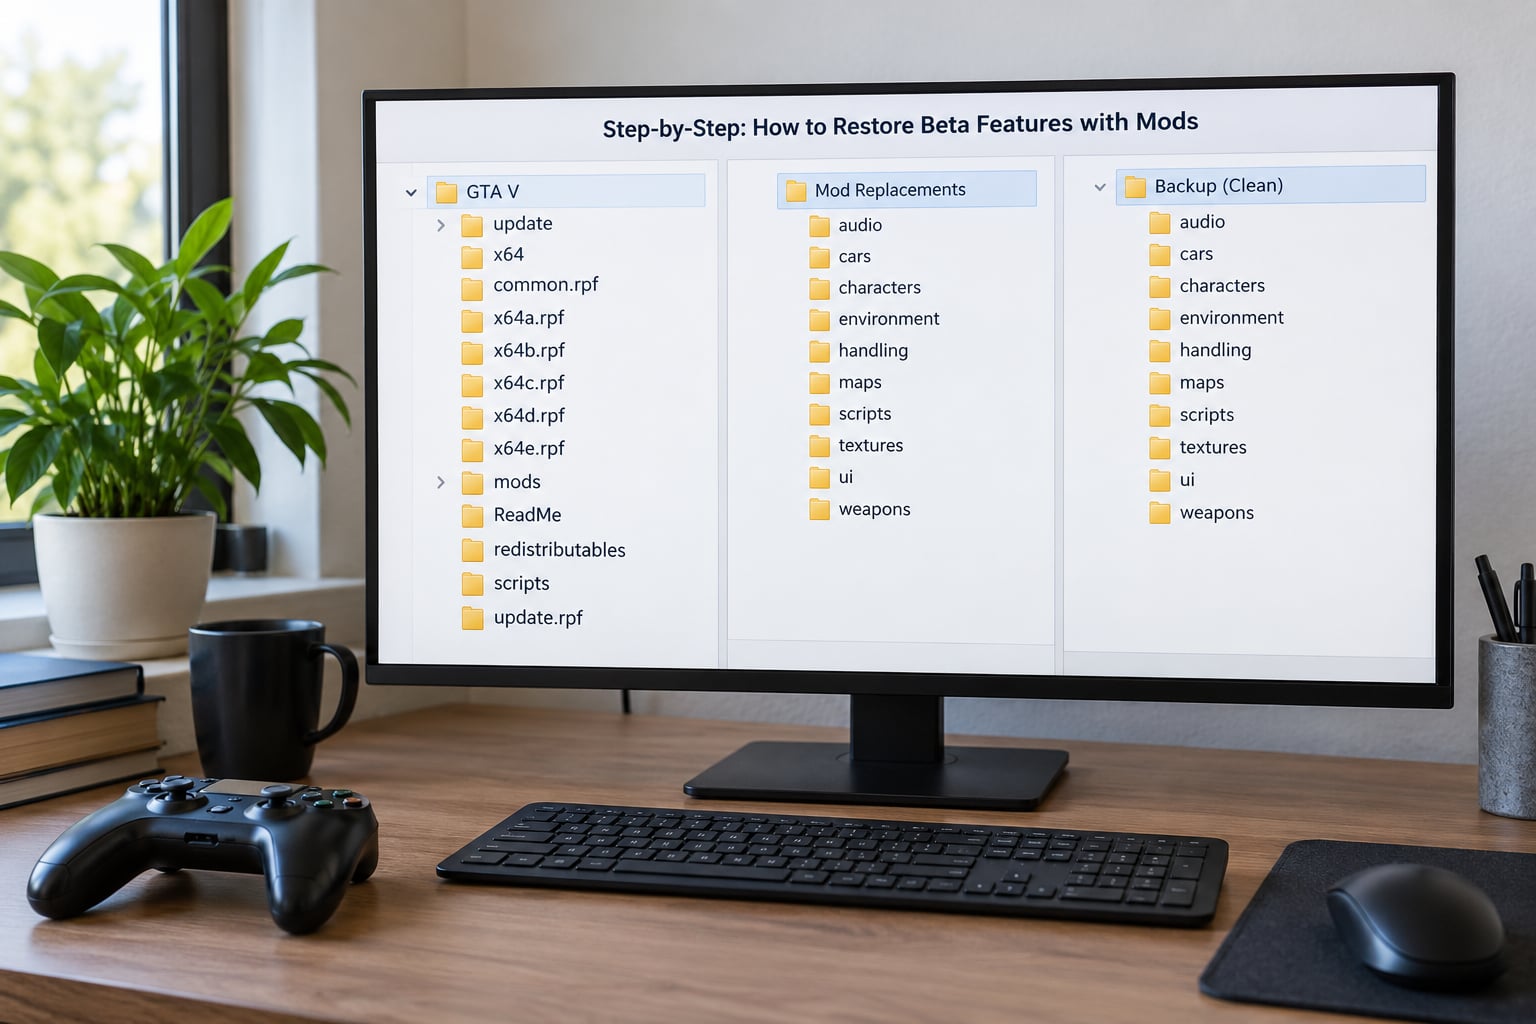
Seven steps, in this order. Do not skip ahead to step four because a mod page made it sound like a two-minute copy-paste. The middle steps are what make the difference between a working install and a corrupted one.
Step 1: Identify the Beta Feature and Missing Files
Write down exactly what you expect to see in game before you touch anything. “The old mission passed themes” is a testable statement; “beta stuff” is not. Most mod pages list the feature per character or per location, so you can check one specific thing rather than hunting through the whole game.
Then note what the mod author actually ships. Visual and gameplay restores are usually a dlcpacks folder. Audio restores add a sounds.dat or .rel swap. Script-based restores add a .asi loader and a scripts folder. Knowing which type you have decides the install path and the tools you need.
Record the game build number from your launcher too, before you install anything. You cannot read it later without reinstalling the original file, and the mod page will usually name the build it was made for.
Step 2: Back Up the Current GTA V Installation
Find your install folder. On PC it is usually Rockstar GamesGrand Theft Auto V on your C drive, or a folder you chose on another drive. Copy the entire thing to a drive with room to spare, and name the copy with today’s date so you can tell backups apart.
That folder is large. If space is tight, back up the specific containers a mod will replace instead: x64dlcpacks, x64dlclist.xml, and whichever .rpf or commondata files the mod touches. Full folder is safer, partial is workable if you know exactly what the mod replaces.
Write down your current configuration while you are here: which mods are installed, which mods folder version you have, and any Script Hook V or ASI loader in place. A short text file is enough. When something breaks at 2am, you will not remember any of it.
Step 3: Check the Mod’s Compatibility Requirements
Read the requirements section, not the description. Look for four things: which game editions work, which build the author tested, what dependencies are mandatory, and whether the author says not to combine it with another file.
This is where Legacy versus Enhanced bites. Legacy installs expose x64dlcpacks and an editable dlclist.xml. Enhanced has been reworked, and users on the newer edition report that documented paths do not exist on their install at all. A mod written for Legacy will not simply fail quietly on Enhanced. It will fail loudly, because the folder you are told to create is somewhere the game no longer reads.
Also check the update date on the mod page. An old file that has not been touched since is not necessarily broken, but it is certainly unverified against your current build. The mission passed themes mod, for example, has been in active use for years with comment threads running well past its original upload, and its instructions were still described as unclear by newer players in recent threads.
Step 4: Install the Beta-Feature Files in the Correct Order
Install order for a DLC pack restore, which is the most common case:
- Open OpenIV and enable
Edit modefrom the Tools menu. Without this you can browse but not write. - Navigate to
x64→data→dlcpacks. - Drop the mod’s own folder into
dlcpacks. Keep the author’s folder name intact and keep any nested structure inside it. - Open
x64datadlclist.xmlin a text editor. Add one line per installed pack, wrapped in item tags:<Item>dlcpacks:/foldername/</Item>. - Save, close the editor, and confirm the file in OpenIV shows your new folder alongside the vanilla packs.
On the dlclist question that comes up constantly in forums: yes, the item tags are required, and the line goes inside the existing root element, before the closing tag. A pack sitting in the folder but missing from dlclist.xml is invisible to the game. The folder existing on your disk proves nothing about whether the game reads it.
For a loose-file restore, the path is different: x64 → data → levels, or x64 → data → common, depending on what the mod replaces. Replace the existing file rather than adding a second copy with a similar name.
For script mods, install in this order: Script Hook V, then the ASI loader, then the mod’s scripts folder. Installing the scripts first is why some script mods appear to do nothing at all on first launch.
Step 5: Resolve Conflicts, Dependencies, and Load Order
Two mods editing the same file is the most common conflict, and the rule is simple: the last file written wins, and there is no warning. If two mods both replace the same .rpf entry, only one of them is actually running, even though both folders sit there looking healthy.
Fix it by finding the overlap before you install, not after. Compare the file lists inside both mod downloads. If they share a path, pick one mod, install it, and test it on its own. If you need both, ask the authors whether a merged version exists rather than trying to merge them yourself on your first attempt.
Dependencies are different from conflicts. A dependency is a file your mod needs to function at all, often an ASI loader or a script library. A missing dependency produces a silent no-op, which is why the folder appears installed but the feature never appears in game.
Install one mod at a time and launch after each. This is slow for about an hour and it is the difference between knowing which mod caused a crash and guessing for a weekend.
Step 6: Launch the Game and Verify the Feature
Launch Story Mode only. Give the game a moment longer than usual to load, since a first launch with new content often stutters while it processes files.
Check the specific thing you wrote down in step one. Themes show up on the mission passed screen, vehicles appear at a named location or in the vehicle menu, weapons show in the weapon wheel, map and HUD changes show immediately on load. If you cannot name the exact screen to check, go back and do step one properly.
Two details confirm the files were actually loaded. First, the folder you created appears in OpenIV under dlcpacks after the game has run. Second, no crash or warning appears during load. A silent load is a good sign, not proof, so still check the feature itself.
If it works, leave the game closed for a minute or two. GTA V caches some files on exit, and yanking the process can leave an incomplete save.
Step 7: Troubleshoot or Restore the Backup
Work through these in order. Stop at the first one that applies, because each step assumes the previous ones were fine.
- Feature missing, game runs fine. Check the folder name in
dlcpacksagainst yourdlclist.xmlline. A mismatch in a single character, or a missing trailing slash, is the most common cause. Then confirm you saved the XML file rather than just editing it. - Feature missing, dependency suspected. Install the author’s listed dependencies one at a time. Script mods in particular need Script Hook V and an ASI loader installed before the scripts themselves.
- Crash on launch. Remove the newest mod first and relaunch. If it stops crashing, the conflict is in that mod. If it still crashes, restore the backup and reinstall your mods in a different order.
- Wrong behaviour after a game update. Updates change game files, and mods that overwrite those files can be silently replaced. Reinstall the mod after the update.
- Nothing is working and you cannot tell why. Restore the backup. A clean game that launches properly is worth more than a broken install you are still troubleshooting.
Restoring means copying your backup’s dlcpacks folder and dlclist.xml back over the install, then confirming the date on your files changed. Do not delete anything in the install folder while restoring, and do not use a shortcut in the backup copy as your source, because the shortcut will copy the broken file rather than the backup.
Common Mistakes
Most of these are one of the same six problems wearing a different hat. Here is what each one looks like and how it gets fixed.
Editing without edit mode enabled. OpenIV by default opens read-only, so your copy attempts fail or silently do nothing. Enable Edit mode in the Tools menu before you start, and confirm the menu shows your game folder as editable.
Adding a folder but not the dlclist entry. The pack is on disk and the game cannot see it. This is by far the most common first-timer failure. Open dlclist.xml, add the item line, save, done.
Installing for the wrong edition. Documented paths that do not exist on your install are an edition mismatch, not a mistake on your part. Confirm Legacy versus Enhanced before trying anything else, and look for a mod version written for your edition.
Overwriting vanilla files with no record of the original. If you replaced a file inside an archive and cannot restore it, the game is degraded until you reinstall or verify. That is exactly what the backup in step two is for.
Mixing an add-on and a replace version of the same mod. Both restore the mission passed themes. Installing both means one silently overwrites the other and the result depends on install order. Pick one method.
Stale scripting tools. Script Hook V and ASI loaders break when the game updates, and nothing tells you. If script mods stopped working after a patch date, update those tools first before suspecting the mods.
Testing several mods in one session. If it crashes, you learn nothing. One change, one launch, one conclusion.
Audio restores deserve their own warning. Swapping sounds.dat is less forgiving than a DLC pack, and a botched swap can leave you with no audio at all. Keep the author’s backup sound file, replace rather than merge, and test immediately.
Prevention is mostly habit: backup first, one mod per launch, and check the mod page’s last update date before you download. Mod pages that still show an upload date years old and are being downloaded hundreds of times a day are usually fine. Pages with no comments in the last year are the ones worth a second look.
Frequently Asked Questions
Are GTA V mods legal?
Modding the files on your own PC copy of the game for single-player use is treated differently from cheating online. Rockstar’s action has consistently come from connecting to GTA Online with modified files, not from local file changes. Read the current terms yourself before you start, and stay out of online play entirely if you have modified anything.
Will mods get me banned in GTA Online?
The ban risk is not theoretical: connecting to GTA Online with modified files has ended accounts, and bans do not always come immediately. Single-player play carries no such risk. If you want both, keep an untouched install and a separate save, or use a second account you are willing to lose. Once you have installed any mod, treat your main account as offline only.
Can I restore cut content in GTA V?
Only if the content still exists in your retail build. Most cut content was left unused inside the game archives, which is exactly what restoration mods repackage, and those work well. Content deleted before launch cannot be recovered by any mod. Mod pages normally state which case applies, and several have not been updated in years, so check the comments before you commit an evening to an install.
Why did my mods stop working after a game update?
Game updates overwrite files that mods also replace, so a mod can stop working without any change on your side. Script-based mods fail for a different reason: their scripting tools break on patches. Reinstall the mod after the update, and update Script Hook V and your ASI loader first if script mods are the ones failing. This is why pages with recent comments are more trustworthy than older ones.
How do I install mods on GTA V step by step?
Back up your game folder, open OpenIV and enable edit mode, copy the mod folder into x64 then data then dlcpacks, add its item line to dlclist.xml, then launch Story Mode and check the feature. Add Script Hook V and an ASI loader first if the mod is script-based. Install one mod at a time so a crash tells you exactly which mod caused it.
Where is the mods folder on GTA V?
It is not a normal visible folder, which is why so many people report not finding dlcpacks at all. Open OpenIV, enable edit mode, and navigate to x64 then data then dlcpacks inside your Grand Theft Auto V install folder. On the Enhanced edition the layout has been reworked, so if that path is missing, you are likely on the newer edition and need a mod written for it.
Conclusion: Start With a Clean Backup
If you remember one thing from how to restore beta features with mods, make it the backup. Copy your whole install folder to another drive before your first file move, and write down what you currently have installed. Everything else on this page is recoverable. A missing backup is not.
Then work in this order: name the exact feature you expect to see, confirm your edition and build match the mod, install one mod, launch once, and check that specific thing. If it does not appear, work the troubleshooting list in order instead of reinstalling everything at random.
Give yourself permission to stop early. An evening spent confirming your edition and build number saves a weekend of chasing a file path that was never going to work on your install.