To find good photo spots in open world maps, treat every location as a three-part problem: something in the foreground, something in the middle, and something far away, lit well enough to hold all three. Scout on foot or from a vantage point first, judge the light second, and only then open photo mode. Ten minutes of scouting usually beats an hour of fiddling with sliders at a spot that never had depth in the first place.
Most people take a screenshot because the scenery happened to be in front of them. That is fine for a first pass. But once you know what you are looking for — layers, access, and light — you start collecting shots with intent instead.
Table of Contents
- 1What You Need
- 2Step-by-Step
- 31. Scout Landmarks and Natural Features
- 42. Check the Light and Weather
- 53. Frame the Shot with the In-Game Camera
- 64. Test Multiple Compositions from One Location
- 75. Save and Catalog the Best Spots
- 8Common Mistakes
- 9Frequently Asked Questions
- 10What makes a location a good photo spot in an open-world game?
- 11How do I find viewpoints quickly while exploring a map?
- 12Can I save photo locations in games without map markers?
- 13What time of day is best for screenshots in open-world games?
- 14How do photo mods help me find or improve scenic viewpoints?
- 15How do I take good screenshots with a vehicle in the frame?
What You Need
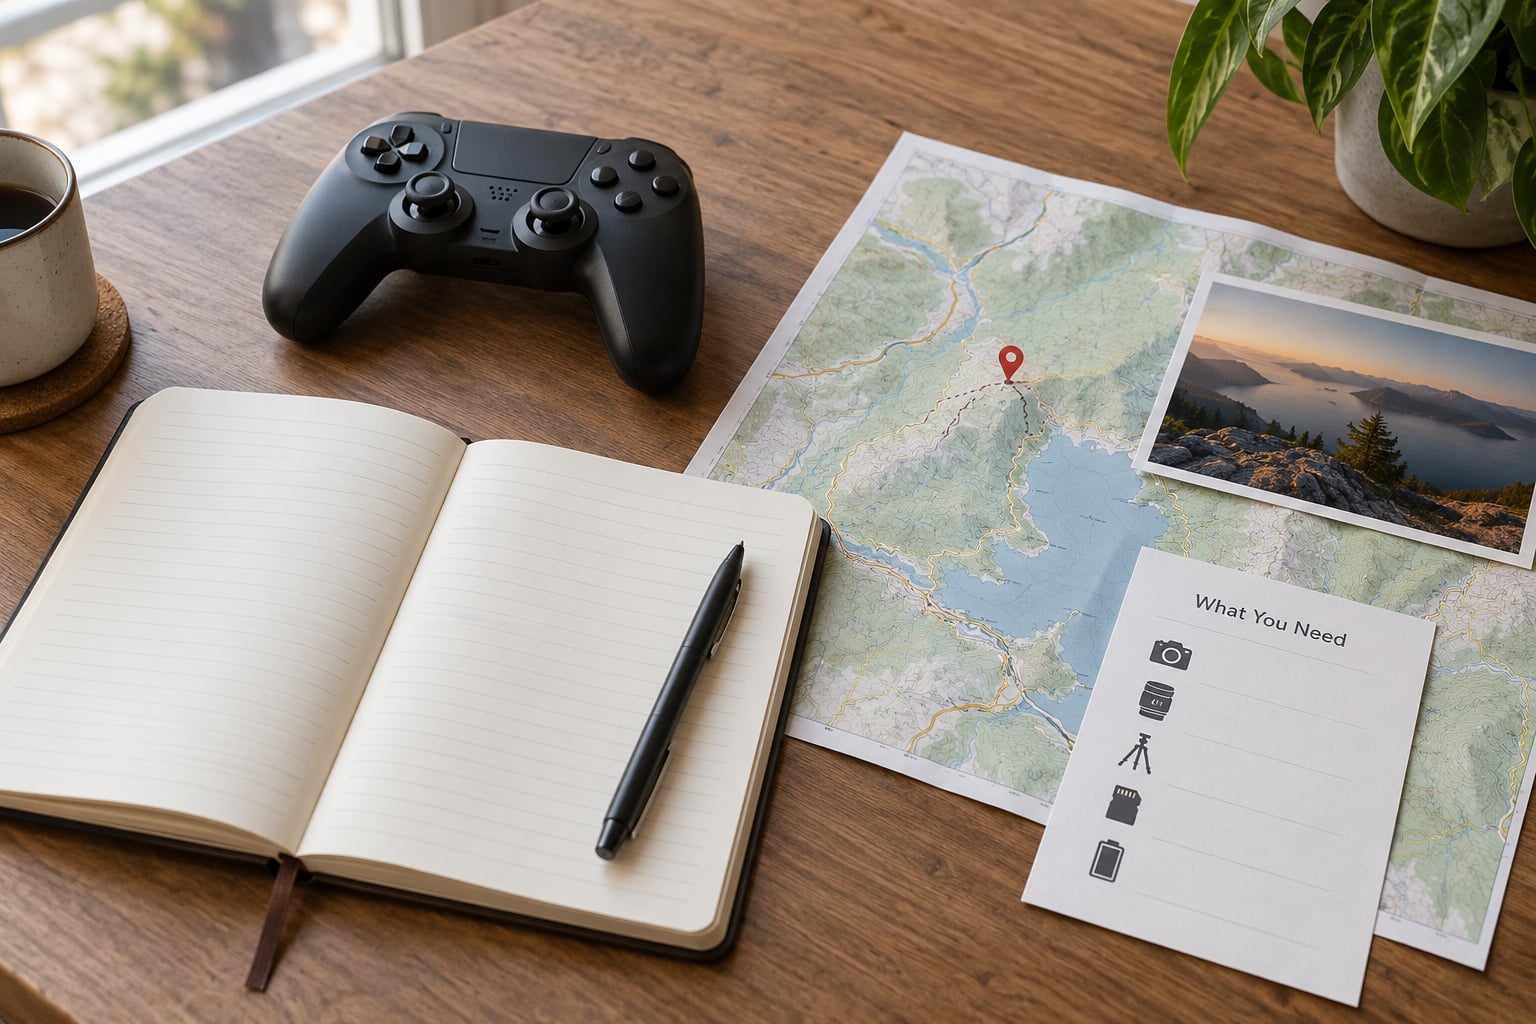
A camera or photo mode in the game. Most open world games built after 2018 have one, and it is usually bound to a single key. If your game only has a screenshot button, everything below still works, though you will lose control over framing.
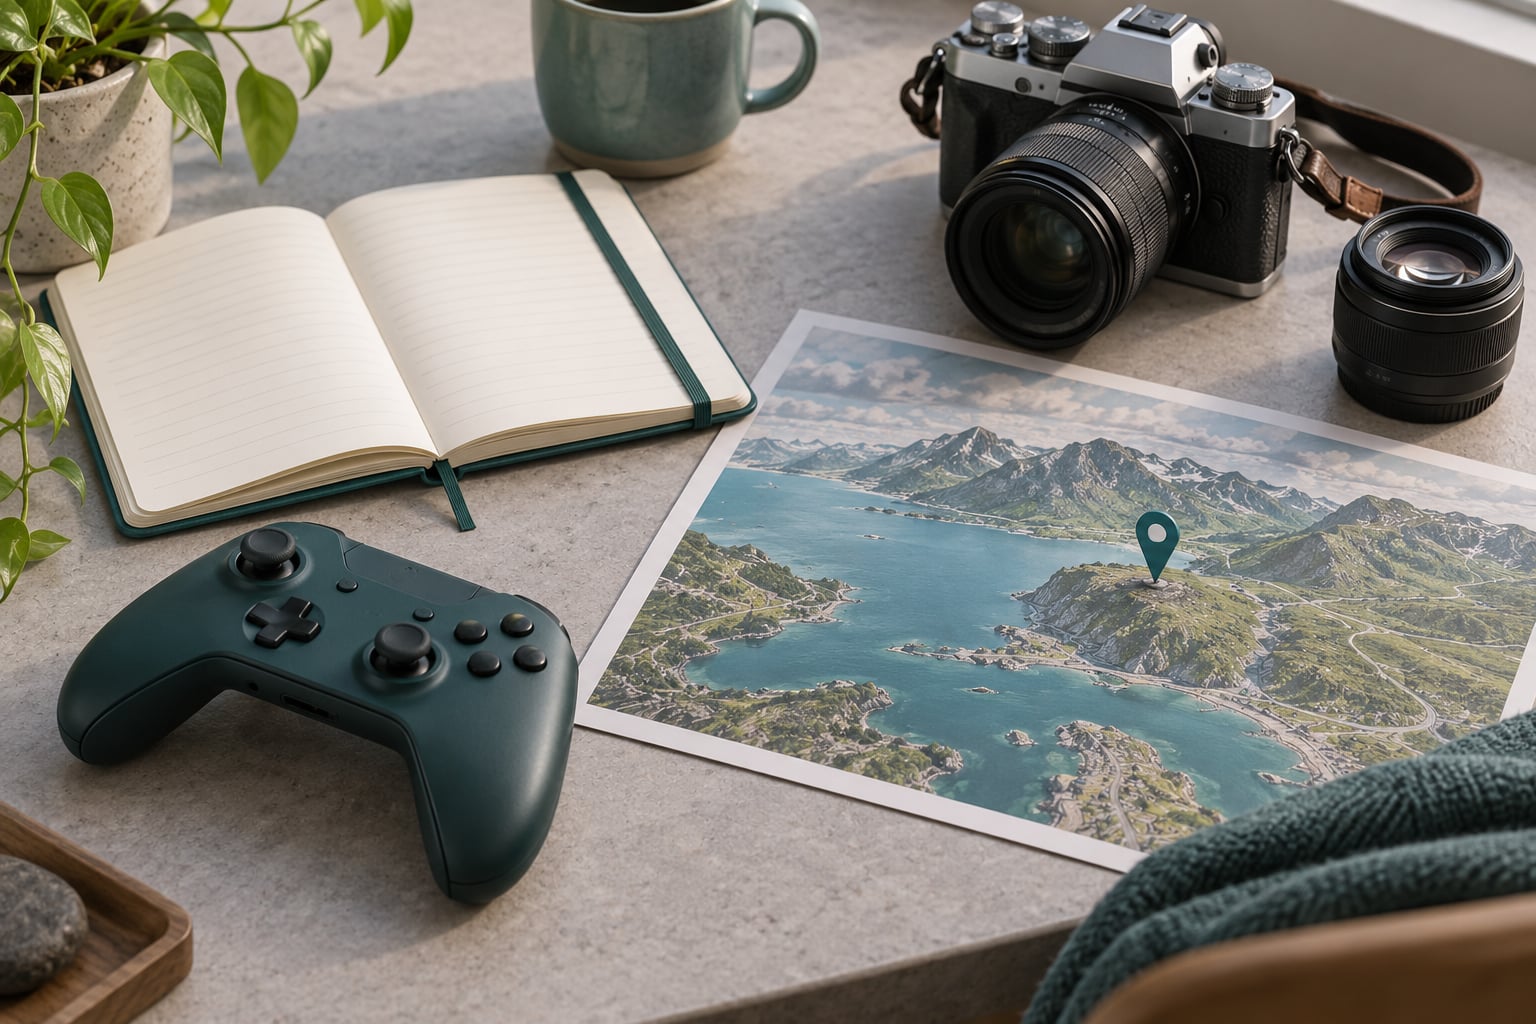
A way to save locations. That is a map marker, a waypoint, a custom waypoint with a label, or a note on your phone. Pick one and use it every single time you find somewhere worth shooting.
Somewhere to keep the shots. A folder on your desktop beats burying images in a screenshots dump. Name files after the game and the spot, not the date.
Optional extras: a freecam mod or photo mode mod on PC, which lifts the camera away from the character and lets you scout places your character cannot physically reach. GTA 5 has a built-in camera mod on PC, and Red Dead Redemption 2, Cyberpunk 2077, Ghost of Tsushima, and Horizon Forbidden West all have deep photo mode control on their own.
Step-by-Step
1. Scout Landmarks and Natural Features
Look for the features that naturally create depth: bridges crossing water, cliff edges above a coastline, switchback roads, harbour frontage, train lines, lookout towers, church spires, rooftop edges.
Then check the three layers. Is there something near the camera to frame the edges of the image — a railing, a rock, a doorway? Is there a subject in the middle distance? Does the far distance have a hill, skyline, or cloud bank to stop the eye?
Two of the three is workable. One is a flat snapshot. Buildings with columns, arches, and repeating windows are the easiest man-made depth you will find, because the repetition gives the eye a scale reference.
2. Check the Light and Weather
Golden hour, the hour after sunrise and before sunset, gives you warm side light and long shadows. It flatters almost any terrain and any building made of brick or stone.
Blue hour is the short window when the sky still holds colour but the ground has gone dark. Cities with lit windows or neon look their best here, and reflections in wet asphalt double the effect.
Midday is harder than people think. Shadows sit directly underneath objects, colours wash out, and skies go flat and pale. That said, midday is ideal for architectural shots, where you want hard, even light on a facade with no shadow confusion.
Weather matters as much as the clock. Fog hides distant clutter and simplifies a busy map. Rain adds texture to roads and rooftops. Wet ground produces reflections that regular dry shots never have. Snow flattens contrast and pushes you toward silhouettes and focal length.
3. Frame the Shot with the In-Game Camera
Open photo mode and pull the camera away from your character first. Distance changes perspective, and stepping back a few metres turns a cramped alley shot into a building shot.
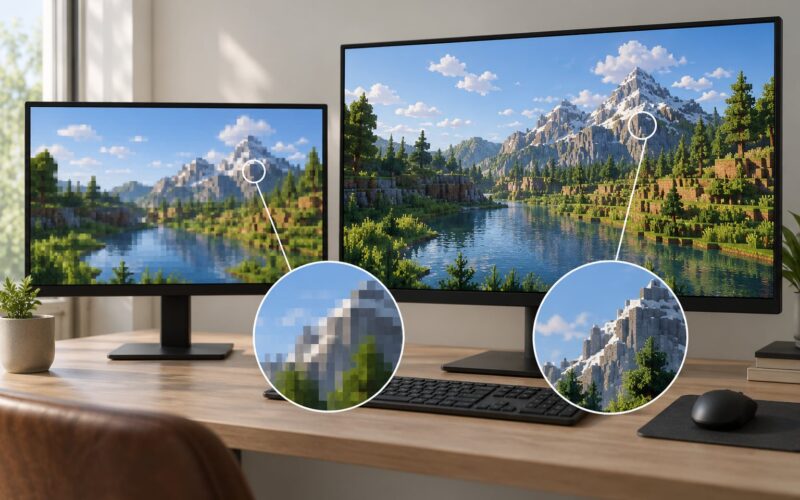
Field of view is your zoom, and most players use it wrong. Widening the field of view exaggerates the distance between near and far objects, which exaggerates depth. Narrowing it compresses everything into a flatter, poster-like image. Try the same scene at a wide and a narrow setting before deciding.
Focal length behaves differently from field of view in most photo modes. Lower focal length gives you that wide, distorted look; higher focal length isolates a distant subject and hides the background. The same bridge can look like two completely different places at 18mm and 135mm.
Depth of field is for separating layers. Focus on the middle distance and let the foreground blur, or focus far away and let everything near melt into soft shapes.
Use the grid overlay if your game has one. Turning on the character and HUD toggles is the fastest way to strip a cluttered frame back down to the composition. If the shot still looks busy, hide the character first — that alone fixes half of what feels wrong.
4. Test Multiple Compositions from One Location
Do not commit to the first angle. Take five frames from the same spot and pick between them:
- A wide establishing shot that shows the whole scene and gives the viewer context.
- A low angle, camera near the ground, which makes tall things look taller and gives reflections room.
- A centred, symmetrical frame for architecture, bridges, and doorways.
- A leading-lines frame where a road, fence, or railing carries the eye into the picture.
- A close detail, a sign, a window, wet stone, anything that rewards a narrow field of view.
Compare them side by side at full size. The strongest one is rarely the one that looked best in the preview.
5. Save and Catalog the Best Spots
Mark it the moment you leave. A custom waypoint with a note reading “cliff edge, shoot at sunset” is worth more than a screenshot you cannot find again.
Keep a simple list, a spreadsheet or a notes file with a few columns: game, area or region, coordinates or waypoint name, best time of day, best weather, and whether you already got the shot. Six columns is enough.
Attach one reference screenshot to each entry. When you come back, you want to know what you were aiming at before you spend twenty minutes flying the camera around looking for it.
Tag promising spots by condition rather than by place, so you know the rainy-day list and the clear-day list. Revisit unfinished spots when conditions improve, and this 2026 you will have a folder of your best work instead of a camera roll you never open.
Common Mistakes
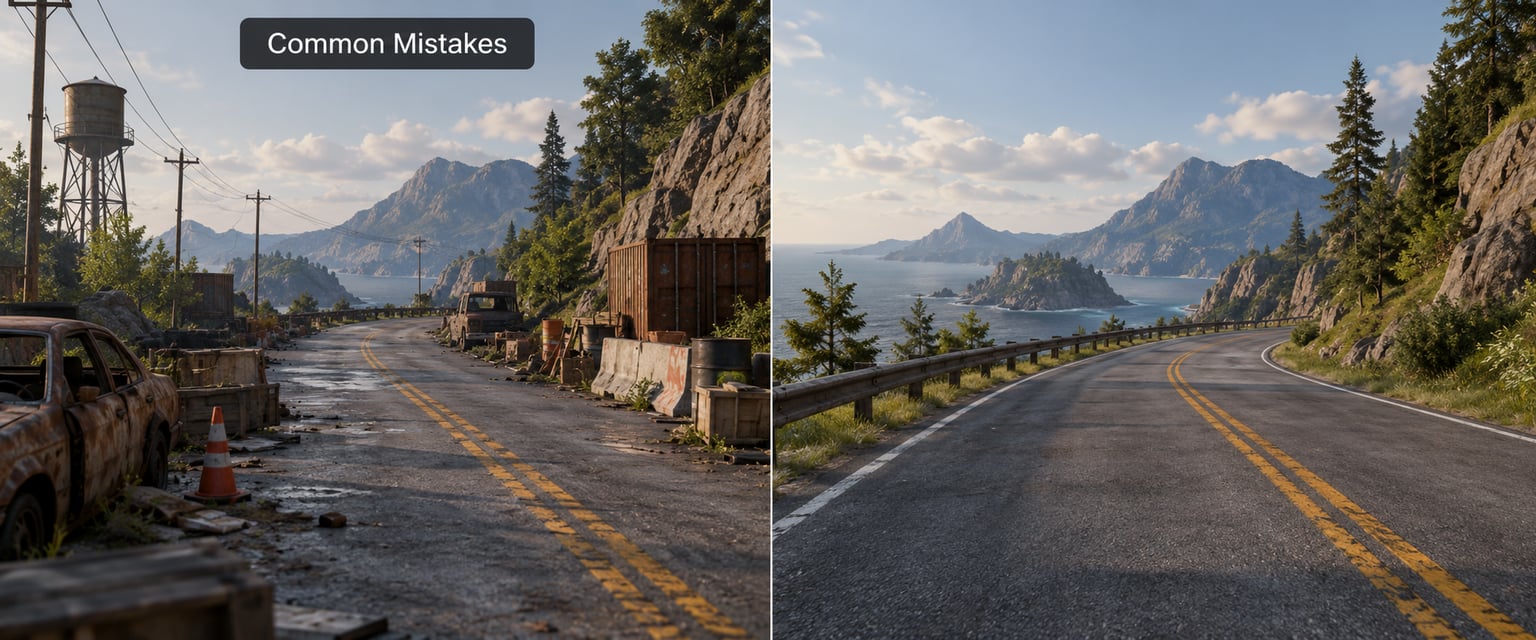
Shooting without checking what is behind the subject. A clean bridge turns ugly when a billboard, a wall, or half a building sits behind it. Rotate the camera 180 degrees before every shot. If the background is dead, move.
Ignoring the light. The same composition at noon and at golden hour is two different photos, and the midday one is usually the loser. Set the time of day in photo mode before you judge anything else.
Overusing zoom. Heavy zoom flattens depth and makes everything look like it was shot through a paper tube. Step back with the camera and get close to your subject physically instead. Tip: try the same frame at your narrowest field of view and your widest, then keep the wide one unless you have a reason.
Cluttering the foreground. Signs, bins, parked cars, and stray geometry fill the bottom third of a frame and pull the eye away from the subject. Move the camera up or use the character toggle to clear it.
Not comparing alternate compositions. One angle per location wastes the best part of scouting. Five quick frames take a minute, and the difference between the first and the fifth is usually the whole reason the shot is worth posting.
Forgetting to log the spot. You found it, you loved it, you left. The rule I use: marker placed, note written, one reference frame taken, before you fast travel anywhere.
Frequently Asked Questions
What makes a location a good photo spot in an open-world game?
A good photo spot has depth, light, and access. Look for something in the foreground to frame the edges, a subject in the middle distance, and something far away to stop the eye, such as a hill or skyline. Then check that the light suits the shot and that you can position the camera freely. If two of the three layers are missing, walk on before you open photo mode.
How do I find viewpoints quickly while exploring a map?
Climb. Towers, rooftops, bridges, hills, lighthouse tops, and crane arms are the fastest way to read a map, and they take about thirty seconds each. From height you can spot the coastline curves, road switchbacks, and bridges that make good frames while they are still far away. Drop a waypoint on anything promising and walk toward it rather than wandering without a target.
Can I save photo locations in games without map markers?
Yes, and it is worth doing alongside markers. Keep a short list with the game, region, coordinates if the map shows them, the best time of day, and one reference screenshot. A notes app or a spreadsheet works fine, six columns is enough. Markers help you travel there; the written list helps you remember what you were going for when you arrive.
What time of day is best for screenshots in open-world games?
Late afternoon into sunset is the safest bet, because the light comes in at an angle and throws long shadows that show texture and depth. Sunrise works just as well and tends to be quieter and mistier. Blue hour, the short window after sunset when the sky still holds colour, suits cities, neon, and wet reflections. Midday flattens everything and is mainly useful for architecture.
How do photo mods help me find or improve scenic viewpoints?
Photo and freecam mods let you detach the camera from your character, extend the camera range, and sometimes adjust weather or lighting that the stock mode locks down. That makes them good for scouting spots you cannot walk to, and for framing from angles your character could never reach. On PC they are usually a small download; on console you are limited to what the game itself allows.
How do I take good screenshots with a vehicle in the frame?
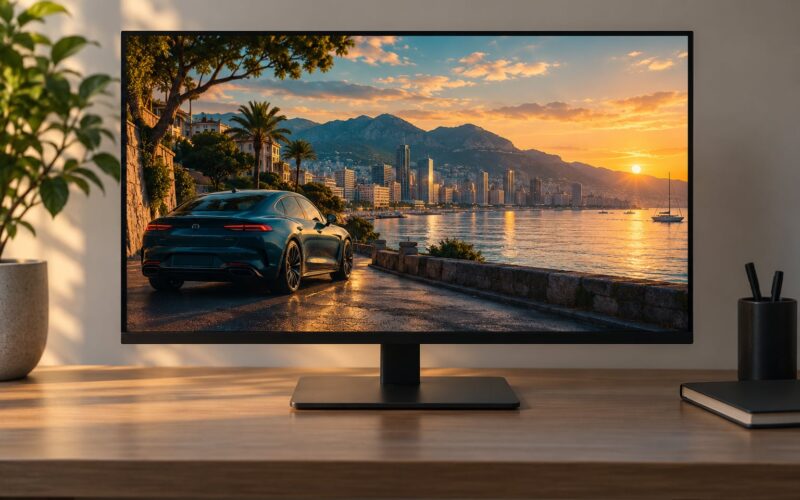
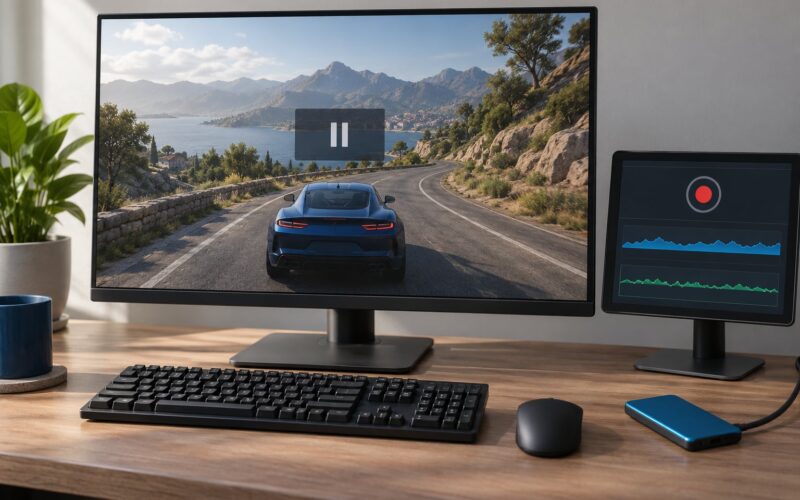
Park, do not drive. Position the vehicle at a slight angle to the camera so you get three-dimensional shape rather than a flat side profile, and place it in the lower third with space in front of it. A low camera angle makes both the vehicle and the scenery behind it look larger. Use a road bend or a bridge so the car sits inside the scene instead of on top of it.
Start with your next drive or hike and give yourself one job: find five vantage points and mark all five. Once the habit is there, the photos get easier.