To take clean screenshots in game, match the game’s render resolution to your monitor, set graphics to Ultra or High, hide the HUD, then press the game’s own capture key. On PC that key is F8 in GTA 5, and the whole setup takes about two minutes per shot.
Most shots people call blurry or messy fail for one of three reasons: the game was rendering below native resolution, anti-aliasing was switched off, or the interface was still burned into the frame. All three get fixed in settings before you press the key, not in a photo editor afterwards.
Table of Contents
- 1What You Need
- 2Step-by-Step: How to Take Clean Screenshots in Game
- 31. Choose the Right Resolution and Display Mode
- 42. Prepare a Clean GTA 5 Frame
- 53. How to Take Clean Screenshots in Game With the Correct GTA 5 Key
- 64. Hide the HUD and Other Interface Elements
- 75. Use Camera Controls for Better Composition
- 86. Adapt the Process for GTA 4 and San Andreas
- 97. Save, Check, and Organize the Image
- 10Common Mistakes and Quick Fixes
- 11Frequently Asked Questions
- 12What is the easiest way to take clean screenshots in game on PC?
- 13Can I remove the HUD in GTA 5 before taking a screenshot?
- 14Where are GTA 5 screenshots saved on PC?
- 15How do I take screenshots in GTA 4 or San Andreas?
- 16Why are my GTA screenshots blurry or stretched?
- 17Can I transfer in-game screenshots from a console to my phone?
- 18Conclusion
What You Need
You need less than most people expect. A copy of GTA 5, GTA 4 or San Andreas on PC, a keyboard, and a display running at its native resolution covers the whole job.
- A GTA game on PC. Capture keys and save folders differ per title, so know which one is running.
- A keyboard. Everything below assumes keyboard input rather than a controller.
- Your monitor at native resolution. Check the recommended value in your graphics options and set it there, otherwise the frame gets scaled before the game sees it.
- Ten seconds per attempt, longer if you want a framed action shot rather than a snapshot.
- Optional: a free editor. Photopea runs in a browser and GIMP installs on your machine. Either one handles cropping and colour work without a paid subscription.
That is the entire kit. Photo modes, camera mods and shaders all help, but none of them rescue a capture made at the wrong resolution.
Step-by-Step: How to Take Clean Screenshots in Game
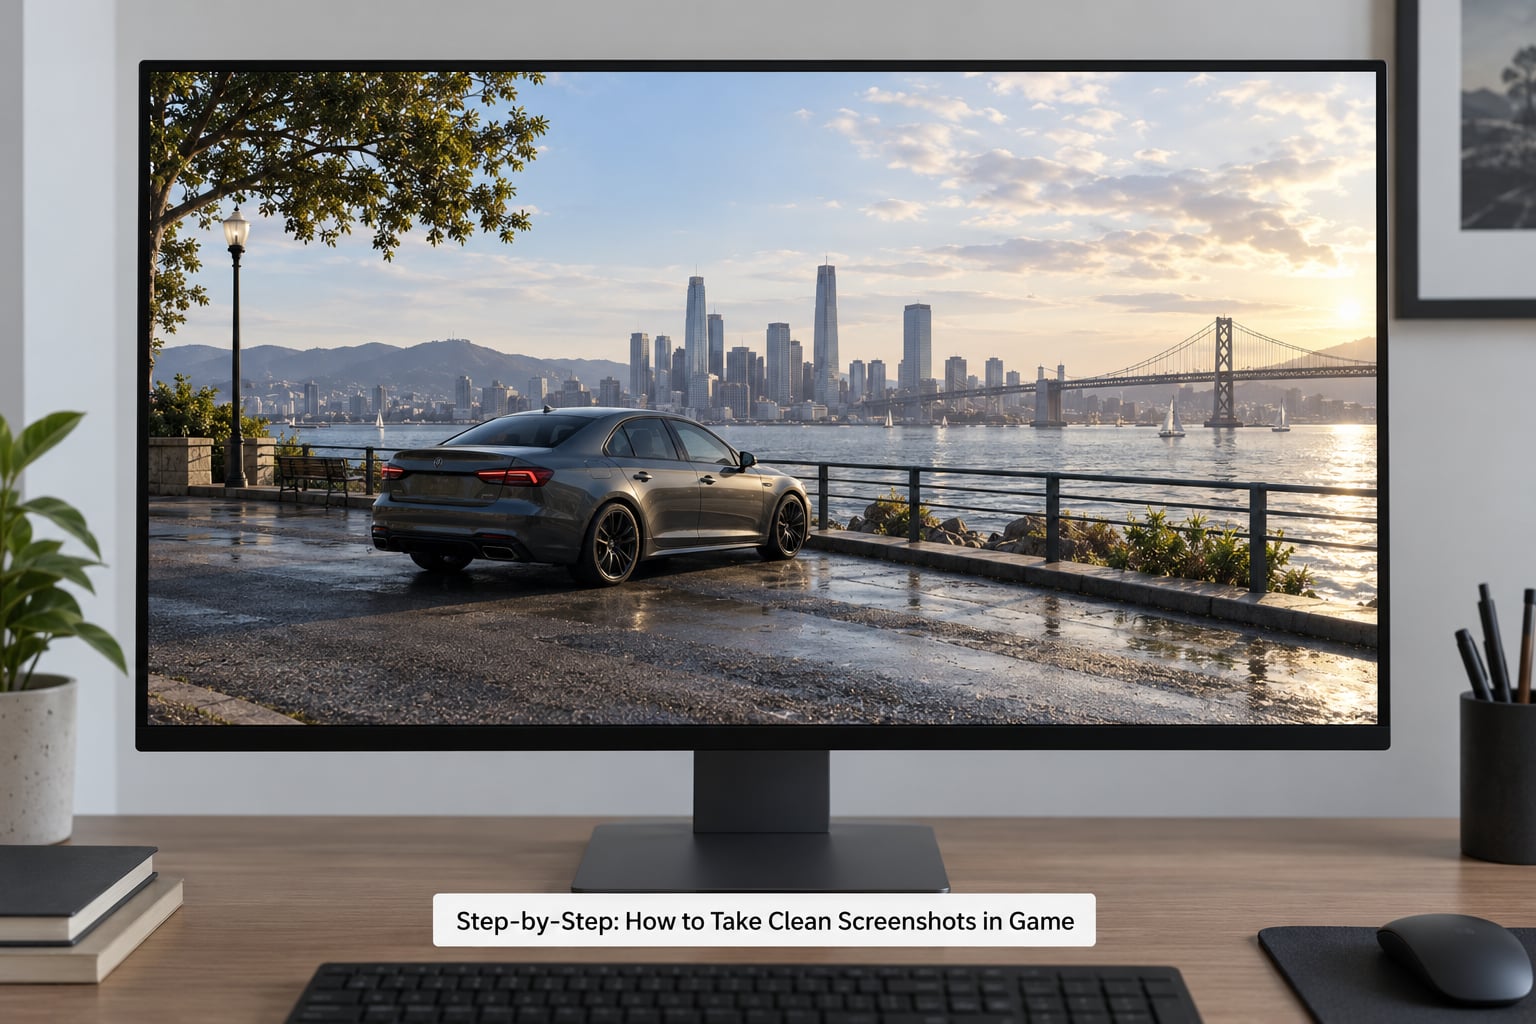
1. Choose the Right Resolution and Display Mode
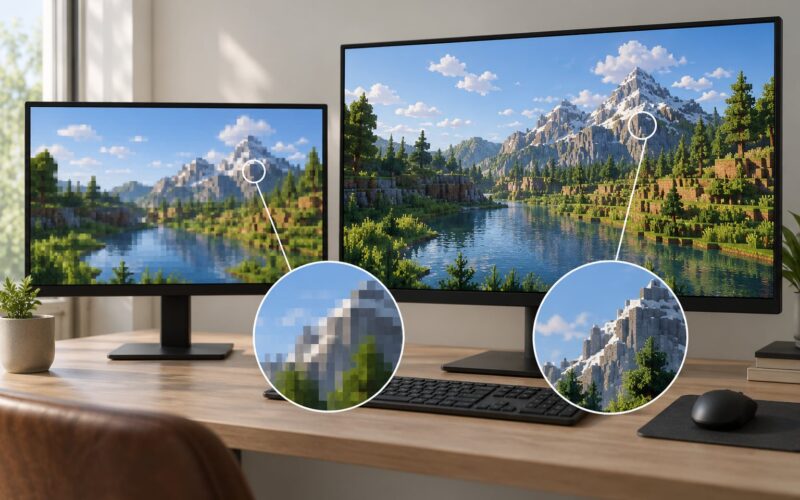
Match the output resolution to your monitor before anything else. Every other quality setting you touch is capped by this one.
Open the graphics menu and set the resolution to whatever your display recommends. If two options carry the same numbers and one is tagged recommended, take the recommended one. Then set the same value in your operating system’s display settings, because a mismatch there is what produces soft, stretched frames.
Pick fullscreen or borderless, and stay consistent between the two. What you want to avoid is a letterboxed or squashed capture, since a wrong aspect ratio gets written into the file and no later crop repairs it cleanly.
2. Prepare a Clean GTA 5 Frame
Get the scene looking worth capturing before worrying about keys. Drive to a spot with good light, stop the car, and angle it against something with depth behind it: a hillside, the ocean, a row of palm trees.
Give it a second. GTA 5 lighting settles quickly, and capturing the instant you stop often catches a transition frame that looks duller than the scene really is.
Move the character out of frame if you can. A figure standing in the middle of an empty road pulls focus from the location, and that framing habit is the most common complaint on GTA screenshot threads.
3. How to Take Clean Screenshots in Game With the Correct GTA 5 Key
In GTA 5 on PC, F8 saves a screenshot. Files land in DocumentsRockstar GamesGTA VScreenshots, and a small confirmation appears on screen so you know it worked.
If F8 does nothing, something is intercepting it. Check the game’s control options for a remapped screenshot binding, and close any hotkey utility that grabbed the function keys. The Steam overlay key F12 captures the same frame into your Steam install folder instead, which is useful if you want every shot in one place.
On a controller, the square button on PlayStation and Y on Xbox capture a still into the console’s own gallery. That saves the screen as it appears, interface included, which is a different result from the in-game capture.
4. Hide the HUD and Other Interface Elements
GTA 5 has a built-in HUD toggle, bound to Caps Lock by default. Press it and the minimap, health and armour bars, weapon icons, ammunition counters and reticle all disappear, leaving a clean gameplay frame. Press it again to bring the interface back for playing.
This is the whole difference between a screenshot that looks like a game and one that looks like a photograph. It is also why players on console usually crop the bars out afterwards, which is slow and never quite as tidy.
Two things still creep in. Reward notifications pop up on their own mid-frame, and the pause menu blurs the background. Dismiss any notification, then capture from live gameplay rather than from the pause screen.
5. Use Camera Controls for Better Composition
Position matters more than gear. Put the horizon on a third rather than dead centre, and keep the subject slightly off-centre so the image has somewhere to look.
If the camera is already following your character, cycle to a different viewpoint before capturing, then check what the shot actually shows. A screenshot taken while the game thought you were aiming at an enemy can end up looking straight at a wall, so confirm the frame on screen before you press the key.
Stand still for landscapes and walk cycles for characters. Slow movement usually gives a better frame than a sprint, because the camera settles between the two.
6. Adapt the Process for GTA 4 and San Andreas
GTA 4 and San Andreas predate the modern capture systems, so the defaults differ. GTA 4 has no single built-in capture command in most setups, and players generally rely on the Print Screen key or the Steam overlay. San Andreas is older still, and the same goes for it.
Treat those two as: frame the shot, hide what you can through the game’s own options, then use the operating system key or an overlay. Check each game’s control menu rather than trusting a guide, because bindings have changed across patches and re-releases.
Graphics options are thinner in both games, so the resolution and anti-aliasing advice from step one matters more, not less. What you cannot toggle is often best handled in an editor afterwards.
7. Save, Check, and Organize the Image
Most walkthroughs on how to take clean screenshots in game stop at the keypress, which is exactly where the bad ones slip through. Open the saved file straight away and check that it is not black, not cropped oddly, not stretched, and not covered in icons. A capture that includes the interface can be redone in ten seconds; a lost one is gone.
Rename files as you go, with the location and the game included. A folder of untitled screenshots from three different cities is impossible to search later.
Back up anything you plan to post. A second copy on an external drive takes seconds and covers the case where a game update clears its own screenshots folder.
Common Mistakes and Quick Fixes
Blurry or soft edges. The render resolution is below your monitor’s, or anti-aliasing is off. Set the resolution to the recommended value and turn anti-aliasing on, then capture again.
Stretched or squashed picture. Aspect ratio and resolution disagree, usually because the game is in windowed mode while the desktop uses a different setting. Match both to the same values.
Black screenshot. Usually a graphics driver hiccup, a background rendering mode, or an overlay intercepting the key. Restart the game, then try the operating system key instead of the in-game one.
Interface left in frame. Press the HUD toggle, dismiss notifications, and capture from live play rather than the pause menu.
Capture lands somewhere unexpected. The Steam overlay and console share menus write to their own folders. Check the game’s screenshots directory first, then the overlay’s default location.
Everything looks the same after editing. Small crops and colour adjustments help, but they cannot restore detail a low-resolution render never captured. Fix the settings and reshoot rather than editing a bad file.
One habit worth keeping: take the shot three times with slightly different framing, then keep the best. Almost every strong screenshot in a game’s community gallery was the third attempt.
Frequently Asked Questions
What is the easiest way to take clean screenshots in game on PC?
Set your graphics resolution to the value your monitor recommends, turn anti-aliasing on, set quality to Ultra or High, hide the HUD, then press the game’s capture key, which is F8 in GTA 5 on PC. That sequence takes about two minutes and fixes the three problems behind almost every blurry or cluttered screenshot.
Can I remove the HUD in GTA 5 before taking a screenshot?
Yes. GTA 5 has a HUD toggle bound to Caps Lock by default, and you can remap it in the control options. One press clears the minimap, health and armour bars, weapon icons, ammunition counts and the reticle. Remember to dismiss reward notifications too, and capture from live gameplay rather than the pause menu, which blurs the background.
Where are GTA 5 screenshots saved on PC?
Captures taken with F8 are stored in the Screenshots folder inside your Rockstar Games directory under Documents, in a path ending with Rockstar Games, GTA V, Screenshots. Using the Steam overlay key instead saves them to a screenshots folder inside your Steam install directory. Console captures go to the system gallery, not to a file on the console.
How do I take screenshots in GTA 4 or San Andreas?
Both older games have thinner built-in capture options than GTA 5. Most players use the Print Screen key or the Steam overlay, then save the image from there. Check each game’s own control menu first, since bindings have shifted across patches. Resolution and anti-aliasing settings matter even more in these titles, so match them to your monitor before capturing.
Why are my GTA screenshots blurry or stretched?
Blurry captures almost always mean the game rendered below your monitor’s native resolution, or anti-aliasing was switched off. Stretched ones mean the aspect ratio and resolution disagree, which usually happens when the game is windowed while the desktop uses a different setting. Set both to the recommended resolution and turn anti-aliasing on before capturing again.
Can I transfer in-game screenshots from a console to my phone?
Yes, though the route differs by console. On PlayStation, saved captures upload to your account and can be downloaded on a phone through the PlayStation app. On Xbox, captures sit in the network’s recent items until you download them through the Xbox app, where they sync to OneDrive. Either way, the image arrives compressed, so send the original file rather than a re-screenshot of your phone.
Conclusion
Do this first: set the resolution to your monitor’s recommended value, turn anti-aliasing on, press the HUD toggle in GTA 5 so the interface leaves the frame, then capture with F8. Everything else, camera angles, framing tweaks and editors, only improves a shot that is already clean at the source.