Making game wallpapers from your own screenshots takes about ten minutes: capture a clean frame, crop it to your screen’s ratio, resize it to your monitor’s native resolution, sharpen it lightly, export a PNG, then set it as your background. Free tools like Paint and GIMP handle every step, and no design skill is needed. On GTA-style open-world games, the extra minute spent hiding the HUD is what separates a good wallpaper from a screenshot with game icons scattered across it.
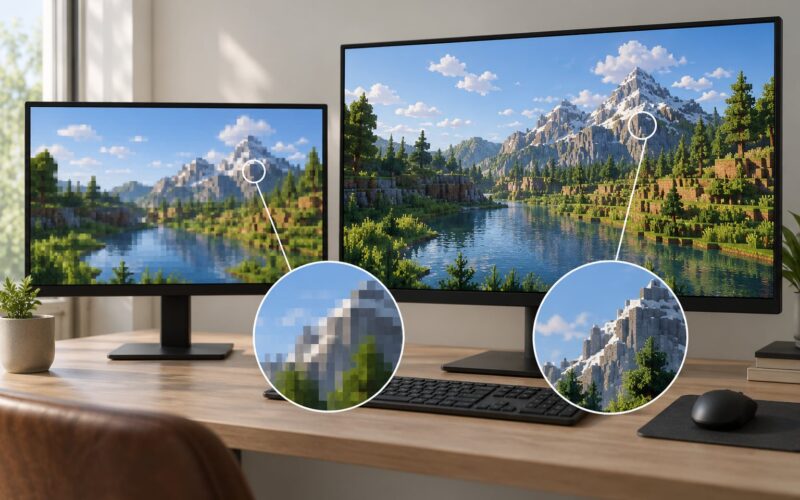
The reason most screenshot wallpapers look disappointing is not the screenshot. It is the crop and the file size. A 1920×1080 capture stretched across a 3840×2160 panel loses half its detail, and a busy street scene with no dark corners makes desktop icons unreadable. Fix those two things and the same capture looks like a proper background.
Table of Contents
- 1What You Need
- 2Step-by-Step: How to Make Game Wallpapers From Your Own Screenshots
- 31. Capture a clean, high-resolution game screenshot
- 42. Open the screenshot and preserve the original
- 53. Crop the image around the car, character, or scenery
- 64. Resize the screenshot to the correct wallpaper dimensions
- 75. Improve the image with restrained editing
- 86. Add any personal touches
- 97. Export and set the finished wallpaper
- 10Common Mistakes
- 11Frequently Asked Questions
- 12What is the best free program for making game wallpapers from screenshots?
- 13What resolution should I use for a PC gaming wallpaper?
- 14Can I turn a GTA screenshot into a phone wallpaper?
- 15Should I save my wallpaper as PNG or JPG?
- 16How do I fix a blurry or stretched game screenshot?
- 17Can I share a wallpaper made from my own game screenshots?
- 18Conclusion
What You Need
Four things, and you probably already have all of them.
- One clean screenshot at the highest resolution the game renders. Steam and many PC games use F12 by default, and most console builds have a capture button that saves a screenshot to a folder on the console or a connected drive.
- A free image editor. Paint ships with Windows and handles cropping, resizing and a basic sharpen. GIMP is the free upgrade if you want levels, curves and a real vignette. Browser tools like Canva or Photopea work if you’d rather not install anything.
- Your display’s native resolution. On Windows, press Win+Pause to open Settings, then go to System, Display and read the value next to Display resolution. On macOS, open System Settings, Displays, then hold Option to reveal the scaled options and click the number under Resolution.
- A file browser, so you can keep the untouched original next to the edited version.
If your game has a photo mode or a hide-UI key, find it before you capture anything. In GTA V it is on the pause menu, and most other open-world games have something similar. More on that in step one.
Step-by-Step: How to Make Game Wallpapers From Your Own Screenshots
The workflow below runs in Paint or GIMP and takes roughly ten minutes for a first attempt, less once you know where the controls are. Steps one through seven follow in order, because each one assumes the last one is already done.
1. Capture a clean, high-resolution game screenshot
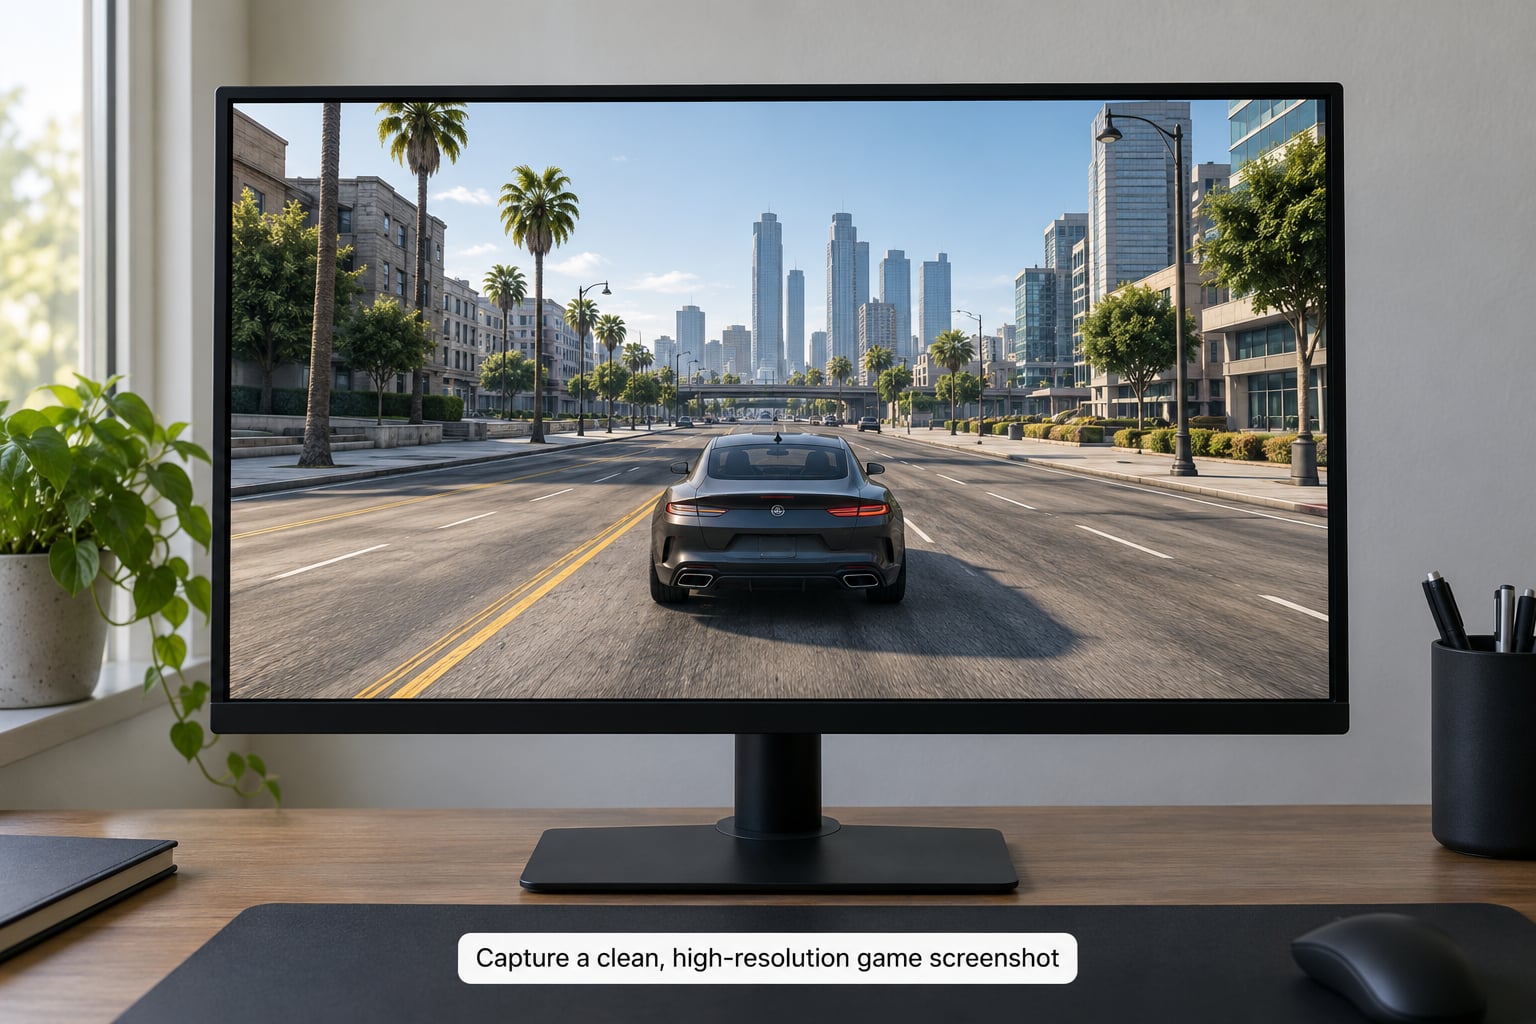
Capture with the in-game key first, since that gives you the full frame at the game’s own output resolution. On PC, try F12. On PlayStation, the Share button on the DualSense saves a screenshot and puts it in a gallery folder; on Xbox, the same button does the same job.
Win+Shift+S on Windows captures a selectable region, which is handy for grabbing just a car without the rest of the street, but it copies to the clipboard rather than a file. Press Ctrl+V in Paint and save from there if you use it. Win+PrtSc saves the whole screen straight to a PNG in Pictures, Screenshots.
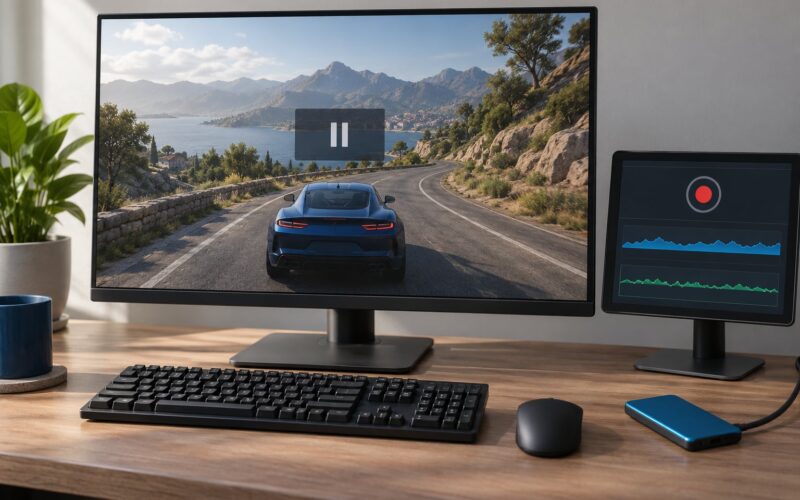
Before the shutter goes off, get the frame clean. Open the pause menu and look for a hide-HUD or hide-UI option. Pause if you can, because motion blur from a moving car is the other thing that makes a screenshot look soft. Close Discord, Steam and GeForce overlays if they stamp anything on the corner.
Console and Android captures can still be edited on a PC. Pull the file across a USB cable, cloud drive or a messaging app, and it opens in Paint like any other image.
2. Open the screenshot and preserve the original
Before you touch a slider, copy the file. Ctrl+C then Ctrl+V in File Explorer makes a “Copy” that sits beside the original, and renaming it something like screenshot_original.png saves you hunting later.
Open the copy in Paint. Open it in GIMP if the shot needs more than a crop and a resize, since GIMP’s Levels and Curves give you real control over the shadows in a night street scene.
You keep the original because exports go wrong. A sharpened, resized and darkened image saved once is gone forever unless the untouched frame is still sitting on your desktop.
3. Crop the image around the car, character, or scenery
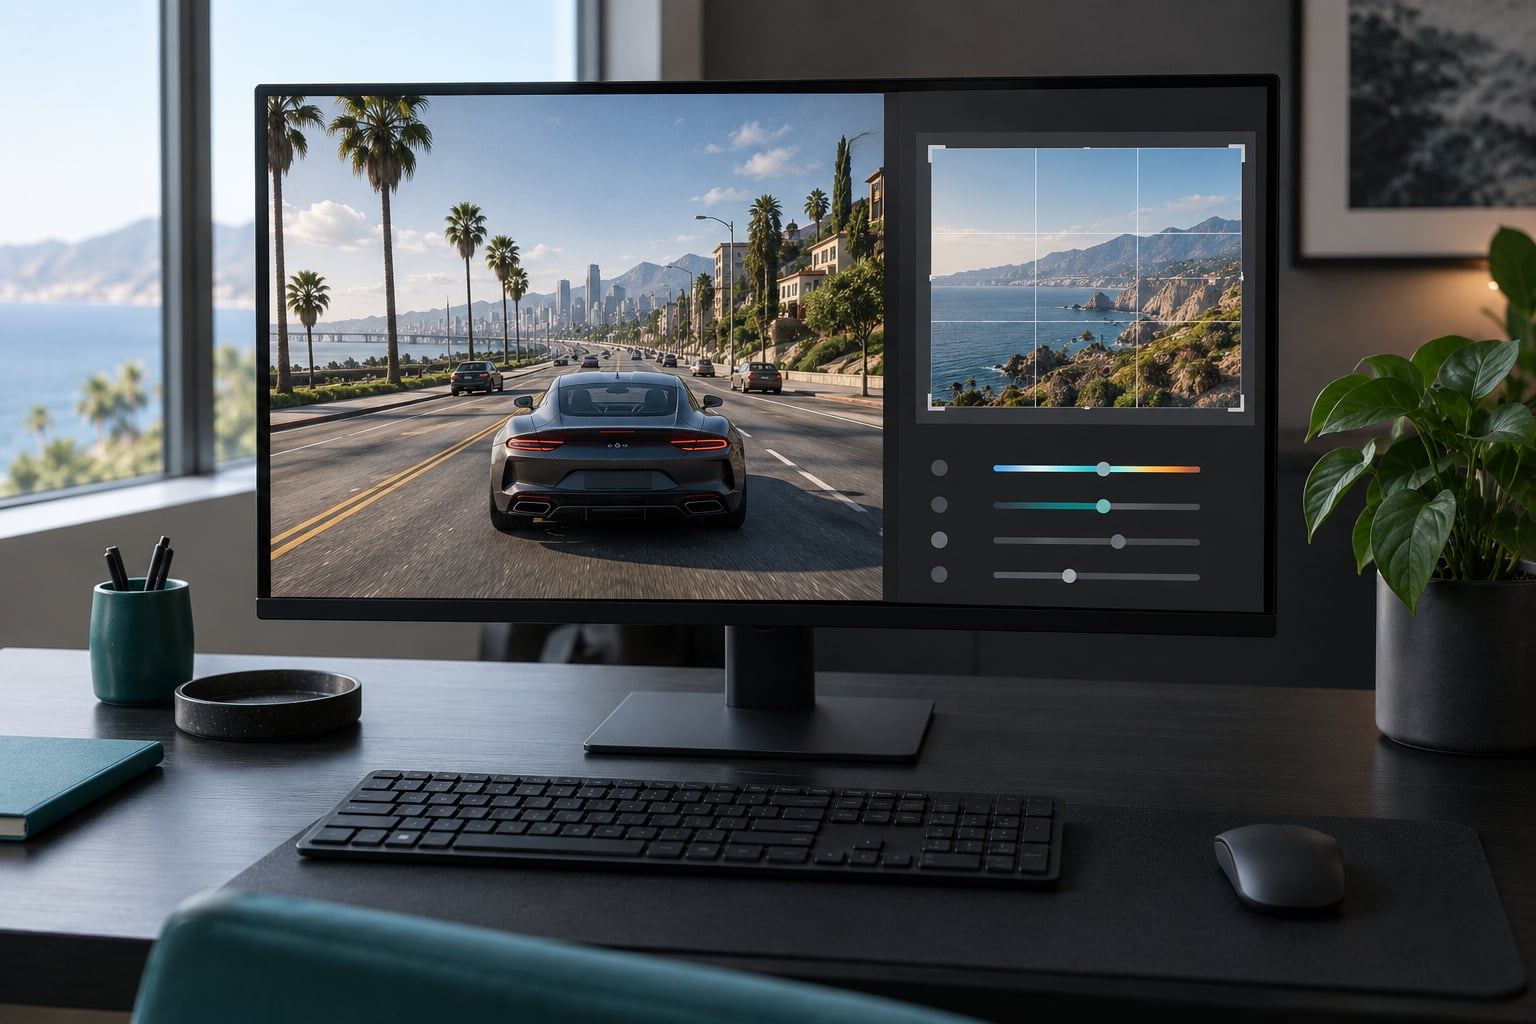
Crop to your screen’s ratio first, then choose what stays inside the frame. Open the crop tool in Paint, select the ratio, and drag around the subject. On a 16:9 monitor keep 16:9, on an ultrawide 21:9 display keep 21:9, and for a phone lock screen work vertically at 9:19.5 or thereabouts.
| Where it goes | Aspect ratio | Pixel size |
|---|---|---|
| Standard desktop monitor | 16:9 | 1920×1080 |
| 1440p monitor | 16:9 | 2560×1440 |
| 4K monitor | 16:9 | 3840×2160 |
| Ultrawide display | 21:9 | 3440×1440 |
| Ultrawide 4K | 21:9 | 5120×2160 |
| Phone home or lock screen | 9:19.5 vertical | 1170×2532 or 1080×1920 |
Two habits make cropping painless. Keep the subject away from the edges, because taskbar icons and the clock cover the corners on Windows, and because a car touching the frame looks clipped. Leave calmer sky, road or wall in one area so your icons have somewhere quiet to sit.
Zoom to 100% after cropping and look at the subject. If you cropped off a wheel or cut a horizon in half, undo and take a wider cut.
4. Resize the screenshot to the correct wallpaper dimensions
Resize last in the editing order and never tick the box that unlocks proportions. In Paint, Resize, Image, and type exact pixel values. In GIMP, use Image, Scale Image with the chain link locked.
The rule that fixes most blurry wallpaper: never enlarge past what the source can carry. If your capture is 1920×1080 and your monitor is 3840×2160, scaling up to 3840×2160 doubles the pixels but adds none, and the result reads as soft. Either crop tighter and accept 1920×1080, or run an upscaler such as Upscayl or Real-ESRGAN first, which rebuild detail with a machine-learning model and usually hold up better than a plain resize.
Going the other way is free. Downscaling a 4K capture to 2560×1440 loses nothing you can see and produces a much smaller file.
5. Improve the image with restrained editing
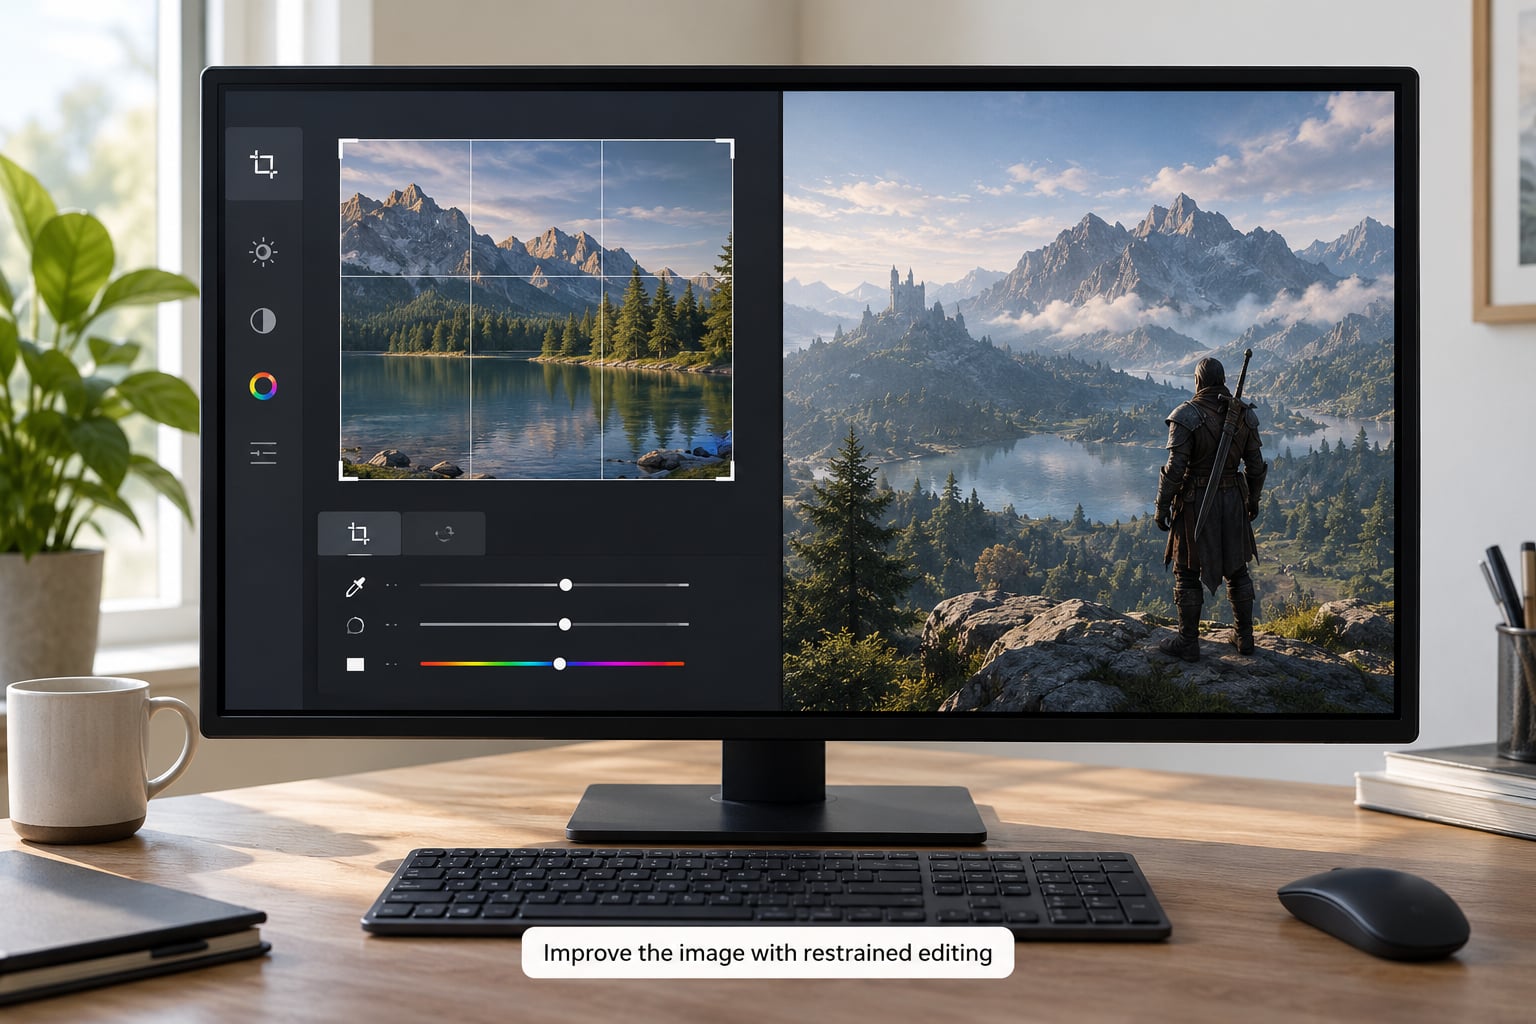
Small moves only. Raise contrast a few notches so the scene separates from your icons, drop saturation slightly if the colors look neon, and use one gentle sharpen pass. In GIMP that is Filters, Enhance, Sharpen (Unsharp Mask) with a radius around 1 and a low amount, or Paint’s Resize followed by Clear as the whole trick if you have nothing else.
Darkening helps more than people expect. A Curves adjustment that pulls the shadows down, or a soft vignette around the corners, makes white icon labels readable and hides the compression softness around the edges.
Phone screenshots need less. Mobile captures are usually already at device resolution, so skip the upscale and only correct brightness, since phone screens are brighter than most monitors.
If the image shows flat bands of colour across a sky or a large wall, add a small amount of noise before sharpening. Game art is exactly the kind of smooth gradient that shows banding.
6. Add any personal touches
Everything in this step is optional, and the safest choice is to skip it. A wallpaper is the background of your screen, not the subject of it, and busy overlays age badly.
What tends to work: a subtle dark gradient along the bottom edge where your taskbar sits, a small location label in a corner in a plain font, or a date stamp that reads like a camera imprint. What tends not to work: heavy borders, glow effects, drop shadows and large titles, all of which fight with the icons.
For a cleaner desktop, keep one version at full brightness and make a second darkened copy. Set the bright one when you’re playing and the dark one the rest of the time.
7. Export and set the finished wallpaper
Export a PNG for anything with text, gradients or a dark UI, since it is lossless. Export a JPG at 90 to 100 percent quality if the file is large and the image is mostly scenery. Name it something you’ll find again, such as wallpaper_gta_night_4k.png, and save it in Pictures rather than Downloads.
On Windows 11, right-click the desktop, choose Personalize, then Background, and pick Browse for pictures. On macOS, Control-click the desktop picture and choose Change Desktop Picture, or open System Settings, Wallpaper.
For the finished game screenshot wallpaper on a phone, transfer the file, open Photos, tap the share icon and choose Use as Wallpaper. On iPhone and iPad, save it to Photos first, then in Settings, Wallpaper, Add New Wallpaper. Lock Screen uses a slightly taller crop than the home screen, so export a 1170×2532 image rather than 16:9.
On PS5, copy the image to a USB stick or the console’s 1TB drive in the PS5 folder, then pick it from Settings, Screen and Video, Theme, Apply. On Xbox Series X|S, transfer through the Xbox app or a USB drive and set it from the Profile, System, Appearance menu. On Steam Deck, drop the image in a folder and set it from the desktop’s right-click menu.
Leave it up for a day and check it at 100% zoom. If it looks soft and you skipped step four’s upscale, that’s your answer.
Common Mistakes
| What went wrong | Why | Fix |
|---|---|---|
| Wallpaper looks blurry or pixelated | A small screenshot was enlarged with a plain resize | Recapture at the game’s highest output resolution, or upscale with Upscayl or Real-ESRGAN before resizing |
| Car or character looks stretched | Aspect ratio didn’t match the screen | Crop to the display’s ratio and resize with proportions locked |
| Desktop icons unreadable | Bright, busy artwork behind them | Darken with a gradient or vignette and save a second, darker copy |
| Colours look washed out | JPG compression at a low quality setting | Re-export as PNG, or JPG at 90 percent or higher |
| Sky or wall shows bands | Flat gradients banding after sharpening | Add slight noise before the sharpen pass, and soften the sharpen amount |
| Edges look crunchy | Oversharpened | Lower the sharpen radius and amount, or undo it entirely |
| Console rejects the file | Wrong format, size or folder location | Use a JPG or PNG under 4MB and place it in the console’s wallpaper folder on the drive |
| Only one crop exists and an edit went wrong | The original was overwritten | Copy the file before editing next time, as in step two |
Two more worth naming. If your wallpaper looks wrong only on one monitor, that screen is running a different scale setting than the others, so export a separate file at its own native resolution. And if a live or animated wallpaper seems tempting, tools like Wallpaper Engine handle it, but they eat GPU and battery on every device, so treat it as a weekend change rather than a daily one.
Frequently Asked Questions
What is the best free program for making game wallpapers from screenshots?
Paint is the fastest free option and already covers cropping, resizing, rotate and flip on every Windows PC. GIMP adds levels, curves and sharpening for anyone who wants more control, and it runs the same way on macOS and Linux. Photopea and Canva work in a browser if you would rather not install software at all. For enlarging a screenshot past its native size, Upscayl is free and works offline.
What resolution should I use for a PC gaming wallpaper?
Match the wallpaper to your monitor’s native resolution, not to the game’s. That is 1920×1080 on a 1080p panel, 2560×1440 on 1440p, and 3840×2160 on a 4K monitor. Ultrawide displays usually want 3440×1440 or 5120×2160 at 21:9. Find the number in Windows under Settings, System, Display, or in macOS System Settings under Displays.
Can I turn a GTA screenshot into a phone wallpaper?
Yes, and GTA captures work well because the game has a photo mode that removes the HUD. Export a vertical crop at 1170×2532 for an iPhone lock screen, or 1080×1920 for an Android phone, keeping the car in the upper two-thirds so the clock and icons do not cover it. Transfer the file to the phone, open it in Photos, tap share and choose Use as Wallpaper.
Should I save my wallpaper as PNG or JPG?
Save as PNG when the image has text, a dark interface or smooth gradients, because PNG is lossless and keeps edges clean. Save as JPG at 90 to 100 percent quality when the picture is mostly scenery and you want a smaller file. Never save at a low JPG quality setting: the banding it creates across a sky is one of the most common reasons a screenshot wallpaper looks cheap.
How do I fix a blurry or stretched game screenshot?
A stretched image needs recropping at the right aspect ratio with proportions locked. A blurry image needs either a better source or a real upscale: recapture the screenshot at the game’s highest output resolution if you can, otherwise run Upscayl or Real-ESRGAN on the file before resizing. Plain resizing invents pixels without detail, and the softness stays visible at 100% zoom on a 4K panel.
Can I share a wallpaper made from my own game screenshots?
Using your own capture as a personal background is fine on every platform. Posting it publicly is a different question, because the image still belongs to the game’s publisher, and reposting it as art or selling it is where problems start. A safe middle ground is sharing it with a credit line, not presenting it as your own work. Rules vary by game and by platform, so check the individual title before uploading anywhere public.
Conclusion
Start with the screenshot, not the editor. Keep the original file untouched, crop around the car or character with room left for your icons, resize to your monitor’s exact native resolution, make one small sharpen pass and one darkening pass, then export a PNG and set it through your display settings. Ten minutes of work, and the result will still look sharp next time you start the game.