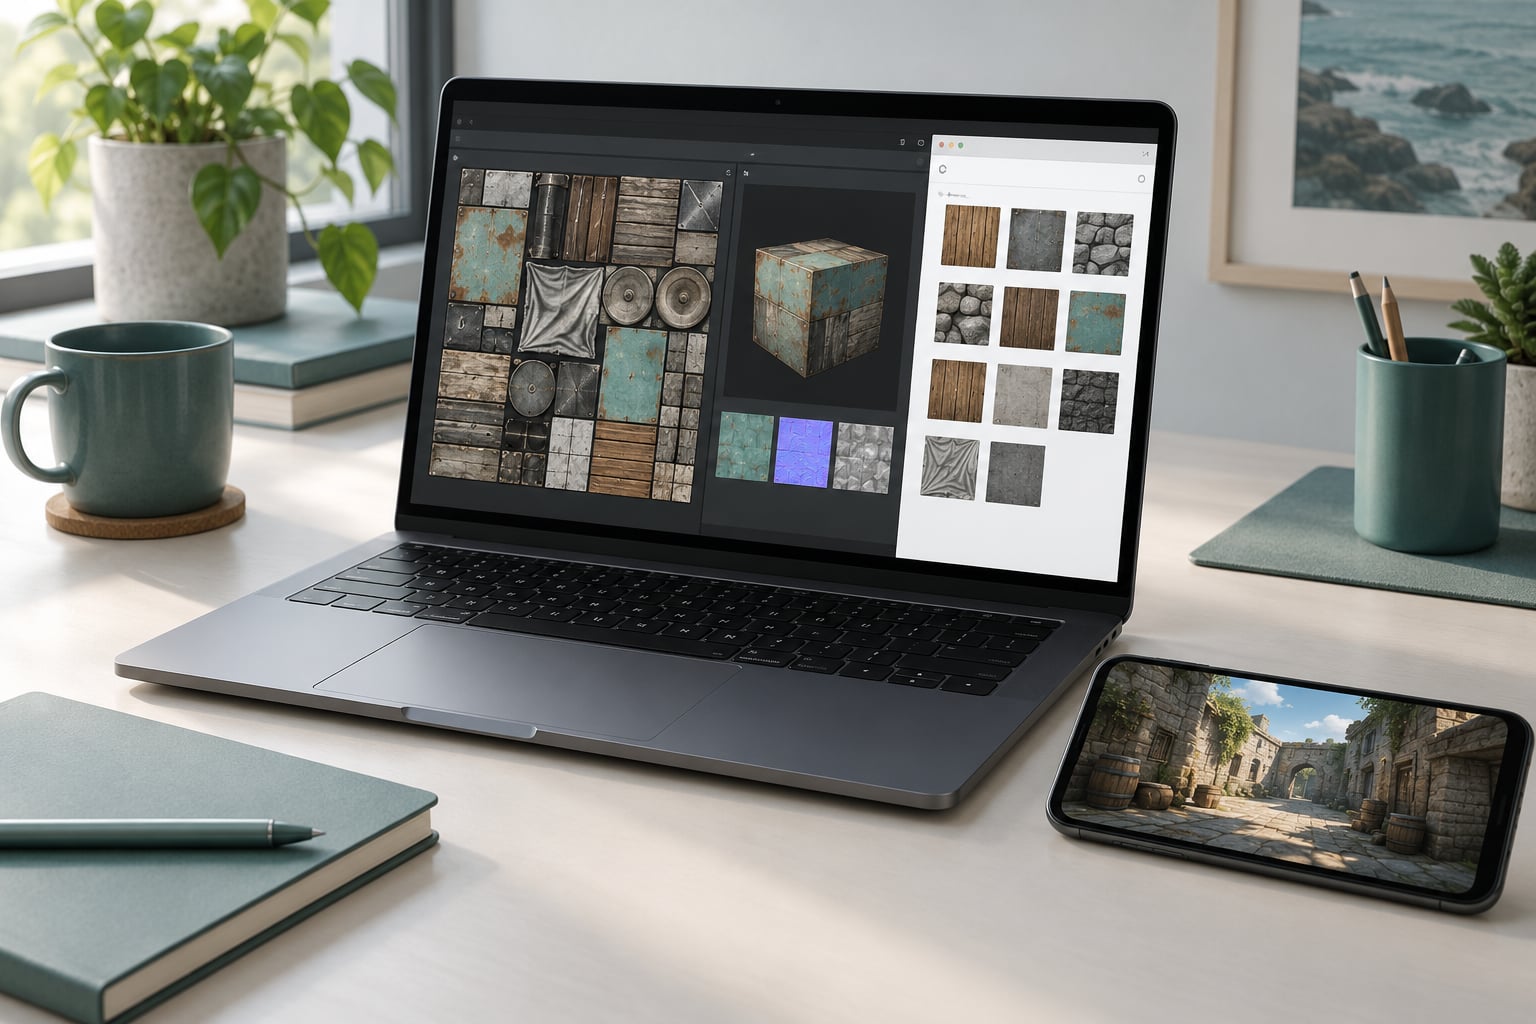
Converting textures for mobile game limits comes down to three things: resize to the maximum dimension your engine allows, compress with a block format the phone’s GPU actually supports, and keep the mip chain intact. Get that order wrong and the surface loads pink, blurs into mush at a distance, or the game runs out of memory and closes. One texture takes about two minutes to convert properly, and the whole pack is a batch job once you have the settings right.
This guide is written for mobile modders, GTA V porters, indie developers shipping to Android or iOS, and anyone building texture packs for FiveM or a custom engine. Nothing here needs a paid tool.
Table of Contents
- 1What You Need
- 2Tools that do the actual conversion
- 3What to check before you convert anything
- 4Which tools fit which job
- 5Step-by-Step: How to Convert Textures for Mobile Game Limits
- 6How to identify the mobile engine and its texture limits
- 7How to make a backup and inspect the original texture
- 8How to resize and reformat the texture
- 9How to compress the file for mobile storage
- 10How to generate mipmaps and pack the texture atlas
- 11How to export, install and test the converted texture
- 12Common Mistakes
- 13Frequently Asked Questions
- 14What is the maximum texture size for mobile games?
- 15Is ASTC or ETC2 better for Android texture compression?
- 16Do all mobile games require mipmaps?
- 17How can I reduce texture quality without visible blurring?
- 18Can I batch-convert textures for a mobile mod?
- 19Why does my converted texture look pink, black, or transparent?
- 20Conclusion
What You Need
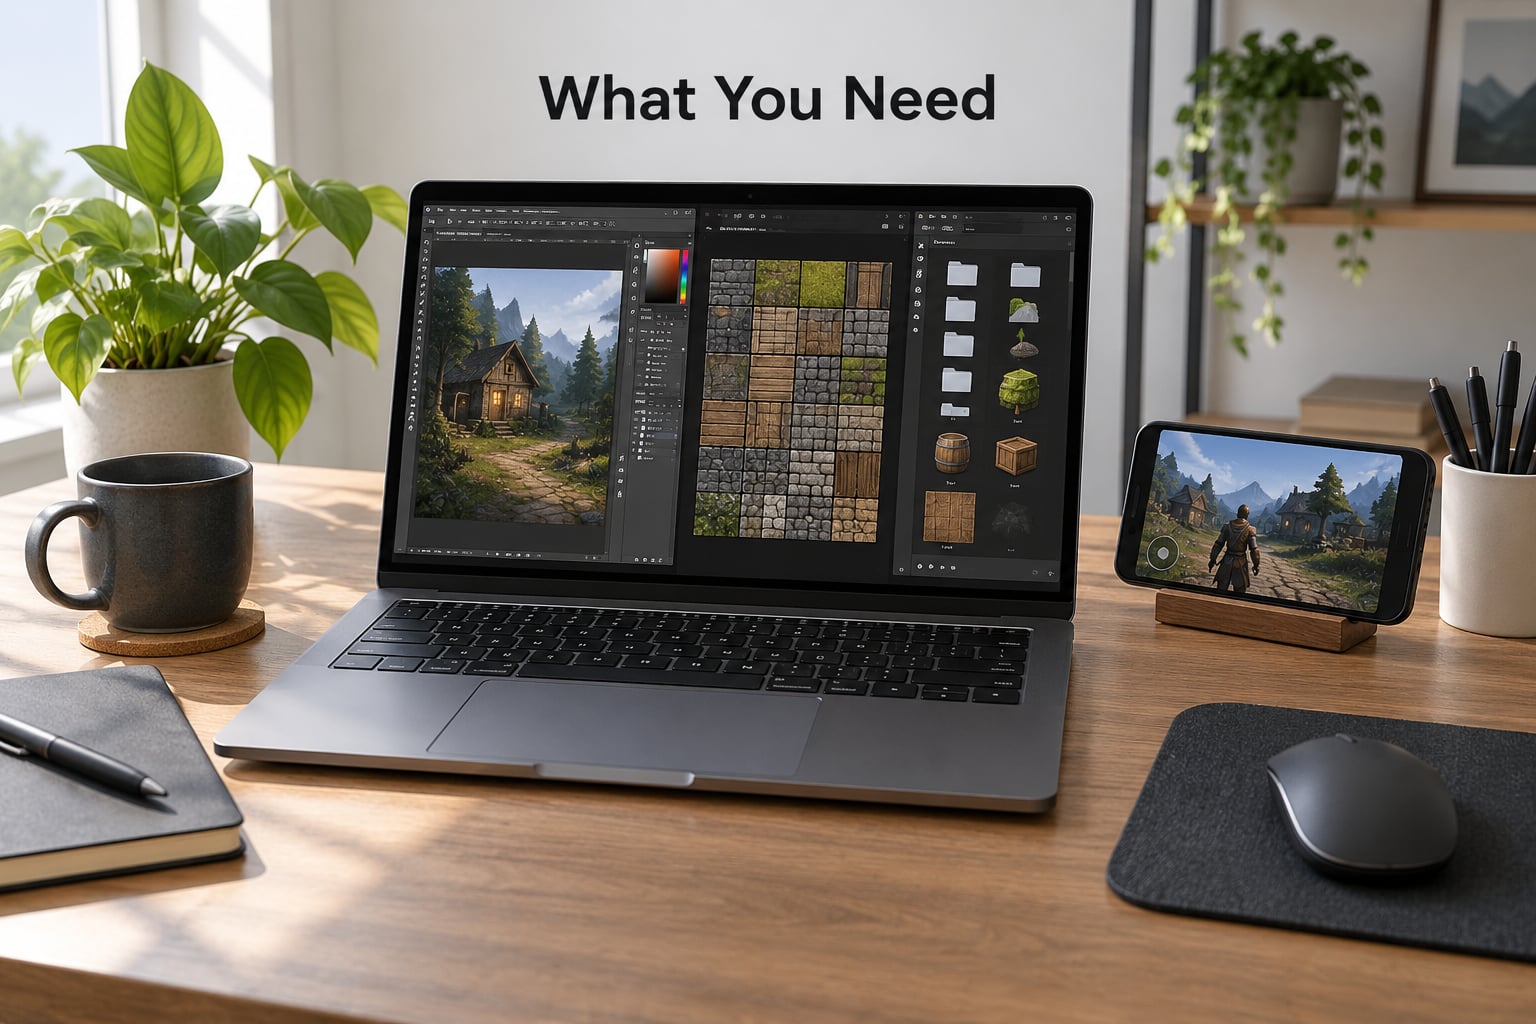
Four numbers decide how you convert: the engine, the target device tier, the maximum texture dimension, and the supported block formats. Find those before you touch a single pixel, because they change every later step.
Tools that do the actual conversion
GIMP is free, runs on Windows, Mac and Linux, and handles PNG, TGA, BMP and DDS in and out. Its DDS plug-in gives you the mipmap controls you need, so it is the sensible default if you are starting from nothing.
texconv, the command-line tool from Microsoft’s DirectXTex set, is the fastest way to convert a whole folder. One command handles dozens of files with the same format, mipmap setting and resize, which beats clicking through a dialog fifty times.
Photoshop only exports DDS if you install a third-party DDS plug-in first. The built-in Save As does not list the format, which catches people out constantly.
TexForge and Folder2Textures are the two purpose-built Windows tools that come up most often in modding threads. TexForge converts almost any image type to DDS with a live preview and blend modes. Folder2Textures does the opposite direction: it takes a folder of PNGs and generates openFormats OTD texture packs, picking DXT1 or DXT5 automatically based on detected transparency.
Online converters exist, but modders tend to avoid them on purpose. Uploading your texture pack to a random site means you do not know where the files went, and some strip alpha or regenerate mipmaps without telling you.
What to check before you convert anything
| Device tier | Max single texture | Common working size | Author in |
|---|---|---|---|
| Low-end Android (OpenGL ES 3.0) | 1024×1024, sometimes 2048×2048 | 1024×1024 | ETC2, ASTC 6×6 |
| Mid-range Android (Vulkan) | 2048×2048 | 1024×1024 to 2048×2048 | ASTC 4×4 or 6×6 |
| iOS, recent A-series chips | 2048×2048, up to 4096×4096 on newer hardware | 2048×2048 | ASTC 6×6 |
| PC and console fallback | 4096×4096 or higher | 2048×2048 | BC7 or DXT5 |
Power-of-two dimensions are worth sticking to even though mobile APIs have relaxed the old rules. Every atlas, tiling surface and mip chain behaves predictably at 256, 512, 1024, 2048 and 4096, and you avoid a resample at the last step.
Which tools fit which job
| Tool | Runs on | Batch | Mipmap control | Best for |
|---|---|---|---|---|
| GIMP | Win, Mac, Linux | Script-Fu console | Manual on DDS export | Free editing and one-off conversion |
| Photoshop + DDS plug-in | Win, Mac | Limited | Load MIP maps / Use existing MIP maps | Precise export control |
| texconv (DirectXTex) | Windows | One command | Built-in flag | Bulk conversion of a pack |
| TexForge | Windows | Yes | Yes | GUI conversion with preview and blend modes |
| Folder2Textures | Windows | Whole folder tree | Auto values | Generating OTD packs from PNG |
Step-by-Step: How to Convert Textures for Mobile Game Limits
How to identify the mobile engine and its texture limits
Open the game project and read the engine name first. Unity, Unreal and custom engines all expose a maximum texture size setting, usually somewhere around 2048 on mobile, and it can be overridden per platform.
Then check three more things: the GPU format list (ASTC, ETC2, or both), the memory budget the device tier is built around, and how the game streams assets. GTA V style ports use a draw distance and a streaming pool, so a texture can be perfectly valid and still never load because the pool is full. A 4K grass texture that streams fine on desktop will simply be dropped on a phone.
Write the limits down before you start. Half of the bad conversions I have seen came from guessing at 2048 when the project was set to 1024.
How to make a backup and inspect the original texture
Copy the original file somewhere untouched. Compressed textures are lossy, so a second round-trip on an already-compressed file is where grain and banding show up.
On the working copy, note the pixel dimensions, whether it has a real alpha channel or just an opaque one, the colour space, and what the surface is used for. A road tiling texture at 2048 is a different job from a building facade that gets seen from two metres away, and they do not need the same budget.
If the source is a PNG, look at it at 100 percent. Existing compression artefacts, banding in skies and hard edges on fences tell you where quality is going to break first once you compress it.
How to resize and reformat the texture
Resize with a good filter rather than nearest neighbour. Bicubic or Lanczos downscaling keeps edges readable, and you should resize once to the final target instead of stepping down in stages.
Drop the alpha channel if the texture is fully opaque. Skipping an empty channel avoids the wrong block format being chosen later and keeps the file smaller.
Watch the VRAM cost as you go. A 2048×2048 RGBA texture is 2048 x 2048 x 4 bytes, which is 16 MB in memory before any mip levels. At 1024×1024 it is 4 MB. That is the single biggest saving available to you.
How to compress the file for mobile storage
Block compression is what makes this practical on a phone. Each format stores 4×4 pixel blocks as fixed-size chunks, so a compressed texture costs a predictable amount of memory and samples much faster than raw RGBA.
| Format | Bits per pixel | Size at 2048×2048 | Alpha | Use it for |
|---|---|---|---|---|
| RGBA8888 uncompressed | 32 | 16 MB | Full | Master source only, never shipped |
| DXT1 / BC1 | 4 | 2 MB | 1-bit cutout | Opaque walls, roads, generic props |
| DXT3 / BC2 | 8 | 4 MB | 4-bit, sharp | Rarely worth it over DXT5 |
| DXT5 / BC3 | 8 | 4 MB | Interpolated | Clothing, hair, glass, decals |
| BC4 + BC5 pair | 16 for two maps | 8 MB | Grayscale channels | Normal maps |
| BC7 | 8 | 4 MB | High quality | Best quality when the engine supports it |
| ASTC 4×4 | 8 | 4 MB | High quality | Preferred mobile target |
| ASTC 6×6 / 8×8 | 3.6 / 2 | 1.8 / 1 MB | High quality | Small props, UI, distant details |
Choose ASTC for anything shipping to modern Android or iOS, with ETC2 as the fallback for older OpenGL ES 3.0 hardware. Use DXT1 when the texture has no meaningful transparency and DXT5 when it does. Skip RGBA entirely in a shipped build.
Lossless formats like PNG or ZIP matter for one case only: the master archive you keep on your own machine. They do nothing for runtime memory.
How to generate mipmaps and pack the texture atlas
A mip chain is a set of progressively halved copies, 2048, 1024, 512 and so on down to a few pixels. The GPU picks the level that matches how much screen space the surface covers, which is what kills the shimmer you get on roads and gravel.
Turn mipmaps on for anything tiled, ground, wall or distant. Skipping them on a large surface produces noise and aliasing that looks like a broken texture. UI icons and sprite sheets that never minify can leave them off and save memory.
For atlases, add padding of at least a few pixels between tiles and bleed the edge colours outward so bilinear filtering does not pull in a neighbour. Pack tiles that share a format into the same atlas, and reuse the same tile rather than packing the identical image three times.
A 2048 atlas with a full mip chain costs about 33 percent more than the single level, roughly 21 MB instead of 16 MB uncompressed. Compression is what keeps that number sane.
How to export, install and test the converted texture
Export in the format the engine reads. That is DDS for desktop-style engines, KTX or KTX2 for engines that prefer it, and PNG only as an intermediate step. Keep the filename identical to the original.
In Photoshop, the mipmap step is where most people lose quality. Tick Load MIP maps when you open the DDS and Use existing MIP maps when you save it. Skip either one and the chain is rebuilt badly or dropped, which shows up as textures looking wrong at distance. This exact pitfall is the most commonly repeated fix in the long-running Texture Toolkit thread on gtaforums.
For a command-line batch with texconv, the shape is texconv -f BC7_UNORM -mip -y input.dds. Swap BC7_UNORM for BC1_UNORM or BC3_UNORM, and add -resize 1024x1024 when the cap is lower than the source.
Drop the file into the game’s texture folder. For GTA V style archives that means opening the archive with OpenIV, navigating to the textures path, and replacing the .ytd or .ytdr entry. Then clear the cache: OpenIV has an option to clear its own, and on Android you usually have to clear the app cache or reinstall the mod loader, because the game keeps the old texture in memory.
Test in this order: does the surface load at all, does it look correct close up, does it hold up at distance, and does the frame rate survive. Use the lowest device you support, not the phone in your pocket. That last check is where most how to convert textures for mobile game limits guides fall short, because the conversion is technically correct and still unusable on the hardware your audience actually owns.
Common Mistakes
Leaving the texture over the dimension cap. The engine either refuses to load it or silently streams it out. Fix: resize to 1024 or 2048 before compressing, not after.
Saving an opaque texture with a DXT5 profile. You double the memory for an alpha channel that holds nothing. Fix: check for a real alpha channel first, then pick DXT1 when there is none.
Destroying the mip chain on a round-trip. Opening a DDS without Load MIP maps and saving without Use existing MIP maps is the single most reported mistake in modding threads. Fix: tick both boxes, every time, even when you only changed the size.
Compressing twice. Running an already-compressed DDS through another lossy pass is where the pink noise and grain people report after importing show up. Fix: always convert from the master PNG or TGA, never from a DDS you edited.
Packing an atlas with no padding. Bleeding from adjacent tiles gives you a bright fringe along every edge at distance. Fix: add a few pixels of padding and bleed the edges.
Testing only on a flagship phone. If it runs on the newest hardware it still has to run on the cheapest device in the install base. Fix: test on the lowest tier you support before you ship.
Forgetting the cache. The game keeps the old texture loaded and you spend an hour wondering why nothing changed. Fix: clear the mod loader cache and, on Android, clear the app cache or reinstall the game files.
Ignoring the draw distance and streaming pool. A 4K texture on a road material can be valid and still never appear, because the pool is allocated to nearer surfaces. Fix: match resolution to how far the player can actually see that surface.
Frequently Asked Questions
What is the maximum texture size for mobile games?
Most mobile GPUs cap a single texture at 2048×2048, and plenty of older Android devices stop at 1024×1024. Unity and Unreal both expose this as a max texture size value per platform, commonly 2048 on modern phones and up to 4096 on recent iOS chips. Check the setting in your project before you resize anything, then author at or below it.
Is ASTC or ETC2 better for Android texture compression?
ASTC gives noticeably better quality at the same file size and has been a required format on Vulkan-era Android devices, so it is the safer default for new work. ETC2 is supported across all OpenGL ES 3.0 hardware, which makes it the fallback for low-tier targets. Shipping ASTC with an ETC2 copy for legacy devices is the usual compromise.
Do all mobile games require mipmaps?
Most do, because surfaces are viewed at wildly different distances and mip levels are how the GPU avoids shimmer on roads, gravel and fabric. Tiled ground and wall textures benefit the most. UI icons and sprite sheets that never minify can skip them and save memory, but leaving them off a large surface gives you visible noise at distance.
How can I reduce texture quality without visible blurring?
Resolution and compression are two separate dials. Dropping 2048 to 1024 always looks softer up close. Keeping the resolution and moving from BC7 to ASTC 6×6 or DXT5 shrinks the file a lot with far less visible loss. Strip unused channels first, drop an 8-bit normal map to BC5, and leave resolution alone unless you genuinely need the memory back.
Can I batch-convert textures for a mobile mod?
Yes. texconv takes a folder and a file pattern, so one command converts a whole pack with the same format, mipmap setting and resize. Folder2Textures does the same over a folder tree and picks DXT1 or DXT5 from detected transparency. Work on a copy, keep mipmaps enabled, and spot-check five files from different folders before you trust the batch.
Why does my converted texture look pink, black, or transparent?
Pink or magenta means the engine drew a fallback surface because the format is unsupported or the header is wrong. Black usually means a failed alpha channel or a missing mip chain. Transparent usually means your source PNG had alpha and DXT1 dropped it. Match the block format to the channel layout, re-export from the master file, and clear the cache before testing again.
Conclusion
Start by confirming what your engine and target device actually allow: the maximum texture dimension, the supported block formats, and the memory budget. Then keep your originals untouched, convert a single texture end to end, and test it on the lowest device you support.
That single file is the real answer to how to convert textures for mobile game limits. If it loads correctly, keeps its mip chain and holds its frame rate, the rest of the library is a batch job with the same settings. If it fails, the fix is almost always a format mismatch, a lost mip chain or a stale cache.