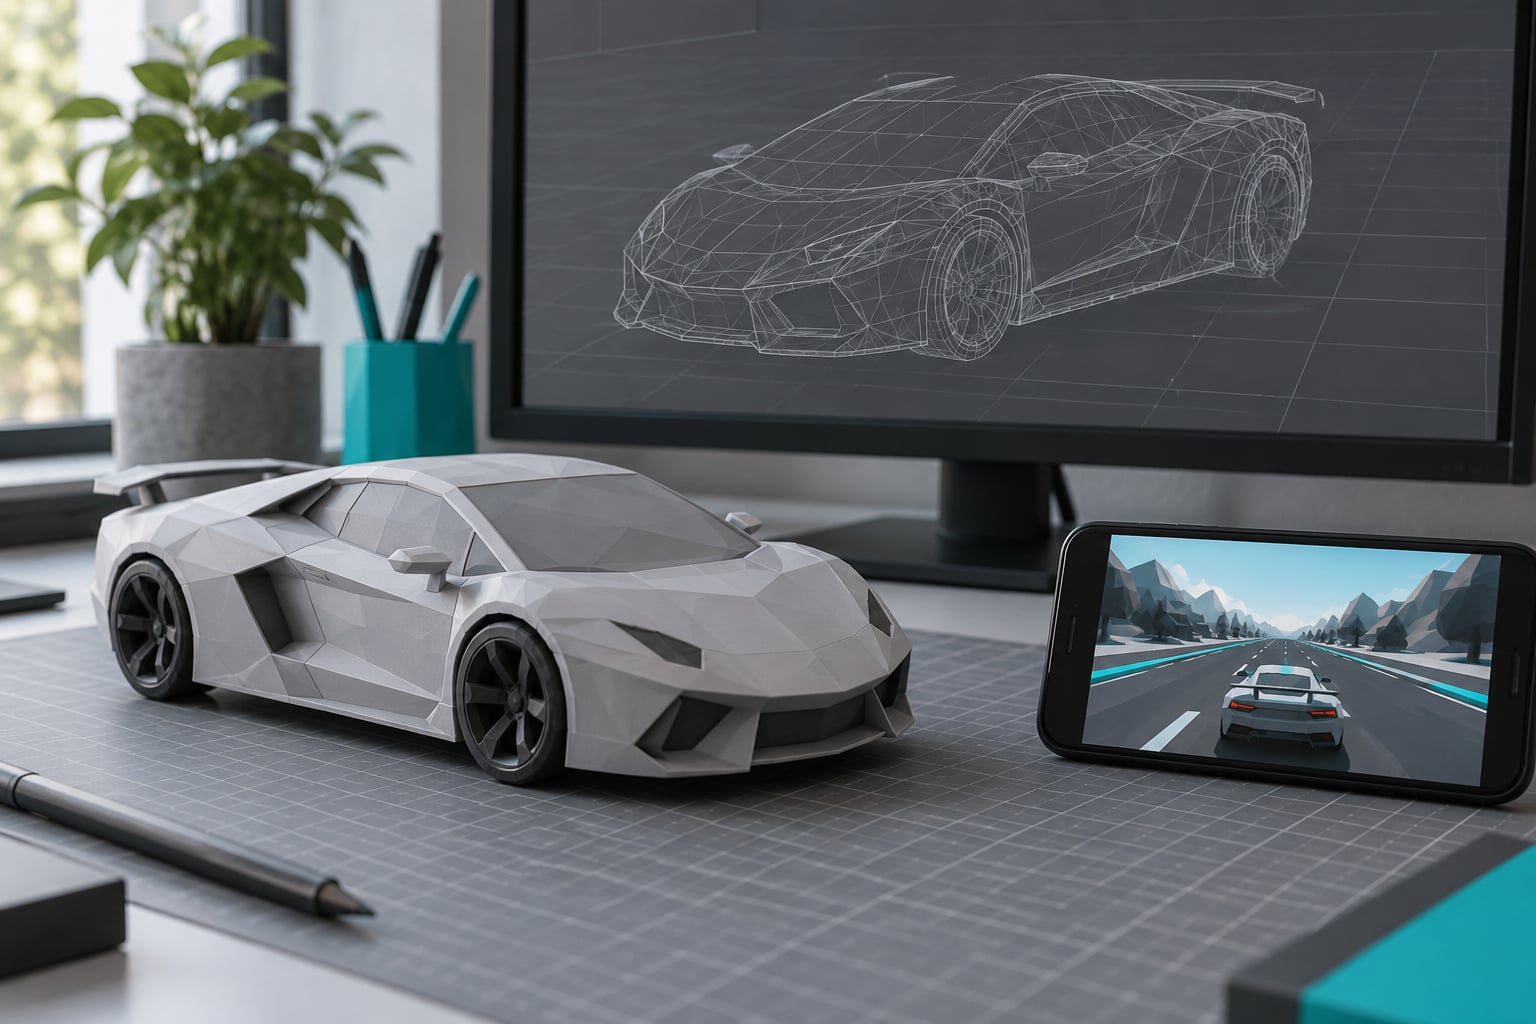
To make a lowpoly car for mobile game mods, you block the body out of cubes, shape a simple silhouette, flatten the shading, cut the triangle count to roughly 1,000 to 2,000, paint one 512px texture, then export and drop the mesh back into the game at the original car’s scale. Most of the work is discipline, not skill, and a first usable car takes an evening.
Low poly is easier to make than high poly, mostly because there is less to decide. Fewer parts, one material, flat shading. The hard part for modders is not the modeling. It is matching the scale, pivot and texture layout of the car already in the game so the replacement does not float, sink or show up in pure black.
Table of Contents
- 1What You Need
- 2Step-by-Step: How to Make a Lowpoly Car for Mobile Game Mods
- 3Step 1: Decide what the car is for and set a triangle budget
- 4Step 2: Pull the original car and measure it
- 5Step 3: Block the body out of cubes
- 6Step 4: Shape the body and cut the wheel arches
- 7Step 5: Build one wheel and reuse it four times
- 8Step 6: Keep the material to a single atlas
- 9Step 7: Flatten the shading and cut the polygon count
- 10Step 8: UV unwrap into one atlas with padding
- 11Step 9: Export with the right scale, axis, pivot and normals
- 12Step 10: Install it and test on the phone
- 13The extract-and-edit alternative
- 14Common Mistakes
- 15Frequently Asked Questions
- 16What is a good polygon count for a lowpoly car in a mobile game mod?
- 17Do I need UV mapping to make a lowpoly car for mobile game mods?
- 18Which file format should I export from Blender for an Android game?
- 19Is Blender free enough for beginners creating mobile car mods?
- 20How do I make a lowpoly car run faster on an Android device?
- 21Can I use a downloaded car model in my own mobile game mod?
- 22Conclusion
What You Need
Blender covers the whole job and costs nothing. Prisma3D is easier if you have never modeled before, and Blockbench is built for blocky game assets. Maya and 3ds Max work too, but neither earns its license for a single lowpoly car.
| Tool | Cost | Learning curve | Best for |
|---|---|---|---|
| Blender | Free | Medium | Modeling, decimation, UV, export in one app |
| Prisma3D | Free tier | Low | Absolute beginners who want a UI, not a viewport |
| Blockbench | Free | Low | Very simple boxy cars and props |
| Maya | Paid subscription | High | Studios that already own a Maya pipeline |
| 3ds Max | Paid subscription | High | Same, plus older automotive workflows |
Beyond the 3D app you need a paint program, and GIMP does everything a mobile car texture needs. You also need an asset viewer to pull the original car out of the game files: AssetStudio for Unity-based Android titles, and UABE for titles that use an unpacked assets library.
A 16 GB machine models a car comfortably in Blender, and 8 GB works if you keep the file simple. Your test device matters more than your modeling PC. If the mod is going to run on a two-year-old Android phone with 3 GB of RAM, that is the phone you test on, not the flagship in your drawer.
Set your budget before you model anything. This is the number most beginners skip and then blow through:
| Vehicle class | Triangles | Texture | Where it appears |
|---|---|---|---|
| Background traffic | 500 to 900 | 256×256 shared atlas | Distant streets, parking lots |
| Standard playable car | 1,000 to 2,000 | 512×512, one material | Player car, most NPC traffic |
| Hero car | 3,000 to 5,000 | 1024×1024, one material | Car you look at up close on the menu |
One ArtStation artist shipped a complete lowpoly mobile car at about 1,500 triangles with a single 1K diffuse map, so those numbers are reachable on your first attempt. One material per car matters as much as the poly count, because each extra material is another draw call on a GPU that is already sharing work with the rest of the game.
Step-by-Step: How to Make a Lowpoly Car for Mobile Game Mods
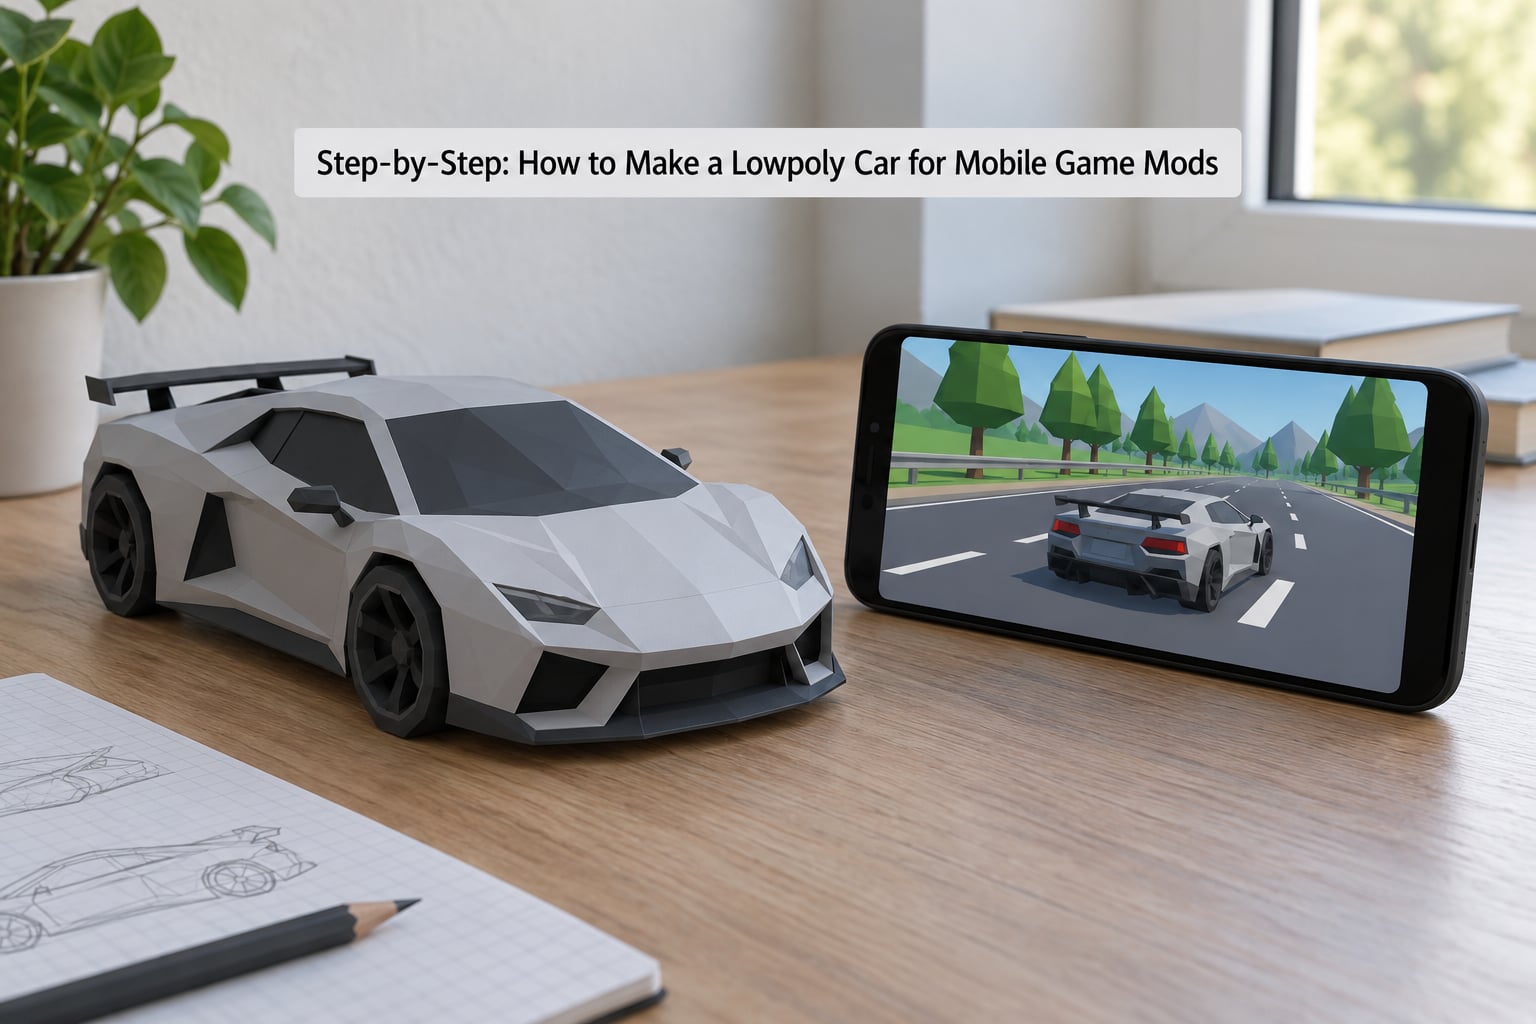
Work in this order and you avoid the rework that eats beginners’ evenings: find out what you are replacing, match its size, build simple, then optimize.
Step 1: Decide what the car is for and set a triangle budget
Ask one question first: does this car get driven close to the camera, or is it traffic in the background? Background traffic needs about 700 triangles and nobody will count the doors. A car on the start screen needs closer to 4,000 before you start, and you should know that now rather than at 11pm.
Write the number at the top of your Blender file. It sounds trivial, and it is the single thing that stops you from quietly returning to the subdivision modifier.
Step 2: Pull the original car and measure it
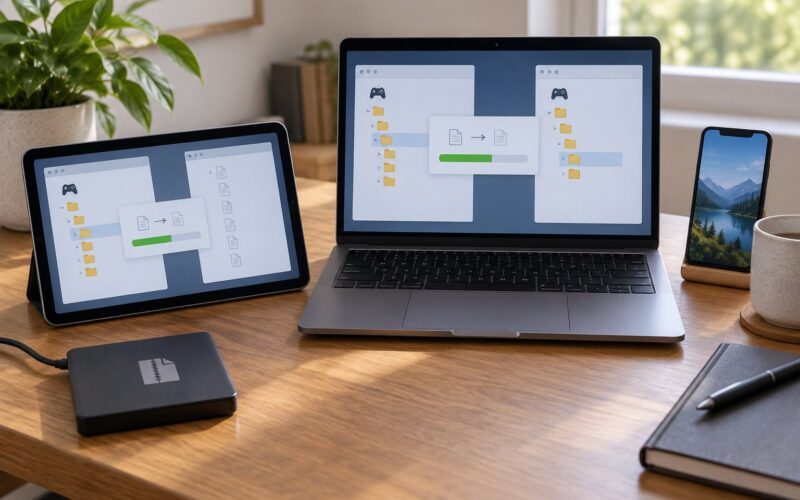
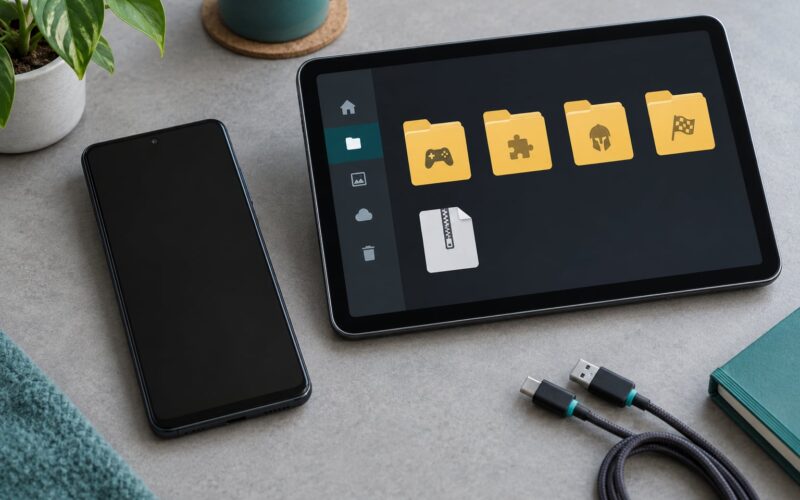
Open the game’s data with AssetStudio and find the car mesh you intend to replace. Note three things: its overall length, the position of its pivot, and whether the wheels are separate objects or one merged mesh.
Measure length in Blender’s units, not centimeters, and check the file’s own scale factor. A car that is 4.2 units long in the game file must be 4.2 units long in yours, or it will be the size of a toy or a bus. This single measurement prevents the most common mod failure, which is a car hovering a metre above the road or sinking through it.
Screenshot the original from the same three angles you will screenshot your own model. Side, front and three-quarter. Comparing those two sets of images catches proportion errors that numbers hide.
Step 3: Block the body out of cubes
Add a cube, scale it to the car’s lower body proportions, and position it so its bottom sits on the road plane. Add a second, smaller cube for the cabin and a third for the roof. That is your blockout.
Rotate the cabin cube slightly so the windscreen rakes back instead of standing vertical. Almost every amateur car looks wrong because the greenhouse is a vertical box, and that single rotation fixes more than any amount of detailing later.
Check the silhouette at this stage, before any detail. Press Numpad 1 for a side view and squint at the shape. If you can name the car, the blockout is working. If you cannot, no amount of geometry will rescue it.
Step 4: Shape the body and cut the wheel arches
Switch to edit mode and pull the vertices that form the bonnet, roofline and boot into place. Loop cuts across the body give you control later without adding geometry: a single loop cut is four extra faces, which is cheap.
Delete the faces where the wheels sit so the arches are open. Wheels poking through solid bodywork is the most common look in amateur lowpoly cars, and an open arch costs you nothing.
Step 5: Build one wheel and reuse it four times
Make a low-poly wheel from a 12-sided cylinder with a slightly smaller inset hub face. Twelve sides reads as round at any sane camera distance and costs almost nothing. Twenty-four sides looks marginally better and doubles a part that appears four times per car.
Duplicate it to all four corners, then join the four wheels to the body mesh with Ctrl+J if the game loads the car as one object. Mod loaders vary, so check whether the original wheels were separate before you merge anything.
Keep the wheel origin on the axle centre, not the wheel centre. A pivot in the wrong spot means the wheel spins around a point that is not its middle, and steering animation looks broken.
Step 6: Keep the material to a single atlas
One material per car. In Blender, create a new material with a Base Color image texture and nothing else. No metalness map, no roughness map, no second material for the glass unless the original car already had one.
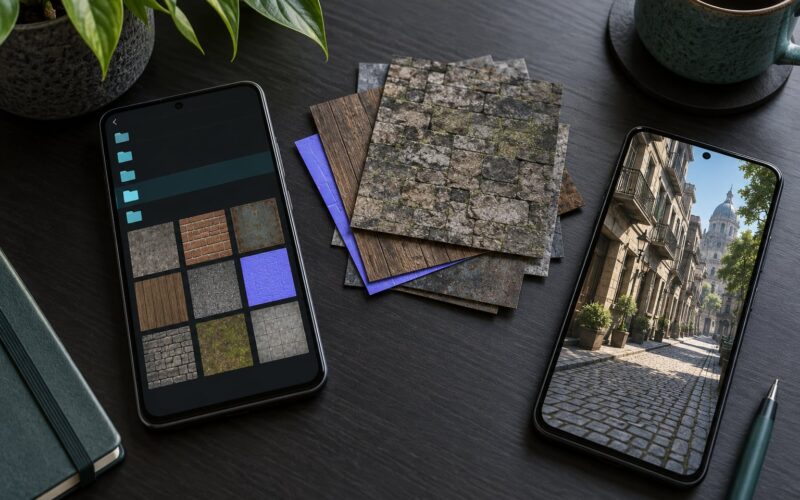
Decide now whether you will keep the original texture atlas or paint your own. If the game slots your texture into an existing shared atlas, you have to fit your UVs inside the original layout, which is fiddly and not optional. Painting your own 512×512 texture and matching it to the loader is usually faster.
Step 7: Flatten the shading and cut the polygon count
Select every face and press Z then F to shade flat. That single keystroke is what makes a model read as lowpoly, and most of the time it is the whole visual identity of the car. Smoothing a lowpoly car turns faceted panels into blotchy gradients, which looks worse at this budget.
If your count is still high, add a Decimate modifier and set the ratio to 0.6, then look at the silhouette from the side. Decimate destroys small or thin parts first, so anything short like a mirror or exhaust tip usually dissolves while the body survives.
If a piece vanishes, exclude it before decimating instead of rebuilding it. Read the live triangle count in the Object Data properties panel as you work; it updates every time you change anything.
Step 8: UV unwrap into one atlas with padding
Select all faces, press U for unwrap, and choose Smart UV Project with a small island margin, around 0.02. Islands that touch bleed into each other when the game compresses the texture, and a black seam running up the door is the classic symptom.
Scale the islands into one 512×512 image and leave the rest of the space empty. Uniform texel density matters more than perfect layout, so keep every panel the same size in pixels rather than squashing hard-to-fit parts to fit.
Paint in GIMP or Krita with the UV layout open beside the canvas. Solid base colours, a darker window band, black tyres and small headlight rectangles are genuinely enough at this resolution.
Step 9: Export with the right scale, axis, pivot and normals
Apply transforms before you export: Ctrl+A, then Rotation and Scale in the Object menu. An unapplied scale means the game engine may read your mesh at a different size than Blender shows you, which is a maddening bug to chase later.
Set the origin to the point you measured in step 2, usually the centre of the car at road level. For most engines that is the pivot the physics code expects. Put it half a car’s height up and the car will hover.
Export FBX when the game uses Unity or Unreal assets, and OBJ only if the loader specifically wants it. For OBJ, forward is positive Y, up is positive Z, and a counter-clockwise winding. For FBX, apply the transforms on export and leave scale at 1.00 unless the original mesh told you otherwise.
Triangulate on export rather than in the modeling app, and make sure normals point outward. Inverted normals are why a correct-looking model sometimes renders as a black hole.
Step 10: Install it and test on the phone
Export the texture as a power-of-two PNG, compress it the way the game expects (ASTC on most modern Android hardware, ETC2 as the safer fallback), and put the mesh and texture back into the game’s asset path.
Repack the APK or the OBB, install it on your test device, and load the scene. Check three things in this order: does the car sit on the road, are the wheels attached, and does the body show its texture instead of black.
Then measure. Open the game’s built-in stats overlay if it has one, or compare frame rate on the same stretch of road with and without the mod. An indie developer reported respawning more than fifteen blockout cars while holding above 30 FPS, which is the practical ceiling most mobile traffic systems aim at.
The extract-and-edit alternative
Modeling from scratch is the hard route. Most of the time you can pull the original car out of the game, open it in Blender, and edit it: reshape the roof, change the proportions, swap the wheels, repaint the atlas. You inherit the correct scale, pivot and material layout for free.
This works especially well for a body kit or a colour change rather than a whole new vehicle. Keep a copy of the original file untouched before you start, because it is your reference and your fallback.
Common Mistakes
Almost every failed car mod is one of these, and each has a quick fix:
| Symptom | Likely cause | Fix |
|---|---|---|
| Car floats above or sinks into the road | Scale or pivot mismatch with the original mesh | Match the original’s length in Blender units and set your origin at road level |
| Wheels missing or spinning off-centre | Wheel objects lost, or wheel origin not on the axle | Re-add the four wheels and move each origin to the axle centre |
| Car renders solid black | Inverted normals, or the engine’s atlas path does not point at your PNG | Recalculate normals outward, then check the material’s texture reference |
| Texture smeared or streaky | UV islands touching with no padding | Add an island margin and leave empty space between panels |
| Modded car has odd lighting | Normals flipped on part of the mesh, or a missing material channel | Check normals panel by panel; match the original’s material setup |
| Frame rate drops after installing | Polycount or texture size far above budget, extra materials | Cut to budget, drop to one material, drop the texture to 512×512 |
| Game crashes on loading the scene | Non-power-of-two texture or an oversized file | Export 512×512 or 1024×1024, keep the PNG under a few MB |
Then apply the last few optimizations. Turn off backface culling on your test build only, to check for inverted faces, and turn it back on afterwards. Merge the body and wheels into one mesh and one material so the car costs a single draw call. And check your triangle count one final time against the budget you wrote down in step 1.
If you are still over budget after decimating, look at what the player actually sees. A background car with no interior, no door lines and simplified bumpers can drop from 2,000 to 800 triangles without anyone noticing.
Frequently Asked Questions
What is a good polygon count for a lowpoly car in a mobile game mod?
Aim for 1,000 to 2,000 triangles for a car the player sees up close, and 500 to 900 for background traffic. One complete lowpoly mobile car has shipped at roughly 1,500 triangles with a single 1K texture, so the ceiling is realistic. Watch vertex count rather than polygon count too, since animation and the skin system add their own.
Do I need UV mapping to make a lowpoly car for mobile game mods?
Yes, every mesh needs UVs, otherwise the engine has no way to place your texture. Most modders do not design the layout from scratch, though. If the game uses a shared atlas, unwrap your car and fit it inside the existing atlas boundaries. If you ship your own texture, one 512×512 map with padded islands is plenty.
Which file format should I export from Blender for an Android game?
Export FBX when the game runs on a Unity or Unreal engine, since that is what those pipelines expect. Use OBJ only when the mod loader specifically asks for it, and remember OBJ expects forward on positive Y and up on positive Z. Either way, apply your rotation and scale before exporting and triangulate at export time.
Is Blender free enough for beginners creating mobile car mods?
Blender is completely free and covers modeling, decimation, UV unwrapping, texturing and export in one program. Game studios use it for real production work, so a car made in Blender is not marked down. The learning curve is steeper than Prisma3D, but tutorials for the lowpoly car workflow are plentiful and you only need a fraction of Blender’s features.
How do I make a lowpoly car run faster on an Android device?
Cut triangles first, then materials, then texture size. Join the body and wheels into one mesh with one material so the car costs a single draw call. Drop the texture to 512×512, compress it with ASTC or ETC2, and keep mipmaps enabled. Test on your oldest supported device rather than your newest, where every extra frame shows.
Can I use a downloaded car model in my own mobile game mod?
Only if the license allows it. Free to download is not the same as free to redistribute, and many marketplace models are licensed for personal use or for your own game rather than for a public mod. Check the license text before you publish anything, and avoid models whose provenance you cannot confirm, since those get pulled from mod sites.
Conclusion
Start smaller than feels necessary. Build a car out of three cubes and one cylinder, get it running in the game, and only then add a roofline. Measure the original car’s length and pivot before you model a single vertex, because that is the difference between a mod that fits and one that floats.
Flatten the shading early, cut the geometry you cannot see, and test the texture at 512×512 on your least powerful device. Once a simple car loads cleanly at 1,500 triangles, adding detail is easy. Rewriting a broken scale and pivot after the fact is not.