To start 3D modeling game cars for beginners, pick one real car, gather aligned side, front and rear reference images, and block the silhouette out of a single cube in Blender before adding a single detail. That first hour of ugly boxes matters more than the details you add later, and it is where almost every beginner either wins or stalls.
Budget 15 to 30 hours for a complete first car at game-ready quality if you are new to 3D, spread over a few weeks. Half of that time is reference setup, blockout and fixing proportions. The other half is unwrapping, texturing and export. Updated for 2026, this guide covers the full pipeline from a blank Blender file to an FBX sitting in your engine folder.
I break the process into six steps, then list the twelve mistakes that trip people up most often. If you only have an hour tonight, do step one and step three.
Table of Contents
- 1What You Need
- 2Step-by-Step: How to Start 3D Modeling Game Cars
- 3Plan the Car and Gather References
- 4Set Up Blender and Prepare the Scene
- 5Block the Main Car Shapes
- 6Refine the Body, Wheels and Details
- 7Apply Materials and Check the Mesh
- 8Optimize and Export the Game Car
- 9Common Mistakes
- 10Frequently Asked Questions
- 11What is the easiest 3D modeling program for a beginner making game cars?
- 12How long does it take to model your first car in Blender?
- 13Should a beginner model a realistic car or a stylized low-poly one first?
- 14How many polygons should a game-ready car have?
- 15Do I need to know sculpting and retopology to make a car for a game?
- 16Can I use a real car brand in a game mod, and how do I test the model?
What You Need
Blender is the software. It is free, it runs on Windows, macOS and Linux, and it covers every stage from modeling to texture baking to export. Most professional vehicle artists use it daily, and every tutorial you will find online assumes it. Maya, 3ds Max and ZBrush all work in the pipeline, but they are paid, heavier on older machines, and none of them has better car tutorials behind it.
You do not need a fast computer. A laptop from the last several years with 8 GB of RAM handles a car model comfortably, and the blocking stage barely touches the hardware at all. Texturing and baking are the stages that ask for more memory.
Reference material is what separates a car that looks like a car from a box with wheels. For a real vehicle, look for factory blueprints or technical drawings that give you true side, front, top and rear views. Sites like the-blueprints.com and blueprintspot.com are the usual starting points. For a fictional design, you will need to build your own reference set, which I cover in the first step.
Decide which engine the model is for before you start, because it decides your units and your file format. Unity, Unreal and Godot all import FBX, and all three assume 1 Blender unit equals 1 meter unless you tell them otherwise. Blender also exports glTF, which carries PBR materials more reliably than FBX does, and OBJ, which is fine for a quick import but drops material information.
| Modeling approach | How it works | Best for beginners? |
|---|---|---|
| Box modeling | Build the whole car from edited cubes and cylinders, then add a subdivision surface modifier | Yes, for stylized and low-poly game cars |
| Sculpt then retopology | Model a dense high-poly sculpt in ZBrush or Blender, then rebuild clean low-poly geometry over it | No, not as a first project |
| Photogrammetry | Photograph a real car from many angles and let software reconstruct the mesh | Rarely, you rarely get the underside or interior |
| AI generation | Text-to-3D tools output a rough mesh you clean up | As a blockout reference, not as a finished asset |
Box modeling wins for your first car because every shape is something you dragged into the scene and moved. There is no sculpting brush to learn, and if the proportions are wrong you just move a vertex.
Step-by-Step: How to Start 3D Modeling Game Cars
Plan the Car and Gather References
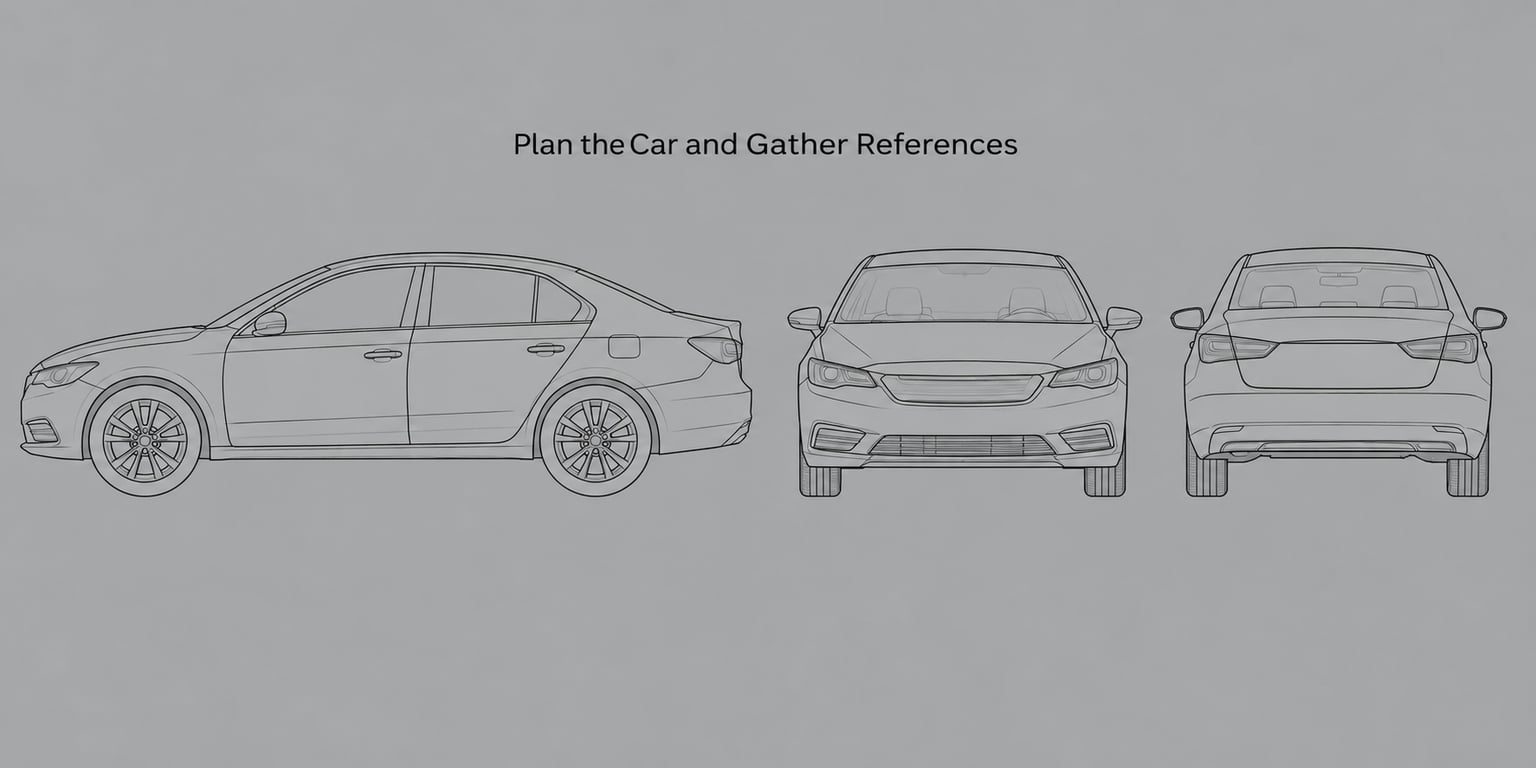
Pick one specific car and write down its numbers before you open Blender. You need overall length, width, height and wheelbase. A typical family sedan is roughly 4.6 to 4.8 meters long, about 1.8 meters wide, 1.45 meters tall, with a wheelbase near 2.7 meters. Those four numbers stop you from building a car that is 30 percent too tall, which is the single most common beginner error.
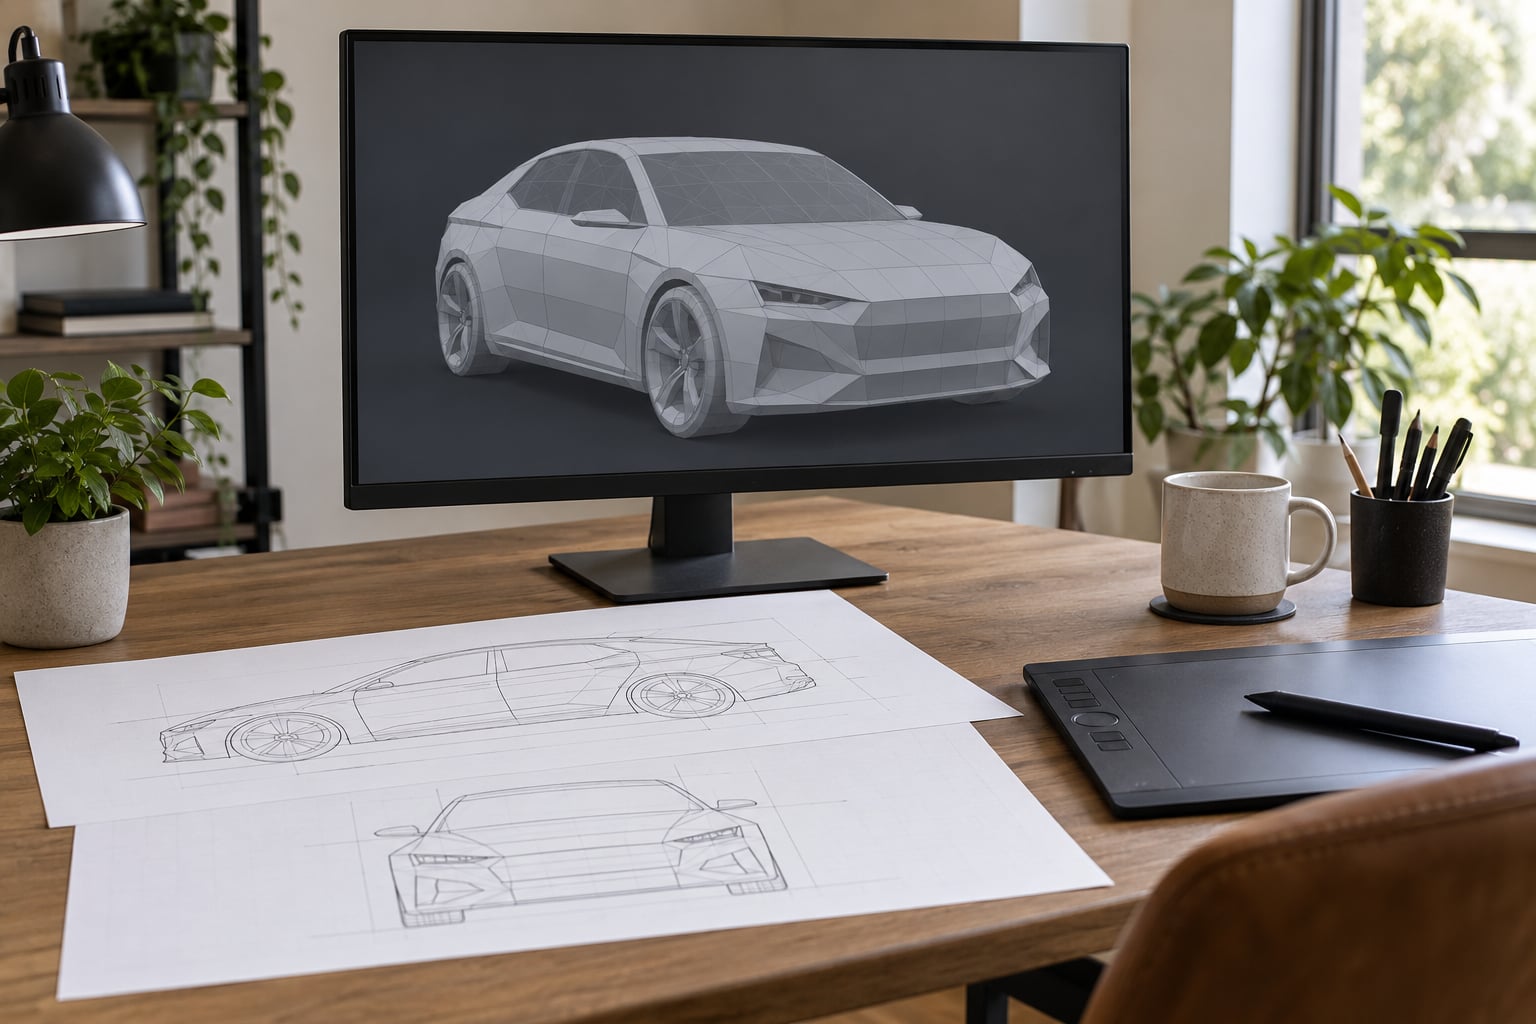
Collect four views: side, front, rear and top. Side is where you get length and height, front gives you track width and cabin taper, top gives you the plan view of the roof and hood. Rear is the one people skip and then wonder why the back of their car looks flat.
If you are designing a fictional car instead of replicating a real one, the same rules apply with sketches instead of blueprints. Draw a clean side view and a front view yourself, or build a rough shape in a free 3D sketch tool. Keep them consistent: the width of the cabin in your side view has to match the width in your front view, or the 3D result will fight you the whole way.
One warning on reference: trace proportions, do not copy artwork or lift manufacturer 3D files for a project that is not a private study. Public fan mods are a gray area that depends on the game and the region you publish in. Build from measurements and photographs you took yourself and you are on safe ground.
Set Up Blender and Prepare the Scene
Open Blender and start from the default scene. Then set your units first: go to Scene Properties, the Units tab, and set the unit system to Metric with the length unit in meters. Getting this wrong is why models imported into Unity sometimes arrive at a fraction of their intended size.
Clear the default cube, light and camera so you are not working around them. Create a collection named Car, and inside it make sub-collections for Body, Wheels, Lights and Glass. Naming them now saves an hour later when you have 40 objects in the outliner.
Add your reference images through the Add menu, Mesh, and then Image. An Image object is an empty plane with your picture mapped onto it, which means it sits behind your model instead of blocking your view of it. In the object’s material settings, set Surface to Emission and drag the Opacity value down to around 0.3 so you can see the car through the drawing.
Position each image plane against the others. Use the side view on the Y axis, the front view rotated 90 degrees, and the top view laid flat above. Line up the wheel centers in all three before you model a single vertex. It is worth ten minutes.
Switch the viewport to Solid shading, not Material Preview. Solid mode ignores expensive shaders and keeps the framerate high while you are pushing hundreds of vertices around. Then save the file before you start. Ctrl+S every few minutes.
Block the Main Car Shapes
Add one cube, scale it to your car’s real length, width and height, and that is your body blockout. Press Tab to enter Edit Mode, Ctrl+A to select everything, and use E to extrude the middle section upward into a cabin block. You should now have something like a bread loaf on a table.
Add a Mirror modifier on the Y axis before you sculpt anything. Build only the left half of the car and let the modifier handle the right. This is the standard workflow and it guarantees the two halves match.
Place your wheels. Add a cylinder for each of the four, rotate it 90 degrees on X so the flat faces point sideways, and set its diameter to about 0.65 meters with a width near 0.22 meters, numbers that fit a normal passenger car. Position them using the wheelbase you wrote down, then move them until the arches match your side reference.
Use proportional editing, activated with O, to pull the roof down and the hood forward in small adjustments. Hold Ctrl while dragging to fall back to hard snapping when you overshoot, which happens constantly.
Test the silhouette constantly. Press Numpad 3 for the right orthographic view and check the outline against your side reference, then Numpad 1 for the front. When the outline matches, your blockout is done. Most beginners go too early or too late; the moment the silhouette matches is the right moment to move on.
Save a copy of the blockout file before refining. When you inevitably want to restart at step four, this takes ten seconds instead of an evening.
Refine the Body, Wheels and Details
Carve the shape in with Loop Cut, the shortcut Ctrl+R. Run one horizontal loop along the belt line where the doors meet the hood and roof, and another at the base of the car. Those two loops control how light breaks across the side panels, which is what makes a low-poly car read as a car instead of a brick.
Wheel arches are where beginners lose the plot. Put a clean edge loop around each arch so the fender has a defined lip. Keep those loops even and let them carry the curve into the door and up into the fender. When the shading pinches near the arch, it is almost always because the loop spacing changed there; equalize the loops and the artifact disappears.
Add support loops near sharp features: the roof edge, the windshield base, the hood corners. Support loops sit close together, maybe five to eight millimeters apart in world space, and let the subdivision modifier keep a crease instead of rounding it off into a blob. Without them the roof melts.
Separate the wheels into their own objects so they can rotate later, and do the same for the glass. Lights and grilles can be simple pieces of geometry, but small details like badges, exhaust tips and panel gaps should not be geometry. Panel gaps modeled as real cuts multiply your polygon count for something a texture can show better.
Car body surfaces are where UV seams hurt most, because seams on a hood or roof are visible under reflections. Put them on the underside, along the bottom of the doors, and along the pillar centers where nobody looks.
Apply Materials and Check the Mesh
Start with a single gray material. A model looks wrong partly because the material is wrong, and beginners waste hours chasing shading problems that are really material problems. Once the geometry is right, add a paint material with a metallic value near 0.7 and a roughness near 0.3 for car paint, plus a separate glass material.
Check texel density, which is how much texture space each part uses. If the hood gets a huge UV island and the bumper gets a sliver, textures will look smeared on one and blurry on the other. Select all faces, press U for Unwrap, then use Average Island Scale to even them out.
A game-ready car needs a set of PBR maps, which is the standard set of images an engine uses to make a surface behave like real material:
| Map | What it controls |
|---|---|
| Albedo or Base Color | The color of the surface without any lighting |
| Normal | Fake surface detail, like panel gaps and vents, without geometry |
| Roughness | How shiny or matte the surface is |
| Metallic | Whether the surface behaves like metal |
| Ambient Occlusion | Darkening in creases and under overhangs |
You can bake panel gaps, vents and grille mesh into a normal map. The process is to duplicate the model, sculpt or add the detail to the duplicate, hide the original from view, and use the Bake panel in the object’s data settings to transfer the difference into an image. The cage settings matter on curved panels, and the usual fix for skewed results is to raise Cage Extrude slightly.
Then check the mesh itself. Add a subdivision modifier with viewport levels on 1 to see the smoothed shape. Enable face orientation overlay from the viewport dropdown and look for blue faces inside the car, which means flipped normals. Run Select, then All by Trait, Non Manifold to catch open edges and stray vertices. Non-manifold geometry breaks baking and often breaks export too.
Optimize and Export the Game Car
Pick a polycount budget before you optimize, not after. A rough guide for a single vehicle with no interior:
| Target platform | Triangles per car | Notes |
|---|---|---|
| Mobile | 1,500 to 3,000 | Very low, wheels often share meshes |
| Indie PC or console | 3,000 to 8,000 | Typical open world or racing game car |
| Close-up racing sim | 15,000 to 30,000 | Usually with an interior and extra LODs |
| VR | 8,000 to 12,000 | Budget is per eye, so keep it lower |
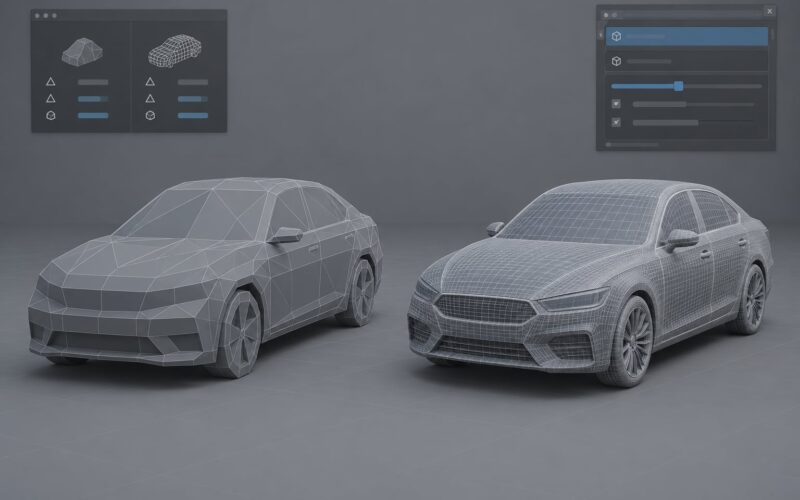
Reduce polycount by deleting geometry nobody sees, collapsing tiny details, and building level of detail versions. A far-away LOD at a few hundred triangles usually does the work. Do not decimate the whole model blindly, because it destroys the edge loops you built and you will be back to fixing shading.
Apply your modifiers with Ctrl+A, then Apply Scale. Forgetting that last step is the number one reason a model arrives in Unity or Unreal at the wrong size, and it is on every beginner’s list.
Decide the origin and pivot before exporting. For a car, the pivot at the center between the wheels on the ground works well for driving physics, while the rear axle center works better for spinning wheels. Either is fine as long as it is deliberate and matches how your rig expects it.
Export with File, Export, FBX. Tick Apply Transform, turn off Object Space for axis conversion if your engine needs the default, and set Path Mode to Copy if you want textures packed alongside the model. If your engine handles glTF better, use that instead, since it carries materials and PBR maps more cleanly.
In the engine, drag the model in and check three things: the size against a known object, the material rendering as paint and not as flat gray, and the wheels positioned where you expect. Anything broken at import is usually one of those three.
For game mods specifically, your tool has its own loader, often with a config file that points at your model and names the required parts. Check that file’s documentation for the part naming it expects, because a mesh named Wheel_FL instead of wheel_fl may simply not be picked up.
Common Mistakes
Starting with details. The grille and exhaust go in after the silhouette matches. Fix the blockout proportions first, because everything else moves when the proportions move.
Wrong proportions. Compare your side view against the reference every 20 minutes, not once at the end. Also check the wheelbase: most beginner cars have wheels that are too close together.
No reference alignment. Images at 90 degrees to each other or at different scales will poison every measurement you take. Align before modeling.
Skipping the mirror modifier. Model one side, mirror it, and you can never have mismatched halves.
Tris and ngons. Keep faces as quads where you can. Triangles and multi-sided faces shade badly on curved car panels under reflections.
Loops bunching at the wheel arches. Equalize the spacing there. The pinch you see is spacing, not topology.
Missing support loops. Sharp edges need two close loops or a crease edge, otherwise the subdivision modifier rounds them off.
Panel gaps as geometry. A gap is two millimeters of nothing multiplied across every panel. Bake it into a normal map.
No UVs. Check the UV editor for overlapping islands before export, and keep texel density consistent across panels.
Forgetting to apply scale. Ctrl+A, Apply Scale, every time. Then check the model size in the engine.
Bad naming and hierarchy. Name objects and materials predictably, and keep wheels, glass and body in separate named objects before export.
Exporting too late. Export a rough blockout into the engine on day one. Discovering a scale or axis problem after a full texture pass wastes the whole weekend.
Frequently Asked Questions
What is the easiest 3D modeling program for a beginner making game cars?
Blender is the easiest option, and it is completely free. It includes modeling, sculpting, UV unwrapping, texture baking and FBX or glTF export in one program, so you never have to install a second tool to finish a car. Maya, 3ds Max and ZBrush are what studios use, but they cost money, run heavier on older machines and have far fewer beginner car tutorials behind them.
How long does it take to model your first car in Blender?
Plan on 15 to 30 hours for a game-ready car with wheels, glass and simple materials, spread over several sessions. The blockout alone takes two or three hours once you know the tools. Refining topology, unwrapping and export take considerably longer, because that is where the decisions are. A low-poly stylized car is closer to 8 hours than a realistic one.
Should a beginner model a realistic car or a stylized low-poly one first?
Start stylized. A low-poly car teaches silhouette, edge loops and proportions without the pressure of matching a real vehicle exactly, and it fits the polygon budgets most games actually use. Once you can block one out cleanly, move to a real car with blueprints. Attempting a photoreal car first is the fastest way to get stuck on shading for weeks.
How many polygons should a game-ready car have?
For mobile, aim for 1,500 to 3,000 triangles per car. Indie PC and console projects usually sit between 3,000 and 8,000, while a close-up racing sim car can justify 15,000 to 30,000 with an interior and level of detail versions. The target engine and the camera distance decide the budget, not the model itself.
Do I need to know sculpting and retopology to make a car for a game?
Not at the start. Box modeling with a subdivision surface modifier produces clean quad topology without either, and that is enough for a game-ready car. Sculpting and retopology matter when you want realistic surface detail on a hero vehicle that sits close to the camera. Learn them later, after you are comfortable blocking out and refining shapes.
Can I use a real car brand in a game mod, and how do I test the model?
Build from your own photographs and measurements, and avoid tracing artwork or using manufacturer 3D files for anything you publish. Brand marks carry trademark rules that vary by game and region, so check the mod’s terms first. Test by dropping an early blockout export into the engine, then by loading the finished model through your mod tool and checking the config file names its parts.
So here is where to start. Pick one car, write down its length, width, height and wheelbase, load an aligned side view into Blender, and block the silhouette out of a single cube. Export that blockout into your engine the same evening to prove the scale is right. Everything after that is refinement, and refinement you can learn by doing.